Our little daughter is the epitome of girlie. If she could cover everything in glitter, bows, dresses and flowers SHE WOULD.
There hasn’t been a shade of pink or purple she hasn’t adored or a flower she hasn’t gone all googly eyed for. That’s why it was no surprise to me when she mentioned she now had her eyes set on creating her name in flowers.
After some discussion and a talk about how sometimes less can be more, especially when it comes to blue eye shadow and bright lipsticks (but never to bikinis and mini skirts) we found a solution. 😉
We decided to start by making her a floral initial and to see what we thought about that.
If you want to make your own floral initial for the little lady in your life, you can do so in 4 easy steps.
Here is how!
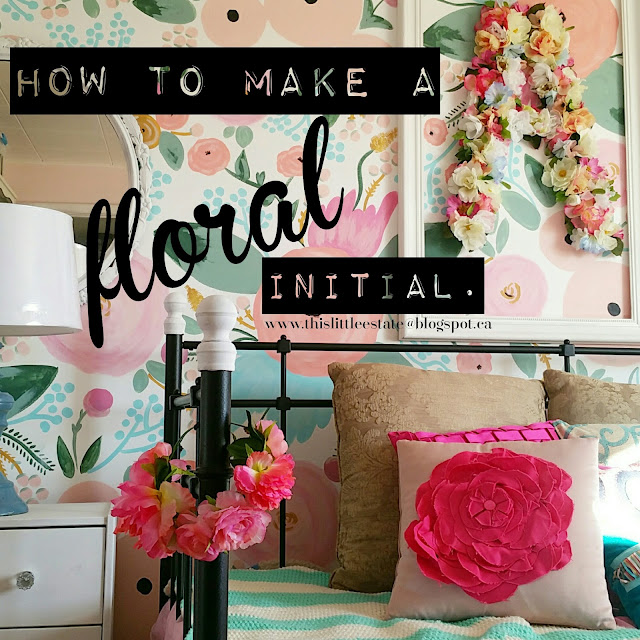
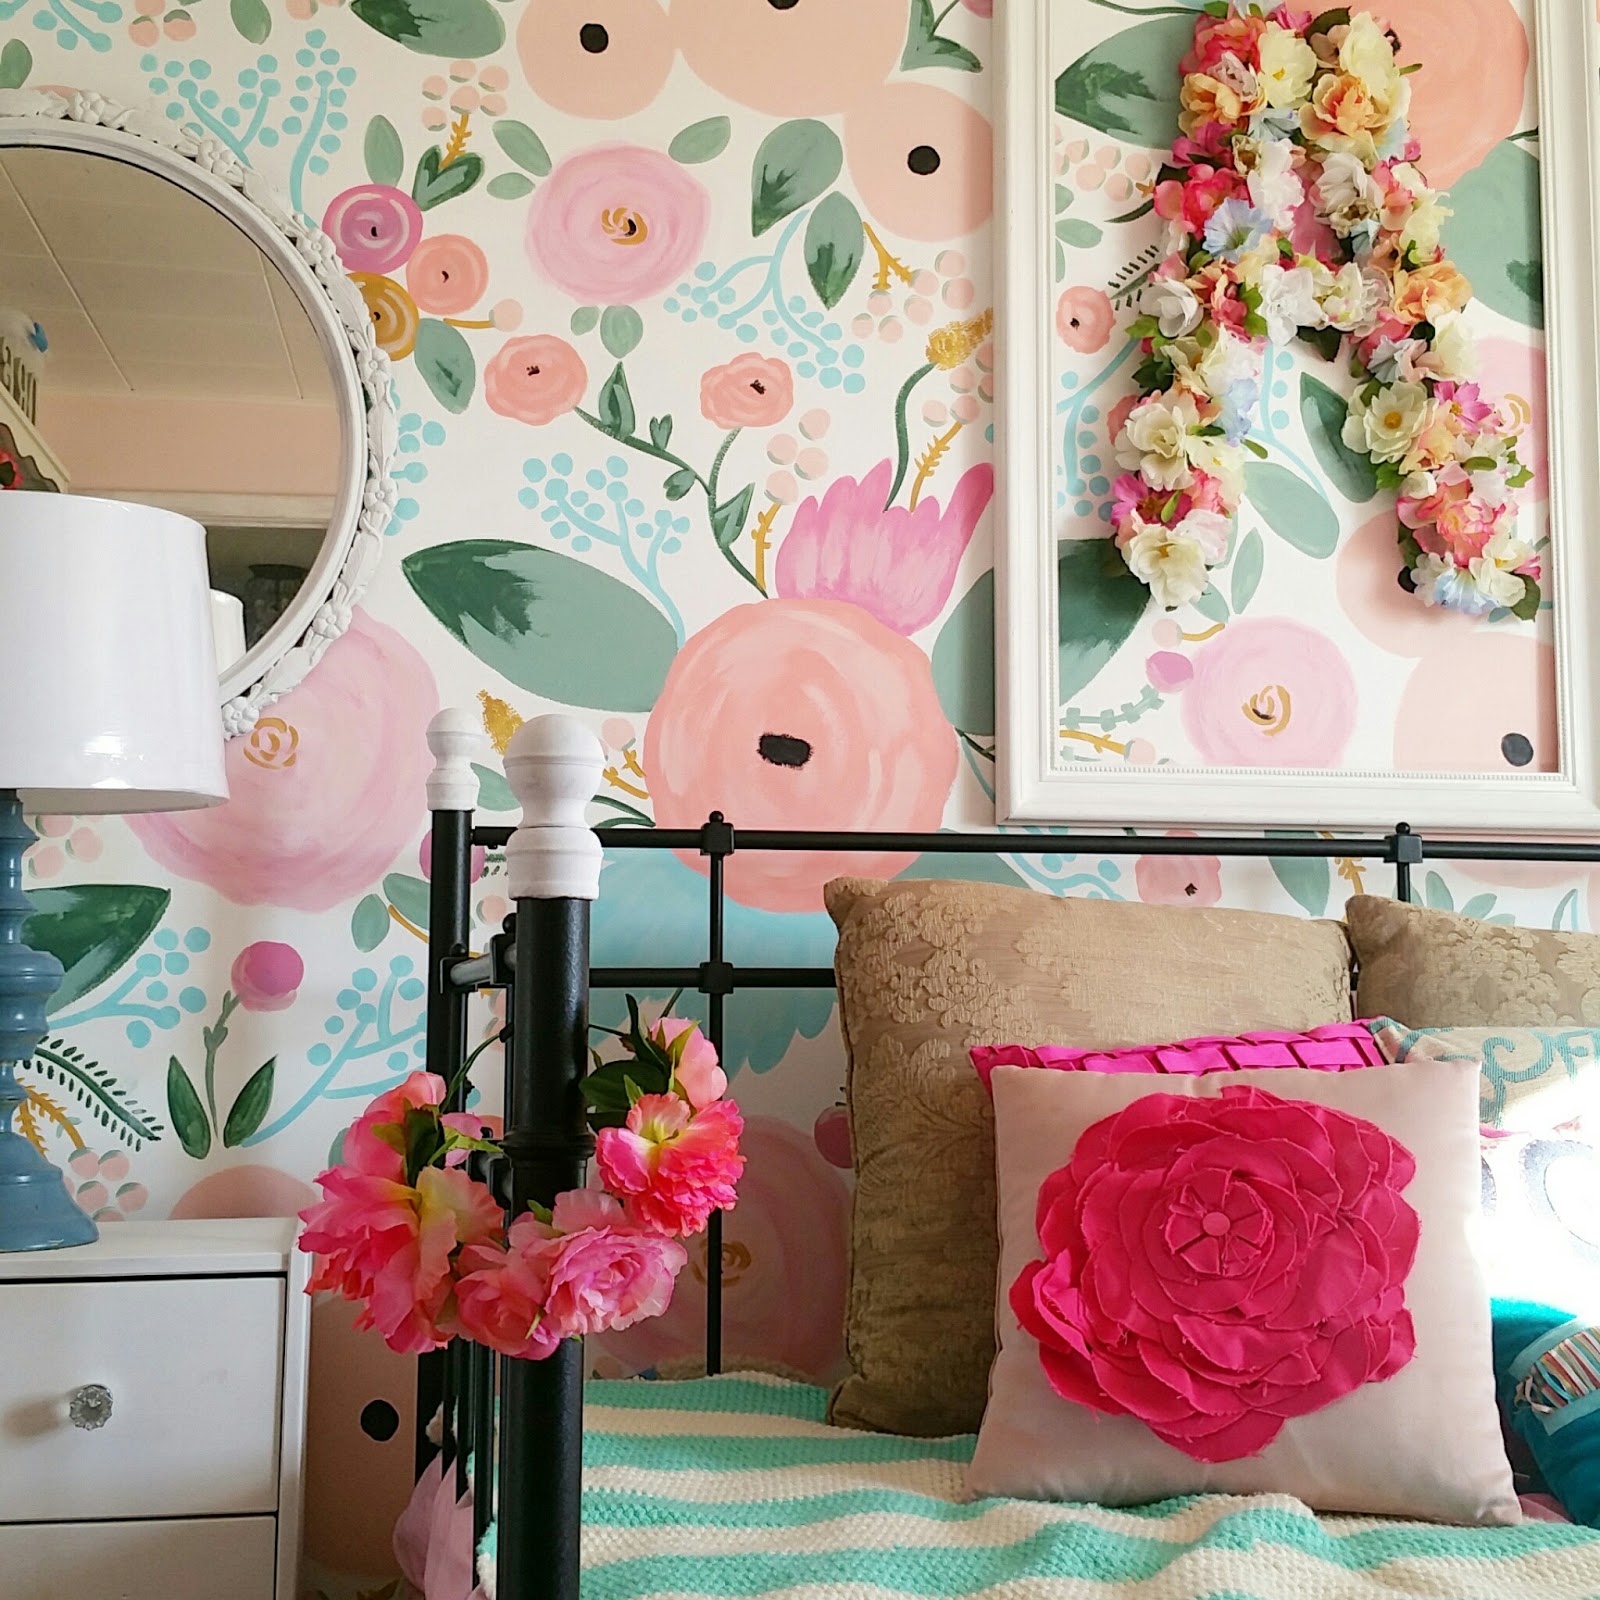
How To Make a Floral Initial
{In four easy steps}
Step One:
Decide on your color palette and purchase flowers accordingly.
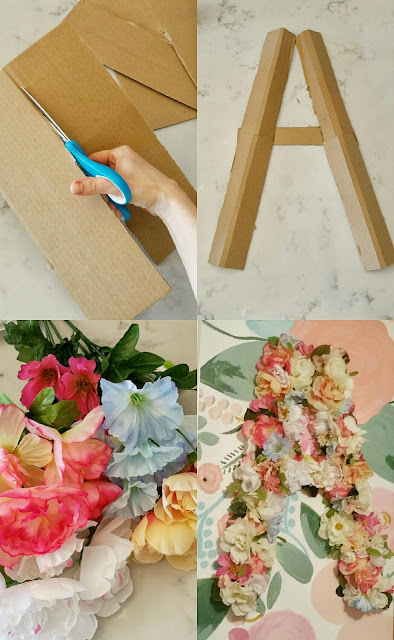
To keep our costs down but to maintain a floral stuffed letter, we opted to go to our local dollar store to purchase our blooms. We chose pinks, peaches, whites and even managed to snag some blue flowers . (NOTE: blue flowers are few and far between. If you spot some and aren’t ready to commit to your floral initial but know you will SOON, GET THEM.)
STEP TWO:
Create your initial with cardboard and a hot glue gun.
We decided to utilize an old box that we had on hand. It wouldn’t be heavy and hence easy to hang when completed. We simply cut some strip of it to create an “A” (in her case) and then connected the pieced with strips of hot glue. (gun and sticks purchased at the dollar store.)
STEP THREE:
Attach your blooms to your letter.
This is the fun part. This is the time to get creative and to let your inner wannabe florist OUT! To make sure our colors and all our different types of flowers were distributed evenly we started with one type of flower and glued that variety all over our initial. Then we added the next kind/color. At the very end we added greenery where there were spaces that need filled.
STEP FOUR:
Remove glue strings.
When you are making this bad boy you will feel like you’re in a western movie, like your glue gun is your twirling pistol and you are a mean mugging glue gun wielding cowboy. Which means, inevitably, there will be a web of glue strings all over your floral initial. No problem. Simply use your hair dryer to soften the strings by turning on medium and gently waving over your letter. With your other hand use a paper towel to collect/wipe up the warmed strings. Your floral letter will be ready in minutes to happily display.
A floral initial in four easy steps! Yippee!
Would you ever make a floral initial? If so what kind of flowers would you use? Do you have a girlie girl in your life that would love a custom floral initial?