
I swear I was meant to live in an old cottage in the woods somewhere. But since I love having an amazing internet connection and need to live a ten minute drive from the closest donut shop grocery store, the next best thing is to cover every square inch of our home in wood, squeeze our eyes shut, put on our imagination hat and pretend we live in a cottage.
Enter beams.

Last time we talked about beams I shared with you how we created a custom stain for ours. Staining and adding beat up character to your boards is Phase One of creating beams. Phase two is installing your beams.

(Here is the prepped and stained boards for our beams inside our home and against our hardwood floors.)

We wanted to match our beams to the darker grained boards in our floor, and in the end we got a pretty close match.

To complete Phase Two for your DIY beams, look no further. This post is for you!
Once you have your stained 2 by 10 boards you will want to have a handy man cut them length wise so that each board measures 5 1/2 inches. This measurement is perfect for making a three sided “beam” that will attach to your securely fastened 2 by 6’s that are attached into studs on your ceiling.
Speaking of studs…

Attach your three sided “beam” with threads of glue (PL3) and a nail gun.
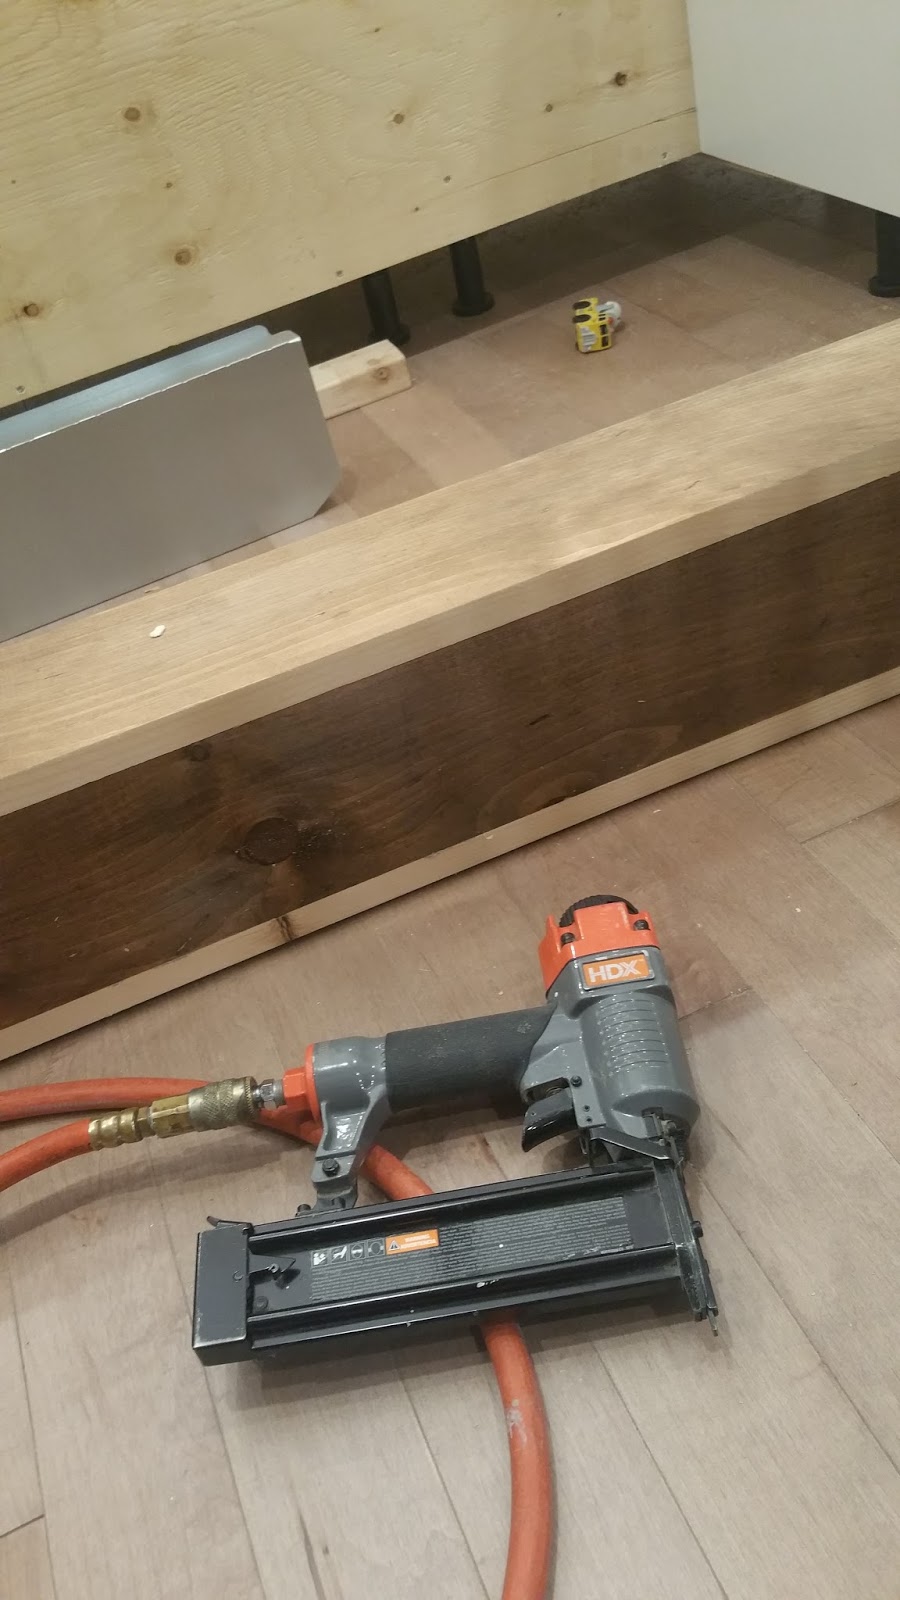
(If you want to make your wife super happy, do this step outside instead of creating a bigger mess inside.)

You can make it up to her by giving her a turn. Power tools make everyone happy.


Once your beams are formed you will simply fit the three sides around your 2 by 6. If you plan accordingly and are adding a pine or planked ceiling as well, your 2 by 6 boards can cover the cut seams of your planked ceiling.

Once your three sided beams are completed simply attach to your ceiling board.

Simply attach your beam by adding a strip of glue where possible and nailing it through the sides every couple feet to ensure that it is well connected to your base 2 by 6 board.
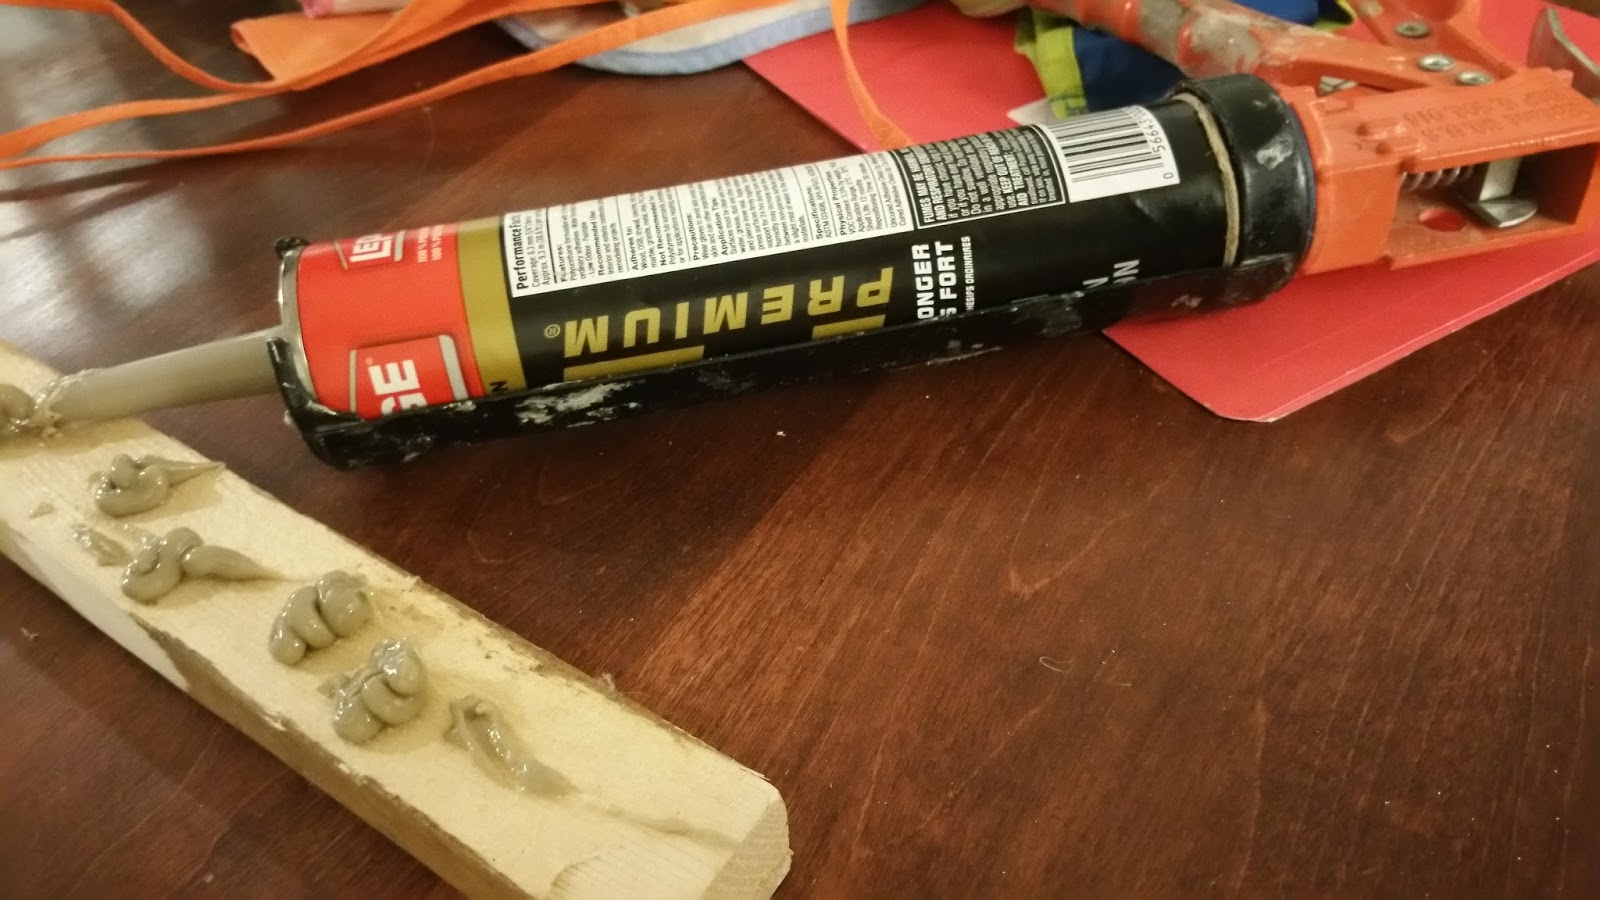
Use clamps wherever possible to ensure that your glue has time to adhere.

If you have an unsightly structural beam in your newly renovated space consider wrapping that in material to look like a beam as well.

Simply purchase boards the width of your beam, cover in PL3 glue and connect directly on to it with your nail gun. Secure in place with clamps for 12 hours.

We will deal with these seams later. If you don’t mind them, leave as is.

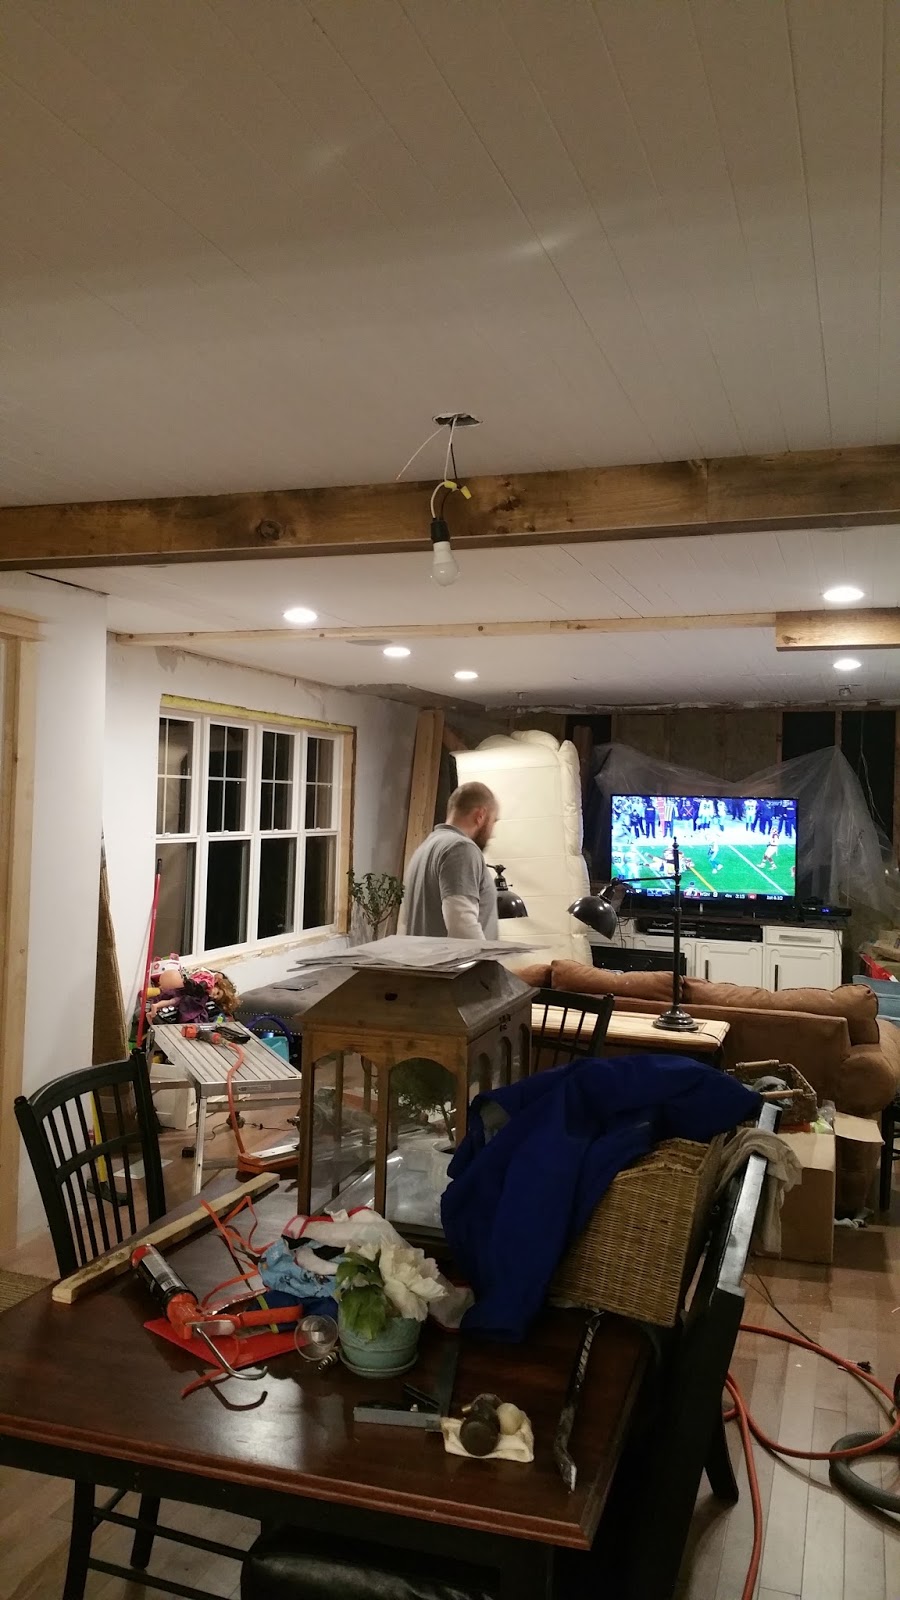
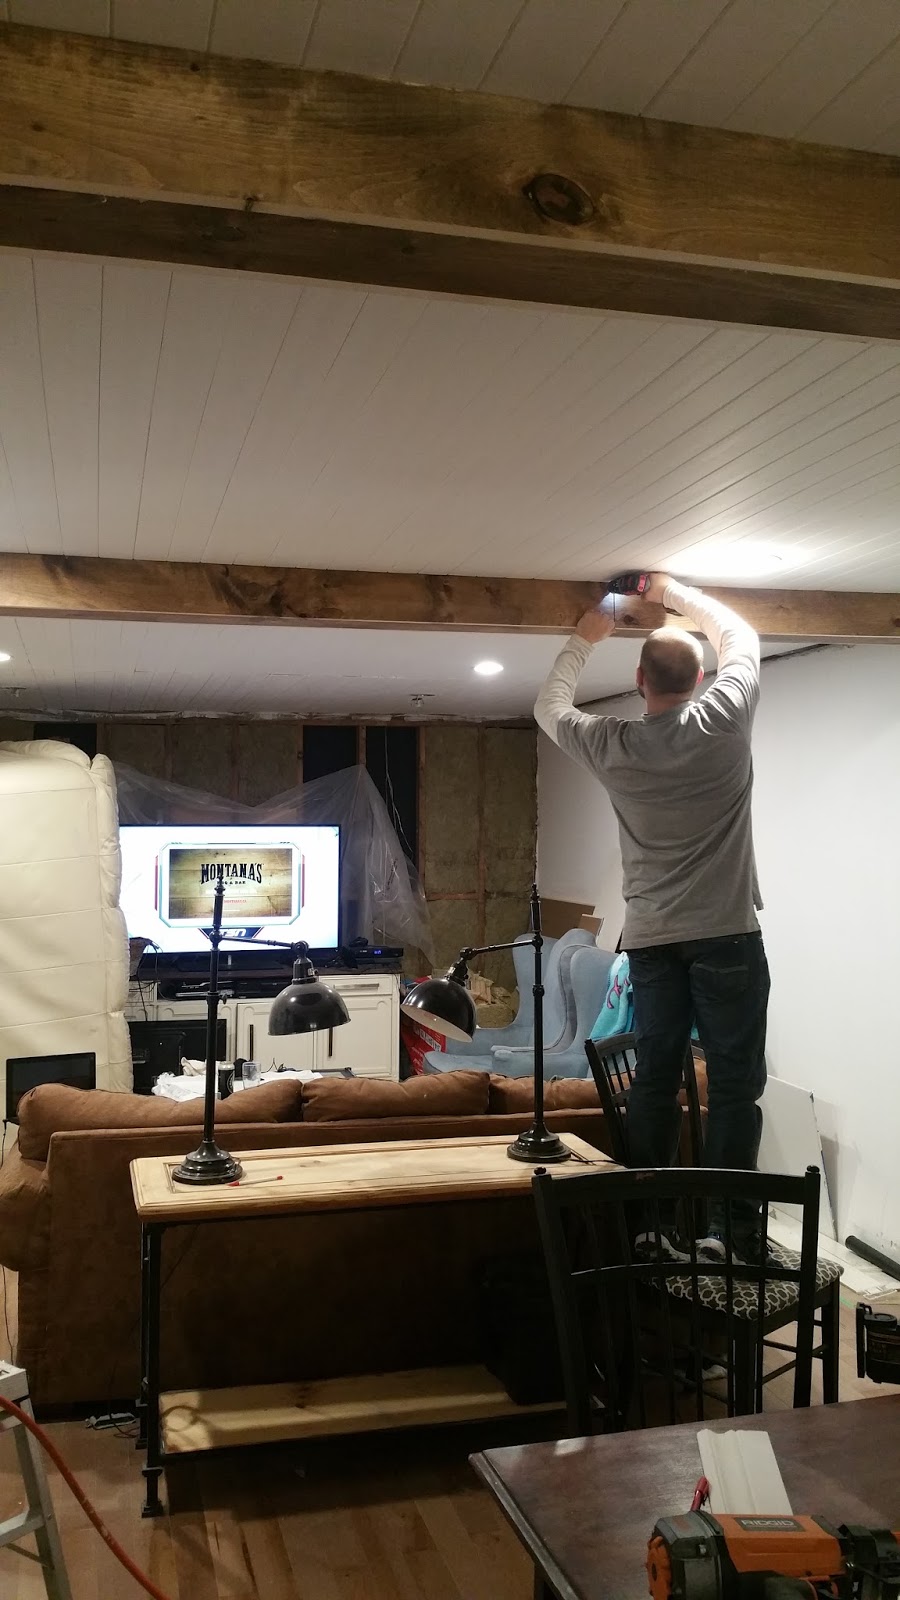
Here is what our space looked like during this process.

Because we stripped our wide boards in half the exposed wood would need to be stained when the beam was in place. You could always do this step before installation, but if you are impatient like me, just put that sucker up there and worry about staining the edged after install.

We wanted our beams evenly spaced throughout our space but had to consider where our windows and doors were, where our pot lights were and where our indoor speakers were. If you plan well before install, than this step of installing your beams will go smoothly.

To ensure that your beams are installed correctly and securely, take your time with this step.

For the easiest install, have someone on hand to help hold your beams in place.

Tell them that they are strong and appreciated and you might even get a date out of it too.


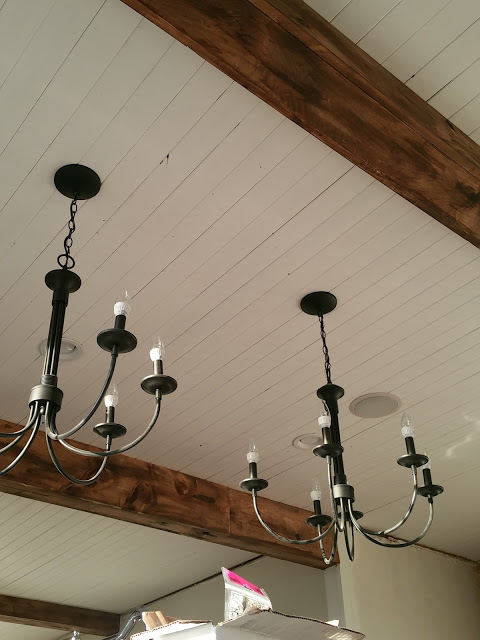
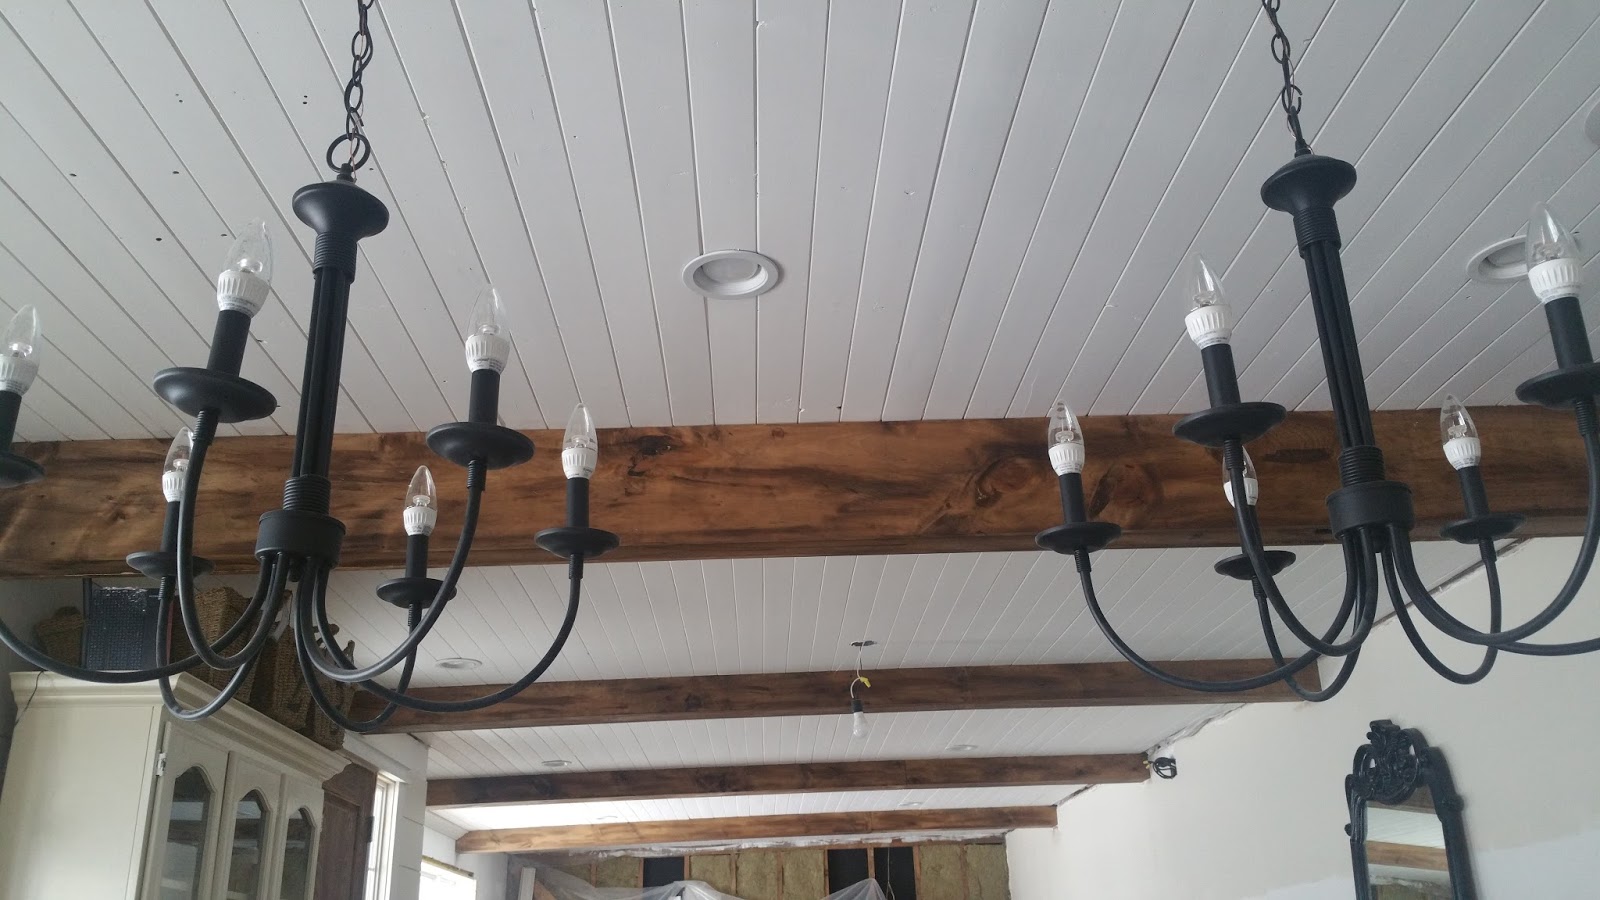
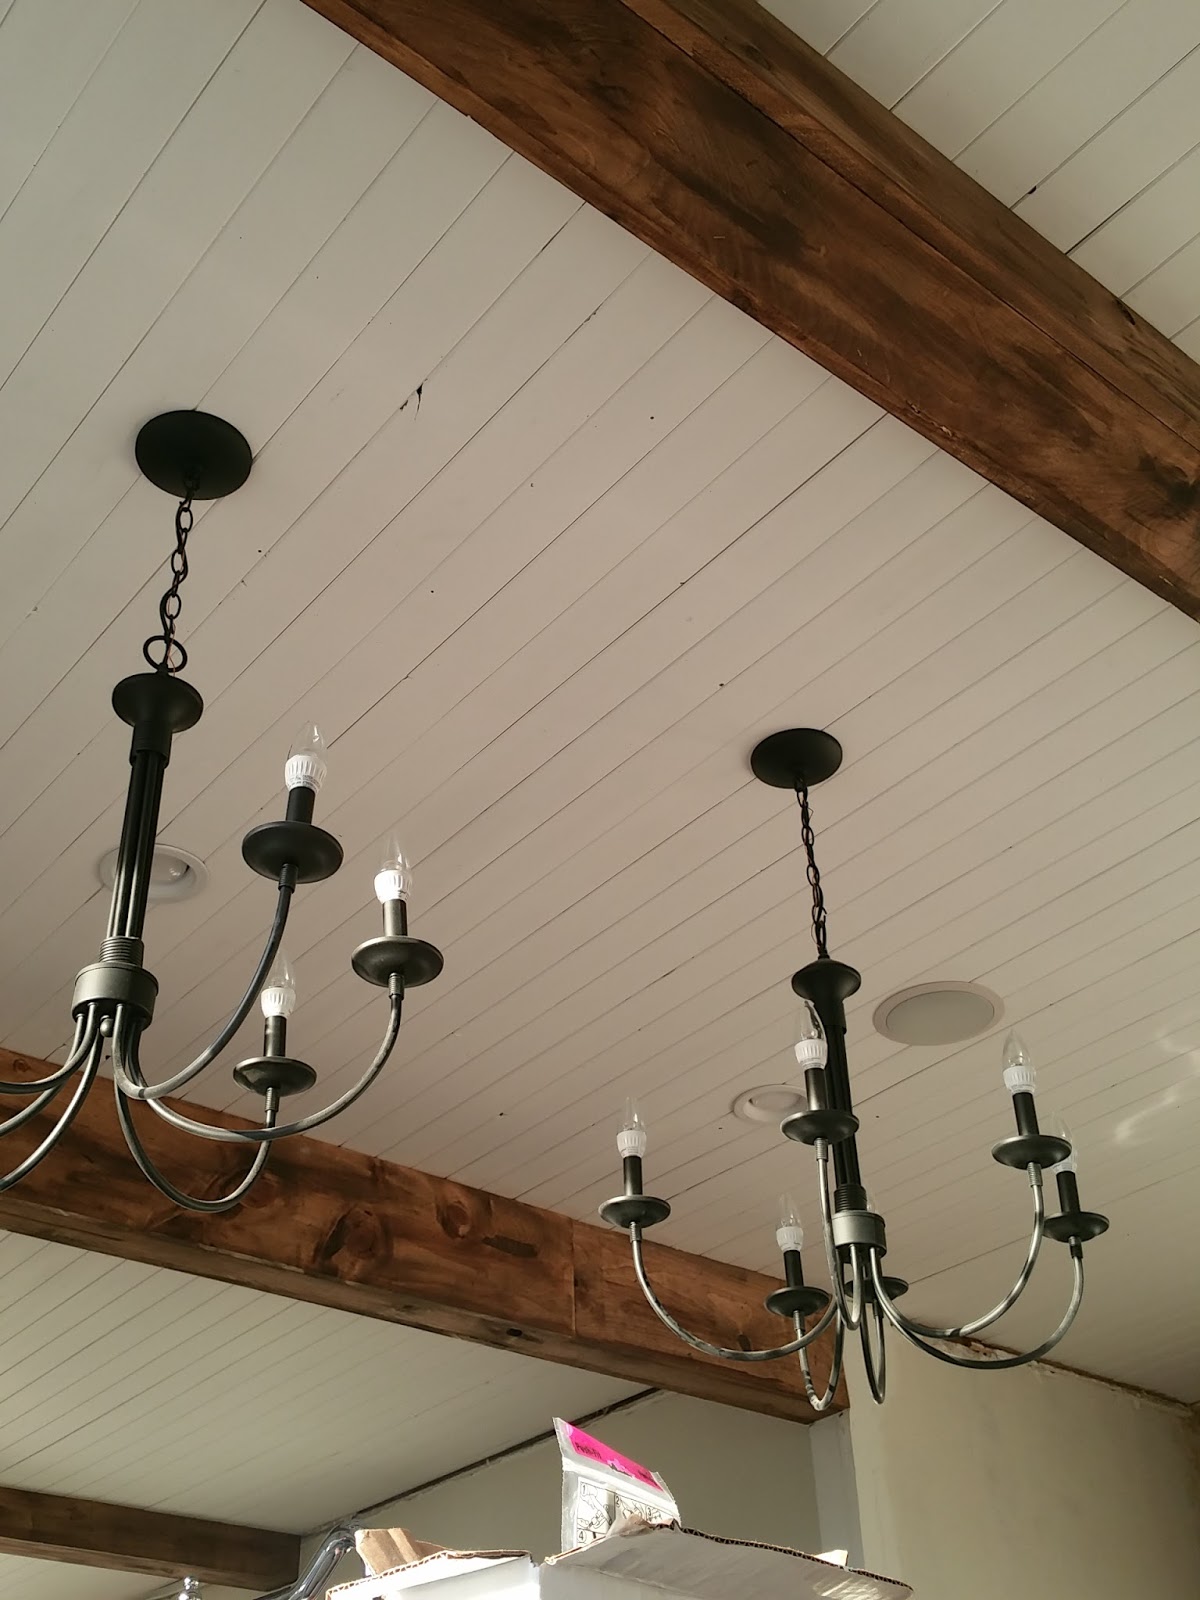
You will love the way the beams add immediate height to a space and draw your eye upwards.

Which in this case, is better than having your eye drawn down, to the unsightly wall there at the end. 😉
Once your beams are installed, sit back, take them in and pat your self on the back. Also, if you have a long to do list still, just fold it up, put it aside and pull out the art supplies to enjoy some time with the kids.
See??

And keep looking up.

Always.

Things are always better when you remember how far you have come and not how far you have to go anyway. 😉


Would you bring a touch of cottage style to your home with wooden beams and keep your WIFI? Or, is the serenity of a forest cottage calling your name?
Depending on your answer, you might just want to Pin these
now to do later. 🙂
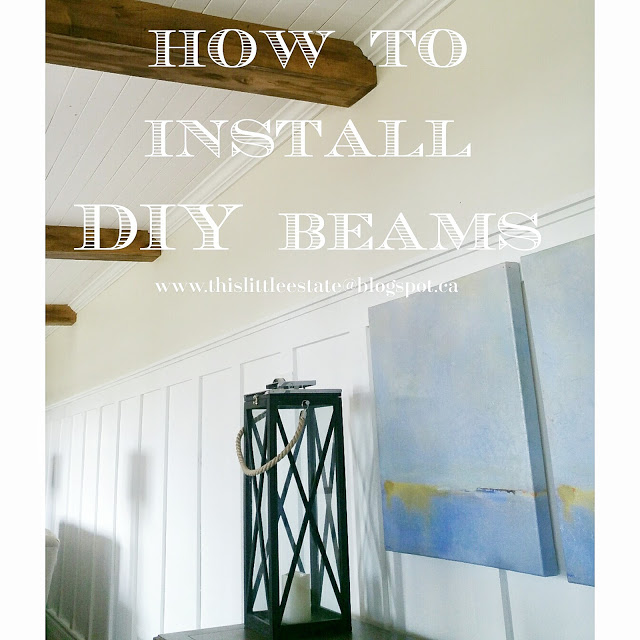
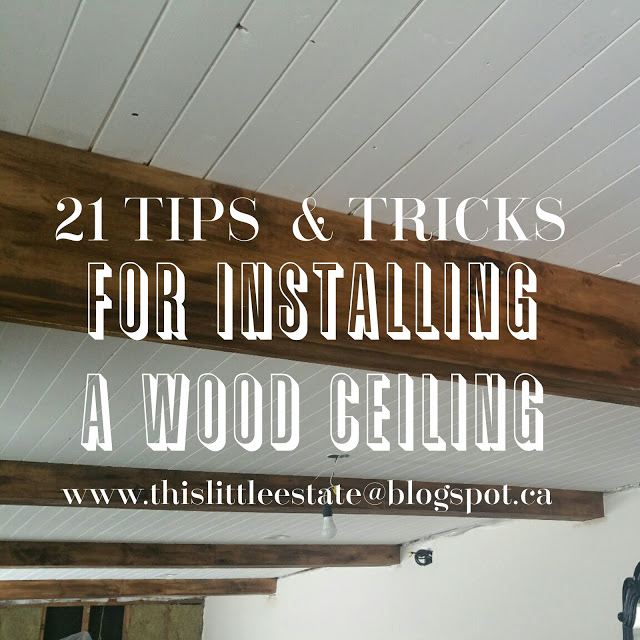
HOW TO INSTALL DIY BEAMS

