
I don’t know why I always assume that when the kids go back to school that “I will have SOOOOOOOO much time to get all the things done!”
Who am I kidding?
September is right when the kids start their fall programming and music lessons, it is also the time of year when nights grow shorter and time do all the things seemingly LESS! And I haven’t mentioned all the back to school hair clients that need me during the day and the after school projects like the Fall 2018 One Room Challenge we are participating in.
Oh wait, you didn’t knowwwww that?
Admittedly that above paragraph was to explain why I haven’t kept you updated on this falls one room challenge! I missed sharing last weeks progress because really, there wasn’t a lot of progress! HA! Anyone else despise when projects drag on and the messy stage stretches far and wide and into all the other areas of your home?? I can sorta hear a resounding “YESSS!” by all the clean freaks that have lived through dry wall dust!
Basically, if I had of written a post last week for the fourth week of the Fall ORC I would have said:
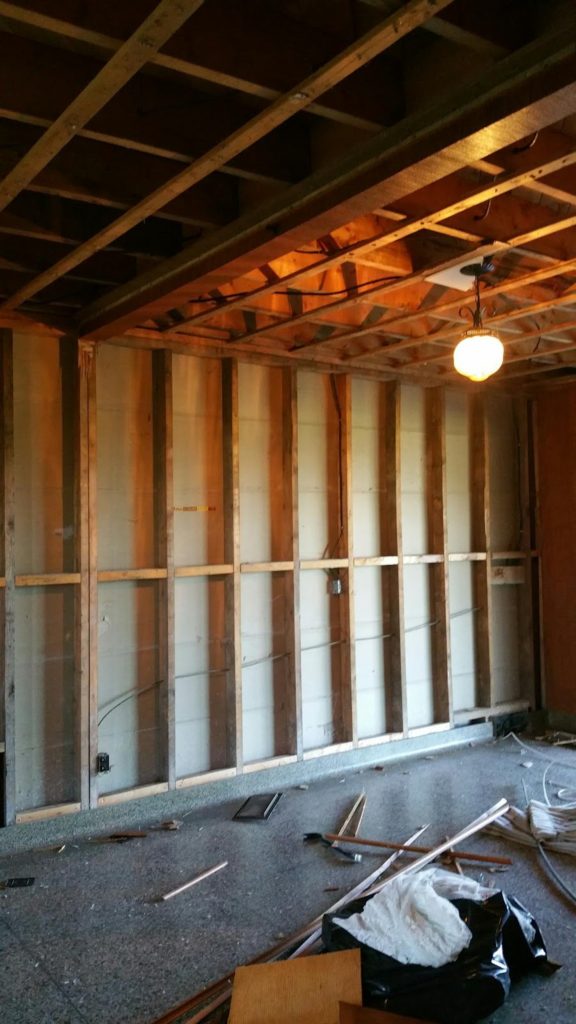
This week I watched drywall dust dry. Then, I sanded. Then I mudded again. Then it dried. Then I sanded it again. Then I questioned my technique entirely and begged my husband to help. He mudded. It dried. It still wasn’t freaking even and I nearly cried tears on to our wall, which would have led to disintegration of said drywall and subsequent MORE dreaded mudding.
LOL!
See? You probably get NOW why I didn’t want to burden you with our drywall nightmare progress. In hindsight, we should have removed that awful wall behind the powder room commode and started fresh. It really was the most destroyed wall we have ever had to make look pretty.

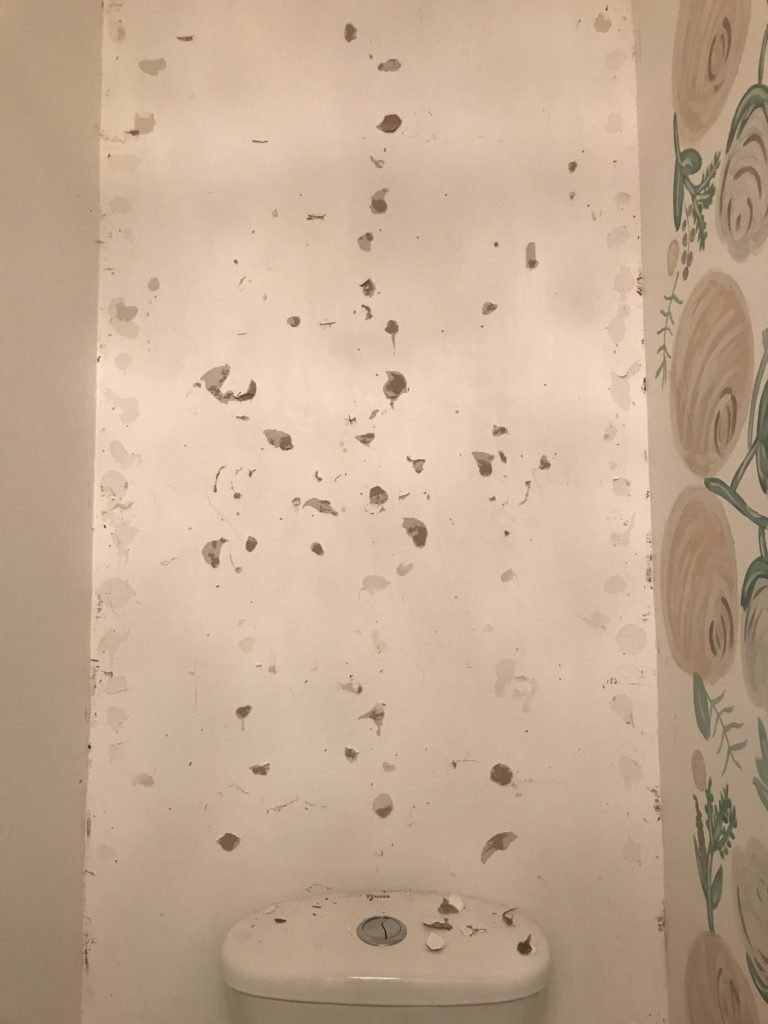
I suppose sometimes in DIY, the best bet is to start OVER. There should be no defeat in admitting that starting from square one is best. In our case, a square piece of new drywall would have made this project so much easier! 😉
Flash forward to THIS week, and guys we are making so much noticeably visual progress! Hallelujah!
Chime the Choir!
Shut the front door!
Start the car!
And all the other overly passionate sayings that suggest amazingness!
So, this week we installed some gorgeous METRIE chair rail, the thicker the better, into pretty panel moulding!

See what we used HERE!!!
If you’ve ever wanted to DIY this type of interior finishing in your home, here is our concise breakdown of the project:
Before you start, you will need to measure out your space and figure out the sizing for your boxes. For us, and some walls that weren’t the same distance, that meant creating some boxes (panel moulding) that weren’t actually identical. Each space will call for a different ratio who’s sizes really all depend upon the finished look you are going for.

(For us, I wanted floor to ceiling panel moulding approximately six feet tall and spaced out six inches from the ceiling and the baseboard.) I do however love the look of two boxes stacked on top of each other separated by a vertical middle of the wall, classic, chair rail. You do you boo!
Next find a saw wielding guru to figure out all the precision cuts you will need to make to create perfect boxes. (Note, if you aren’t skilled in this area and don’t have access to a saw, you can always ask to get your pieces cut to size at your local lumber yard or wherever you purchase interior finishings. This might cost you a little bit, but I bet it beats purchasing a saw and losing some sanity. ;))

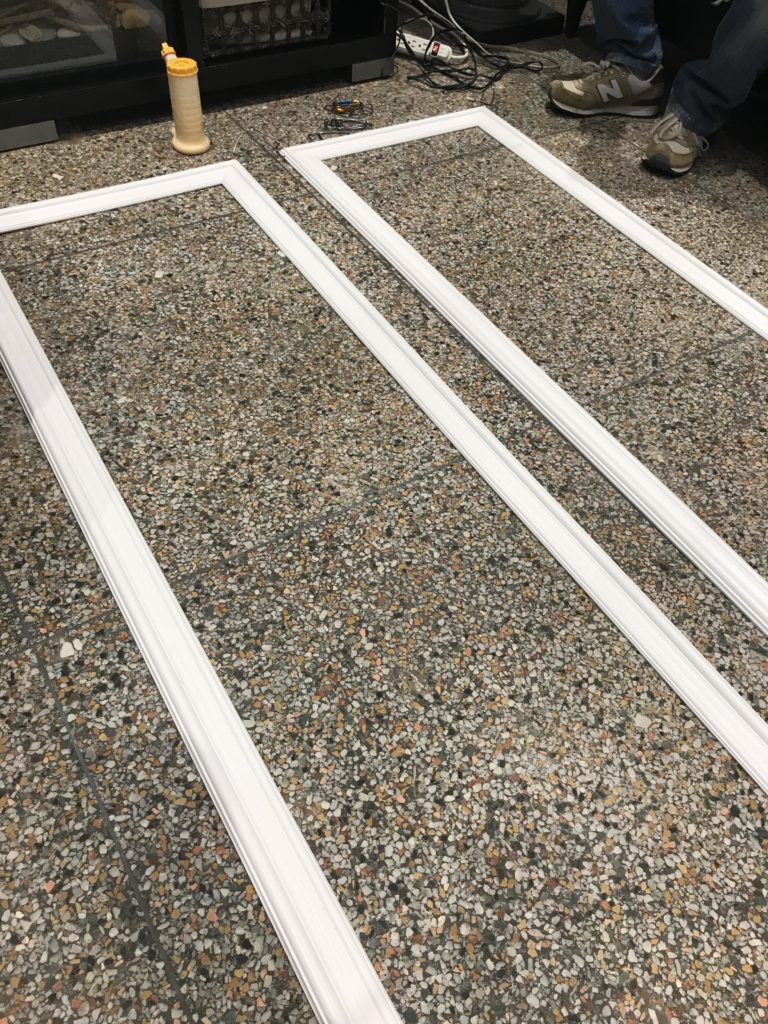
- Next, lay out your boxes on a flat surface and apply wood glue to all the interior cuts, joining them together.
- Once, dried and connected, attach to your wall with PL Premium glue and finishing nails for a secure finish. Yeah!!! Your interior finishings are up and look amazing! GO YOU!
- Lastly, fill your nail holes and the connecting corner seams with wood filler of your choosing and sand clean.
- LASTLY, lastly, you might want to seal your pieces with caulking for a smooth finish if your walls are uneven.
- LASTLY, LASTLY, lastly, paint everything out for a cohesive look!
- That is it you guys, this is a weekend project, IF you don’t have to drive your kids to every program around town and you don’t work weekends, and you don’t have to make cuts outside in the pitch black darkness! 😉
No, no, but REALLY, this design addition looks great in any room and isn’t terribly difficult to complete. Grab a friend, or a partner, and grab yourself some chair rail, you will love how this weekend DIY can change the entire look of a space!
Now that we have the walls in this space nearly completed, we have to decide what we are doing with our ho-hum ceiling and what we will be installing as new lighting and a new faucet. Can I tell you a secret? The elements are going to be dark and mysterious, and will definitely match the vibe of the attached studio.
On the agenda for this week??
-source lighting and faucet
-install said lighting and faucet
-paint out the cabinet??
-OR, just fill the holes from the old hardware?
-install new hardware
-do something cute to the ceiling
-STYLE, PHOTOGRAPH and REVEAL!!!
I will link my favourite chandelier and faucet for this space right here for you to source for yourself!


I’d love to know what you guys think of them! They are both from Home Hardware and both can be purchased on-line and delivered to a store nearest to you! I love that concept, since, I’m most likely going to be preoccupied getting this space D-O-N-E??
Also, this week, for the FINAL week of the one room challenge, I am focusing on how far we have come. I think that will keep me extra motivated to finish this space, don’t you? After all, we really have come a long way when you think that this space didn’t even exist a little while ago!


What do you think? Are you a fan of black faucets that are all the rage right now?? Personally I LOVE that they not show fingerprints as much! Would you ever try trendy but timeless black elements in such a light pastel space?


dione smith
November 2, 2018 at 2:58 pmWhat kind of clamp wizardry are you using to hold the frames together??
One Room Challenge (Fall 2018: Pretty Pink Powder Room Reveal!) | This Little Estate
November 8, 2018 at 4:02 am[…] (Read last weeks post HERE to know what I am talking about!) […]