

Last week I shared our latest project with you, a space I’m calling our “Pretty Pink Powder Room”! This is a one room challenge project, a space that will be shared weekly for six weeks until its completion! So lets recap if you’re new here!
In last weeks post, I shared how I wanted to take my little studio powder room and turn it into a classic space filled with character and a sprinkling of fun! I showed you the before photos and then jumped right in! I didn’t waste any time demoing this room and immediately pulled and yanked, yanked and pulled, until I removed all of the old barn board off of the back bathroom wall.

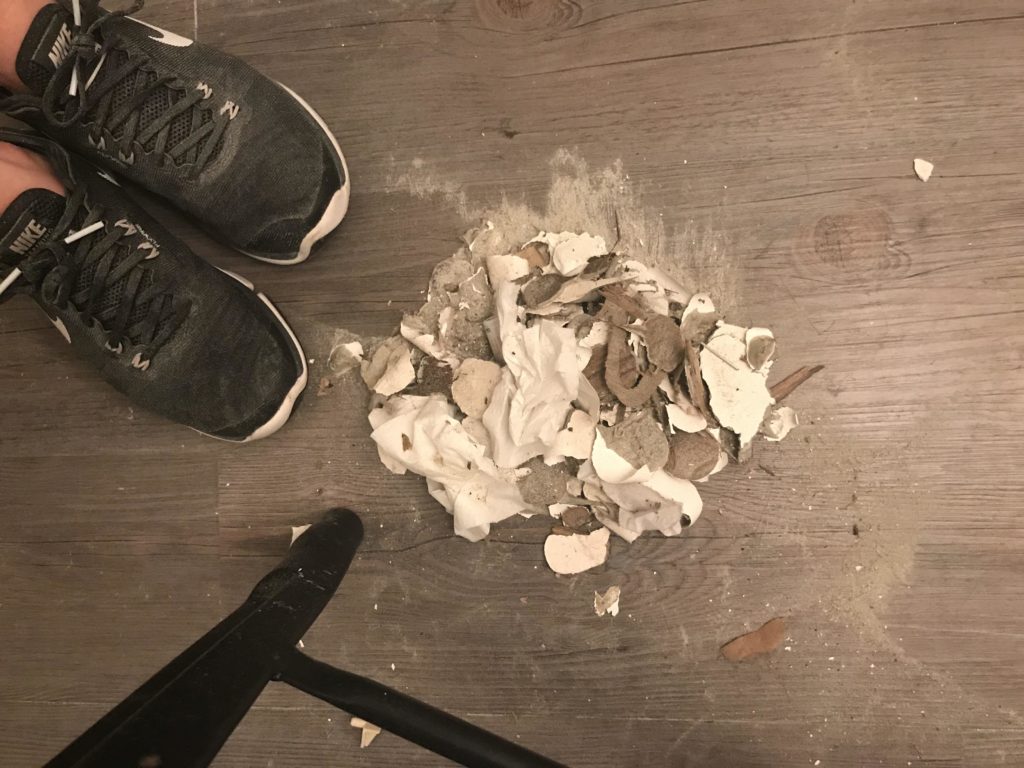
With a little muscle, the nailed and glued on board popped right off. The only problem however was the giant mess it left behind!

Globs of sticky crusted glue and tiny finishing nails littered the wall that had once been covered.

To say this part of the project was easy would be a lie. It was actually quite tedious and time consuming to try to remove the glue without damaging the drywall beneath it.
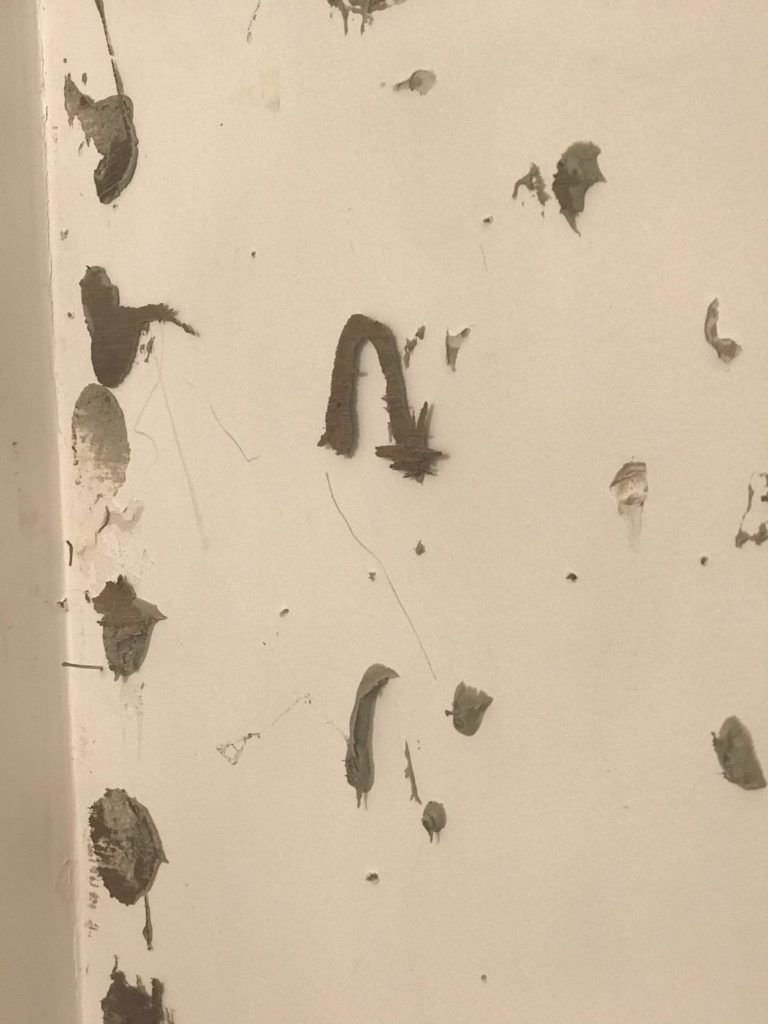
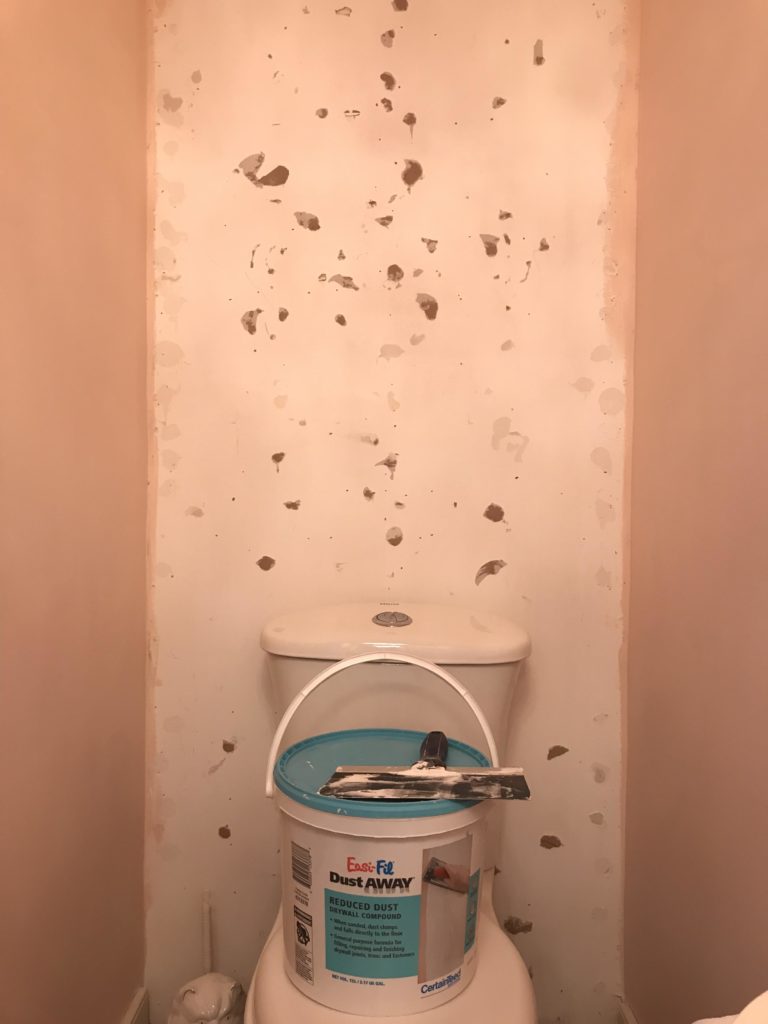
In the end, the glue held on tightly to the wall and took giant pieces of the sheet rock with it when I took a chisel to remove the glue. The results were anything but pretty.

However, once I had a clean surface to work with, it was simple to patch all of the holes with dry wall compound.
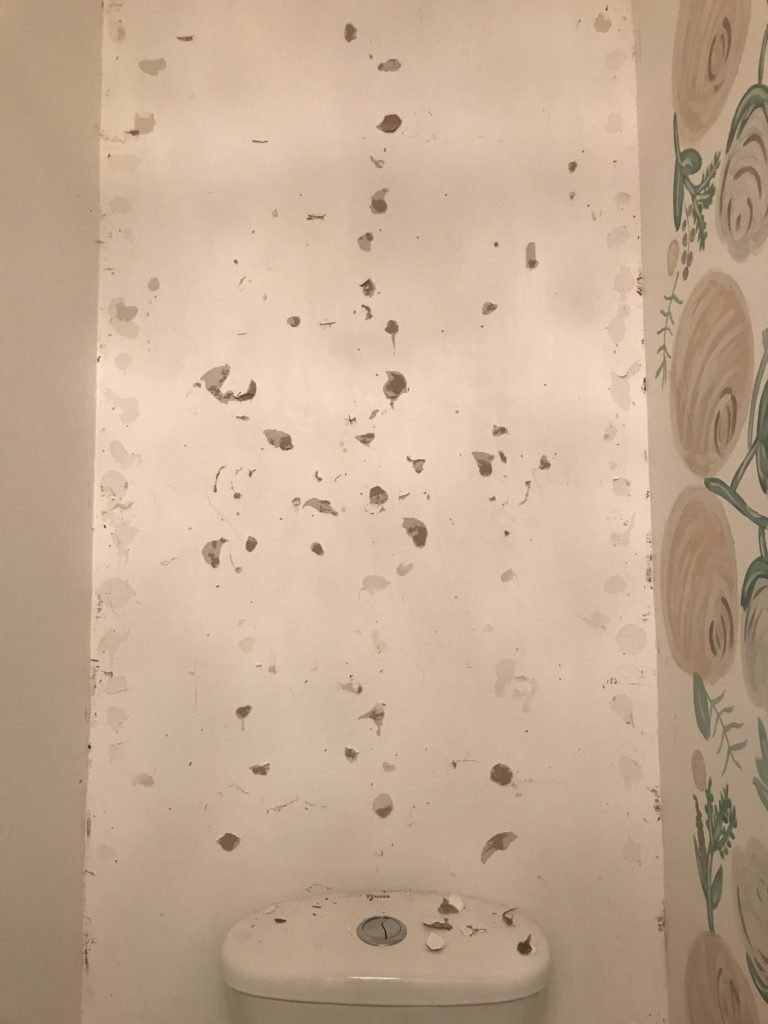

In the end, the wall will need approximately four coats to make it nice and even and smooth.
In the meantime, I got to work also smoothing out the floral wall I had painted. Because of the layering effect of the colour installation, the paint wasn’t smooth to the touch either.
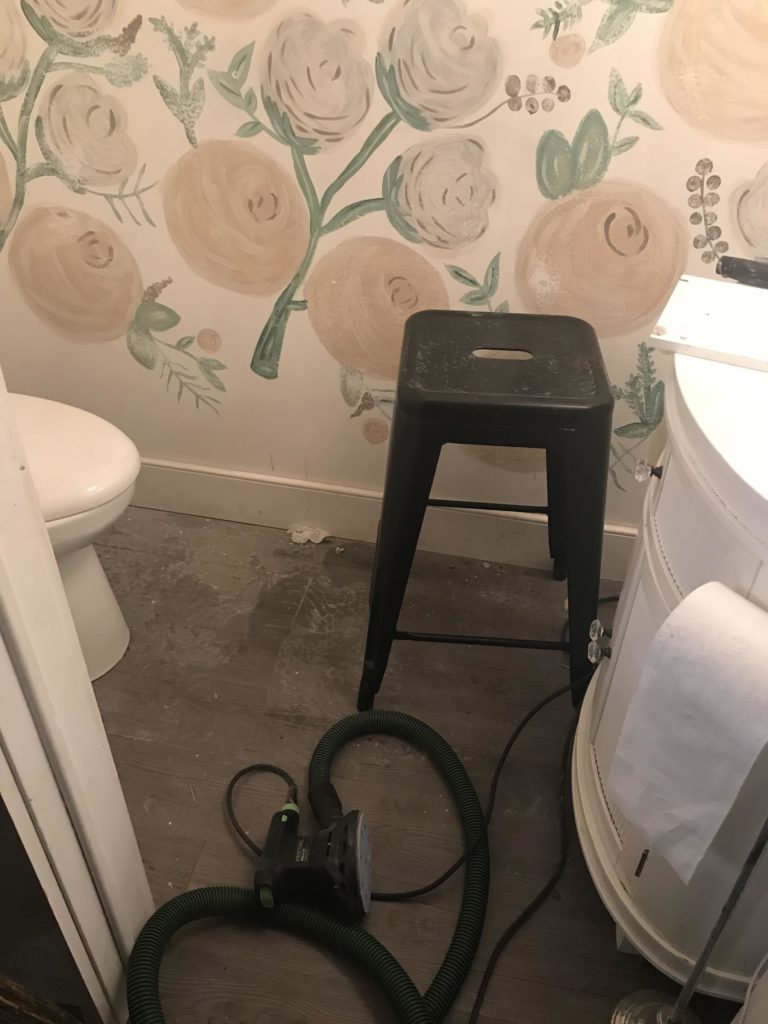
I used our Festool sander and 180 fine grit paper to take off any of the layering and to create a nice soft to the touch wall. We do have a vacuum attachment for the sander but this rushed DIY-er forgot to attach the sander to the vacuum! LOL! I couldn’t figure out how the little space was covered in so much dust until I realized I had rushed and forgotten one MAJOR small step when connecting the tools! Even hardcore DIY-ers make mistakes sometimes! HA!
In between drywall coats, I got to work painting out the bathroom a pretty coral tone that I am absolutely loving. The creamy peach colour immediately quieted the room and made the space feel serene.
Once the last layer of drywall dust is dry and sanded, the entire space will be painted! YES! I’m guesstimating that by the end of this week, I will be moving on to some of the trim elements within the space!
I can’t believe how much mess one wall can make! But I’m happy to say that this space is finally turning for the better!
I’ve got some choices to make this week on where to source a dark faucet and a matching dark orb chandelier like pictured in my design board. I will be taking you along behind the scenes in my story on social media! Follow along HERE on Instagram for a sneak peek before I post here!
Have you been following along at Calling It Home to see what spaces my design friends are taking on? I’m obsessed and waited on bated breath!


One Room Challenge (Fall 2018: Pretty Pink Powder Room Reveal!) | This Little Estate
November 15, 2018 at 6:01 pm[…] WEEK TWO […]