
“Why do you call our laundry room our mud room too?” “Is your mudroom in your basement?” “Isn’t your house a bungalow?” “Is the mudroom off the front of your house?” These are the types of questions we have been asked since joining the One Room Challenge!
If you are a client of mine, or are just an inquiring mind and have seen the front elevation of our home in pictures, you know we have two front doors. One for my business and one for our home. If you’ve been inside of our home then you know we also have two back doors. One in my salon and one at the back of our home. Follow?? No? Lost? Yes? So is every pizza delivery guy when he comes to the door to drop off a mushroom, pepper, onion circle of cheesy goodness after I’ve begun painting something again and forgotten dinner in the oven.
Let us give you a closer look at this space so you get a better idea of all of it’s angles and understand where everything is going to end up at the end of this makeover.
Here is our original back door. This back entrance is precisely why we call our laundry room our mud room too. Muddy boots live in here!

I hunted down this scary picture of our mudroom door when we first moved in. Shoulda kept it for Halloween right? It seemed already decorated to scare children.

Here is what it looks like today. We have obviously replaced the original back door with a new one and upgraded and installed new windows flanking the door. Clearly we still need to finish them off with some flashing before a Canadian winter hits us again.
PS: Sorry to everyone who got snow today here in the great white North. We didn’t where we are in Southern Ontario, but it sure felt like we could have. My fingers still ache from being crossed so darn hard all day.
But let’s not waist time installing practical and necessary flashing, let’s show you the mess we have to make in order to end up with some function, order and PRETTY around here. (Guuuuuuyyyyyssssss, there are G-gross laundry piles everywhere because we have to relocate the washer and dryer in this space.)
Here is what the original mudroom looked like before we tore it apart. This was the view from the back door looking in.
Once we used up some of the square footage by adding a powder room to the other side of the space,the room looked like this:

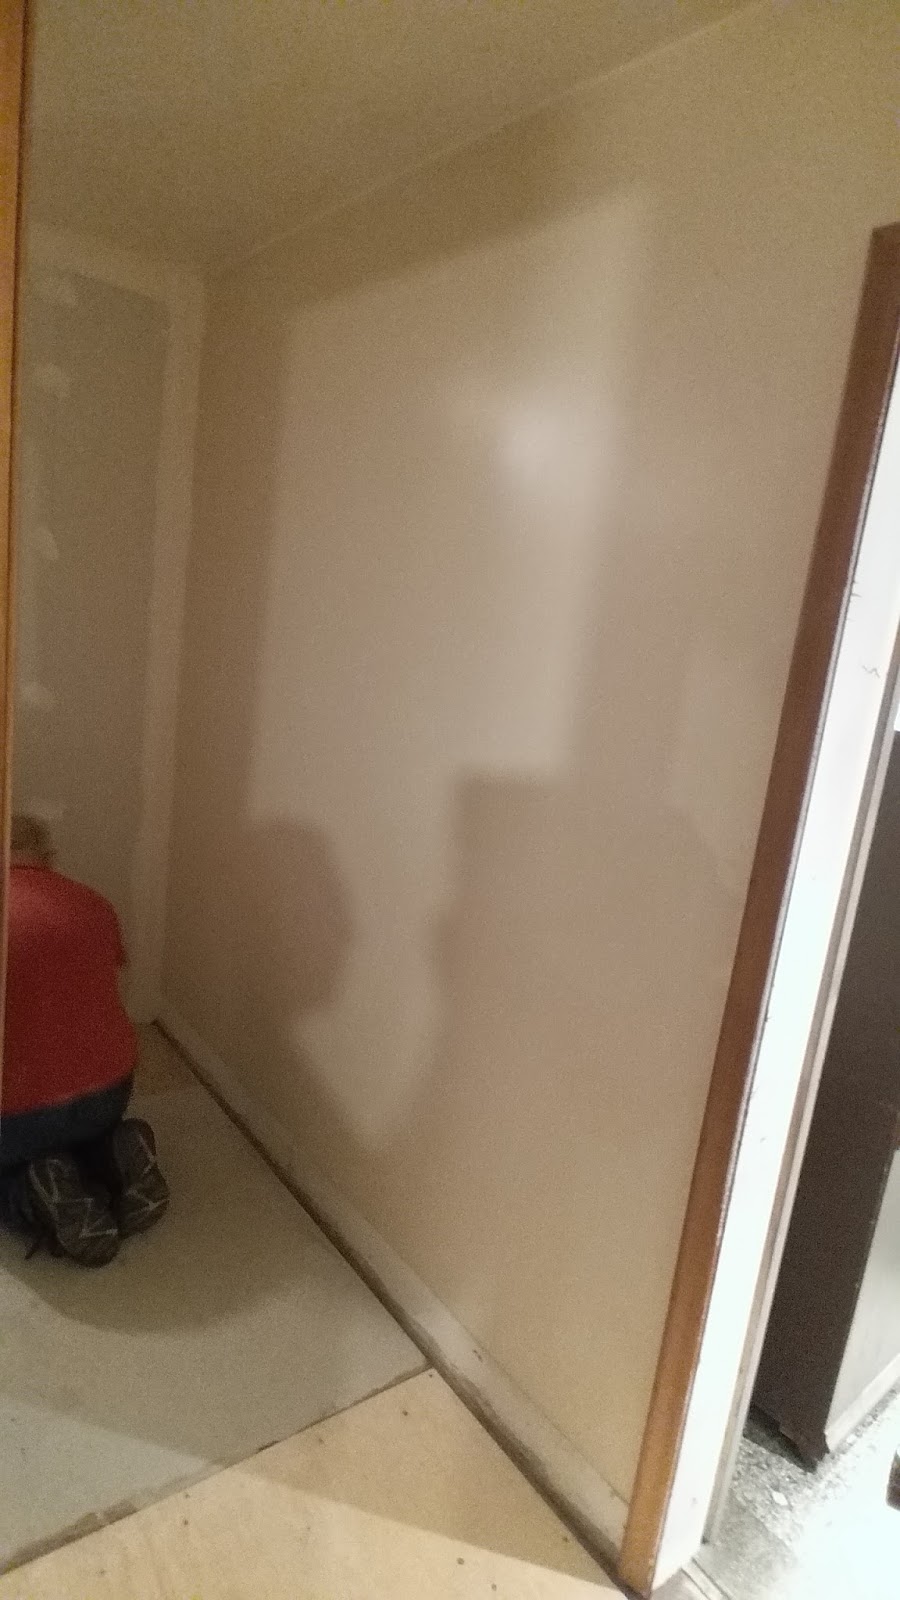
At the beginning of this fourth week of the one room challenge the space looked like this from the same angle.

The view from the opposite side of the room looked like this a little while ago. (This space doubled as our makeshift kitchen for six months while we DIY-ed our kitchen (More posts on that space to come in the future. Yes, I never want to have to live through that again.))

This whole mudroom/laundry room space is hard to describe without you seeing it in person, and goodness knows you don’t want to come over when this space is under construction. Or before it was under construction because orange carpet in a mudroom and orange carpet in a kitchen is scary too. Yikes.
This space connects our home to our kitchen, my salon space, to the backyard and it also connects us to the basement and a small main floor powder room that is off of this space. Which has remained gutted for a year and is not even ON the to do list.
So, hold on one second while I try to give you an idea of many access points to this room….

Here is the access point to this space from our kitchen. Beyond this door the space looked like this a little while ago:
You can see a bit of the new wall that we built to house the new powder room that we added on to the salon and how we squared up the floors before laying flooring.

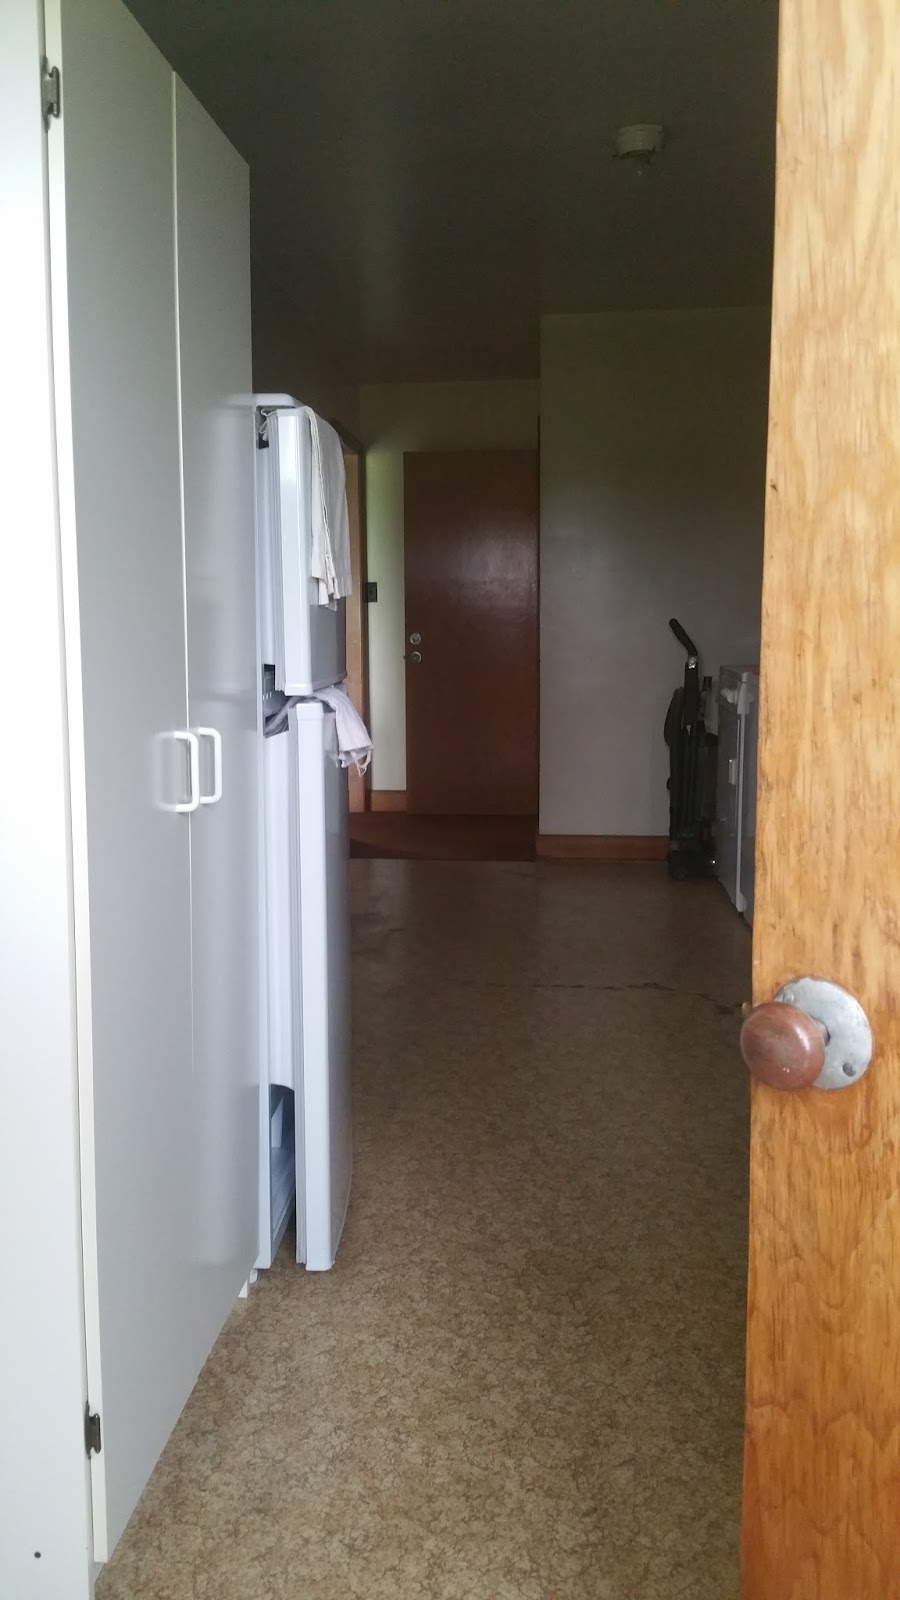
Once you are IN the mudroom, you are now able to turn around and see that the kitchen door access is on your right and the salon access is on your left.

Here is another angle of this space. You can see the salon door in the distance on the left. This picture was taken at the point in our renovation when I just slapped a coat of paint on everything to make due until we had grown a budget to actually work on this space. All my DIY friends out there KNOW!
If you’re back in the kitchen looking into the mudroom again, here is what we have accomplished this week from the kitchen view point.


This little L shaped area needs to be a hard working corner since this is the place where boots get kicked off and coats get tossed. Enter, sturdy and indestructible planks!
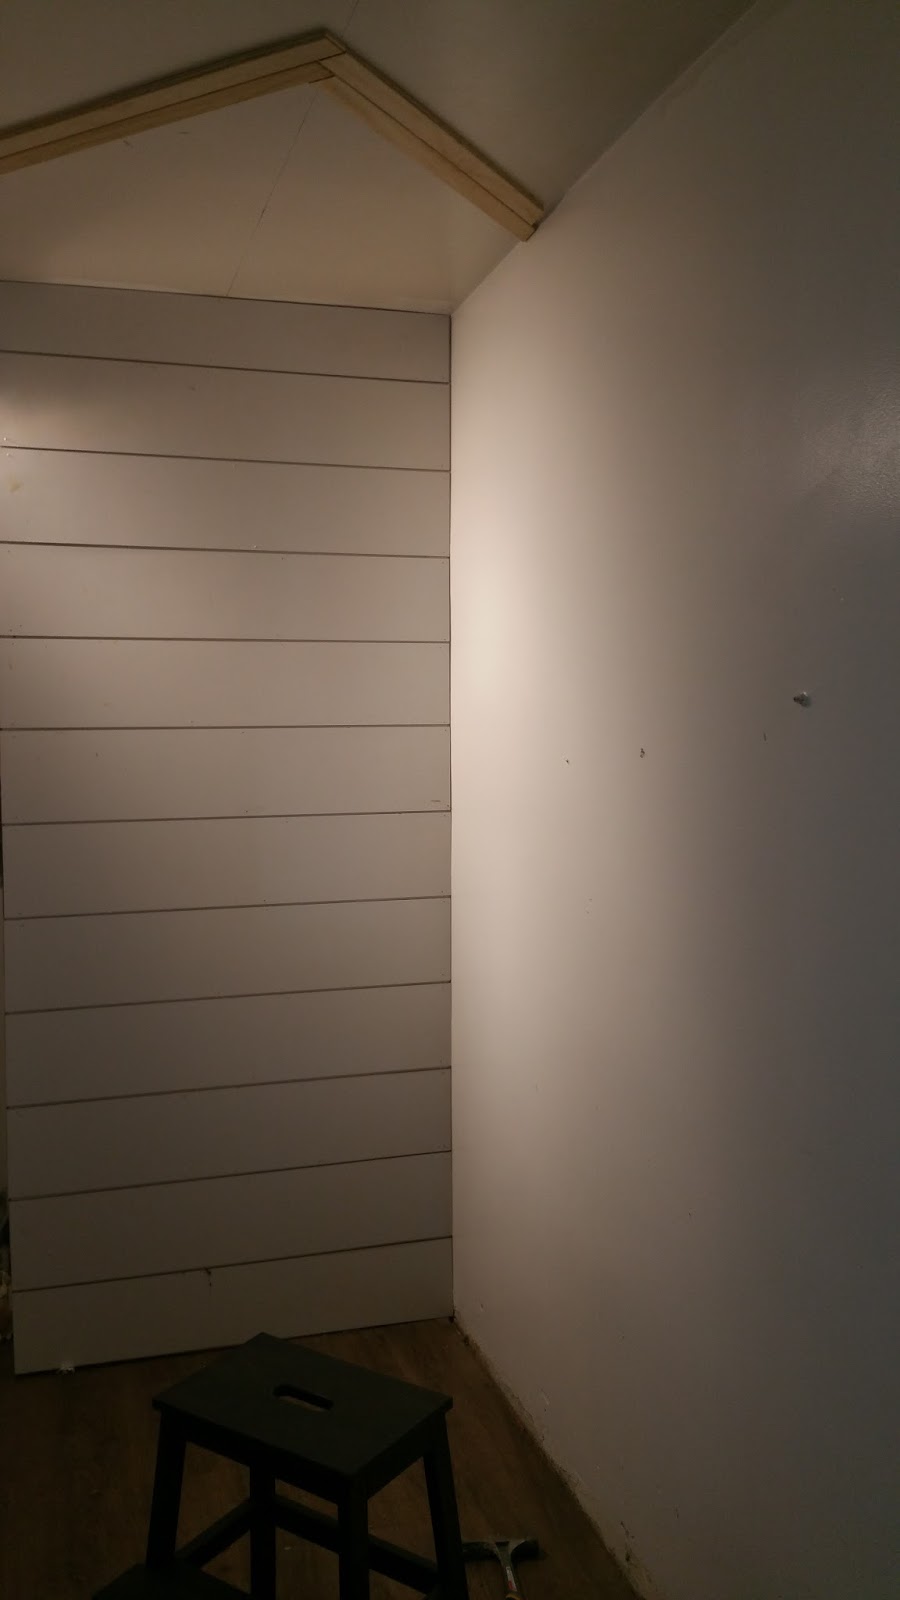
We started this weeks project list off by adding shiplap to the outside walls that now house the new salon bathroom. The goal is to cover most of the walls in this space with planks to create a visually larger room. The linear lines of the planks will keep your eye moving around the room which will help the room appear larger and less choppy as well. The perfect solution to a small space!

If you are standing inside of the mudroom, limbo-ing between the entrance to the main floor and my salon, this was the view at the beginning of the week.

Ok, now that you have a feel for the lay out of this space, now lets show you more of what we have been up to! This week my handy hubby had a fabulous idea to really add some drama to our mudroom ceiling. I wondered if it was a good idea since we were (and are!!) running against the clock to get this space finished. But, he promised to drink all the coffee and carve his 5 hours of sleep a night down to 4 hours, in order to bust this bad boy out. I had my high-expectations and doubts about it coming together fast enough to move on to other elements, but he was so motivated to get it completed! He totally proved me wrong. Seeeeeee?


Did you hear that honey???
I said it.
I may erase these words later….but for now, here they are in black and white. You. Were. Right.
Yes, yes, feel free to screen shot this….because these words are like an eclipse and will happen only a handful of times going forward. *wink wink*

We love architectural details and believe that the finishing touches of a room should be planned out before the beginning of a project in order to have a seamless building timeline. This herringbone ceiling is one of my favorite architectural details yet and we can’t wait to show you more of it!
The planning and executing of the ceiling went well this week …however this little L corner did NOT go easily at all.


If you look closely at this wall you can see an outline on the wall indicating what we had first decided to do in this space. Or, maybe, if I’m being honest with you guys, and I always am, this may have been our third or fourth version of what we wanted to do to this little L shaped corner.
The quick backstory is that I have always dreamt of a long built in bench with wooden lockers and hooks for the kids. I figured a little bench would hide shoes and boots beneath it and the whole thing would be adorable. The only issue was that after we had figured out our design and Handy Hubby drove an hour and a half to the hardware store to cut all the pieces we would need, I totally changed my mind.
I cant be the only one who does that, right?
Can I get an Amen Ladies??
Here is the part of this post you’ll want to read because there’s a lesson in there somewhere.
Once the outline was smack bad on the wall for us to really see, I felt it made the room feel way too heavy. We outlined where the bench would reach within the room and the thought of it made me surprisingly claustrophobic. So, I changed my mind. I didn’t want this little corner to be crowded with kids shoes and a bench that I knew would end up covered with all. the. things. all. the. time. Although the idea was the prettiest one I could think up (check my Pinterest for proof of all the amazing ideas of built in benches I have compiled.)….that entire built in bench design just wasn’t going to be right for our family and the way we live don’t tidy up.
So I broke the news to Handy-hot-amazing-understanding-Hubby when he got back from the hardware store at 10:30pm. He obviously wasn’t pleased and was frustrated with my ever changing mind and we may have both promised each other we would never lift another finger in this space to get anything done ’cause this was fine as is, and we were definitely never working on another project with each other. EVER. AGAIN.
However, then we went to bed and changed our minds in the morning.

We knew then and know always that it will continually be the best choice to pick the greatest possible solution and design for a space before starting a project. Hard to do when you are under a strict timeline, however totally possible we have learned. Planning is half of the battle when tackling a renovation after all.
After over a decade of renovating together we have learned that planning to include quality and timeless elements to a space is what will make us love a space and not want to change it again! You have probably heard us say that we believe that a room should be beautiful and have character without any furniture in it, and we are really putting this notion to task in our mudroom laundry room makeover. Once we really figured out all the practical elements we need in this space we realized that our finishings were THE most important elements in the space because we would end up with a very limited opportunity to beautify the space with traditional furnishings.
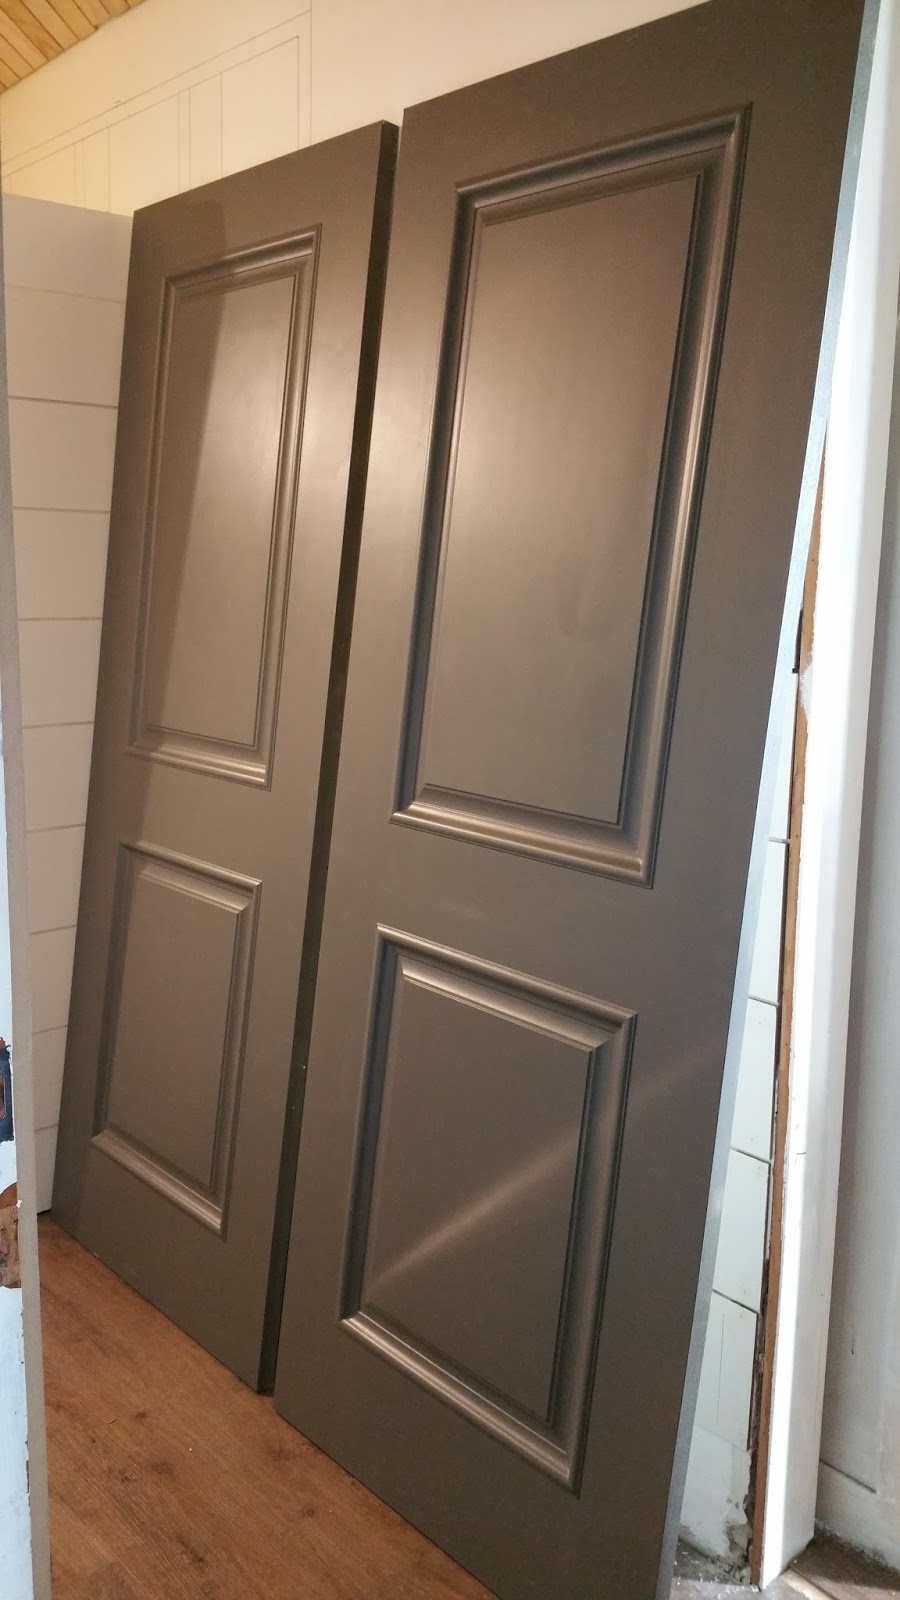
That’s precisely why we are using Masonite doors by Metrie in our makeover. These doors will ensure that our space looks finished even without being decorated. We chose to paint our Capri slab doors in the same moody and traditional Benjamin Moore grey color (Kendall Charcoal) that I used on all the other doors in our home.
We have always used Masonite doors within our renovations because of their quality and beautiful designs. More than that, they are the perfect fit for a busy family with young destructive children and a plethora of pets. After all, doors can be beautiful but they also need to be durable enough to endure everything that a young family throws at it. Literally. These doors are created from heavy solid wood and will easily live a life time with little monkeys hanging off of them and weary DIY-ers slamming them.

At Metrie, they believe interior finishing’s are an important part of a design and should not be an afterthought, which is why they are known for their slogan “Finish Before You Start!”
Helloooooooo! Have you heard that somewhere before?? #twinning!!!
In the end we decided to hack an Ikea cabinet in our L shaped corner by customizing it’s depth, securing it in place and covering it in shiplap for a seamless look.
Phewwf!! That only took us three weeks to figure out what would work best for us!
Now to tackle the other side of the room near the back door.

I’m still hoping pining over my Pinterest board that we can get a small mudroom built in bench in this corner while still including three refurbished vintage lockers for our tornado threesome sweet children.
I’ll save all the messy details about that corner for another post later this week. Because, quite frankly, I can’t stare at these messes any longer without grabbing the cleaning supplies and unleashing like a nesting Mother.
In closing, let’s not focus on allllllllllllll we have to do, but let’s just take a quick peek at our One Room Challenge to-do-list and see if we have made some steps in the right direction.
The recovering perfectionist in us, thrives off of scratching things off of to do lists. You too?
Here it is in all it’s bossy glory…
MUDROOM/LAUNDRY ROOM MAKEOVER:
Install doors and finishing trim (baseboards and crown)
Paint door and finishing trim (baseboards and crown)
Install hardware for doors
Build custom color cabinet
Install metal lockers
Build custom bench with storage
Stain and paint custom bench with storage
Install cabinets
Install hardware on to cabinets
Install backsplash
Finish dry wall end of wall
Finish custom ceiling
As always, if you actually read these messy-reno-progress-posts in all their gory glory then you are awesome and we love you.
There is a lot of pretty things coming your way so I hope you will check back next week to see what we have been up to. Or, better yet, subscribe to receive these updates right into your inbox for free. Simply enter your email on the right side bar.
————————————————->>>>>>>>>>>>>
Ok, I’ve got to go sign off now and get my painting apron on and get to work on some pretty stellar lockers that I cannot wait to share with you!
Read about how we found them, why we nickname them Bubba and get caught up on our previous One Room Challenge Posts below:
YOU ARE HERE (WEEK FOUR)
Who else is participating this year in the One Room Challenge??? Tag us on IG so the Handy Hubby and I can remember never to say never and so we can inspire each other! Find me HERE and Art, my Handy Hubby HERE
Looking forward to saying Hiiiiiiiiiiiiiiiii!


Jessica Levasseur
October 28, 2016 at 2:21 amYou guys have done so much work! Lookin goooodddd!! 😉