This week we have been hustling and bustling to finish all of the messes in our #Boysbedroomoverhaul for week 6 of the One Room Challenge.
Typically, this week would be the week of our reveal, but Calling it Home granted the ORC participants one additional week to get our spaces completed. This knowledge literally felt like a miracle to so many participants and friends of mine who we have been keeping up with! Designers and builders know all too well that a six week time frame for a full complete room over hall does not come without some setbacks and a ton of stress. Photographing the space and writing weekly updates are also no small task! This extra week feels like all the wishes I’ve ever wished on every spotted first star in the night sky have come TRUE! Exaggeration at it’s finest? Perhaps. Feeling rather lucky and relaxed? YES. Pass the hot cocoa while we put our feet up while we revel in this extra week!
This week we accomplished a lot within our space. First, we bulked up some boring closet built ins and designed an adjoining seating space to it. We named this spot the “reading nook” and love the way it turned out. This week we actually asked YOU guys, our readers and followers for a lot of feedback on this space. If you’re not sure what we are referring to, please pop over to our Instagram and periodically check in to our Stories! They are always filled with POLLS where we ask you to weigh in on our design dilemmas. We have found over the years, that our audience are DIY and design enthusiasts more than anything and love a good chance to weigh in on a question about our space! Gosh, you guys, we are definitely kindred spirits!
This week we asked if we should put some shelves on to the back pine wall of our reading nook or if they should be on the ends. You guys MOSTLY polled in and said you preferred the shelves to be on the pine wall, despite my uncertainty on covering up the new gorgeous METRIE toung and groove pine.
In the end, we have decided to forgo the shelves entirely and came up with another element that adds to the reading area, without crowding it. We can’t wait to show you at next week’s reveal. (Hint hint! Be the first to know by sneakign a peek at our IG Story!)
Next we asked you about our numbered dresser. This piece had been one of my earliest furniture makeovers. I found it for $50 at my local ReStore and fell in love with it’s classic modern shape — and the fact that it was made out of solid wood! At the time, it also was the perfect fit for some additional storage in our fun and functional entry way. 
Back in 2014, I gave it a makeover with some ebony paint and some bright numbers to help keep our children organized. YOU CAN SEE THE WHOLE MAKEOVER HERE.

This piece had worked in our old house, but didn’t really have a forever home in our new house. That was until, we decided to overhaul our boy’s bedroom. We knew it would be the perfect fun addition to his space. The only issue was, in the haste of our renovating, a number or two got knocked off of the drawers and needed replaced. I couldn’t find numbers in the same shape and form as the previous ones, so I ended up having to pick up five new numbers.
Next up, I went to my Story to ask the masses to weigh in again on their opinion! Should the letters be painted a pretty gold to match some other shiny elements in the room OR should they be painted white for a less bold look that would match the walls and bedding in his new room. You guys were team gold through and through! I didn’t waste any time spray painting them a pretty metallic gold with some Krylon Spray paint and even updated the metal finials on our son’s bed with a spray of gold too. Can’t wait to show you and see if we can convince the ones who wanted white to change their minds!
Next up, we needed to find storage of some sort to put under the reading nook. We went to all of your typical big box decor stores and couldn’t find anything that would work well enough AND stand up to our sons rough and tumble ways.
Here’s the empty space beneath his seat that we were looking to fill…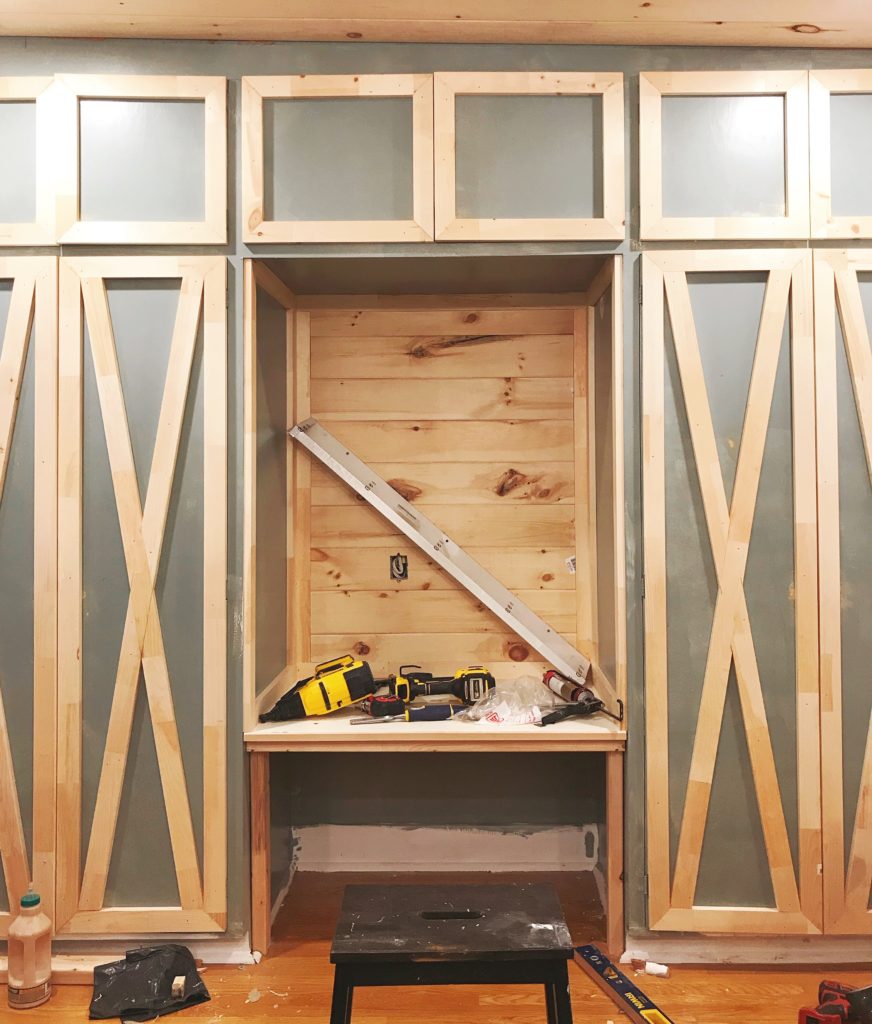
We searched high and low and couldn’t find something sturdy enough for our boy. And THEN, out of sheer determination, I searched through our basement storage and re thought every box, basket and plastic container I could find. Eventually I came across another old furniture makeover that had served us well.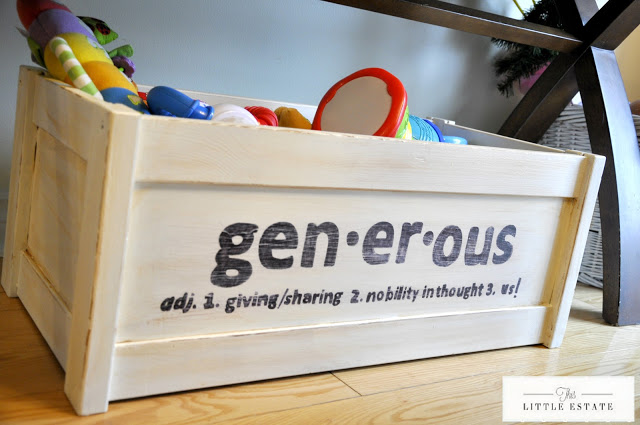
Here it is after it’s original makeover from 2013! I pulled it out of our storage and it had definitely seen better days. That of course, didnt deter me. I knew it would look great with a fresh coat of paint and it didn’t take me long to tackle it and give it new life.
HERE IS WHERE THIS TOY BOX THAT KEEPS ON GIVING, STARTED.
In short, this week we painted just about everything and anything within our One Room Challenge. The walls with our METRIE trim got finished, our built ins and reading nook got a coat or two with our new paint sprayer (LIFE CHANGING!) and we sprayed out some numbers, a toy box and some fun art work for above our sons bed. We have a few pieces of trim to paint this week, a few touch up spots and some definite finessing to do before this space it ready for its debut.
All in all, the room has surpassed our expectations. Between all of my handy Hubby’s millworking skills, and working with such beautiful interior finishings, I can say without a shadow of a doubt that this room is better than I had imagined. We cant wait to show it to you! Next week, same time same place! We will be revealing our #Boysbedroomoverall in no time!!
Did you guys way in on our polls this week? If so, thank you! If not, what are you waiting for! We would love to know what you think! Follow along HERE.