Our little boys room has come a long way in the last little while and he is breaking it in with make believe derby races, car pile ups and the occasional wrestling match on his bedroom floor.

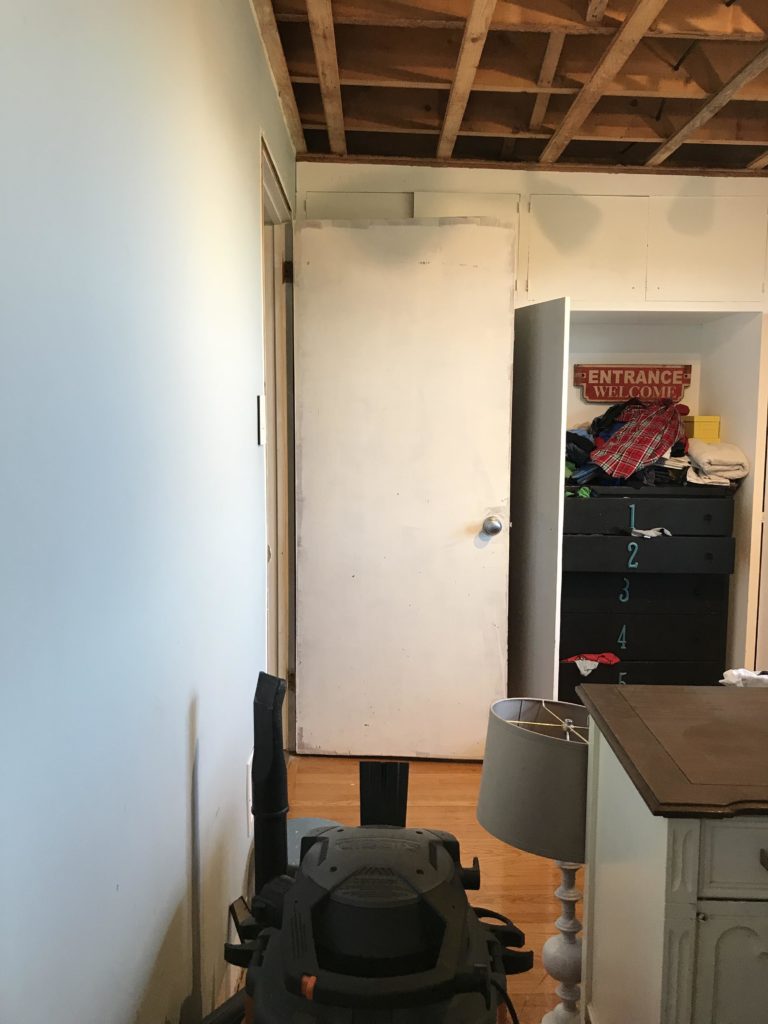
Here is what the space use to looks like before it got a complete makeover with floor to ceiling METRIE board and batten.
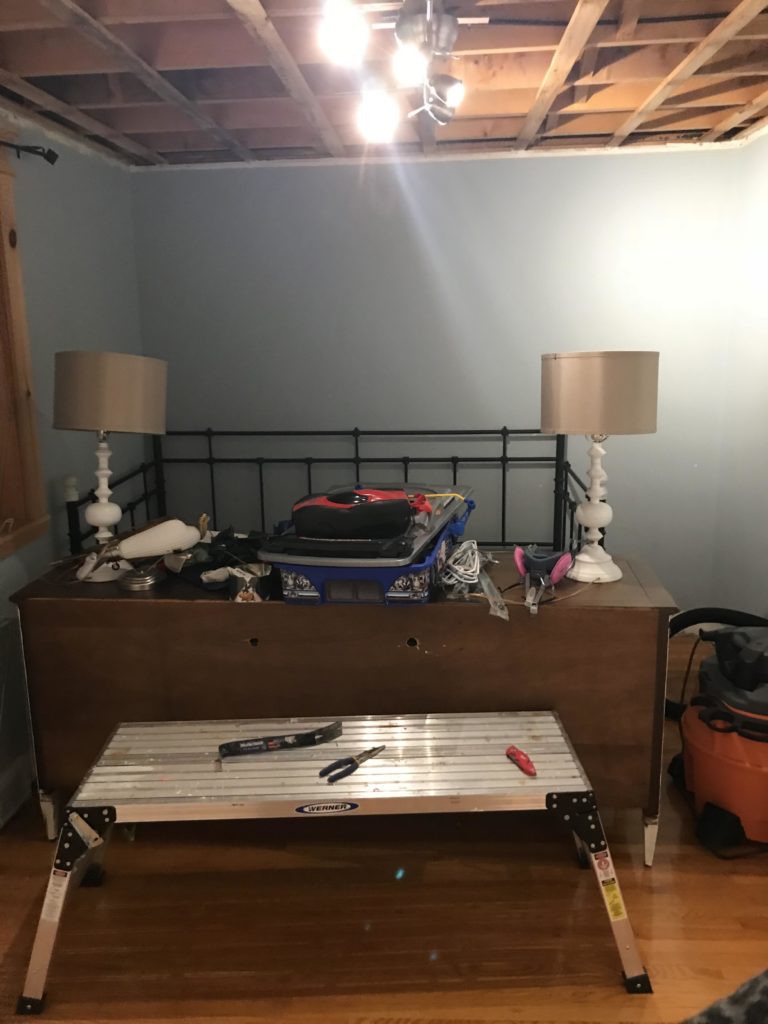
And here is what it looked like BEFORE that.

The wallpaper got replaced with some light and bright texture, in the form of interior finishings, and we even added a custom book nook for this space.

We turned this boring and incomplete built in into the biggest focal point in his space.

We painted everything out this pretty muted green tone and I love how this wall now has so much colour, texture and charm.
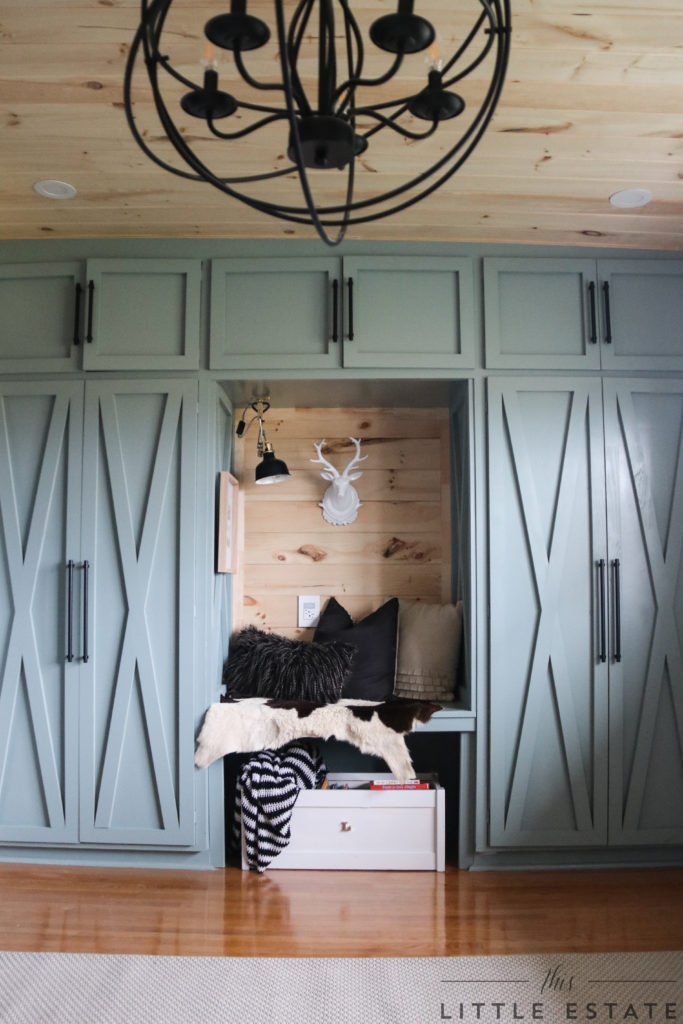
It has come a long way!
I loved the colour and texture on our updated built ins so much and knew we needed to add some of both to the textured white wall above our sons bed. I racked my brain for a while on what to install on to this wall that would both add style and a way to anchor the bed within the room.
I came up with the idea to create some custom print art for our sons space and love the way it turned out. Here’s how I did it!

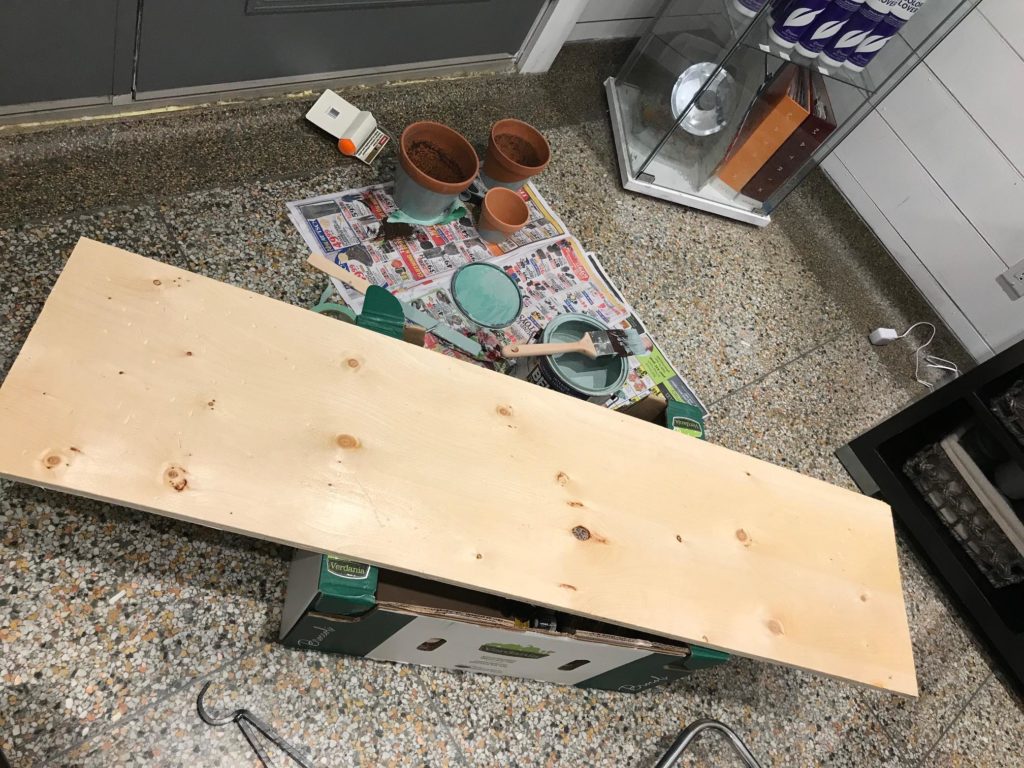
First I decided on the size I wanted for his bedroom art work and cut a rough piece of pine to approximately three and a half feet long by one and half feet wide.
Next, I took a hammer and some tools to bang up the board a little bit on the edges for a more rustic look. I concentrated my distressing on the perimeter of the wood that would primarily show once my art was hung. This added some imperfections and interest to the wood and allowed me to create some custom character.
Then, I painted it out to match the built ins with the soft green paint.
After that, I cut a smaller flat piece of wood to size, and added a frame to it. I painted out the whole thing a white color and then carefully stencilled on the words “follow your dreams” in the center of it.
PRO TIP: IF YOU WANT TO MAKE THIS PART IT SUPER EASY, FIND THE FONT YOU WANT TO USE AND TYPE OUT ON TO YOUR COMPUTER THE SAYING YOU WANT TO USE. TRACE OUT THE LETTERING DIRECTLY FROM YOUR COMPUTER SCREEN ON TO A PIECE OF PAPER AND THEN DRAW OVER YOUR MARKINGS DIRECTLY ON TO YOUR PIECE OF WOOD. USE A STRONG ENOUGH HAND TO LEAVE AN INDENT IN YOUR WOOD AND THEN PENCIL OVER THEM.

To make the words pop against the white, I debated hand painting the letters darker, but instead simply traced over my pencilled words with a permanent black marker! Easy Peasy!
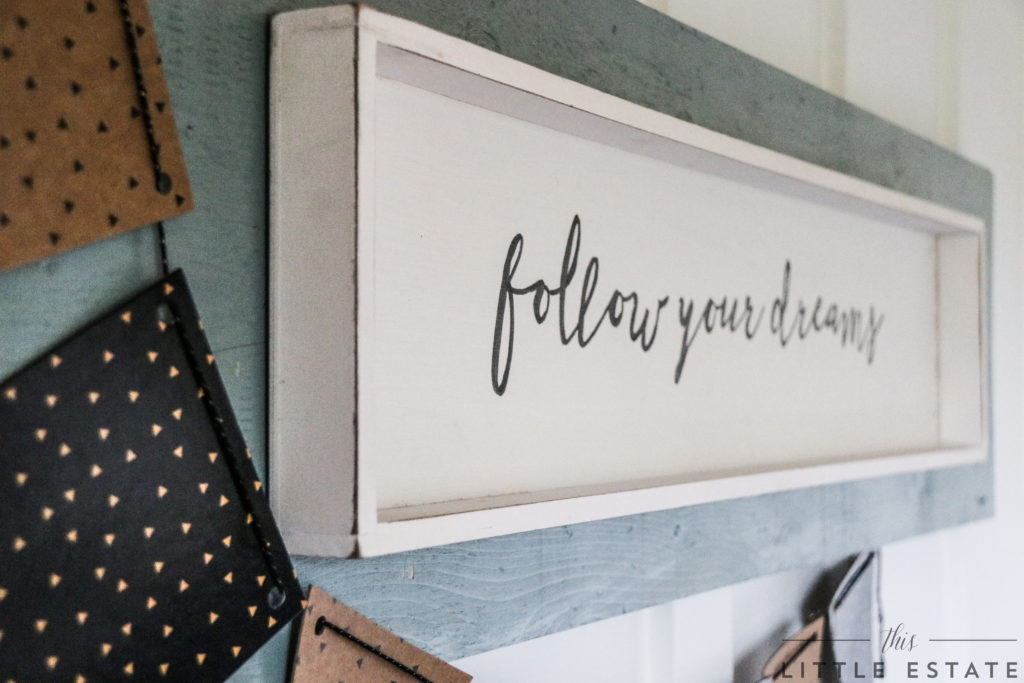
Once the ink had dried, I simply attached the white smaller sign to the painted wood backdrop with PL Premium Glue and four small finishing nails in each corner. I clamped it in place overnight and then hung it right in the middle of our white and bright board and batten wall for a punch of charm and colour.
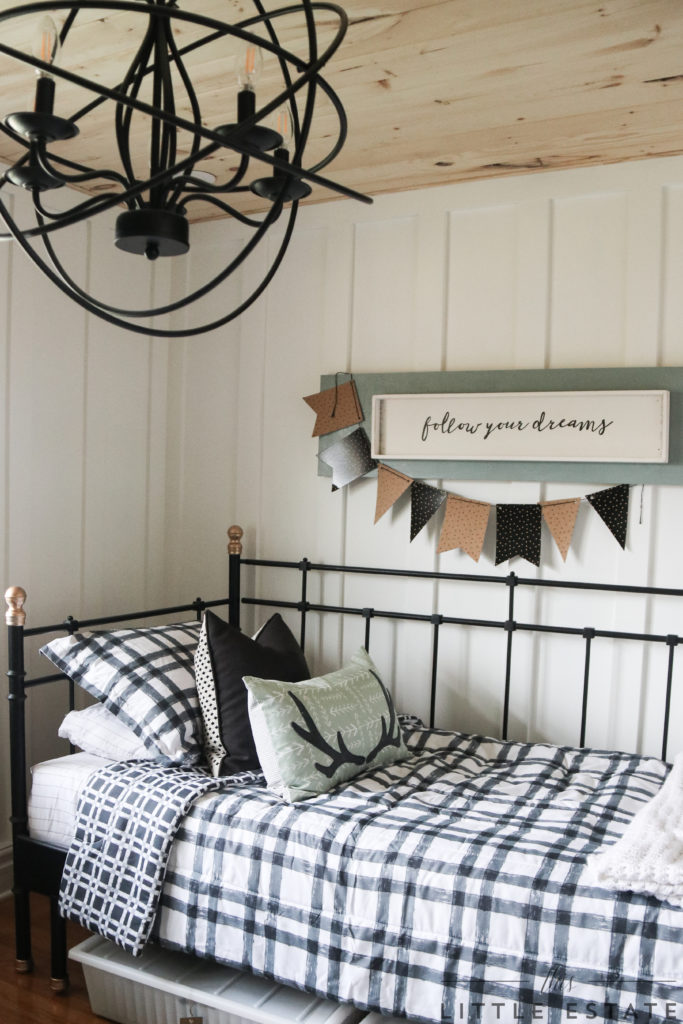
Lastly, I filled in the tiny nails holes with some wood filler and painted over the marks for a seamless look. For some added whimsy I attached some bunting that also draws in more of the over all color schemes of our son’s space.
This custom art work is the perfect addition to our sons space because it adds in another layering of character without breaking the bank. With a little paint, glue and a steady hand, this oversized wood sign was created, with love, for under $20 dollars. The best kind of art for a little boys room that will always be evolving alongside of him.
Do you have an empty wall at your home begging for some personality? Would you try your hand at creating a layered custom wood sign? We would love to see if you get up to recreating any of our projects in your homes! Simply send us a picture to thislittleestate@hotmail.ca to be featured on our social channels!