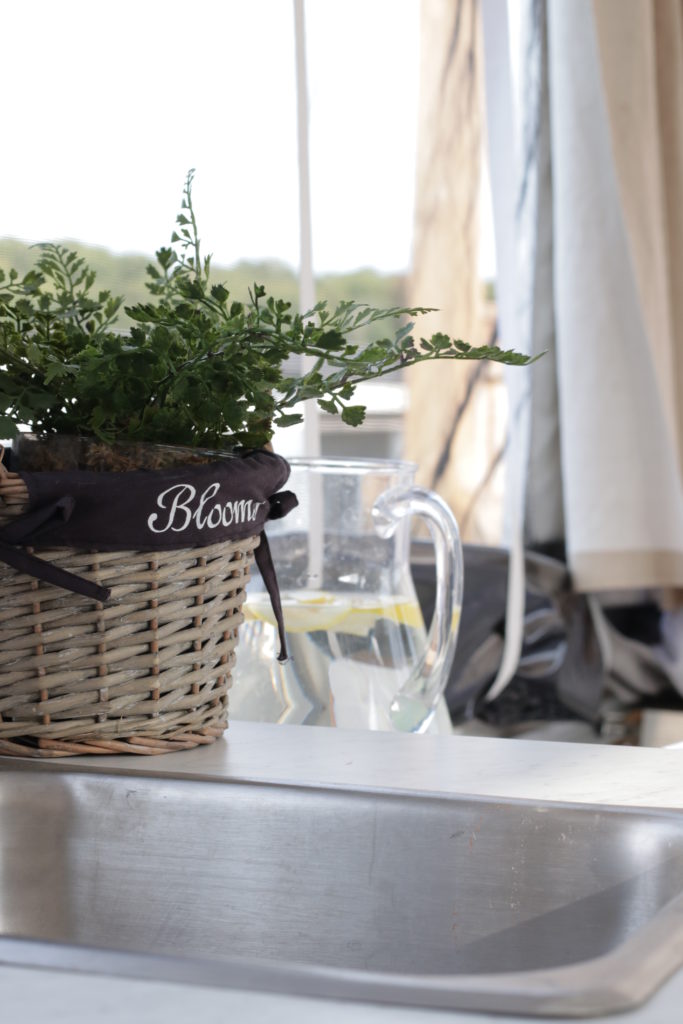
When we first decided to pursue a trailer renovation, I knew the kitchen was at the top of our priority list. After all, we are the family that loves cooking and savouring meals, and are the first to ask “Whats for lunch?” after the last bite of breakfast has been devoured.
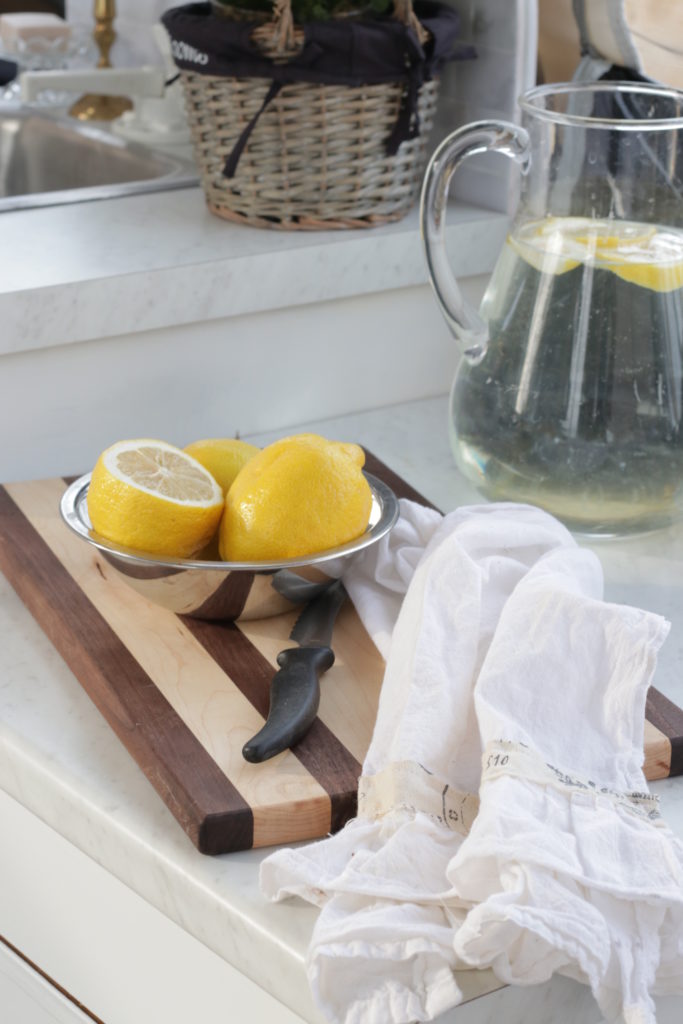
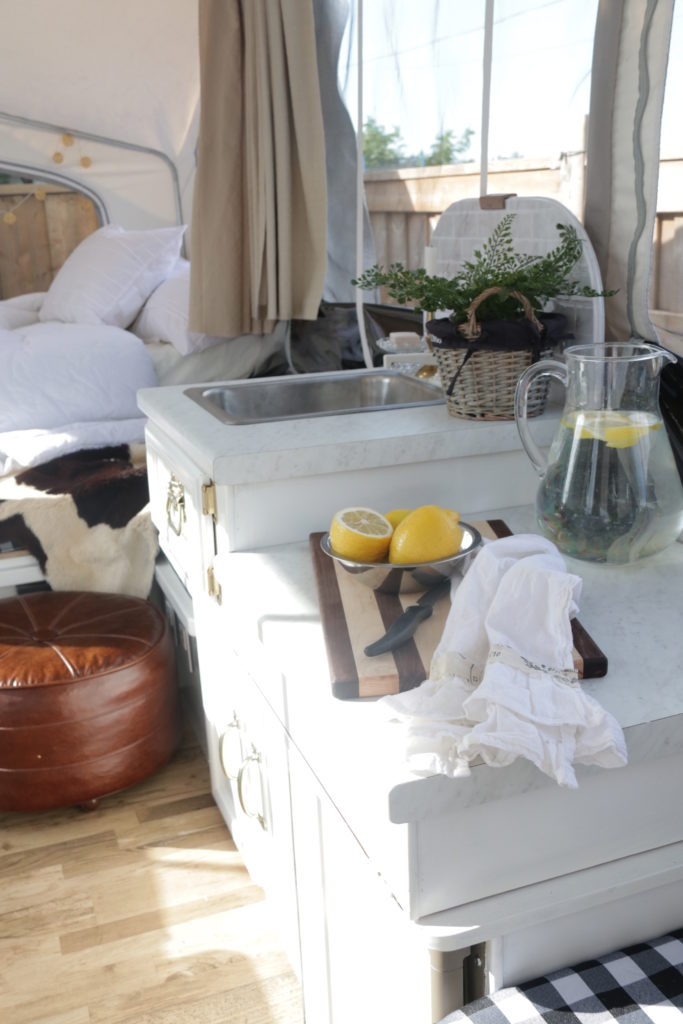
I also may be a bit of a germ-a-holic and with our trailer renovation I really wanted to enjoy a true glamper’s kitchen! For us that meant, substantial counter square footage for enjoying adequate indoor prepping space, light and bright cabinetry with an indestructible paint finish, perks like corrosion free hardware in a classic finish and faux marble subway tile and counters that are both interesting and subdued.
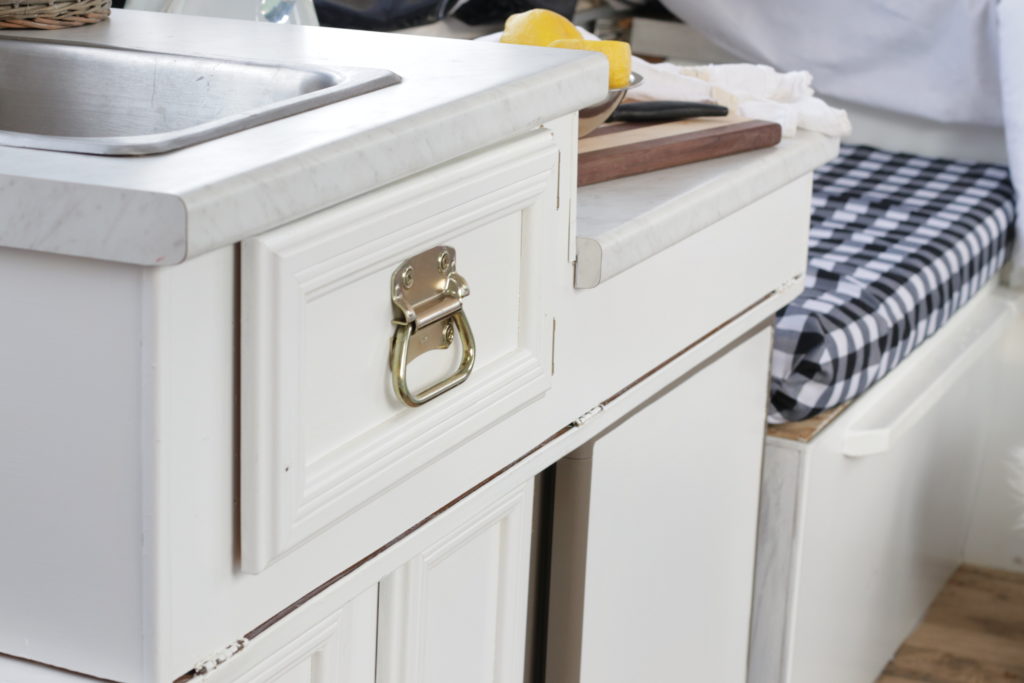

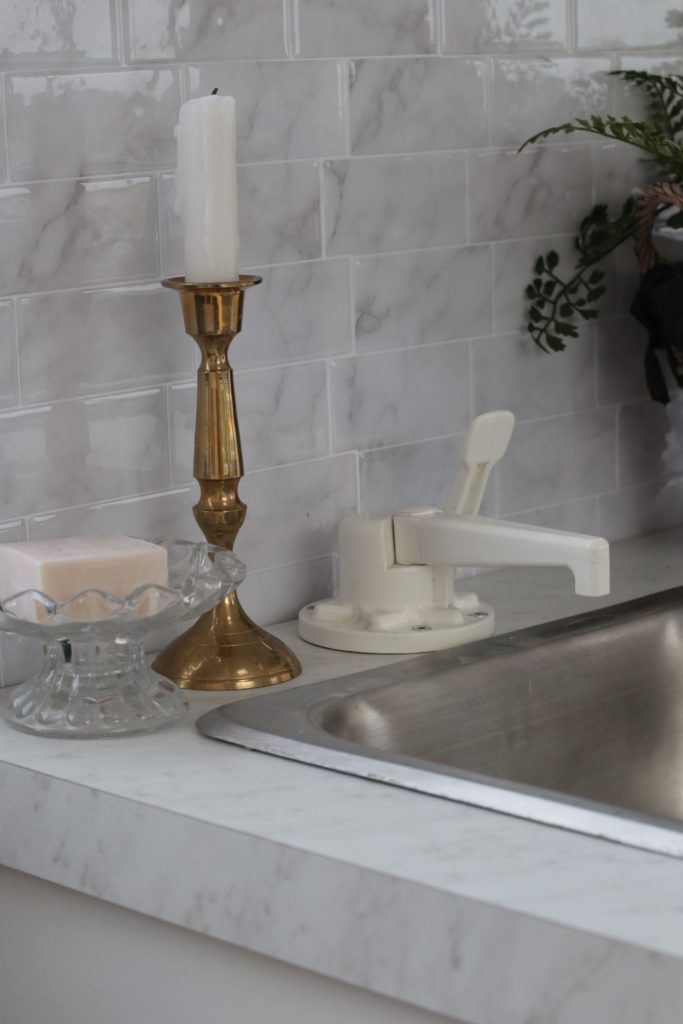
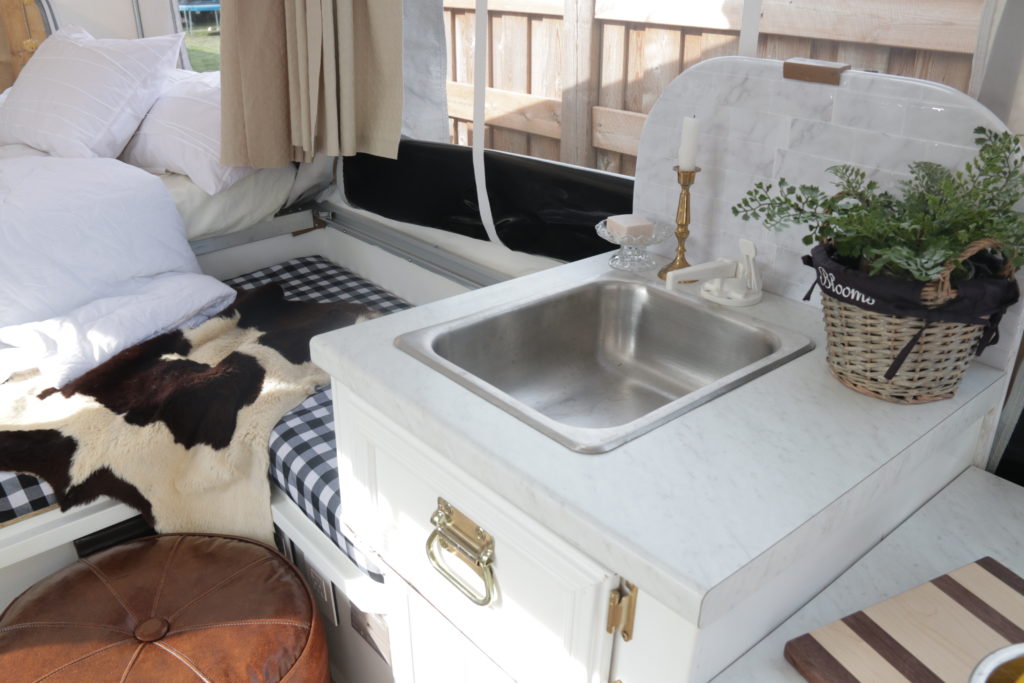
Our faux marble counter and cohesive backsplash are elements that add character to our camper kitchen. They also will allow for easy food prep and simple clean ups!
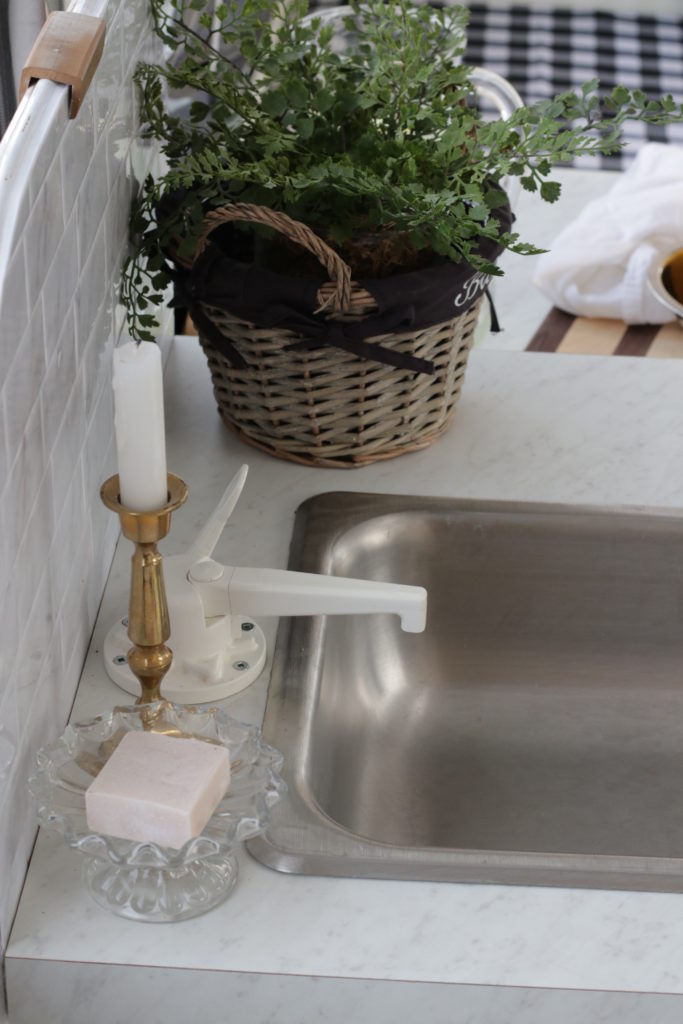
We chose a counter with a thick square edge to keep it classic but current. Then we simply washed up the kitchen faucet and reinstalled it for a free fix up.
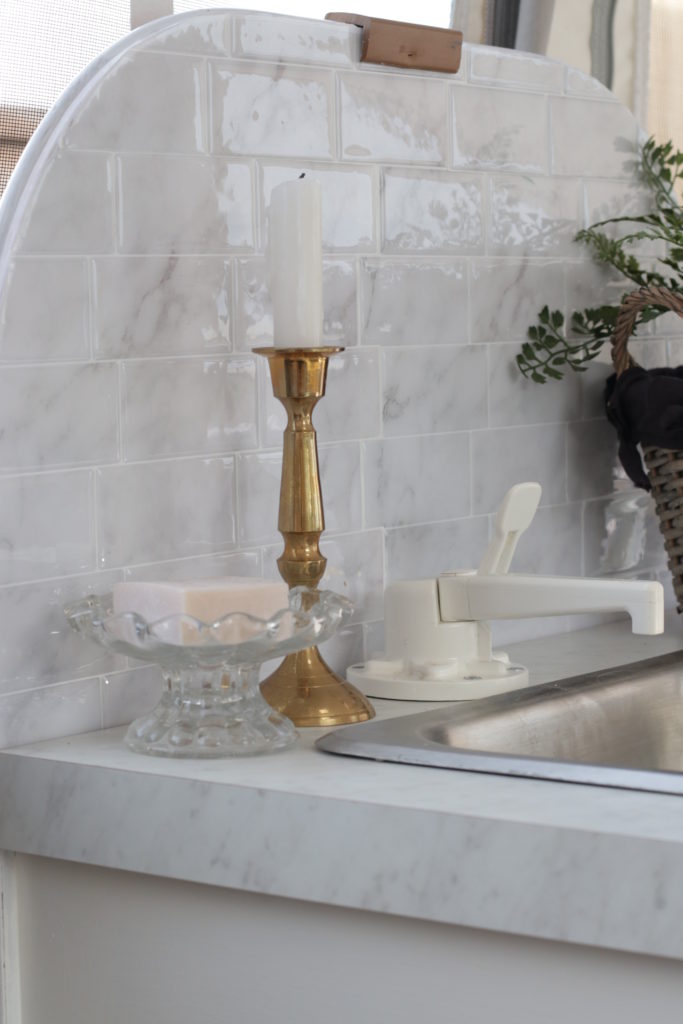

Most tent trailers have the kitchen at the center of it’s design, which is not only functional, but it also requires the attention that a true makeover deserves. So we gave ours just that!
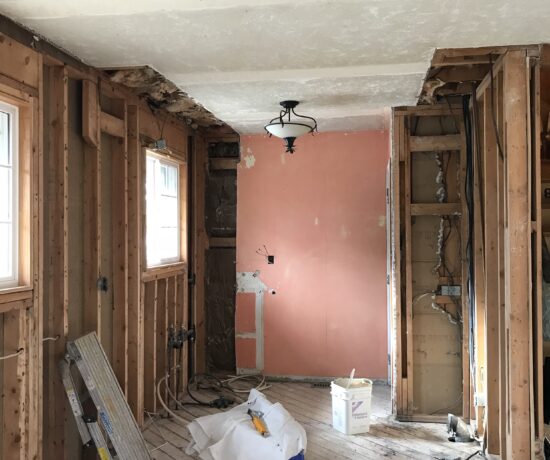
Here are a few before and after photos of #thecampercottage to show you how just a few changes can make an amazing impact in a tiny space!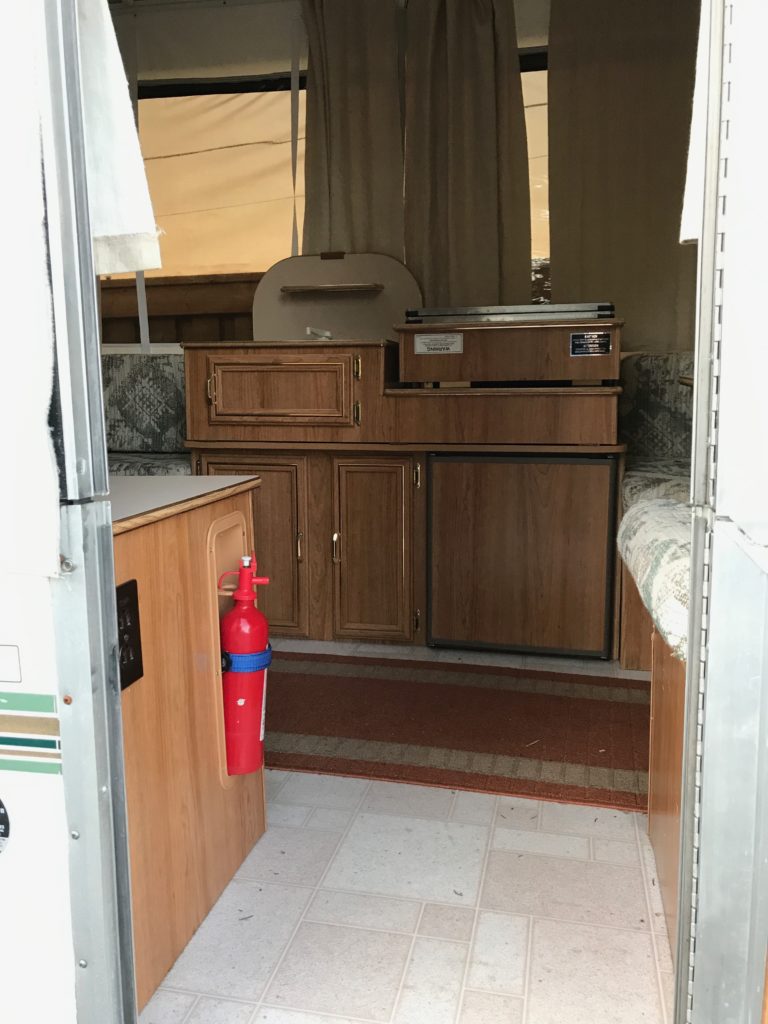

Our kitchen now looks completely different, but truly, this space was achieved without breaking the bank. (Budget breakdown at the end of this post!)
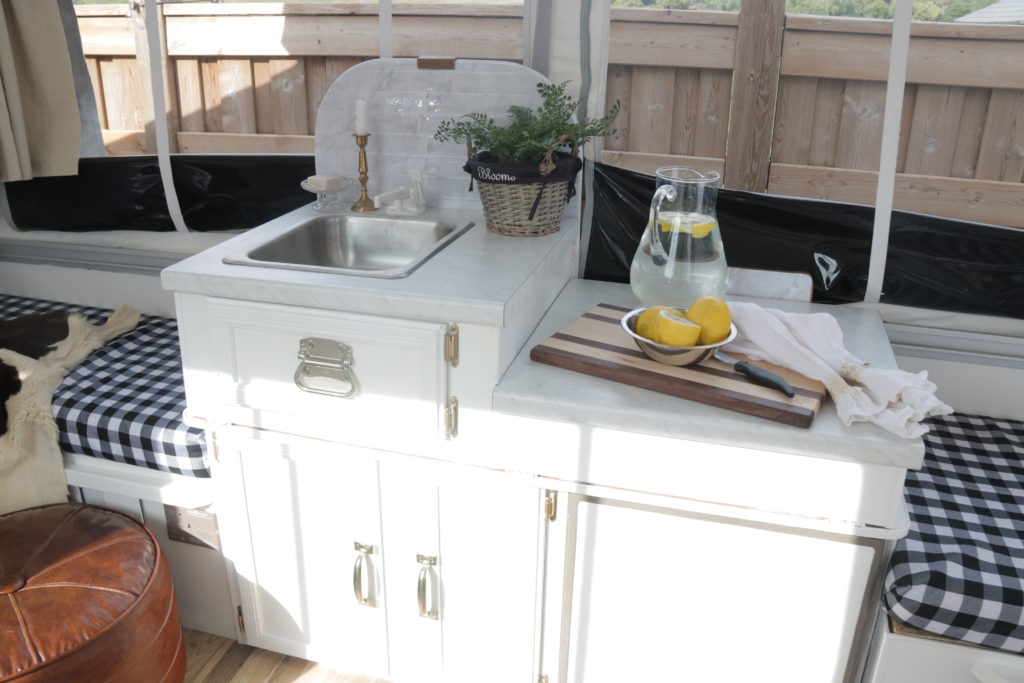
But for now, here is how we took a ho-hum trailer kitchen and turned it into a bright, functional and beautiful space; fit for all of our picturesque adventures. First, I ditched our trailers old propane cook top for much more counter space.

Then, we adjusted the dimensions of the sink by flipping it length wise to allow even more counter space directy beside the sink.

Next I painted the cabinets a bright white (Read more about the details and products used HERE)
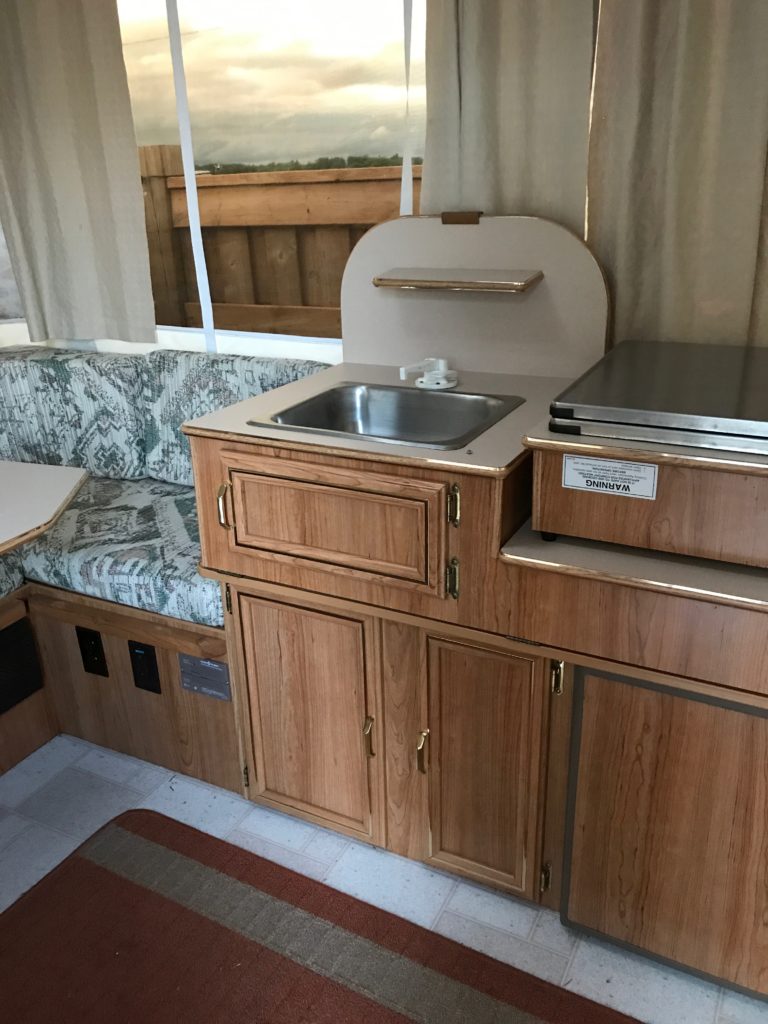

Then I cleaned the old cabinet hardware in a crockpot bath of dish soap and water for 4 hours. I scrubbed them clean, rejuvenated them with a coat of gold spray paint by Krylon. 
Then I filled the previous handle’s holes in the cabinets, sanded them smooth and gave them another coat of paint before installing new Stanley corrosive free hardware.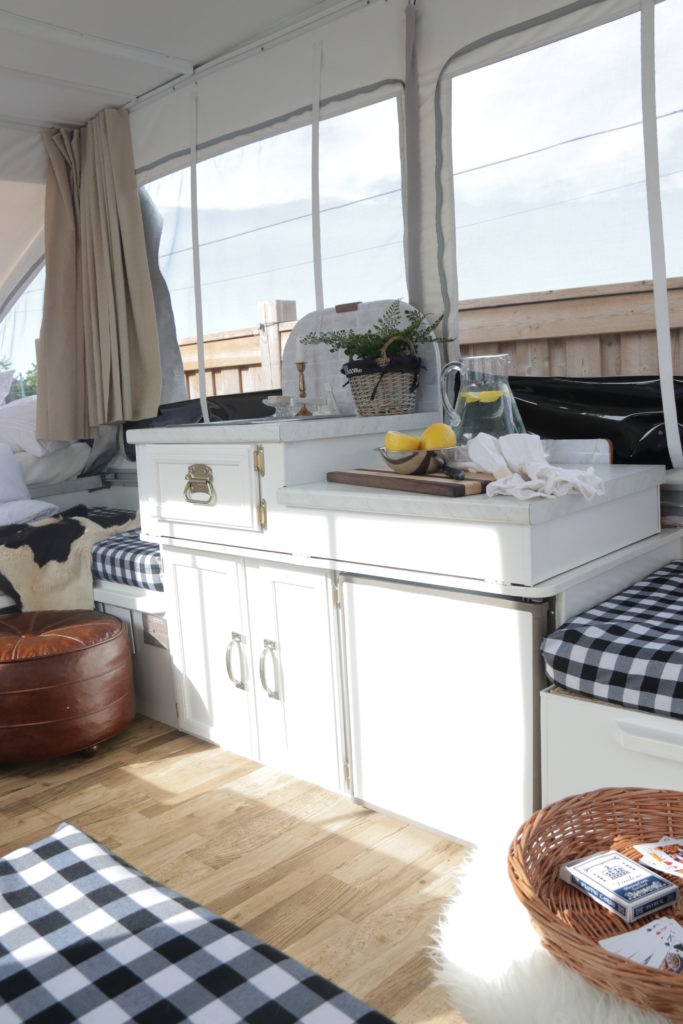
We reinstalled the counters, put everything in its place and called it a day!!!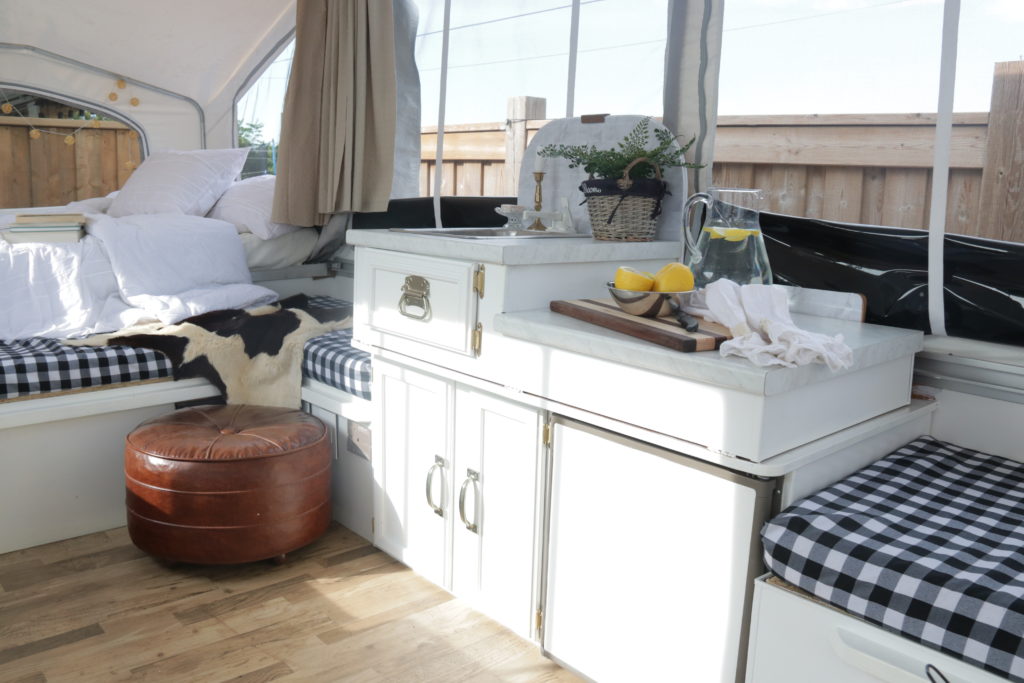
Now we have a kitchen that rivals our homes and we didn’t go bankrupt doing it! 😉
Here is the quick breakdown at a glance:
Counters X3 $60 x 3 = $180
Cabinet Hardware $5 x 3 +$15
Spray Paint $8
Peel and Stick Backsplash $30
Cabinet Paint (leftover) $0
Can be purchaced for $25 in a quart size from Benjamin Moore (Read more here!)
_________________________________________________________
TOTAL: $233 !!! = AFFORDABLE! What do you think of #thecampercottage kitchen reveal? Would it meet your camping needs? Im kind of smitten with all that counter space now! Cant wait to get things cooking in there! Who is joining!?


Holly
September 25, 2017 at 10:48 pmLooks AMAZING!! From when I saw it at the end of July to now! Wow! Great work team!
bethanygier
October 12, 2017 at 11:37 pmThanks Holly! Yes it came a long way over the summer! Im glad you shared my dream. 😉 Now for camping! Wanna come? xo