
Thank you for all of the encouragement we received after yesterdays post! It was so nice to get little messages throughout the day that were uplifting and positive.
That means the world.
If you visited my Pinterest page you may have seen all the beautiful images I have pinned under my board called “Salon”. I am new at this whole “pinning” thing but I am loving all of the new images I am seeing every day, even if I don’t feel original anymore 😉
So you may have wondered why I posted pictures of play houses like this one:

This one is built from Anna Whites designs. If you haven’t visited her site yet, you must! She is based out of Alaska and is uber talented. She offers FREE designs for building furniture and projects on your own, and she is gorgeous to boot! I love her creativity!
We have an awkward deep closet to the one side of what will be the salons entrance. It is a closet with no door. Odd.


It is the perfect place to add a little kids corner so that a potential client can bring their child to the salon with them.
This is what I just HAD to have in the salon.
As a mother, I know how hard it is to rationalize paying for a baby sitter when you have to pay to get your hair done. And I completely understand the working moms, who want to spend their day off with their child, but really need to deal with the mysterious sparkles that keep popping out of their heads.
AND, I just really love kids and want to eat plastic food they might want to cook.
So the quest for the perfect activity area continued…

I am in awe of the dual function of this space.
I love a nice cushy reading nook and thought this top level looked so inviting! Though very awesome, I don’t think having the upper level open to below would be safe for children to play on; especially if a parent wasn’t standing right beside them to offer a helping hand.
I love a nice cushy reading nook and thought this top level looked so inviting! Though very awesome, I don’t think having the upper level open to below would be safe for children to play on; especially if a parent wasn’t standing right beside them to offer a helping hand.
Unless we had mandatory helmets…but that would mess up the fresh hair cuts. Scratch that idea.

This one under the stairs is so clever. I came across this picture a long time ago, before Pinterest and saved it a way in a file of things I would dream about. having incorporated into my own home.
Whaaaat?, Mommy’s can adore play houses too!
I loved the cedar shingles and the fact that a lot of us have this unused space under our stairways. it is definitely an achievable design.
(Unfortunately the original sources may have been lost in the world of pinterest but I added sources from where they were pinned from originally.) Hope that helps if you are interested in these adorable slices of childhood heaven.
So I brought my idea to Art and he agreed to make it. Horray! But first we had to get one argument settled.
He disagreed.
We argued.
This is what we do to keep the passion alive to understand each others opinions fully.
We argued some more.
Finally, we let our son be the deciding opinion.
Ya, the boys in this house stick together through everything.
This was no exception.
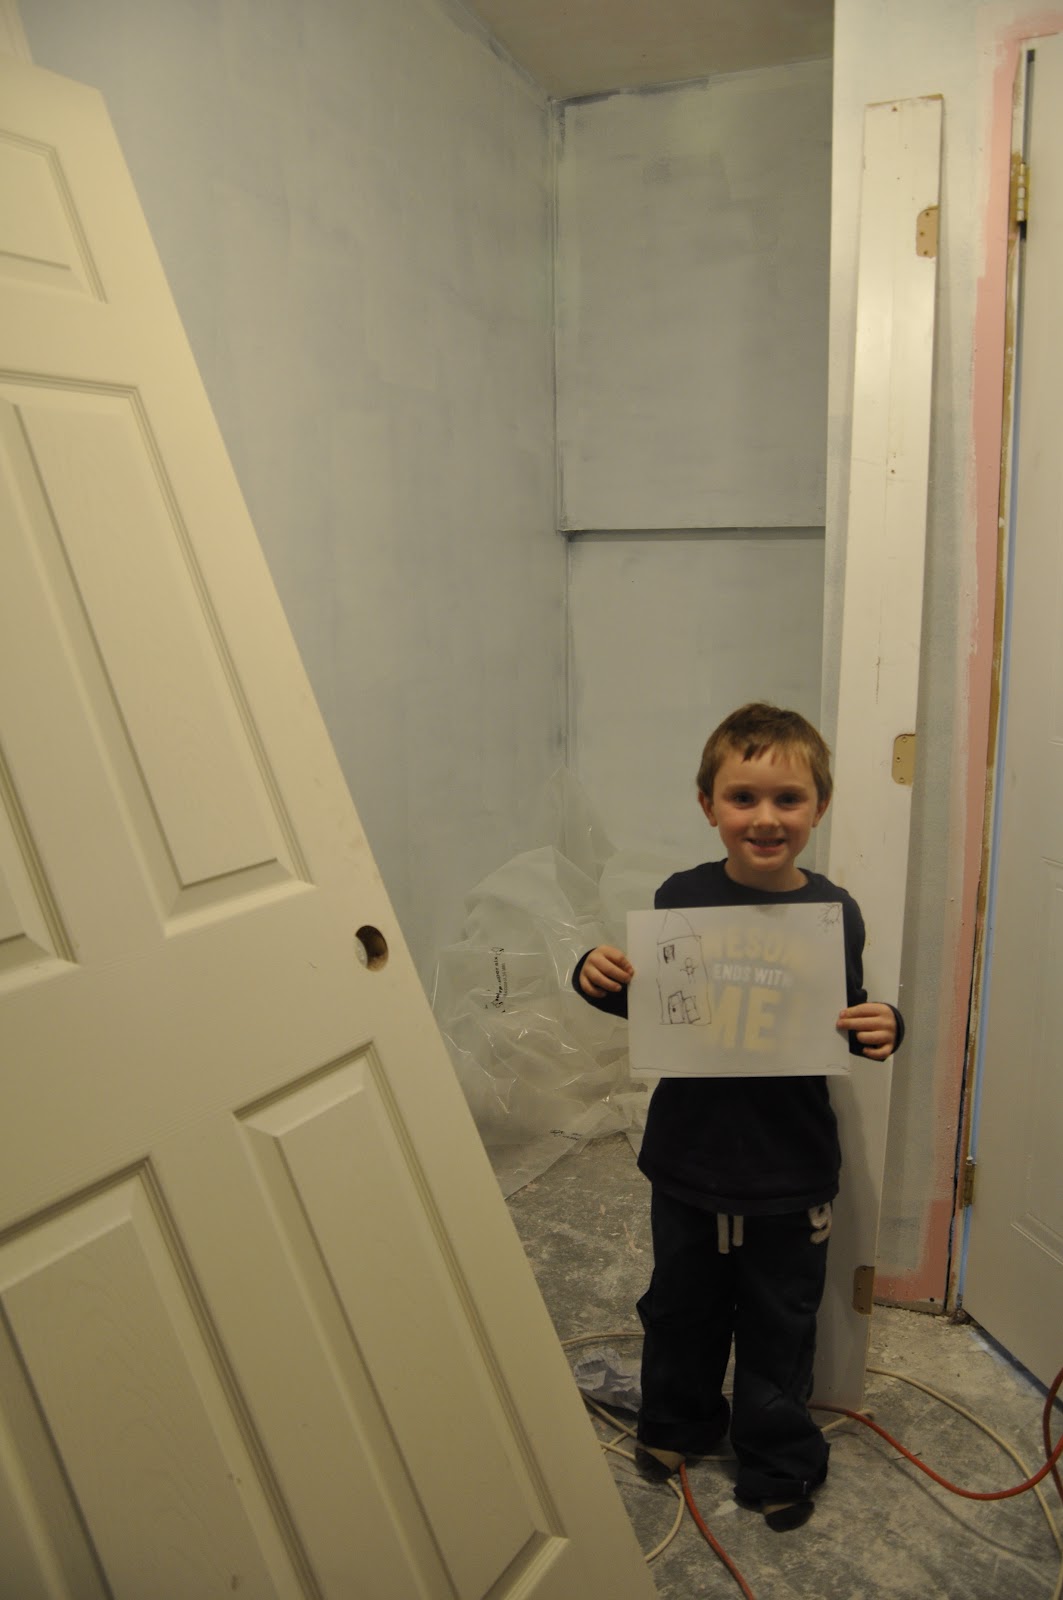
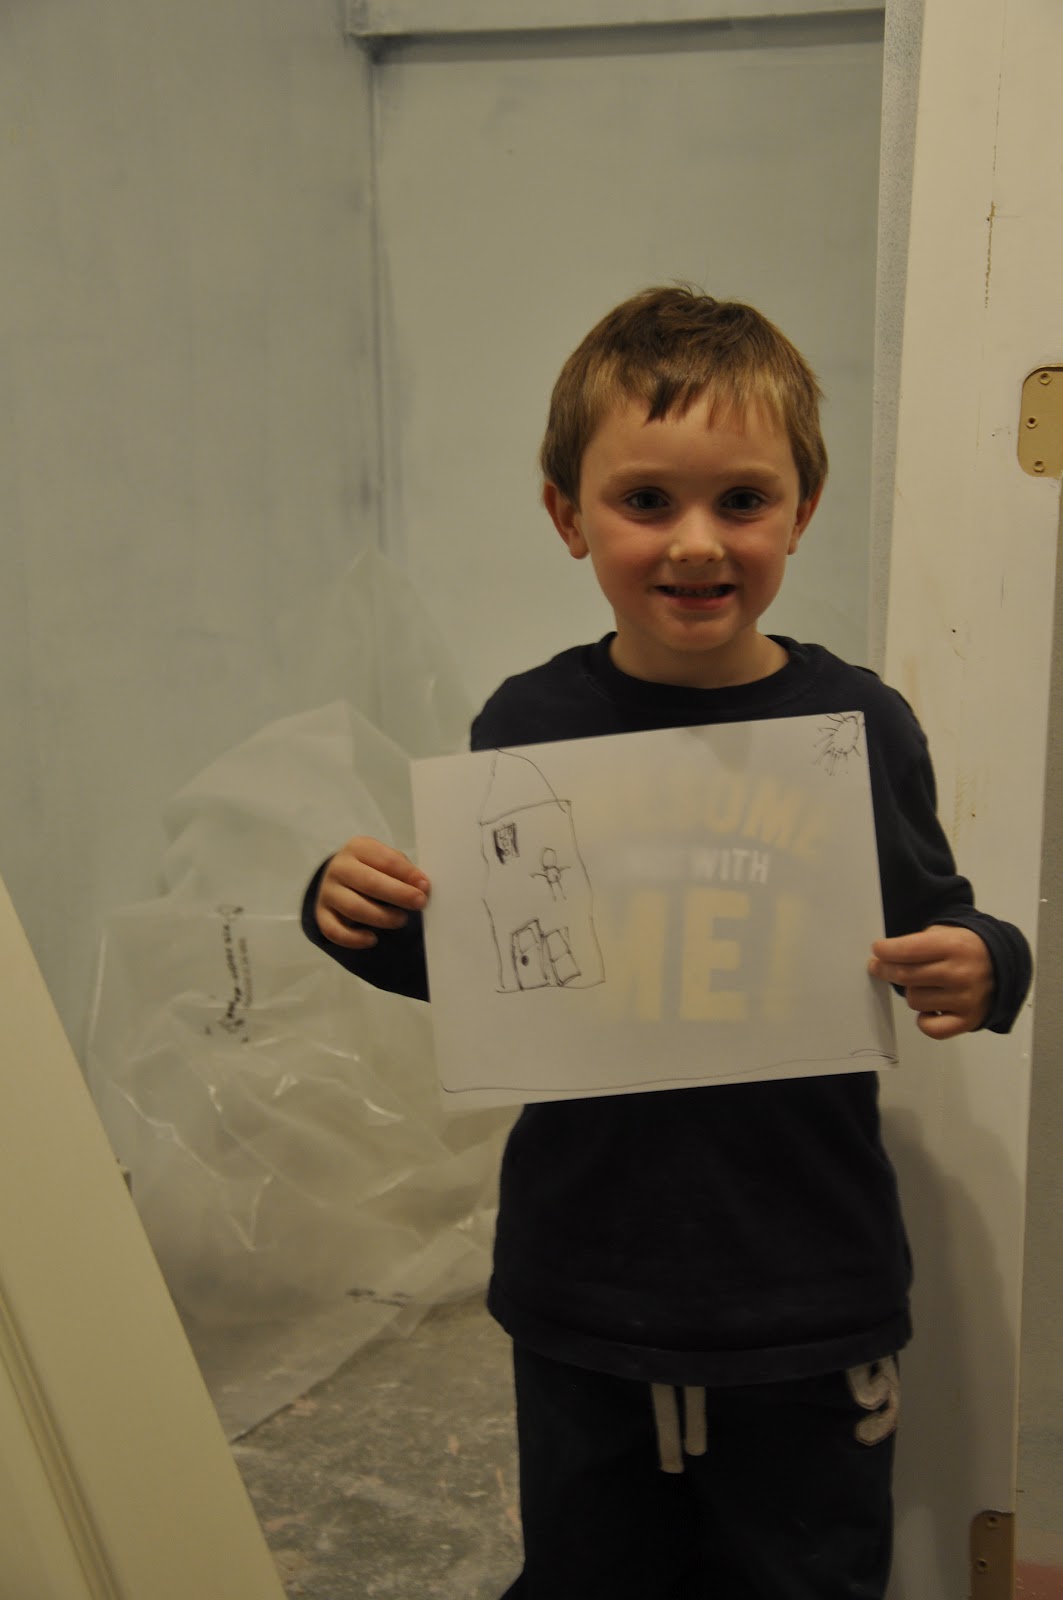
My future architect?
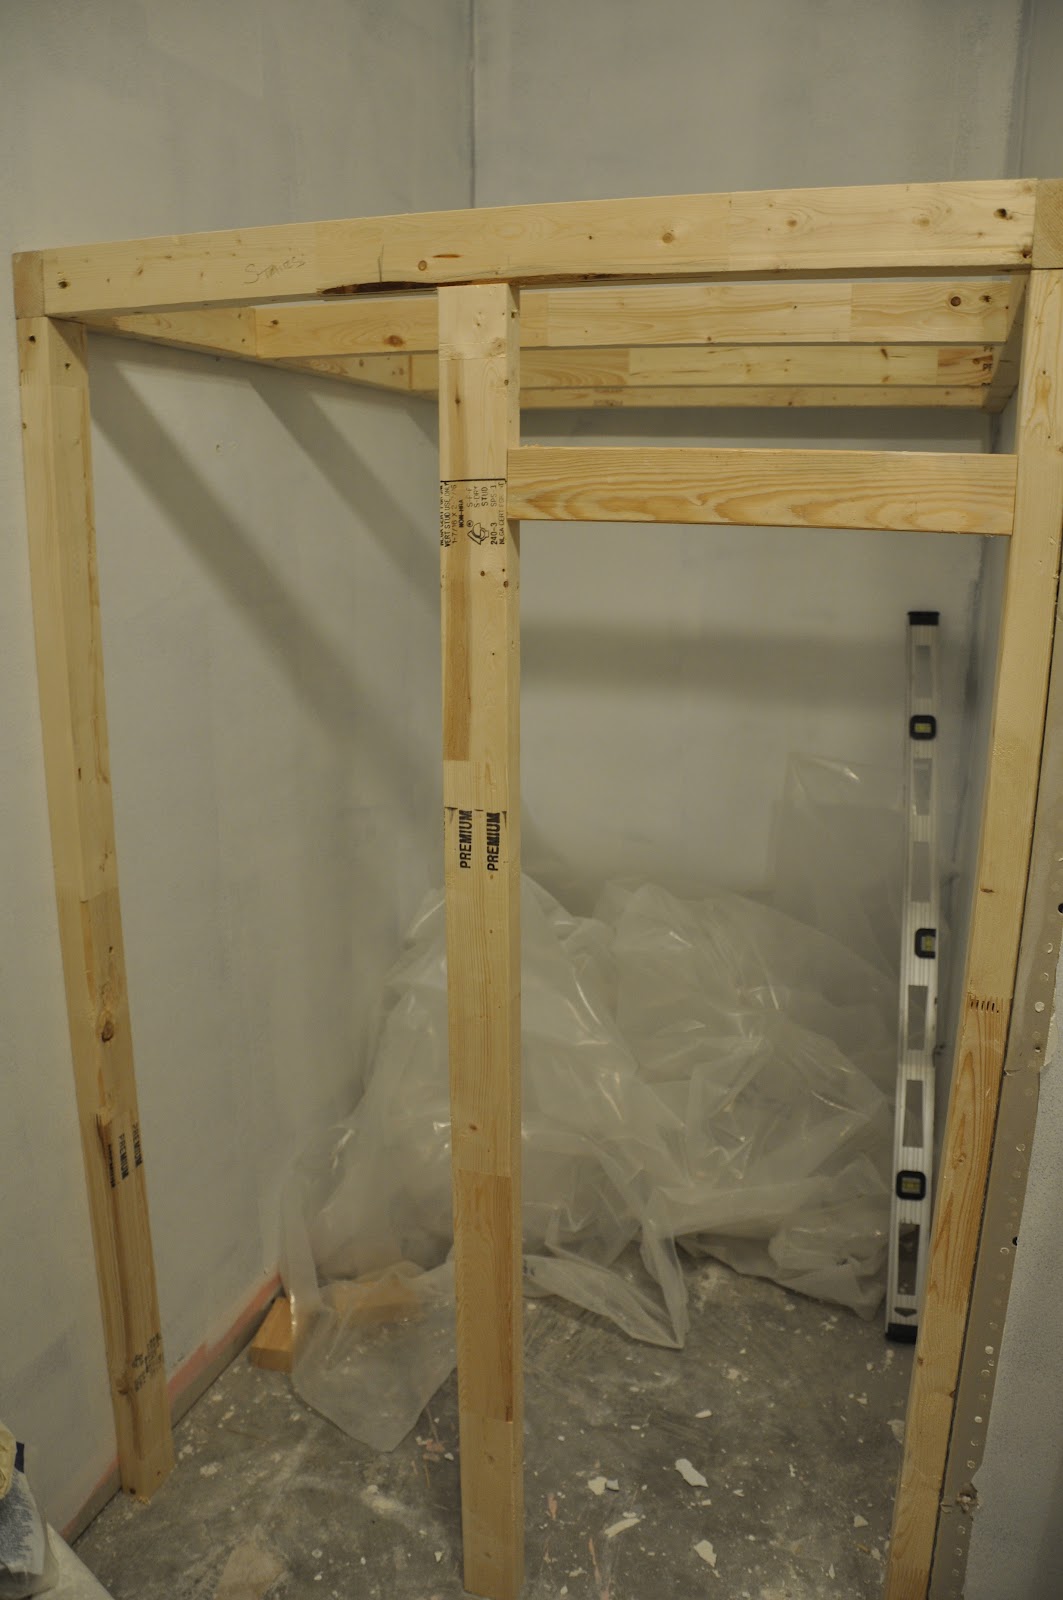
So, happy that his vision would prevail, they got right to work building it.

Bottom level is framed!
Our daughter has named it the “Play house” area.
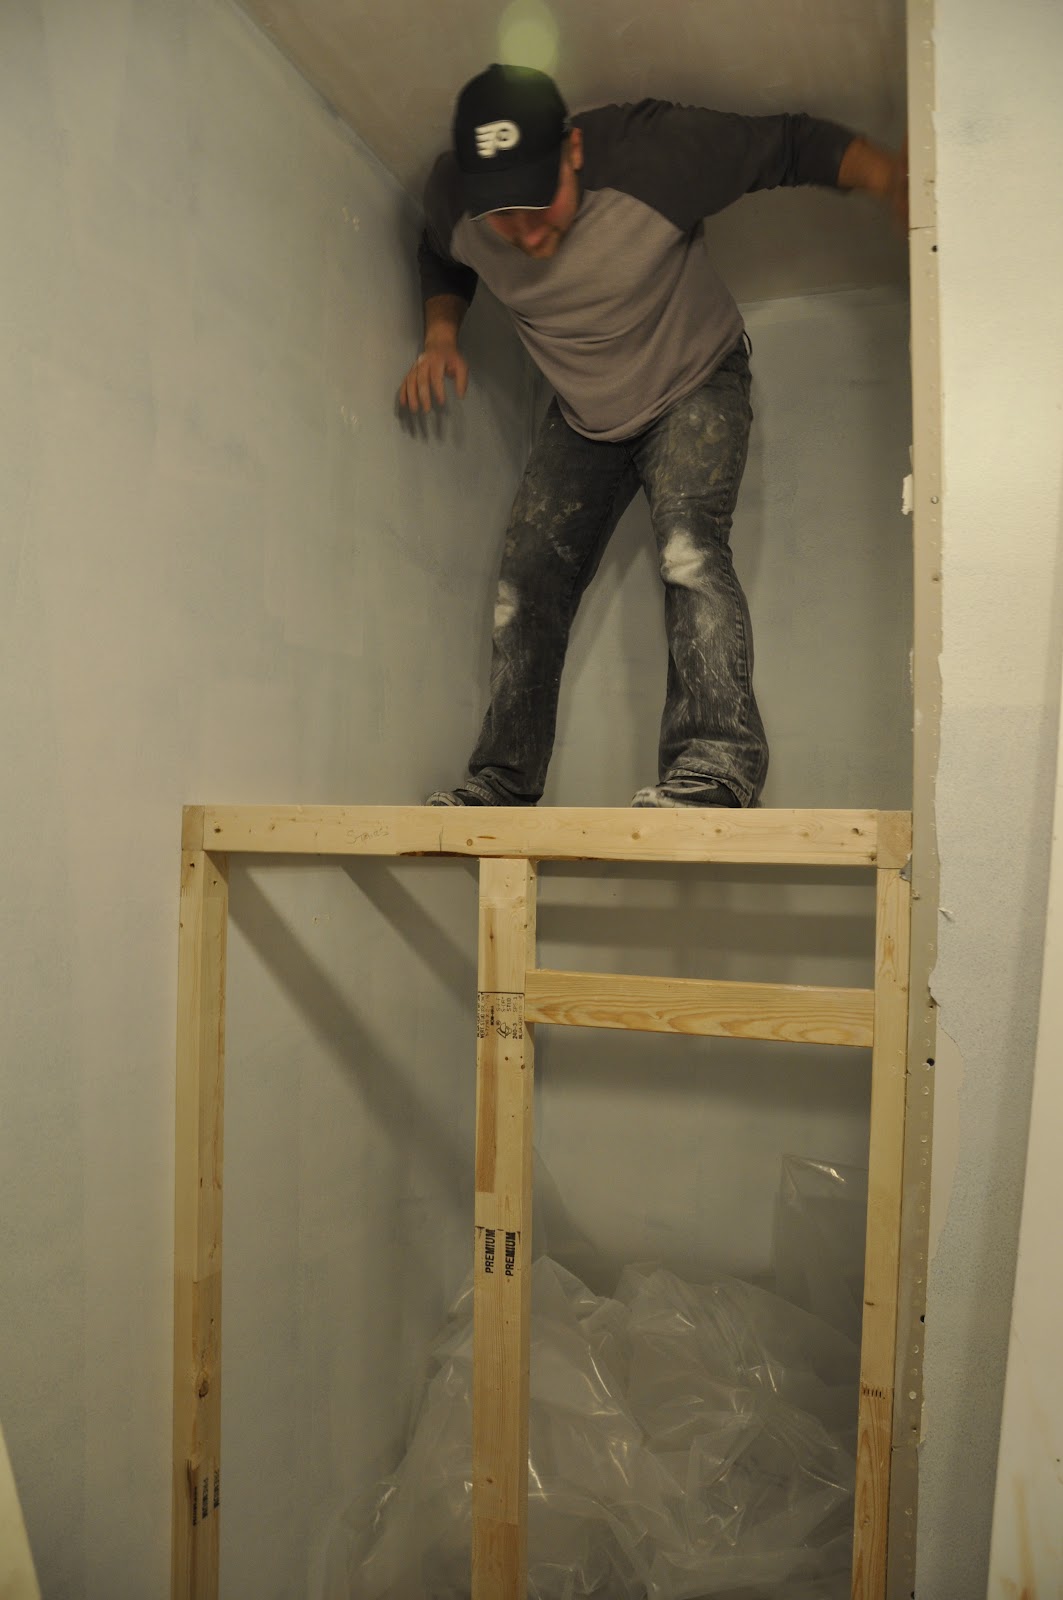
Testing out the safety of the top level!
It can hold ten 30 pound children! (oh wait, I was never good at math..)
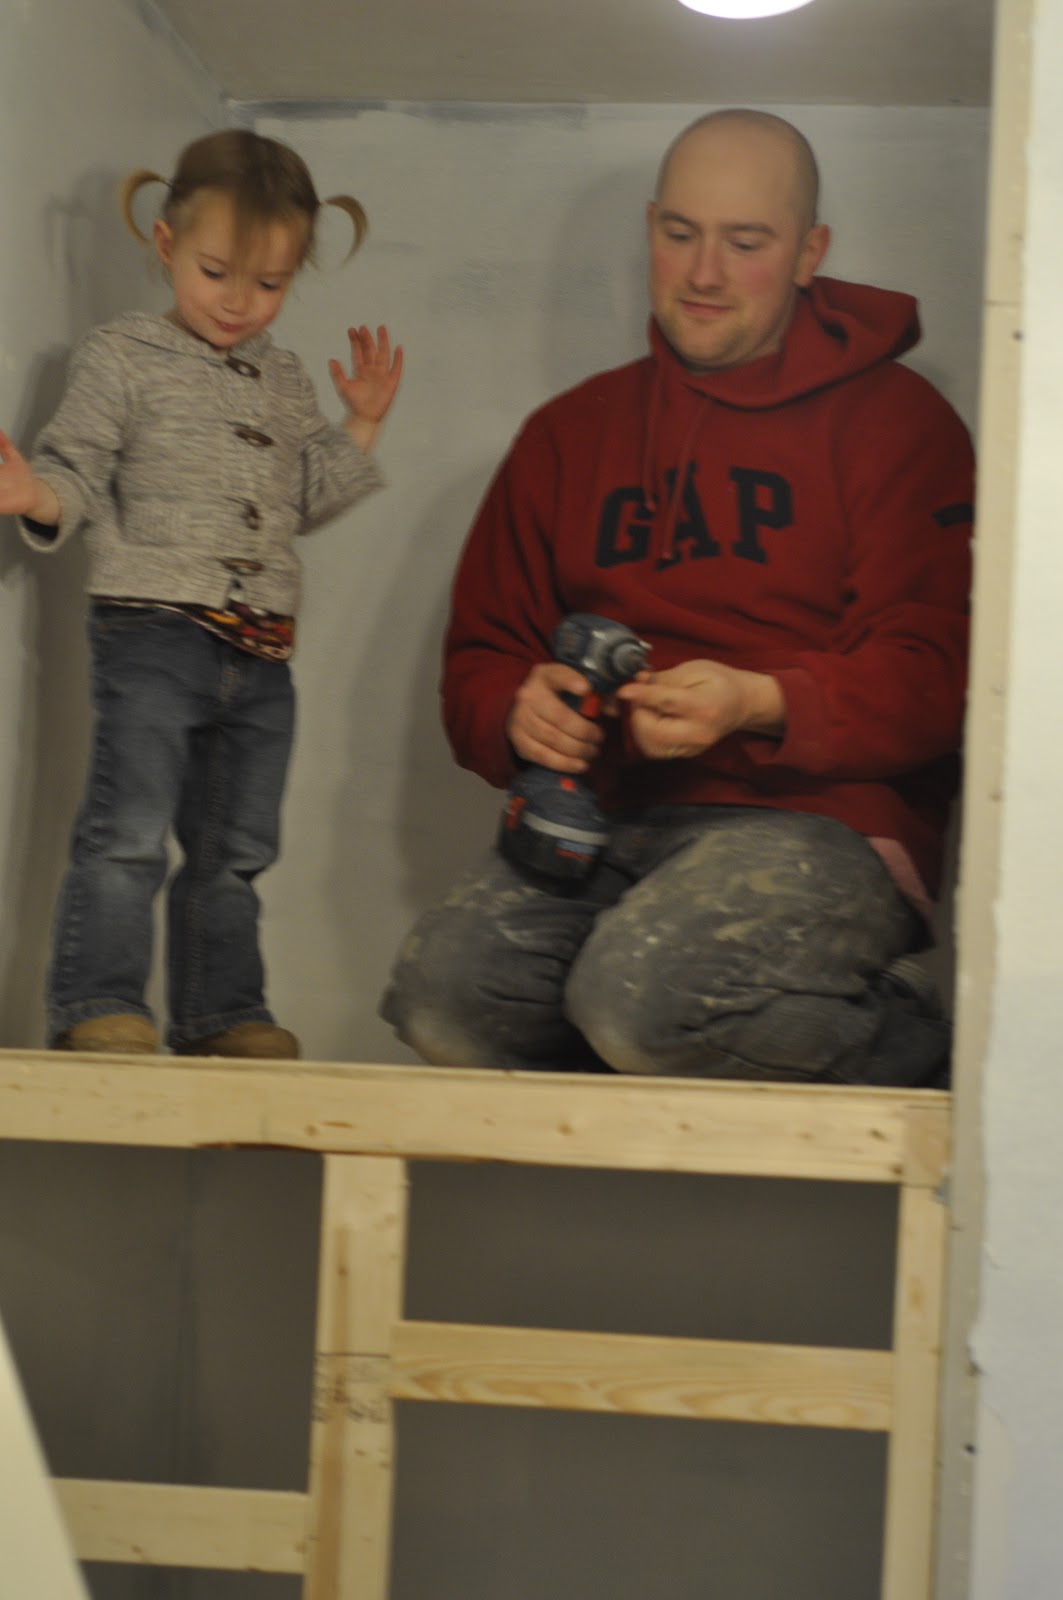
A little helper is always close by when projects are happening.

Handing the tools to Daddy.

Taking a turn with the drill!

Surveying her handy work…
Yaaaa! Top level is framed!
My son calls it the “Hideout” area.

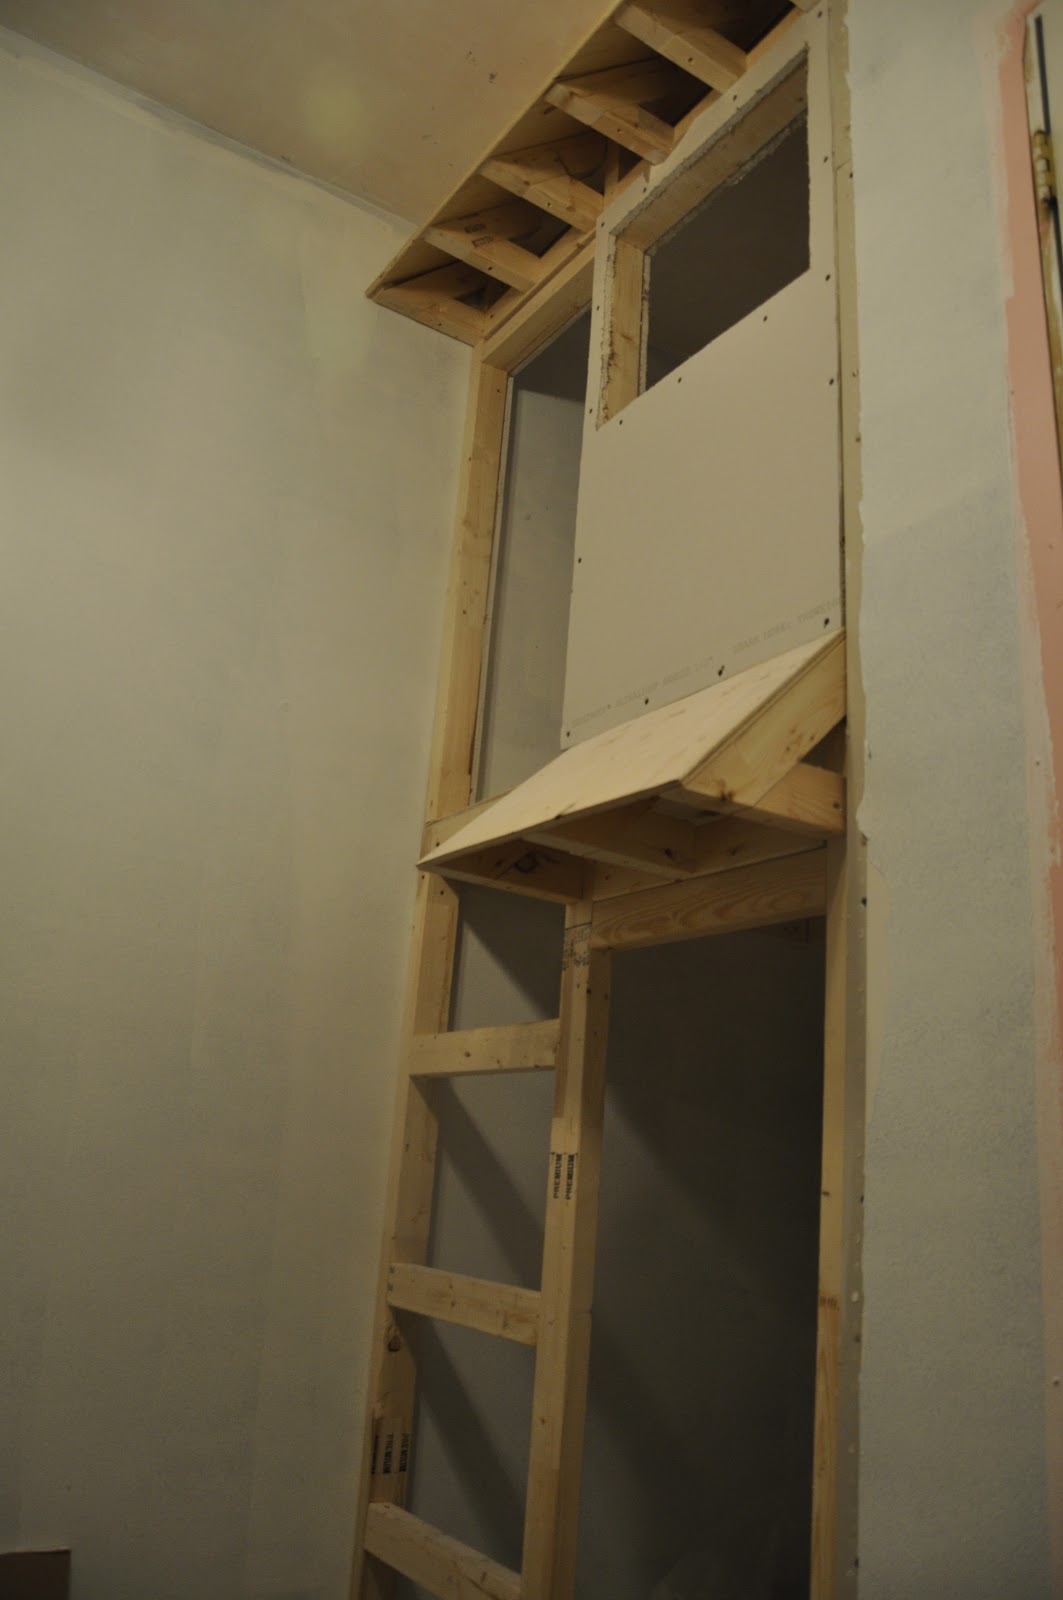
This may look like a bunch of wood to you.
So here are the finer details for the visionary types!

Here is a close up of the awning over the entrance..

Taking it all in…

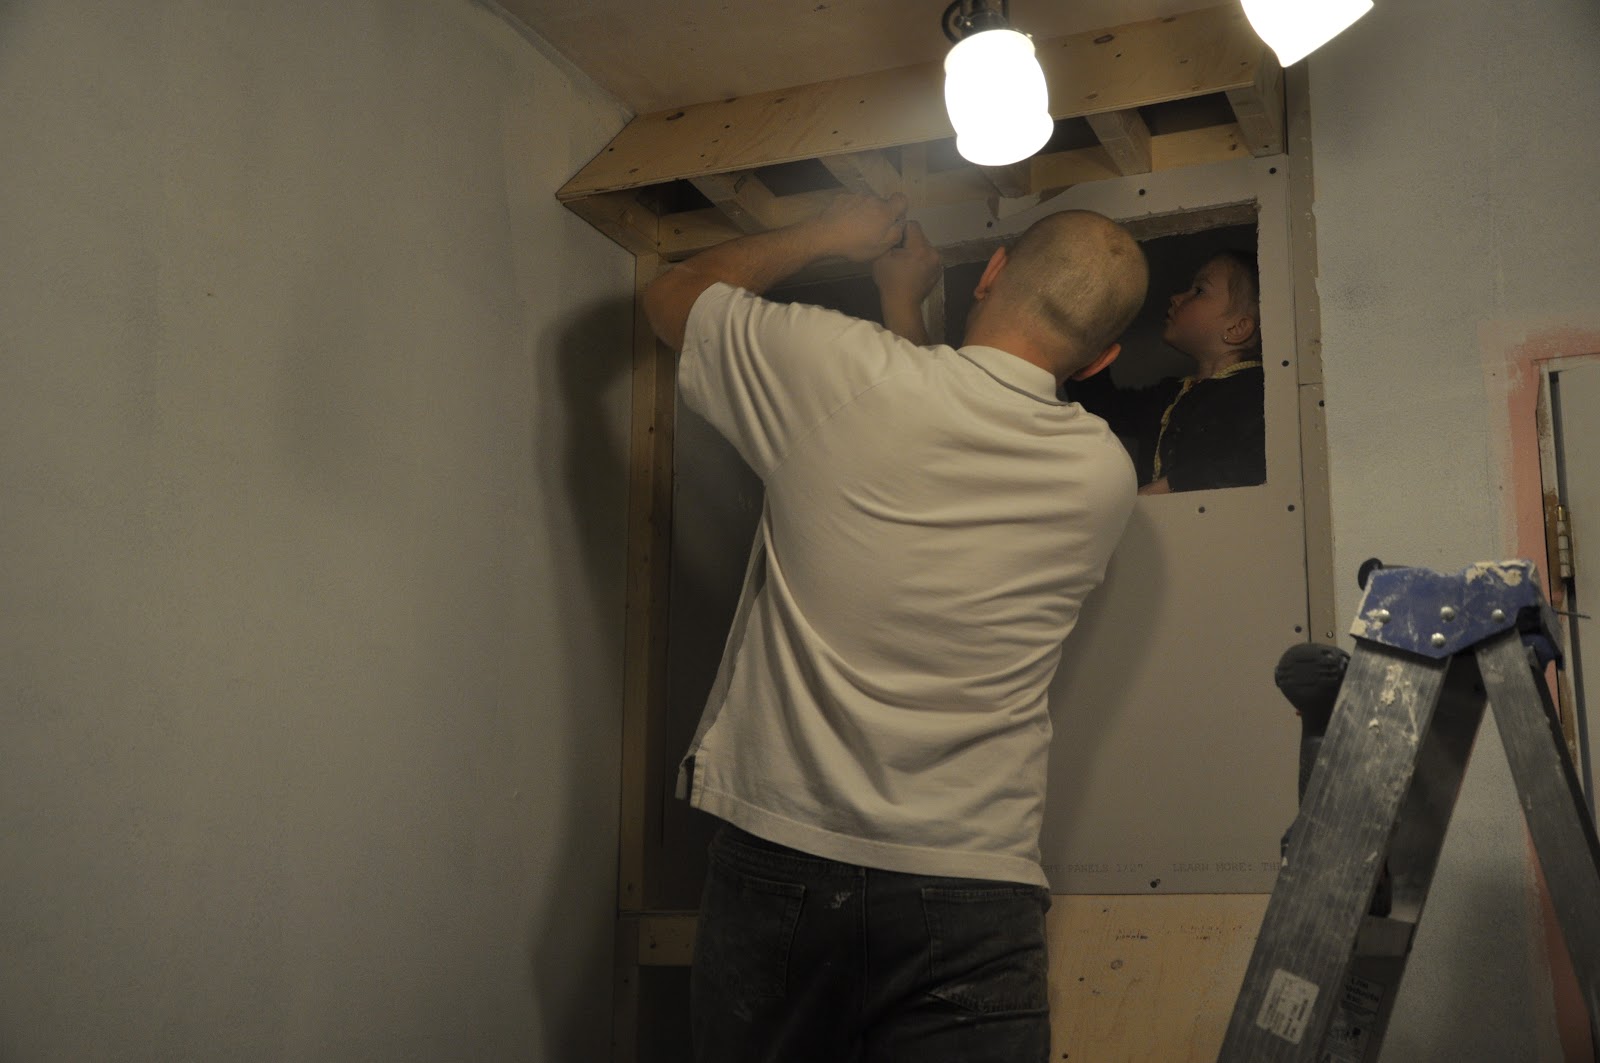
Some dry wall goes up!
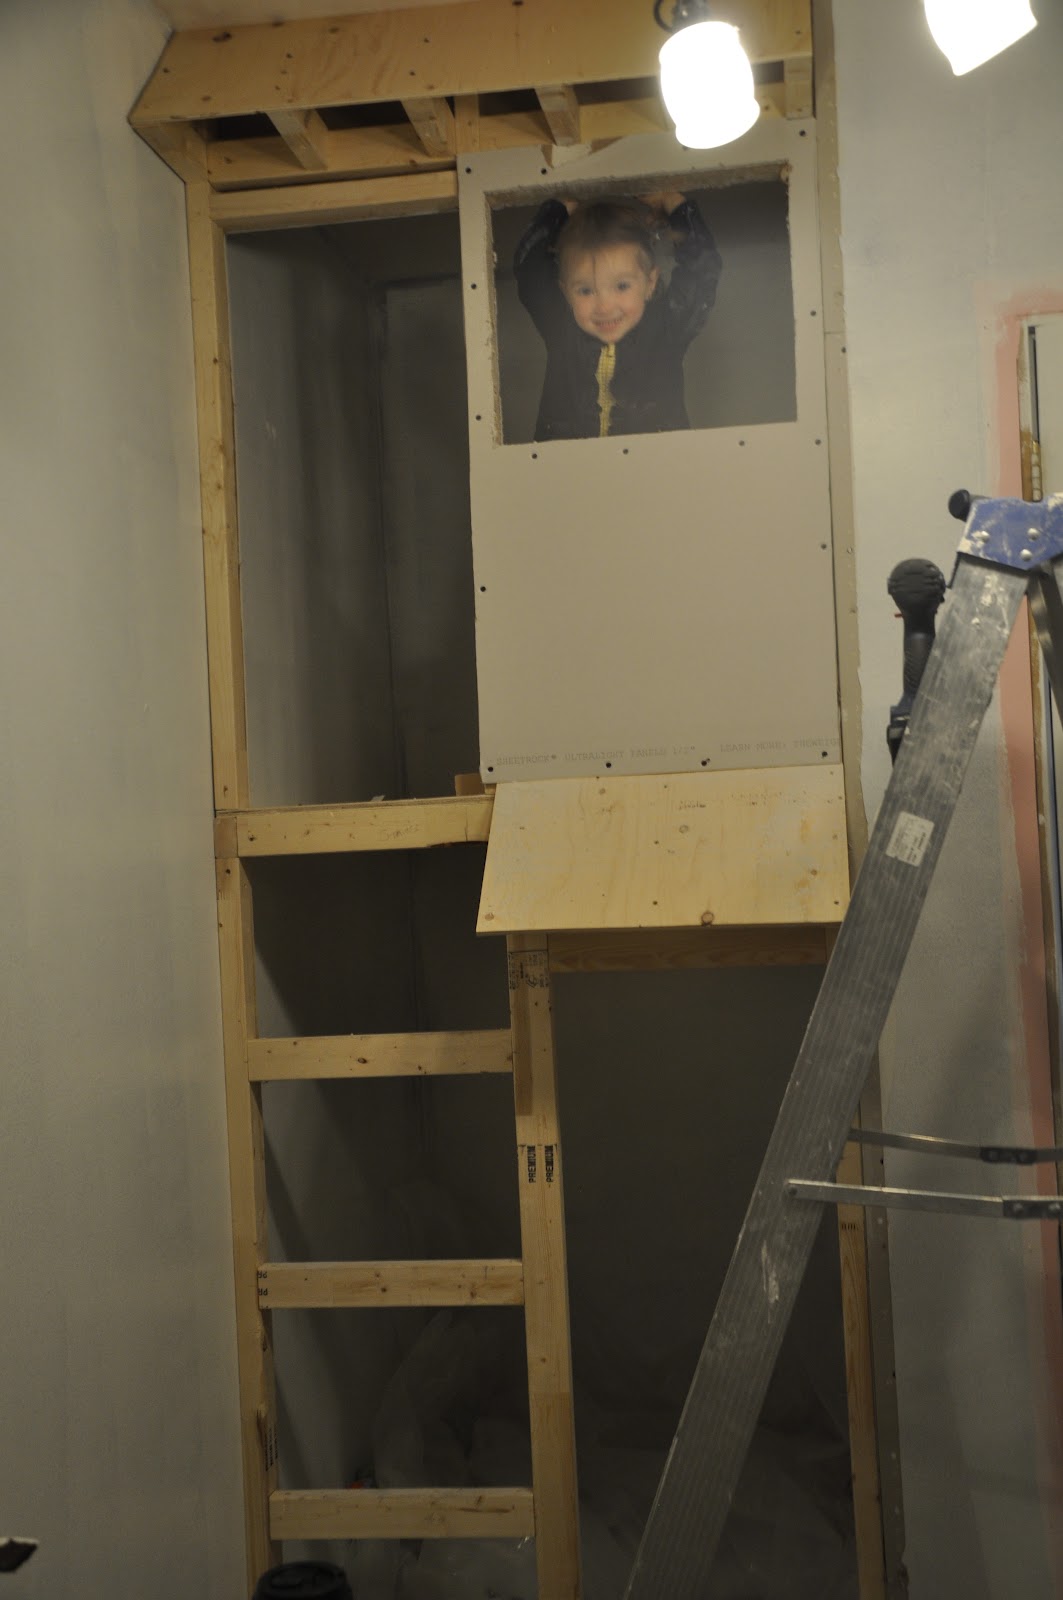
This little girl has not left this construction area. She is ecstatic and already has toys stashed on the upper level.
Sneaky bugger.
Telling Daddy what to do.
Testing out the window sill.

First phase almost done!
They approve!

Happy little kids in the new “Hideout/Playhouse”!!
Let me know what you think of the play house and let me know if there are any ideas we need to incorporate.
Feel free to use the comment section below!
PS: Tutorial to come later!
Have a great weekend!


Comeca Jones
September 29, 2012 at 9:48 amOh how pretty it will be when its done!
bethanygier
September 30, 2012 at 2:47 amKeeping our fingers crossed!!
Chewylicious
September 30, 2012 at 3:03 amSo stinking CUTE!!! I love it! I can't wait to make it for our kids! I just hope they don't grow out of it too fast! That's such a great idea! Just shared your blog post to my girlies! Great post hun, thanks for sharing!
bethanygier
September 30, 2012 at 4:21 amThank you! I have three little ones, so hopefully some of them can "grow into it"! Thanks for taking a look!
Becca@locksmithmelbourne
November 14, 2012 at 12:07 amJust waiting to see the final looks… very exciting.
bethanygier
November 14, 2012 at 4:39 amMe TOO Becca! It is coming along slowly at this point. BUT, I will post pictures and steps as they are completed!!! Thanks for stopping by, check back often, to see the reveal! 🙂