
I’ve been waiting for this day for almost two years, and from the messages you guys send our way, so have you! Today we want to finally share our kitchen reveal with you!

This space had been a long time coming, since we have been renovating our entire house (and other peoples homes) at the same time as plugging away and hand making our kitchen. While, most of the time, trying to hand make meals out of it too. 😉
To catch you up, we moved into our 1954 fixer upper two years ago and my biggest renovation concern was our kitchen. After all, I love to cook and bake and can often be found tinkering in the kitchen in my free time. We have also already lived through a massive kitchen renovation (in the past at our previous home) so I knew distinctly what I wanted out of a new space.
Because I know you guys love a good before and after, I’m going to take you on a quick visual break down of the process and share the photos that capture the renovation of this space! If you’re not into the process, just scroll past these messy photos and land yourself near the middle of this post when we share our kitchen all dressed up for the holidays! 😉
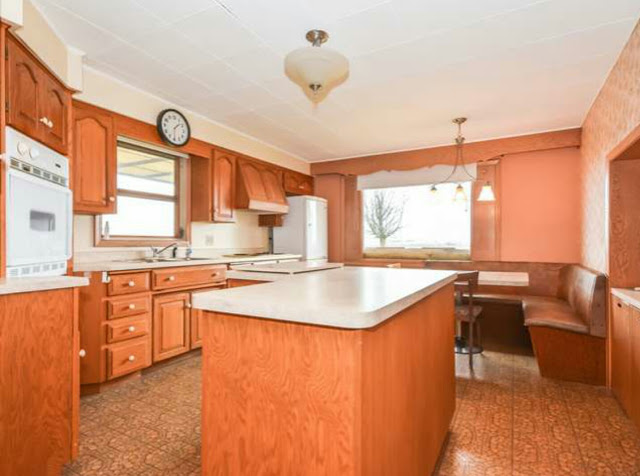
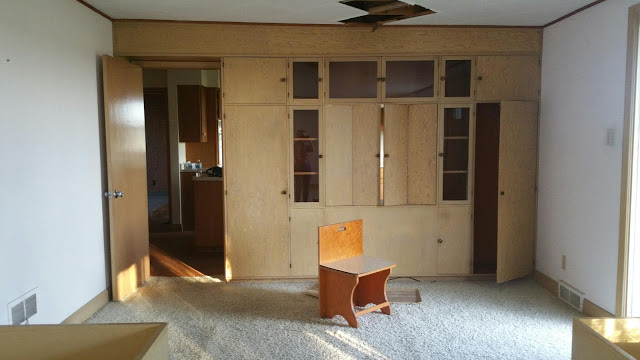
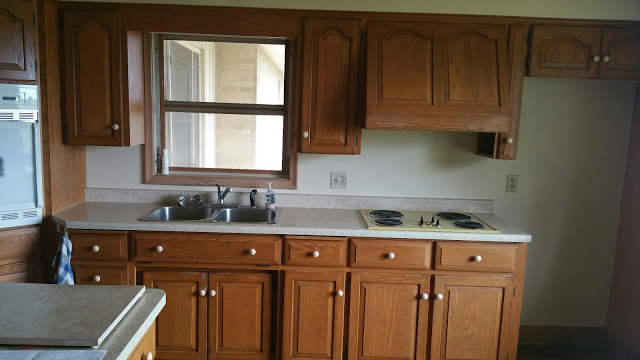
Here is what our kitchen looked like when we took possession of our house. It needed updating, in every single element, but, I was in love. I loved that the kitchen was ground level in this house and that from the two (albeit original) windows, I could see our wide front yard. I imagined kids playing right outside those windows and that’s exactly what they did as soon as we moved in.
I could see out, and they could easily peer in as we gutted the kitchen — to see the process and to often ask what’s for dinner. 😉


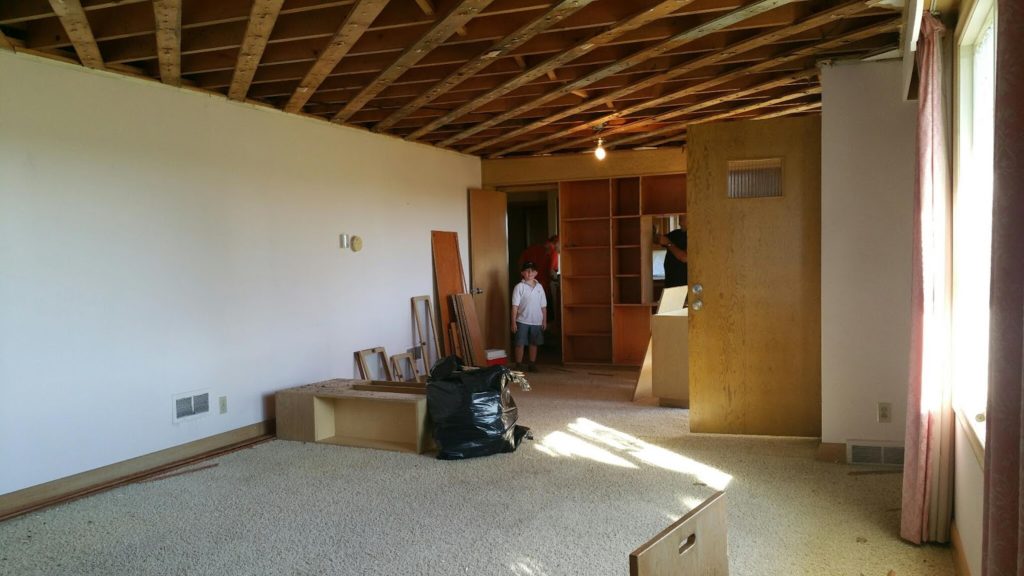
We started our kitchen renovation by carefully demoing the elements that needed updated and preserving the elements that needed minor upgrading.
In the end, we changed out the plaster walls, so we could upgrade the original insulation, and we happily replaced the original windows with new ones while we were at it.

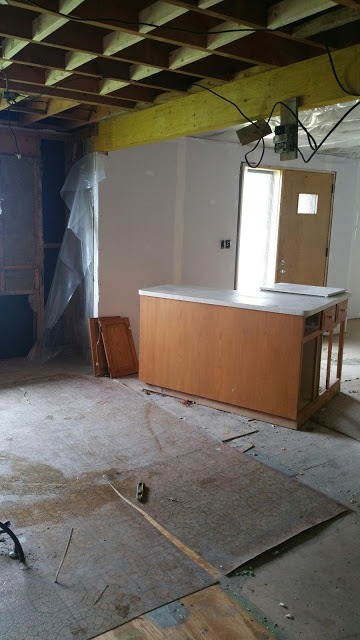
After that, we ripped up the floor, took down the wall that was separating the kitchen from the living room and put in a support beam that we later clad in pine to replicate an old beam. Here is a bit of the process in messy photos.
The original built in that separated the spaces was interesting in design and function, but for us, we wanted to open up the space and create one large living area.
Here is a quick look at where the space started and how, over a handful of long months, we slowly took apart our space and put it back together again.


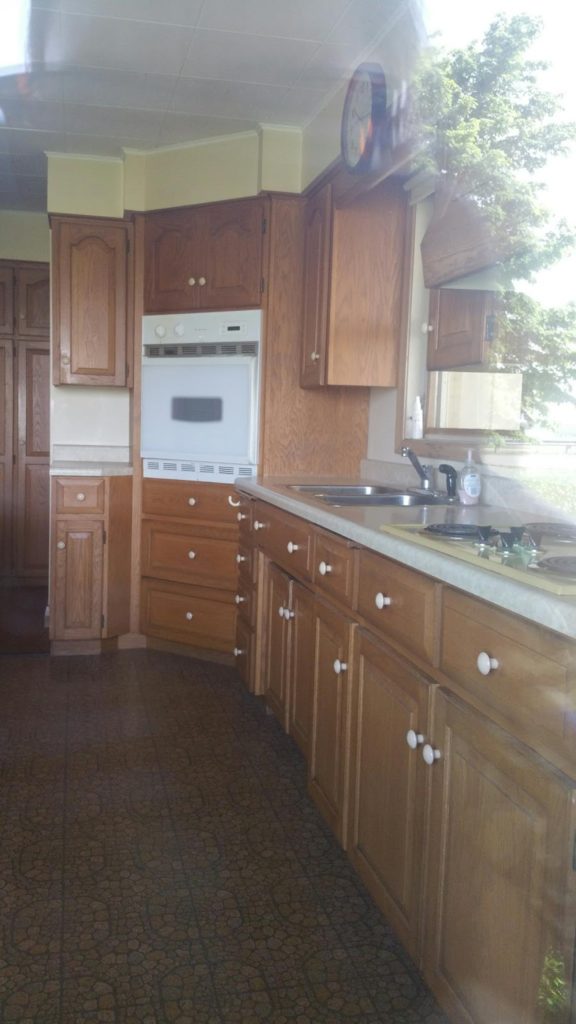
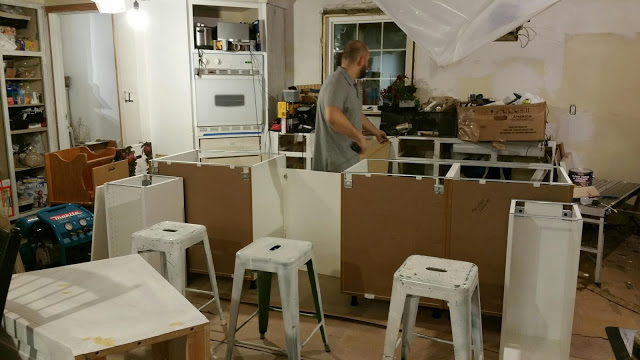
While we took much of the space apart, I wanted to preserve the well built kitchen cabinets. So, while my husband Art was demolitioning and installing flooring and wiring, I began repurposing the cabinets with lots of sanding, filling and painting.
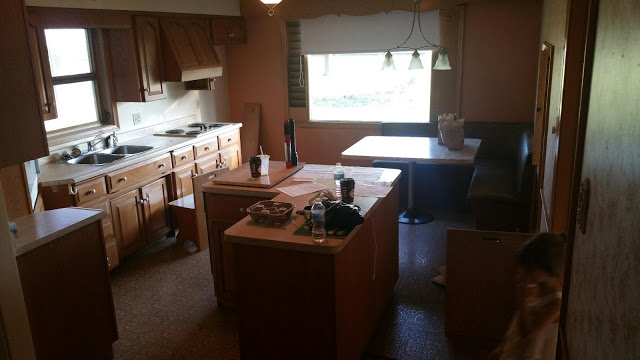

I wanted the space to feel as open and vast as possible, so we took out the bulk head above the cabinets, and removed most of the upper cabinets. The lower cabinets and the DIY island also got a lot of attention and love.
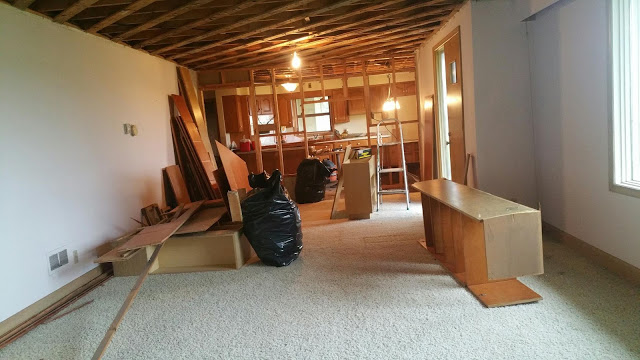
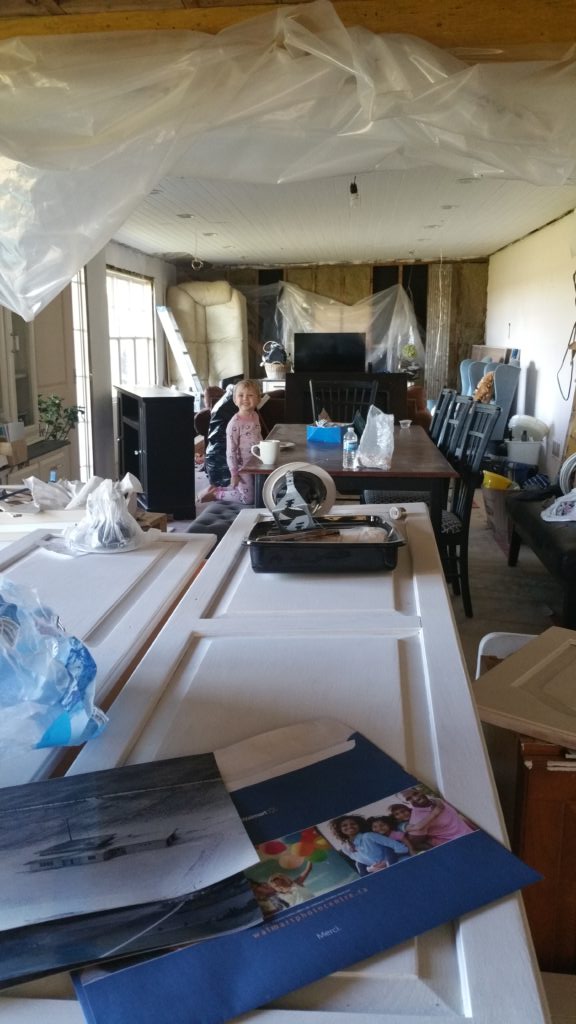
I’ll share with you how I repurposed our entire kitchen in a later post, for now, here is a look at the mess we had to deal with while we were in the process of repurposing it.
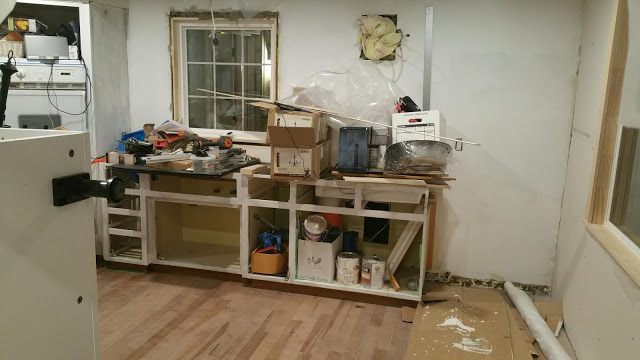
Living with no kitchen while renovating is why, my friends, we lost the kids homework time and time again and why we were not available for social gatherings for a very long time. 😉 After this next picture, you must forgive us, ok??

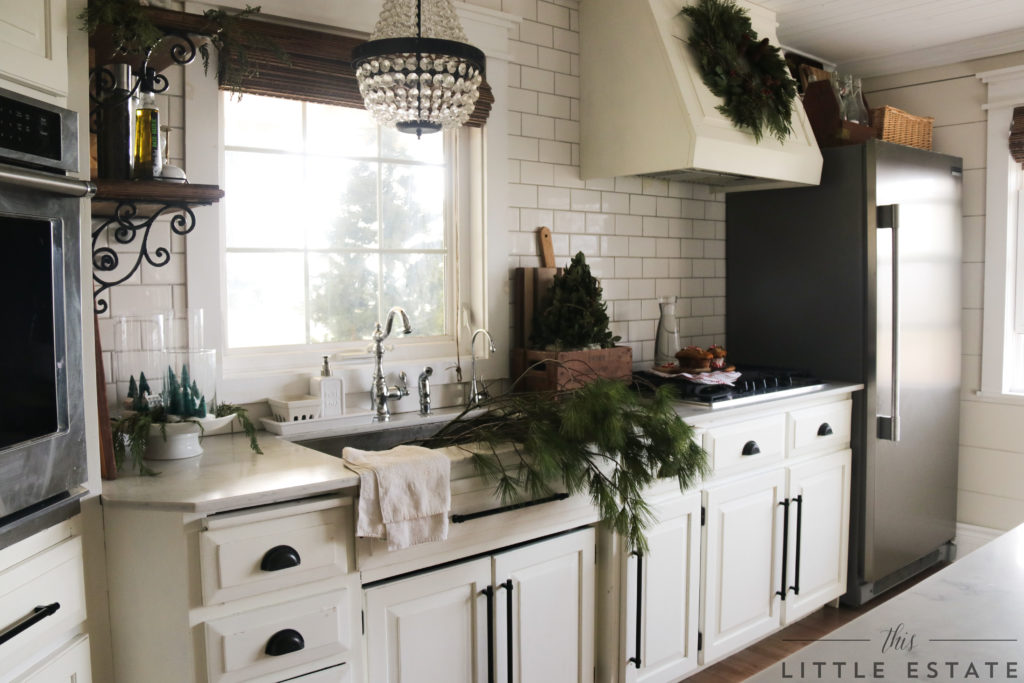
Eventually of course, the space now looks like this next picture. But it wasn’t without a lot of raw meals, praising our crock pot and dish washing in the bathtub. 😉
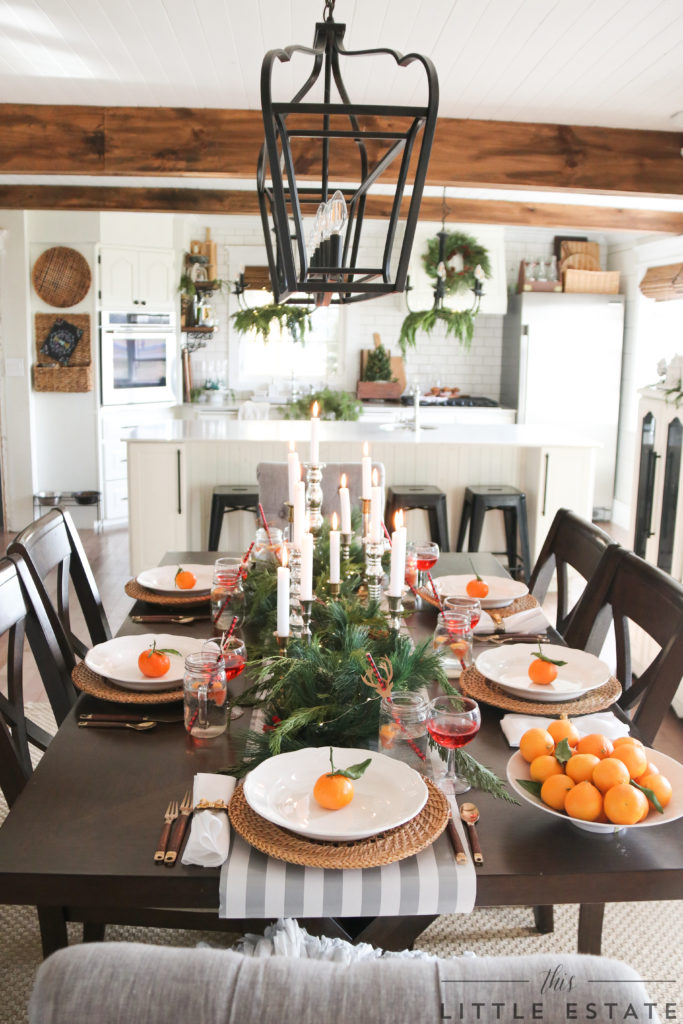
Slowly but surely, we built an island, installed cabinet pulls, switched out the appliances, installed plumbing and electrical, added light fixtures, painted, painted, painted and finally completed our kitchen renovation.
We will save the tutorial for this DIY island for another day too, for now, please just momentrily enjoy our new and updated space all dressed up for this festive time of year!
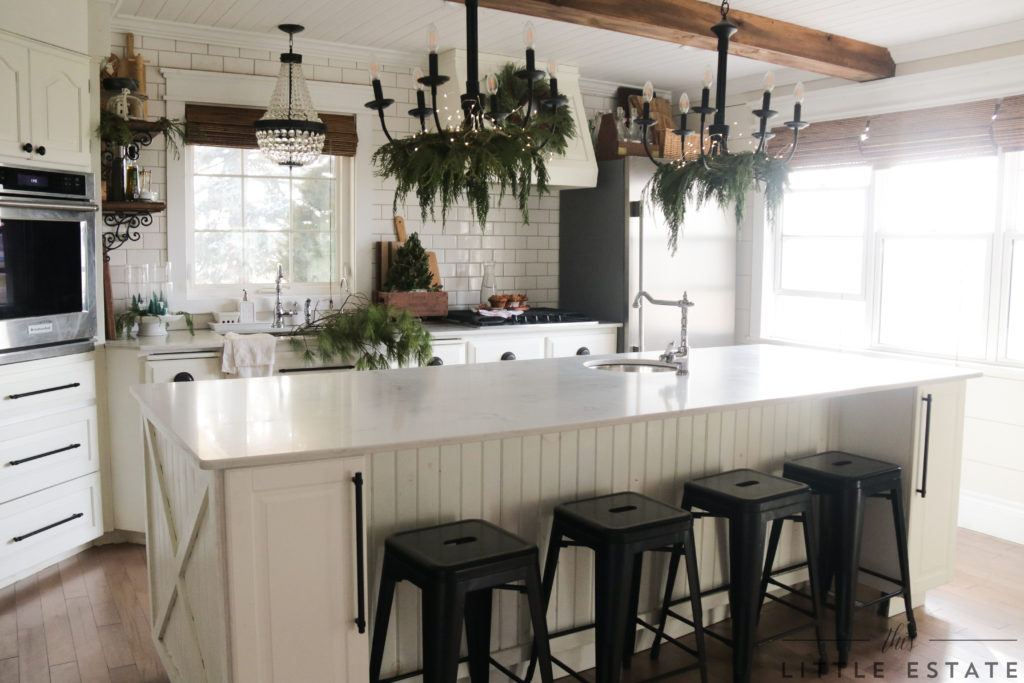
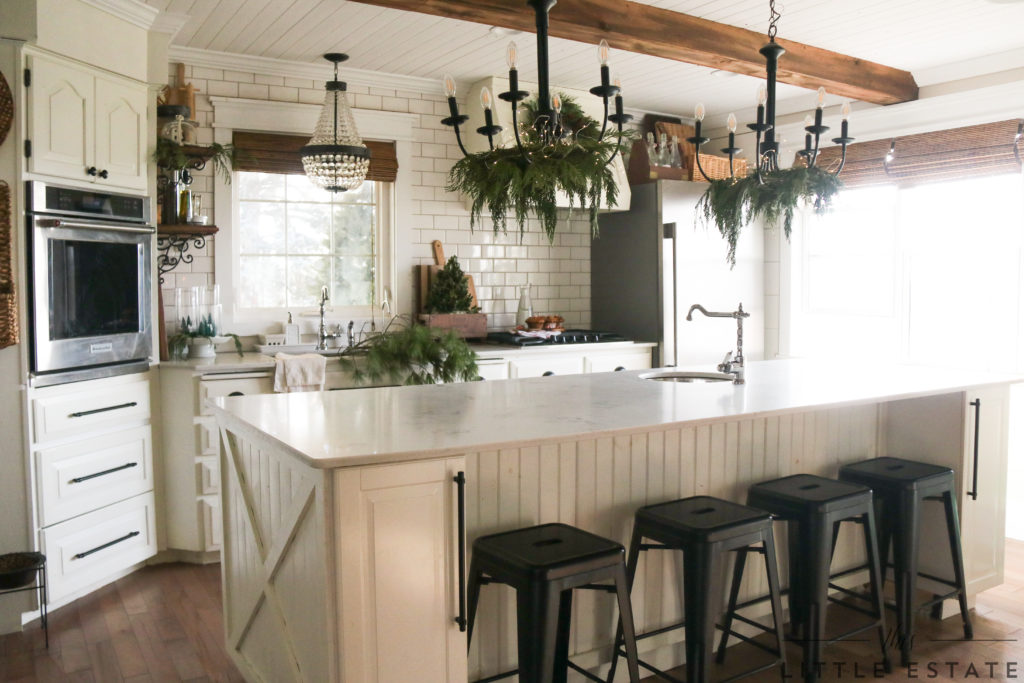
In the end, we clad the space in new METRIE tounge and groove pine for a textured look and covered the newly insulated walls with DIY shiplap. After that, we painted the walls and cupboards a soft creamy white so it would pop against our stark white trim, ceiling, windows and counters.

The light this room gets is still one of my favorite features. Our new windows let it all flood in easily while letting our space breathe! The windows featured here use to be fixed and never opened, not good if you have an off cooking night and a fire alarm that senses burnt toast. 😉
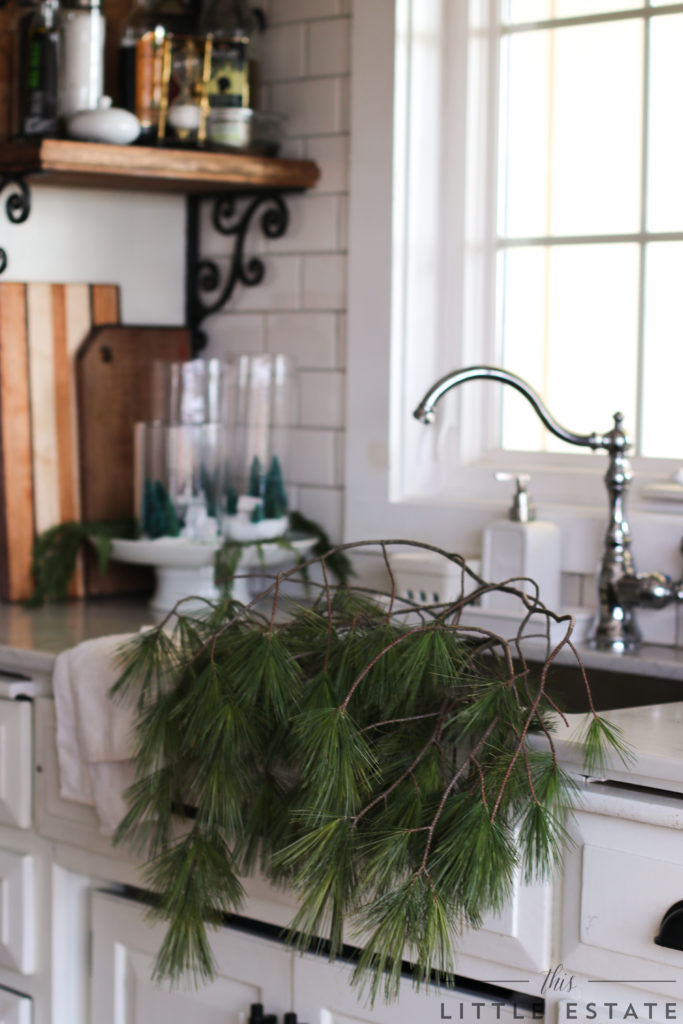
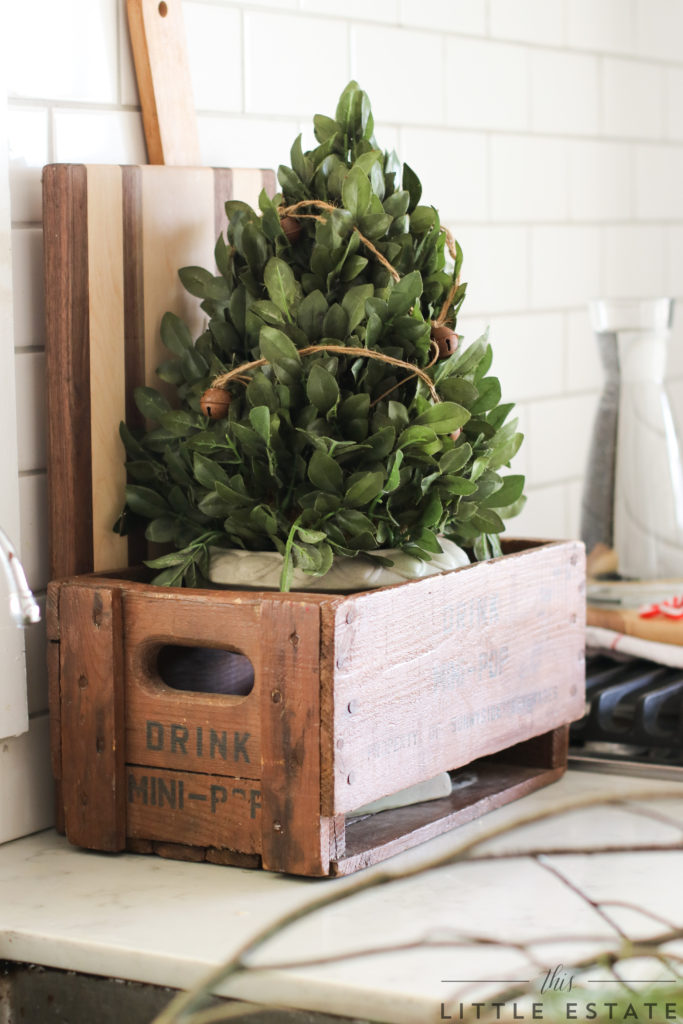
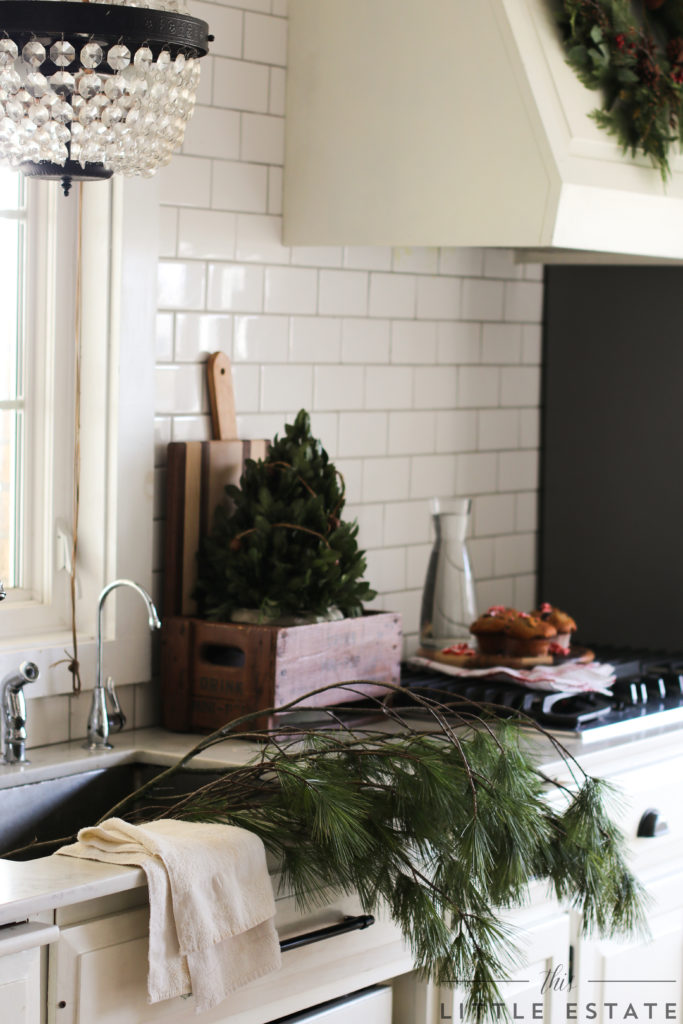
For a simple festive update, I recently forged in our near by forest for fluffy white pine and fragrant cedar and then decorated every unsuspecting surface of our kitchen.


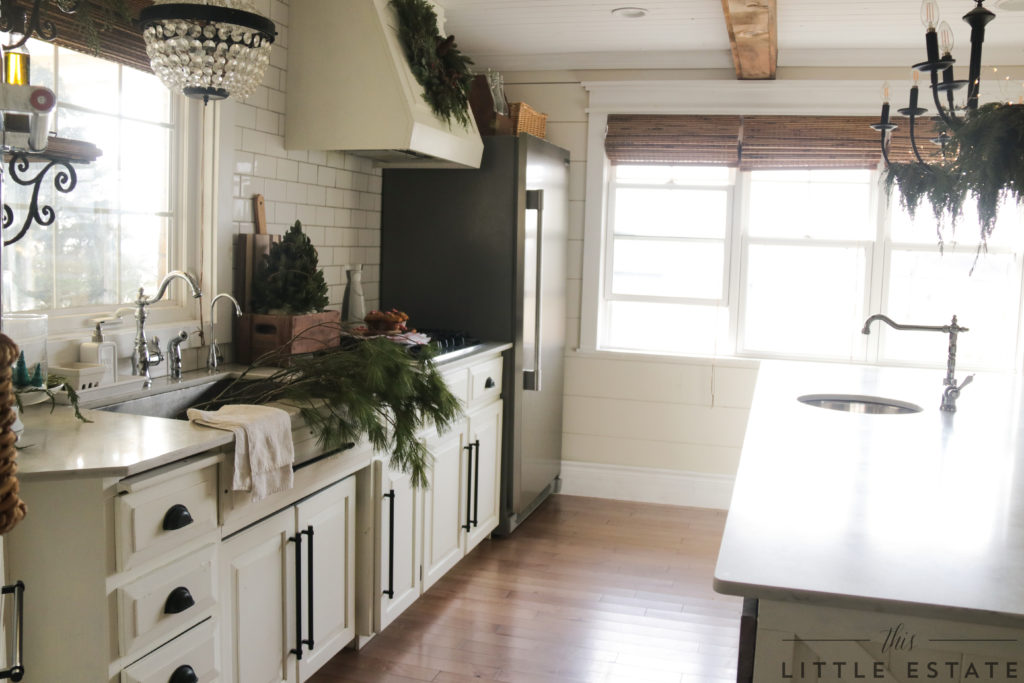
We now have a giant island, but the counter on our far wall is a far cry from giant. So, I kept all of our Christmas decor precise and far from fussy this year.


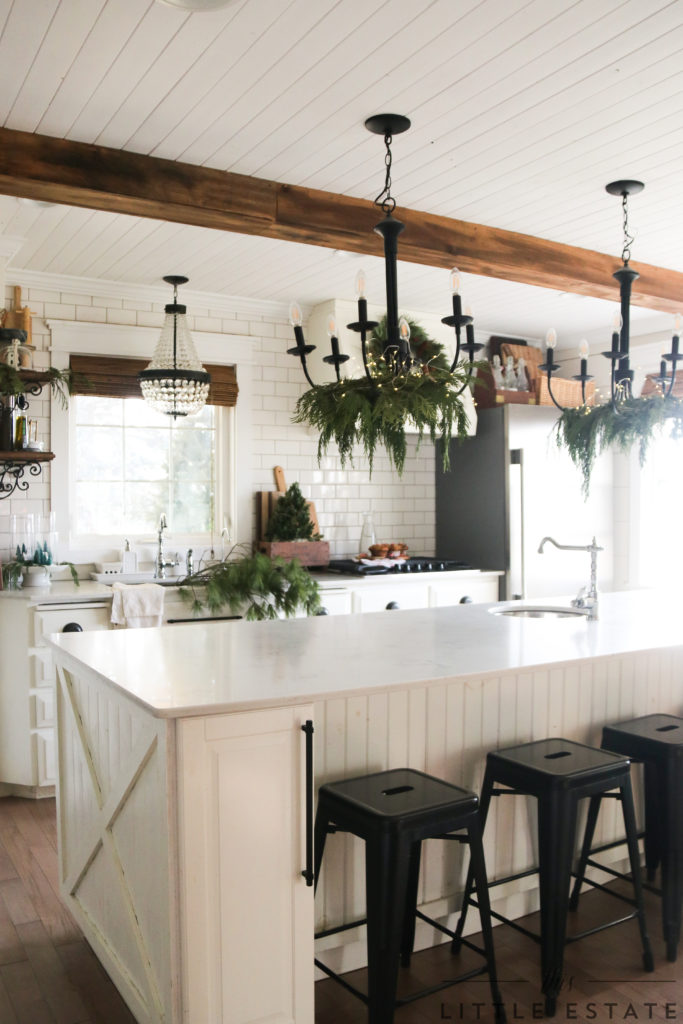
My handy hubby helped me make our kitchen’s faux beams that not only cover the seven foot seams of our pine and groove ceiling but they also add so much personality to our kitchen. They also are one of the first elements people compliment. I stained them with a custom blend that you can read all about HERE.
See the whole ceiling tutorial HERE too!!!
And how to install the beams here!
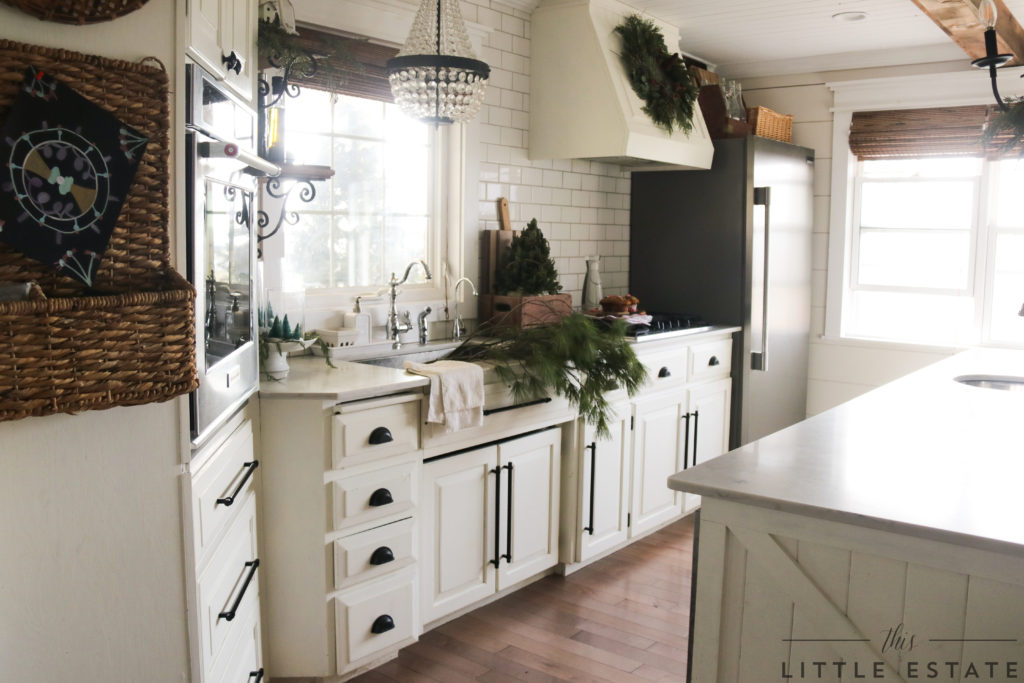
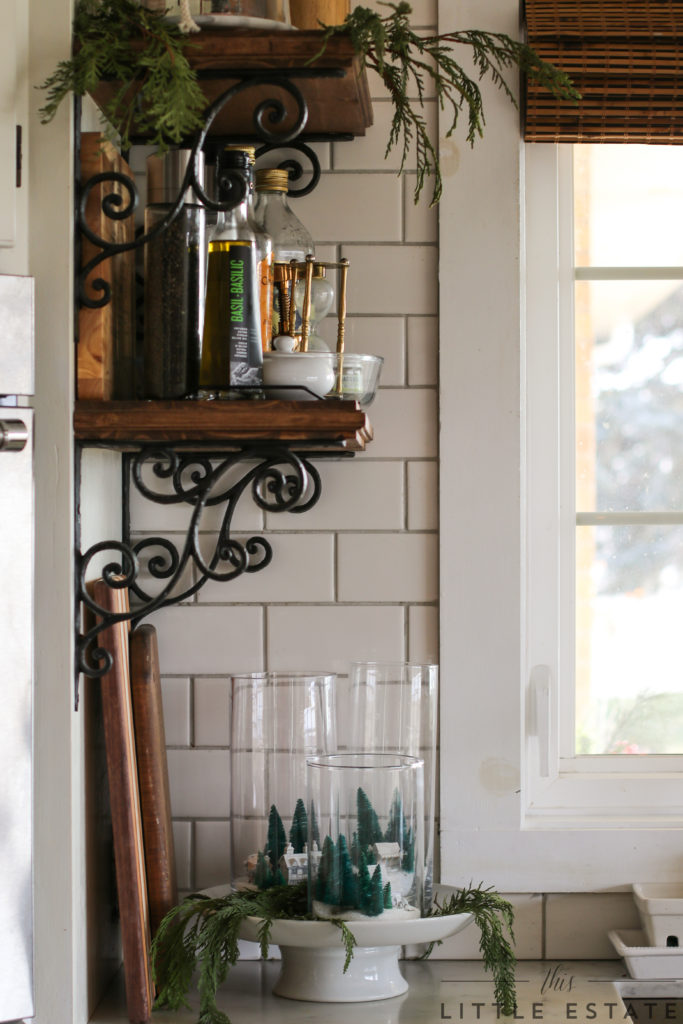
Since we ditched our upper cabinets for glossy subway tile, we added a few humble shelves in their place.
We switch the dishware and items on these shelves all of the time and we also switch up the decor on them with every season! One thing we don’t switch up though, is where everyone sits at the island! 😉 The kids have claimed their “spots” and I personally save my kitchen battles for who is helping me with garbage and dish duty. ;0
This space of ours isn’t massive, but it is always filled with so much commotion, cooking and creating, that I truly believe this space carries our biggest and best times spent as a family.

It is almost (ALMOST!) hard to believe that it wasn’t long ago when this space looked like this (below!) giant working disaster.
And now this is the same view…

I can hardly believe we finished this space, with our own two hands, while working and living life with our three littles, BUT, I am so grateful Art and I took the leap of faith into sawdust and sleepless nights.
This space truly is the heart of our home now and it’s journey has made the outcome so much more enjoyable.
In closing, I added a Christmas craft to the corner of our kitchen that I think you might like!
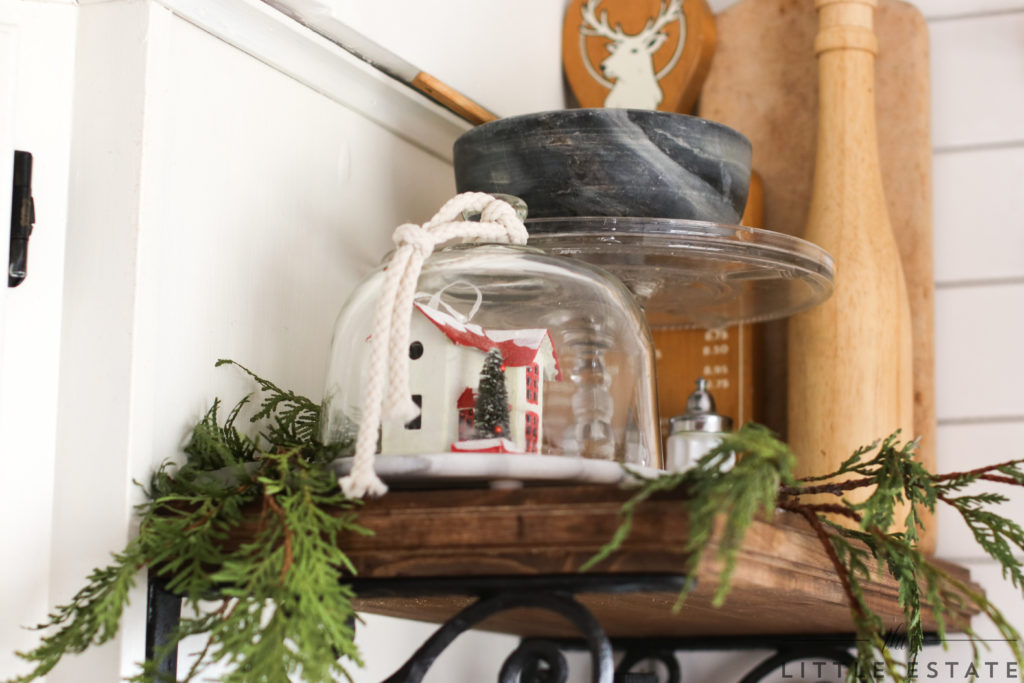
I made a trio of miniature winter villages for our kitchen countertops with the help of our eight year old daughter. They are the sweetest little touch of Christmas that took less than ten minutes to create and less than ten dollars!
First, we hunted down three cylinder shaped glass jars from the thrift store, ($2 each approx).
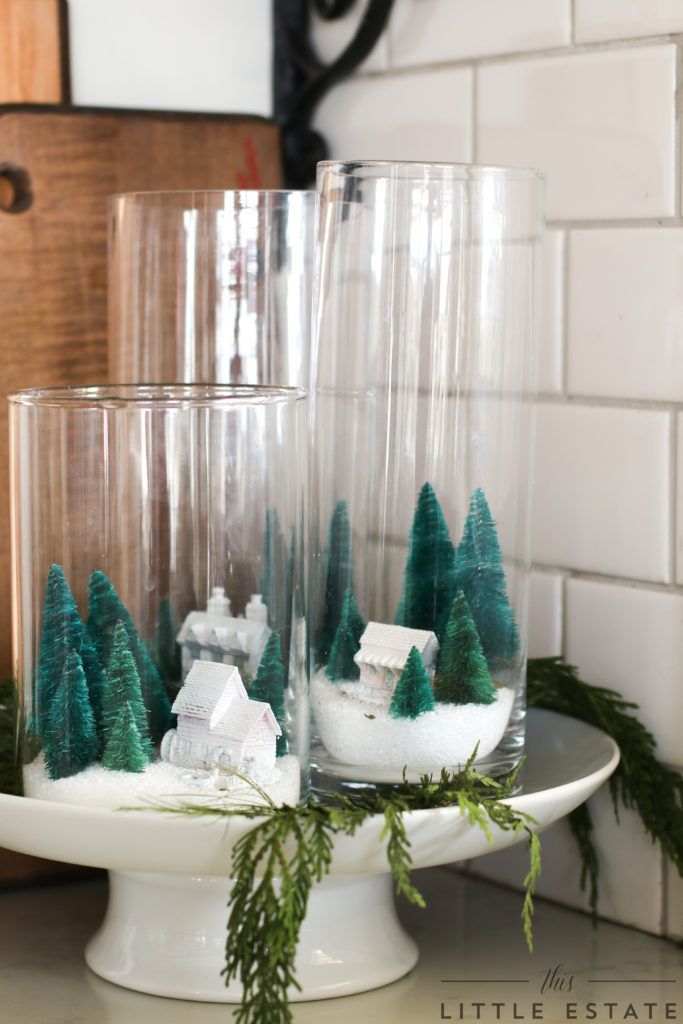
Then we filled them up with a layer of epson salts and added in tiny little plaster houses we picked up for $1 each from the antique store that we painted with a blast of white spray paint.
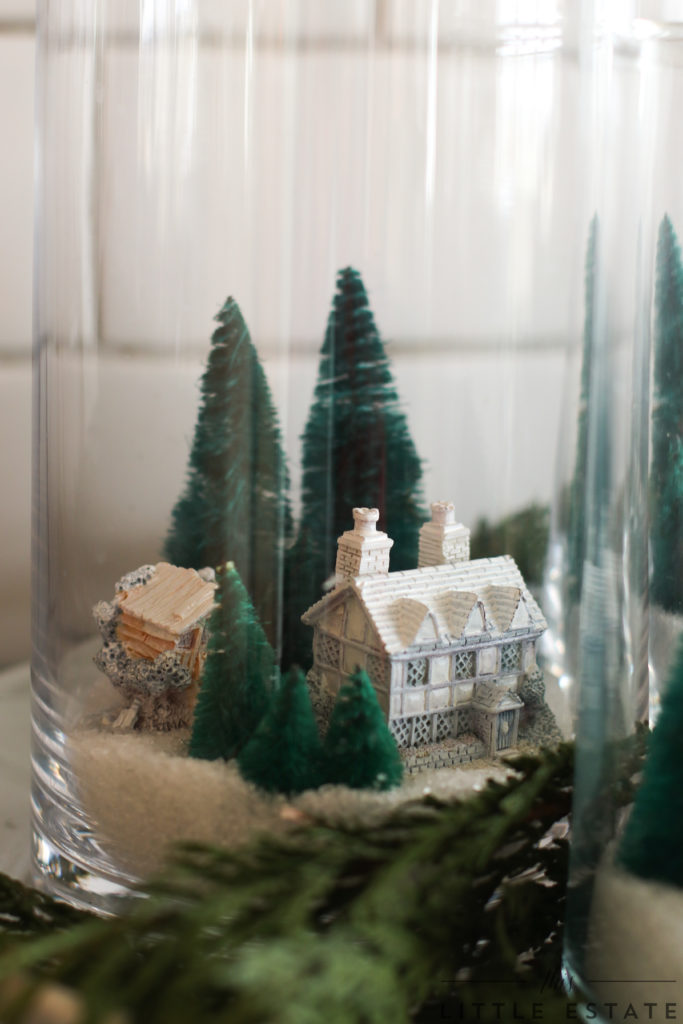
We corralled them on to a white cake stand and added in some miniature bottle brush trees for good measure.

We decided to place them beside our kitchen sink, with just enough space between the sink to enjoy them without splashing and drenching them.
I have to say, despite the weather outside, I always LOVE my winter wonderland view now. 😉

Thank you for coming along to see our kitchen reveal — finally!
It was a long time coming, I know!
Truth be told, we have already messed this space up again with Christmas baking and with way too many cookie pans that we vetoed “need soaked for days”. 😉

Have you guys started your holiday baking yet? Are cookies, muffins and squares lining your freezer too? Or, are you more of the holiday crafting types??

Whatever the case, we hope you have a memorable Christmas full of your favourite holiday happenings at home with the ones you love.

From our family to yours!
Merry Christmas and a happy new year!


Marty Oravetz
December 20, 2017 at 4:59 pmWow, what a huge transformation I love it all especially that amazing island.
Shawna LeBouthillier
December 21, 2017 at 4:24 amWow, your kitchen is beautiful. What a transformation. We are in the process of renovating our basement apartment (i.e. getting rid of the apartment). We want to put in shiplap walls, but can not find wood shiplap in Guelph. Can I ask where you bought your shiplap.
Chris
March 11, 2018 at 3:55 pmWow, looks great. My 1st time here. Where did you get the hanging lights over your table. Love those!!
bethanygier
August 31, 2018 at 3:37 pmHI! Thanks for stopping by! They are from Home Hardware!