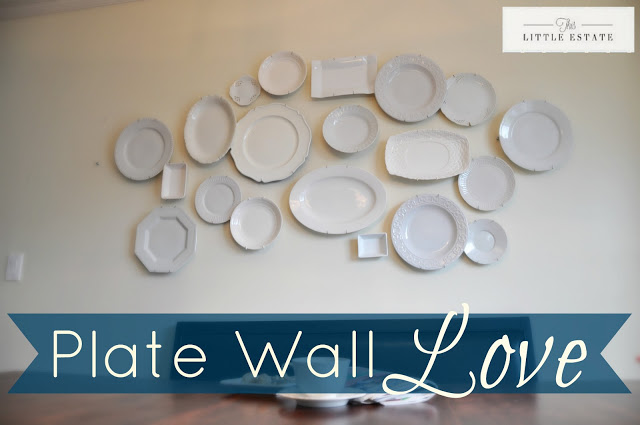

The thing I really love about plate walls is that they can always change, they are easy to rearrange and I find they add so much character to a space!

I have found myself really loving our new plate wall and so I wanted to share with you some of what I have learned while taking on this project.
When I was searching to make a plate wall I had no idea where to begin or how to make one.
I couldn’t figure out how to create a layering affect like I had admired about so many plate walls, and the whole process felt overwhelming to me.

Oh how silly that thought was.
This is one of the easiest projects I have ever done.
I thought I would share with you how easy it is to make your own wall of white goodness and how organic the process really is.

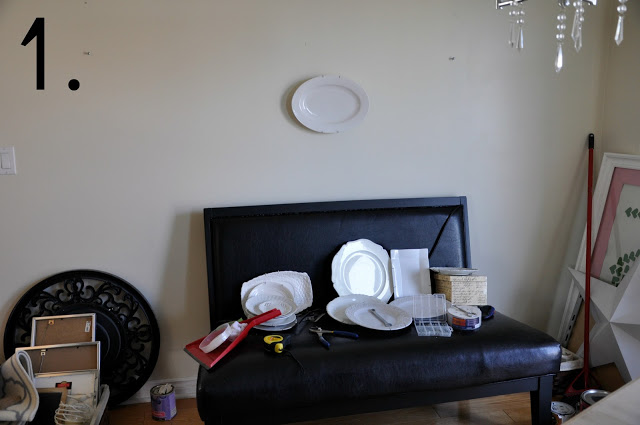
First, you need to shop your cupboards and house with an open mind.
This project does NOT need to be expensive.
The little tray in my bathroom, the dish I kept my rings in beside my bed, the platter I only use at Christmas, my grandmas antique plate I keep hidden away, that mismatched plate someone left behind after a potluck that no one admits is theirs…well… they are ALL fair game when you are building a plate wall!
If you don’t have dishes around your house you can always check out your local thrift stores.
If I didn’t find what I was looking for IN my house, I was able to collect most of my dishes for $1 or $2 a piece from little thrift stores near by.
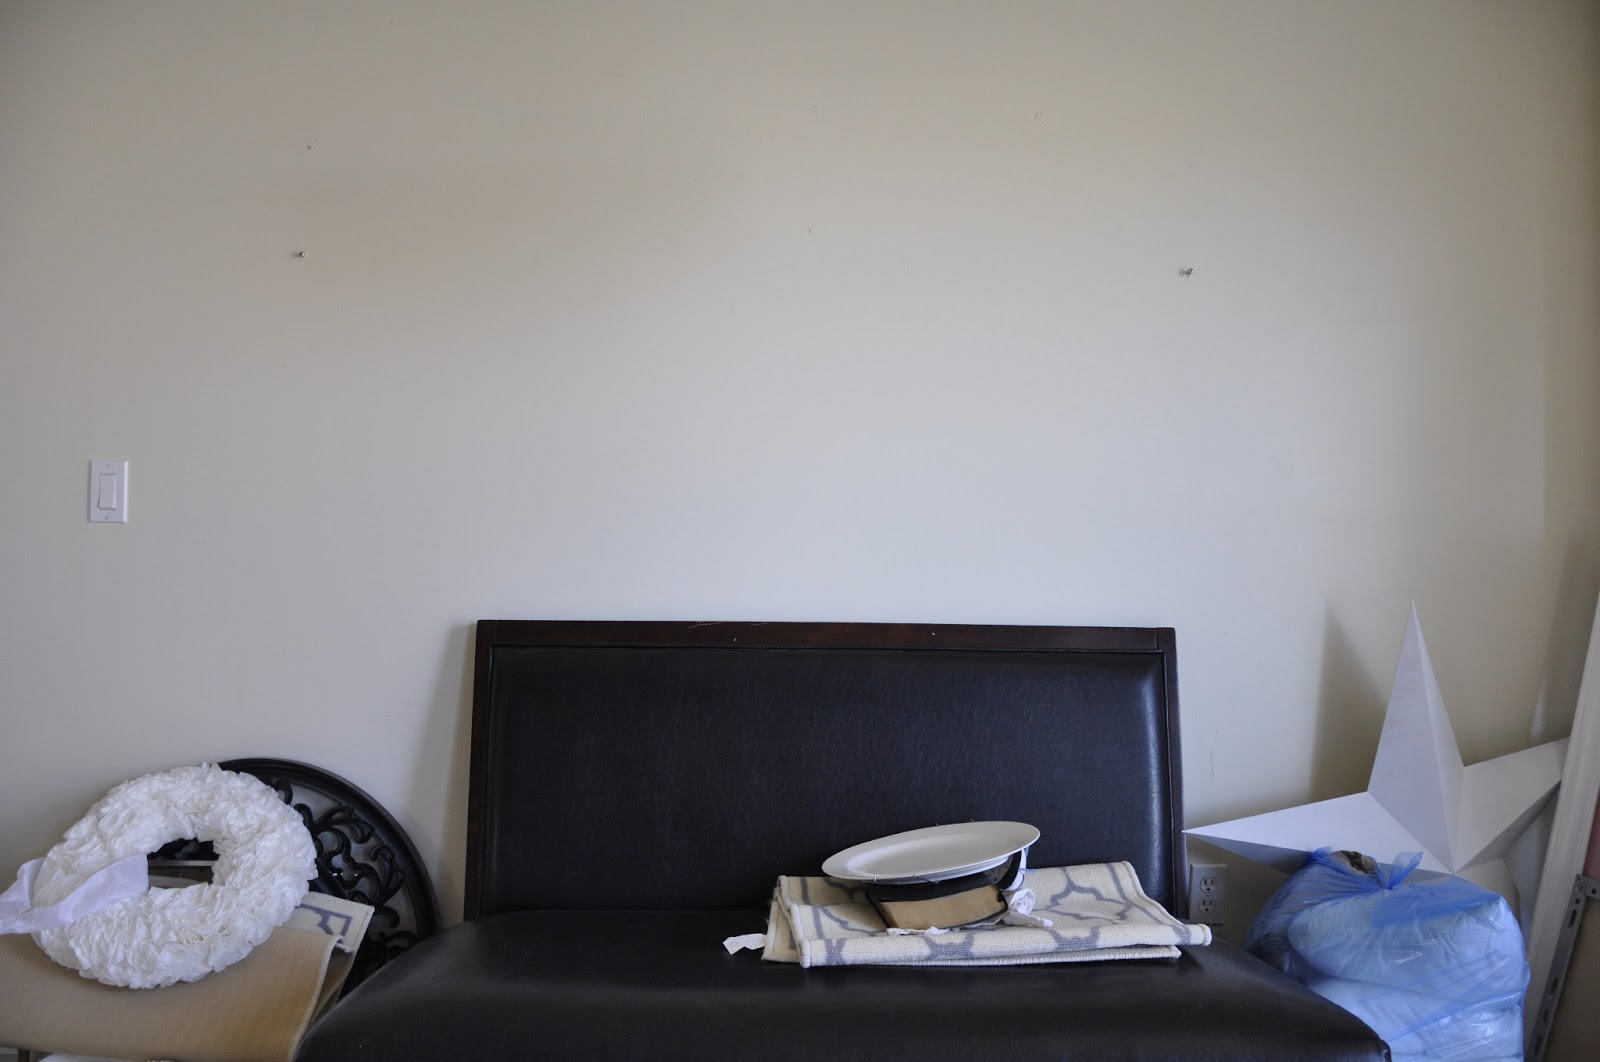
Because I am an impatient DIY-er who doesn’t like to measure, I simply found
center on my open wall, threw caution to the wind and put the first nail into my wall.
center on my open wall, threw caution to the wind and put the first nail into my wall.
That is how easy it is folks!

Now I was committed.
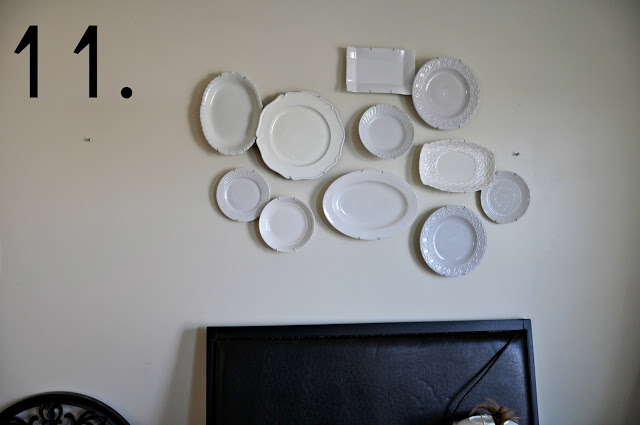
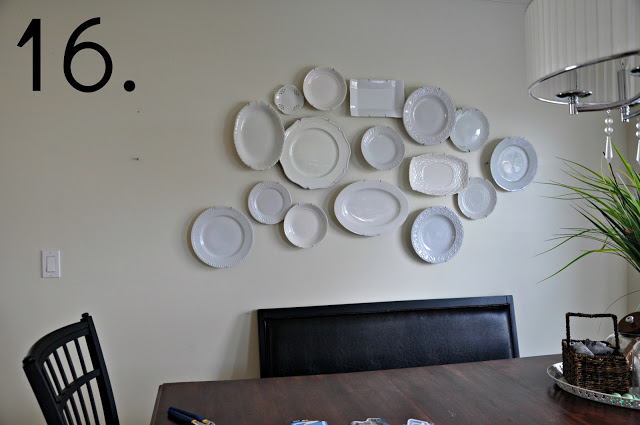
Next, I just figured out a pattern that worked for me and our space.
I wanted our wall to be random and not too contrived.
I wanted my plates to overlap in places and had no clue how to do so.
So I jumped right in and started banging holes and hanging plates!
.


Phewffff!
That was a lot of nailing!
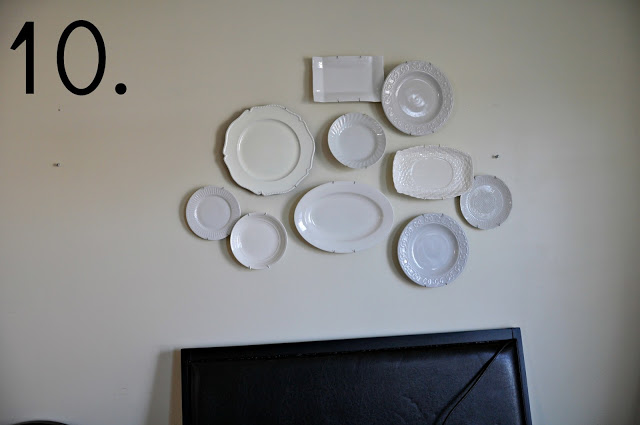
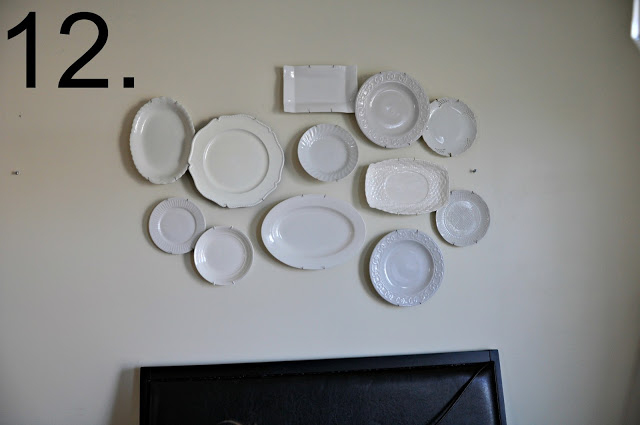
Don’t be afraid though, if you put a little hole somewhere and end up changing your mind; a little putty down the road will cover it up completely, for now your plates will help out and cover any unsightly nail holes.
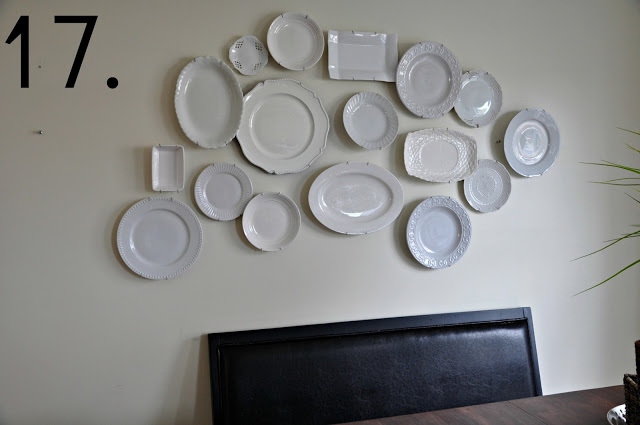
MY plate wall was almost complete in under a half hour!!
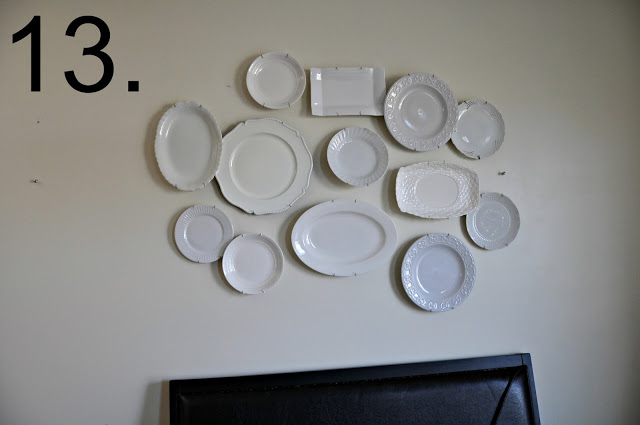
Except that after plate 18 I waited a week and a bit until I found the perfect little plates to finish off the wall.
9I say that only so you know that the whole project does evolve over time.)
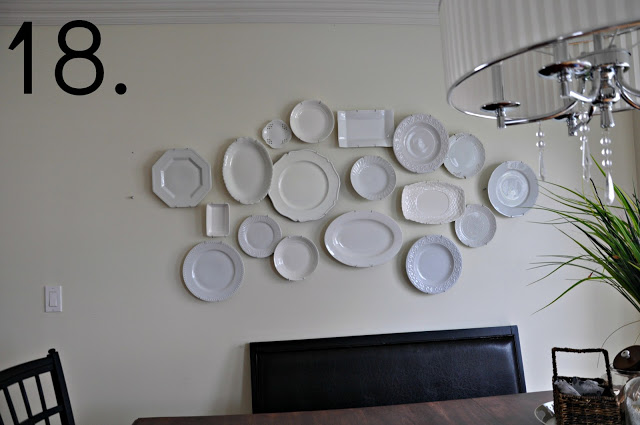
It has been over a few months since I started collecting plates and dishes for this project. I think with this kind of thing it takes time and patience and it will continue to develop over time.

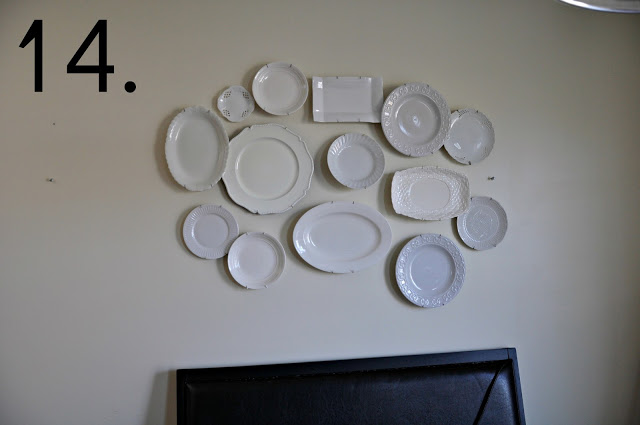
I have loved hanging out in front of this wall and looking at it all…

And today I am pleasantly surprised.
It’s been more than a minute and this house 9that is always evolving) has stayed the same for a few days in a row. 😉
I love this little wall and I love that it was so easy to do!
I hope this little “how to” has helped you with your decision to start your very own plate wall.
It is worth it. 😉


gardenfeever
June 4, 2013 at 7:13 pmLove the plate wall and thanks for the inspiration. This may sound stupid but what did you use to hang the plates? I know you used nails in the wall but what were the plates suspended from? Thanks and I love your blog!
Mel
gardenfeever
June 4, 2013 at 7:15 pmYour plate wall looks great: thanks for the inspiration! How are the plates suspended?
bethanygier
June 6, 2013 at 1:34 pmHi Mel, Im so glad you like it! I bought plate hangers which are made of metal clips and springs so they stretch to fit your dishes. They also come in small and large. I found that our Dollar stores (Im in canada) had them for a buck a piece when other stores sold them for $2.50 a piece. Same quality too. 😉
Hope that helps! I will have to do a post with more information as im getting emails with questions too.
Cant wait to see if you make a plate wall too!