I hope everyone’s week has gone well! Here, in Southern Ontario, we are having our first FULL snow day in about seven years! This means, that all schools are closed and even some colleges and universities! Transportation services are changing their schedules, along with Police advising to stay off of the roads.
So we are home in our jammies enjoying the warm indoors and watching the winter wonderland unfold around us! It is going to be a good day.
This week in particular flew by for our little family. Our baby is getting over being sick, which means I am looking even more exhausted these days as I have been tossing and turning along with my little man in the nights. But he is on the mend, which means I have challenged myself to tackle some smaller projects around the house!
If you follow me on Instagram then you might know that we are forging ahead on the playhouse that is going to be in our salon. But let me be the first to admit, that doing anything with small children takes twice as long.
I have begun to realize that if I am going to get any project accomplished, I need to do it at night when the babies are asleep. Though, that is when I work out and fall into an exhausted heap on the couch and turn a blind eye from a kitchen full of dishes and instead catch some of American Idol. I know all you moms out there can relate! 🙂
On that note, thank you so much for all of the complimetns that our Ikea-Rast-hacks recieved when they debuted this week. you are all such an encouraging bunch! I DO want to show you rest of our master bedroom, but today want to share a quick project (one I tackled with the kids awake!!) with you first.

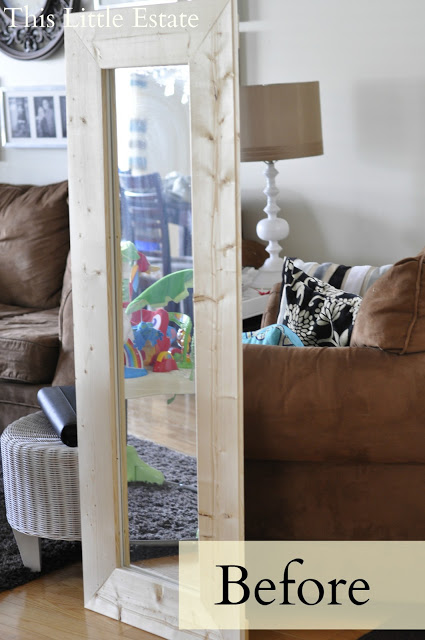
Here is the story, one day last week I asked my husband if he could upgrade the 15 year old mirror I had that was meant for the back of a bedroom door. He had suggested I throw the flimsy thing out and get a dressing mirror that wasn’t pitiful looking.But I had other ideas for my well loved mirror. If that baby could talk, it would have horror stories about the outfits it had seen!!
With most projects, and creative ideas, I wanted this mirror upgraded, today.
But after a long time searching in the garage, I came out empty handed.
The next day though, my supportive hubby, being the awesome guy he is, remembered my searching, scouring, and subsequent disappointment, and made a special trip to the hardware store across town to pick up two 1″ x 6″x 8′ pine boards for $2.79 each.
He quickly made and surprised me with my $6 upgraded mirror when I was making dinner that evening.
YAAAAA!
Just what I had in mind! How amazing is he?!


I covered my dining room table with an old sheet and moved the mirror with its new wooden frame up and out of the way from prying child hands and dog paws. And then I carefully taped off the edges of my old friend the 15 year old mirror.
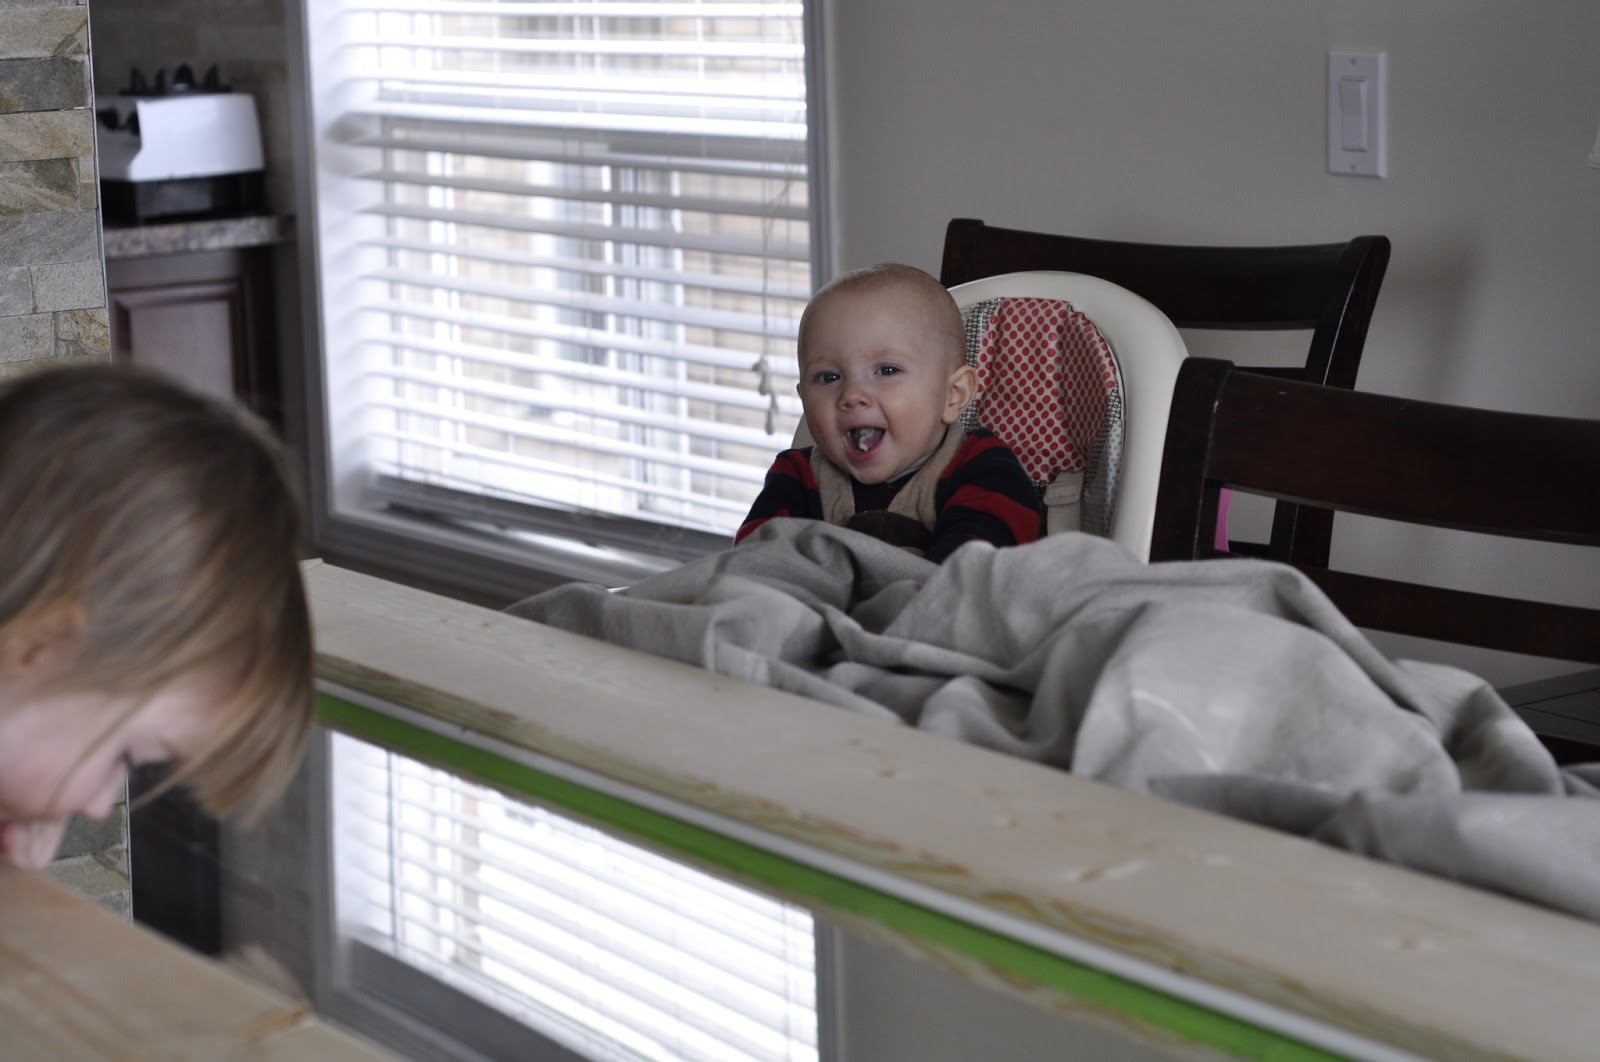
I had some little helpers near by too. They cheered me on and tried not to touch the drying paint. 😉


After two quick coats of paint, I moved my old-mirror-made-new-again in the corner of our master bedroom. It is now the perfect addition and helps me check my shoulders for baby spit up before leaving the house. No more awkward grocery store visits, when the person in line behind me at the check out, plugs their nose at my back and the puke that is dripping down it, from who knows when.

Here is the cost break down for this pretty and functional mirror upgrade:
+The dressing mirror put me back $10 fifteeen years ago
+Two pieces of pine cost $6
+Labor was free
+Paint was free
——————————————————
$16!!!
And because I love a good before and after!

Here is to saving a piece of my past, saving a few bucks, and to my husband for saving the day!! Have you every tried to incorporate something old into a new space with a little ingenuity, sweat and paint? I would love to hear about how you too rescued a piece you love!
Sharing at:
Common Ground
French Country Cottage
Craftberry Bush link party
Chic on a Shoestring
Redoux


Debra @ Common Ground
February 8, 2013 at 8:41 pmHi Bethany, first of all you have a husband that's a real keeper. so sweet to get your mirror together!! Love the color on your mirror and your bedroom is just amazing. Love those fabulous walls!!
bethanygier
February 9, 2013 at 2:06 amThanks for stopping by Debra! means so much that you would take the time! The walls are a stencil from Royal Design Studios. Glad you like them, I do too. 🙂
Ruth
February 9, 2013 at 2:02 pmLove it!! The mirror is better than new.
Ruth
Jaime Lyn
February 9, 2013 at 7:54 pmA perfect makeover! I love it! I am going to have to fix up some of my mirrors like this too! Thank you so much for sharing at the Inspiration Gallery!
Jaime from Crafty Scrappy Happy