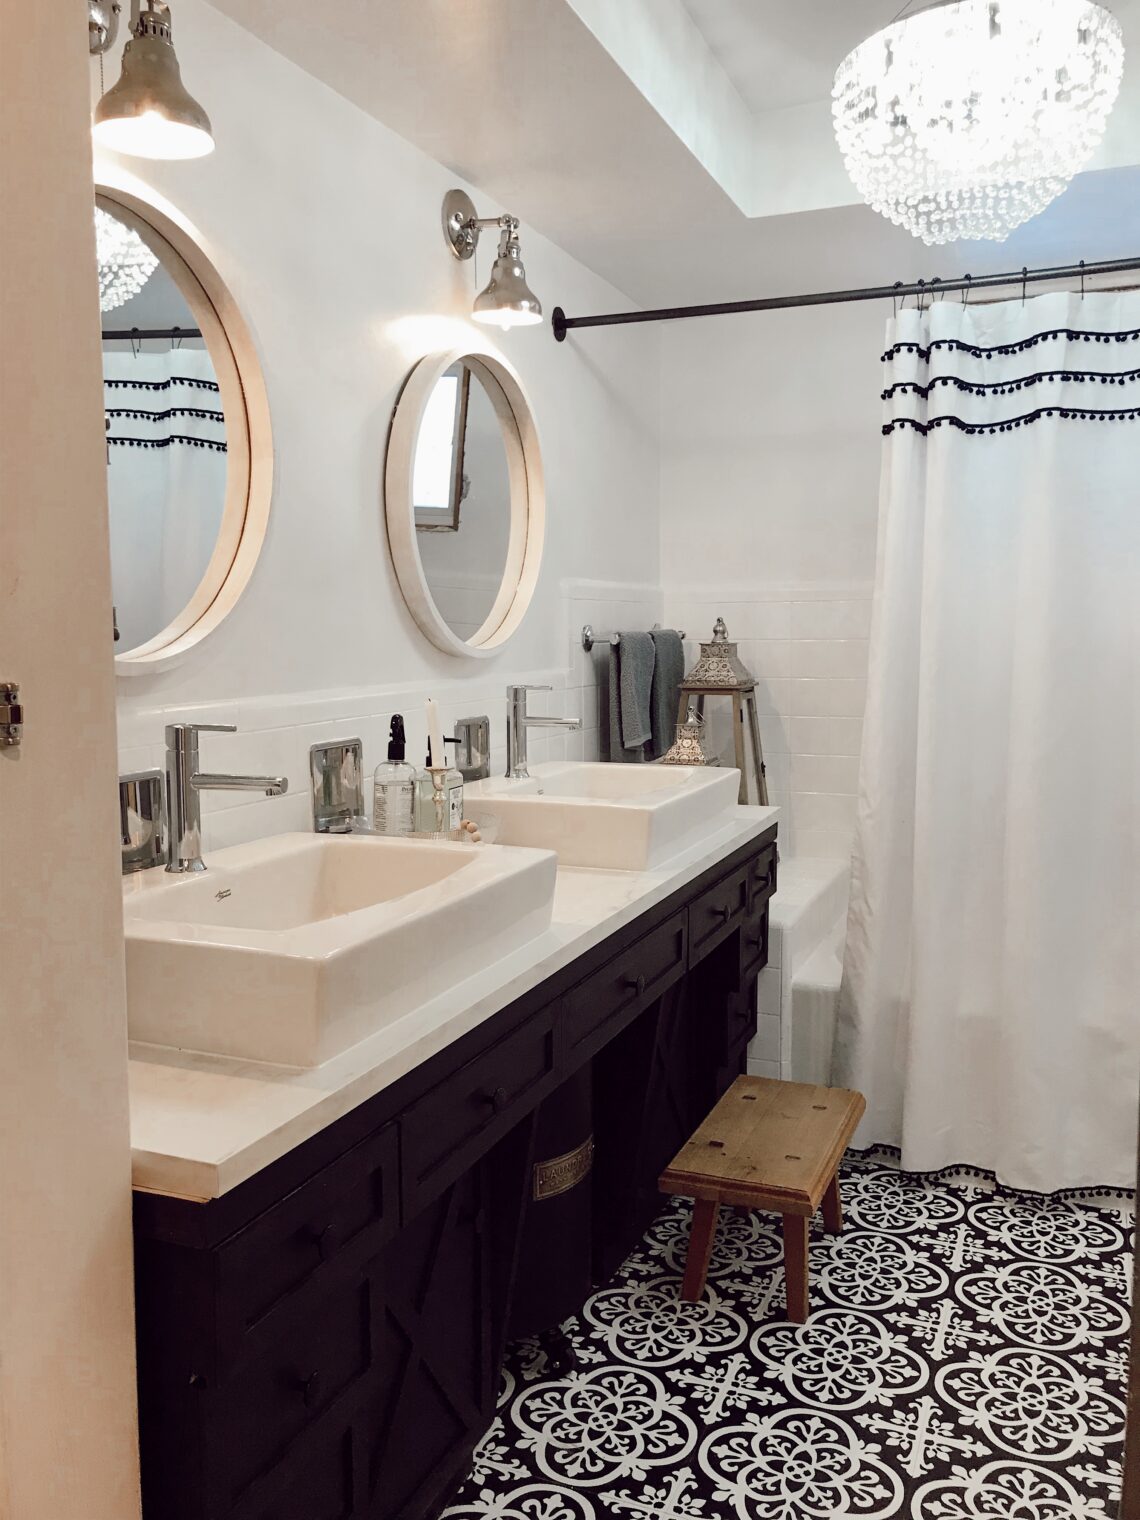
It was about this time of year circa 2018 when we renovated our main family bathroom.
Our home is older and like many mature homes, bathrooms aren’t plentiful.
In fact, in our four bedroom home there were only two bathrooms when we moved in. There was the outdated one I’m going to show you in this post and one that only had a toilet, didn’t have a sink to speak of, and one that quickly lost it’s walls too. 🙃😅
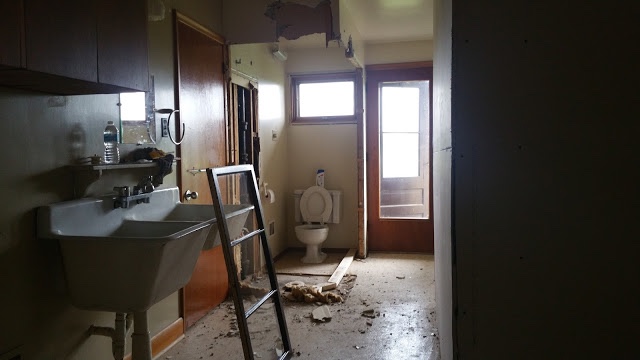
So basically, our family of five have shared ONE bathroom, tub and shower since we moved in six years ago.
If you’re curious, yes, it’s been a bonding experience. 🙃
Our main upstairs bathroom was never big, it hasn’t always had two sinks and it has never had a functional countertop layout.
Until that is, I decided to challenge myself to complete an “under 1k bathroom makeover” back in 2018. At the time, I shared the before and after of this project on my social channels but I didn’t go into detail about the flooring I chose and installed.
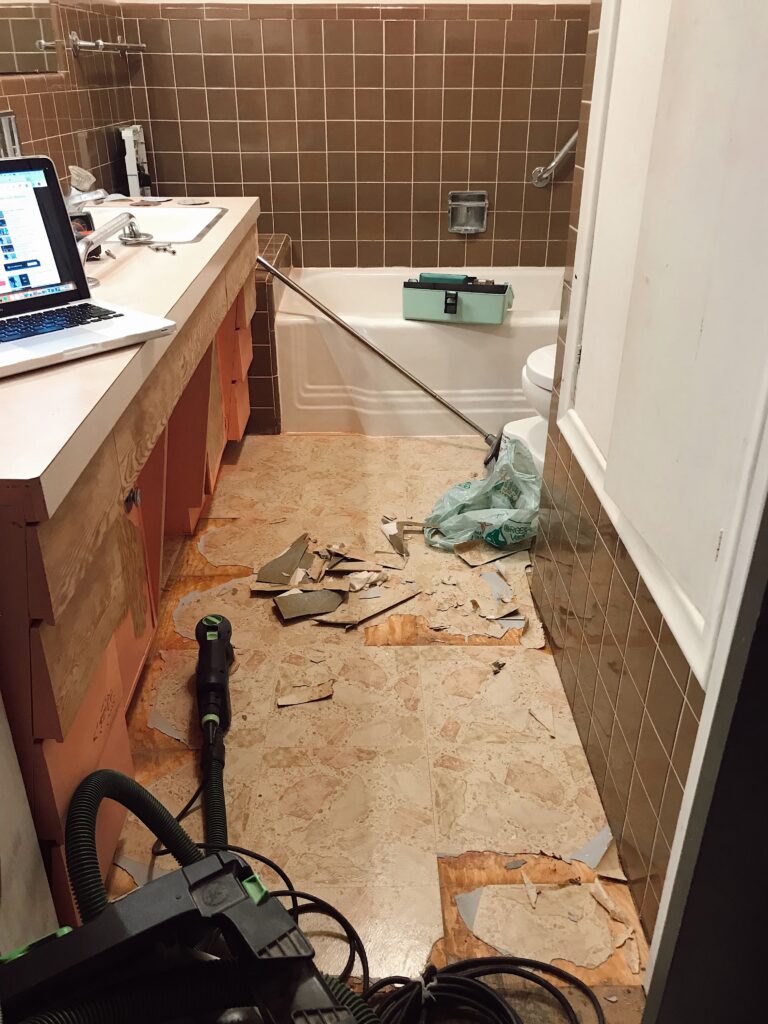
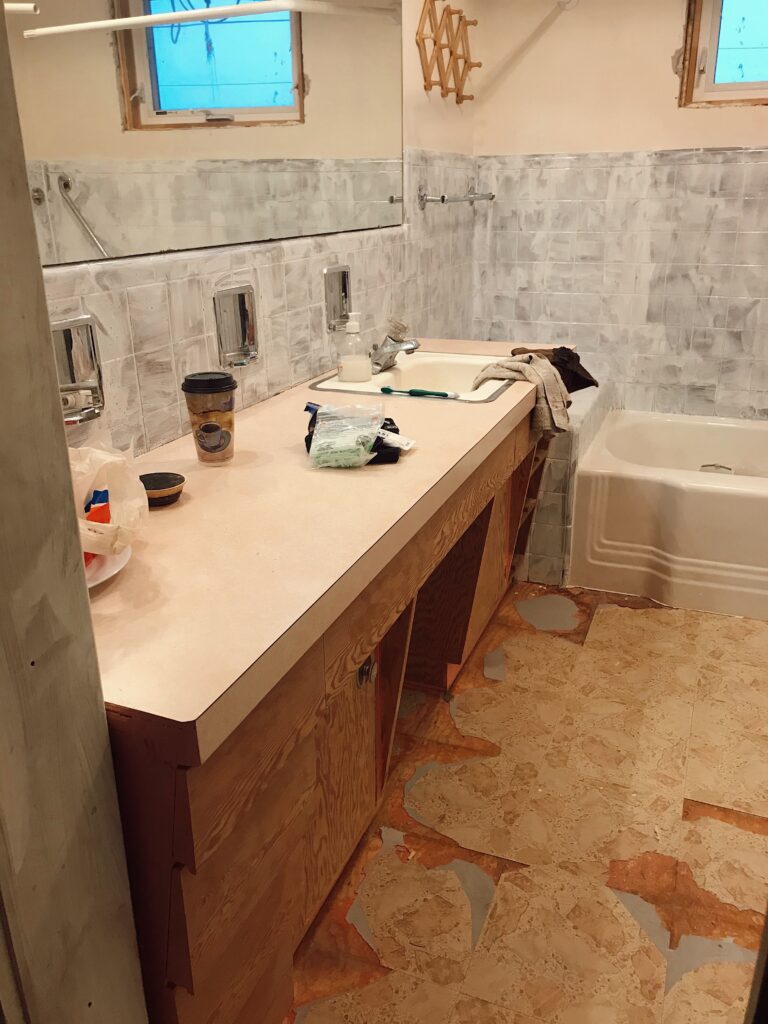
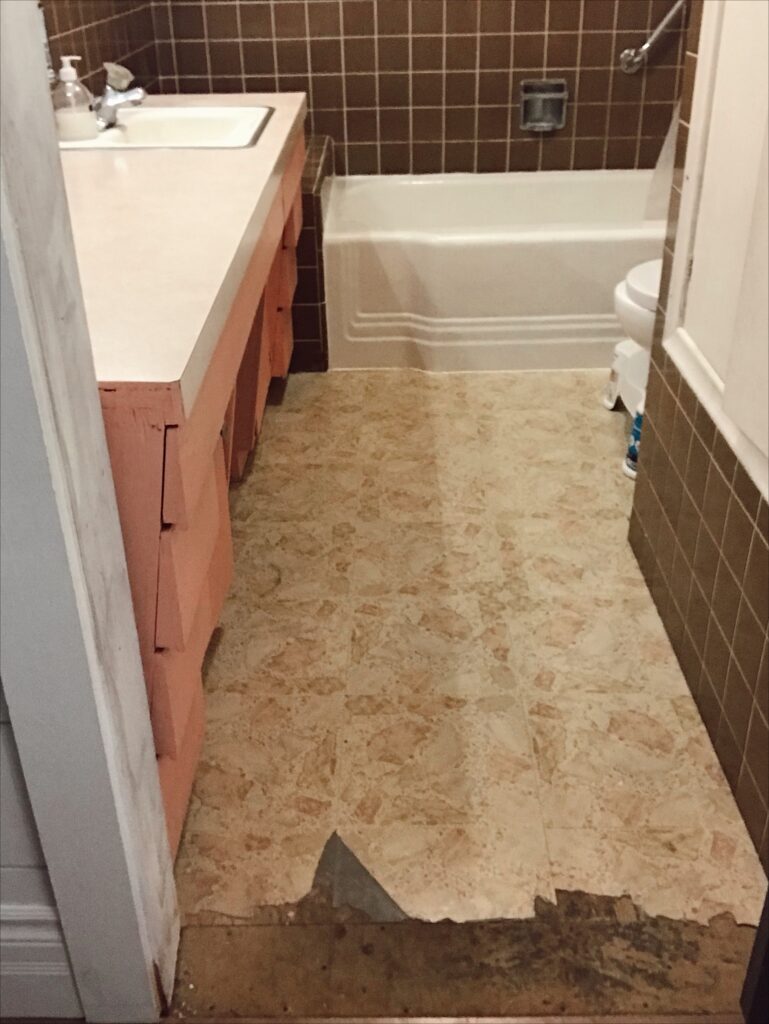
At the time, my husband and I agreed that our “1k bathroom makeover” was just a temporary cosmetic fix, because, we wanted a quick fix, because JUST LOOK AT THE BEFORE IN ALL OF HER 1950’s GLORY. 🤯
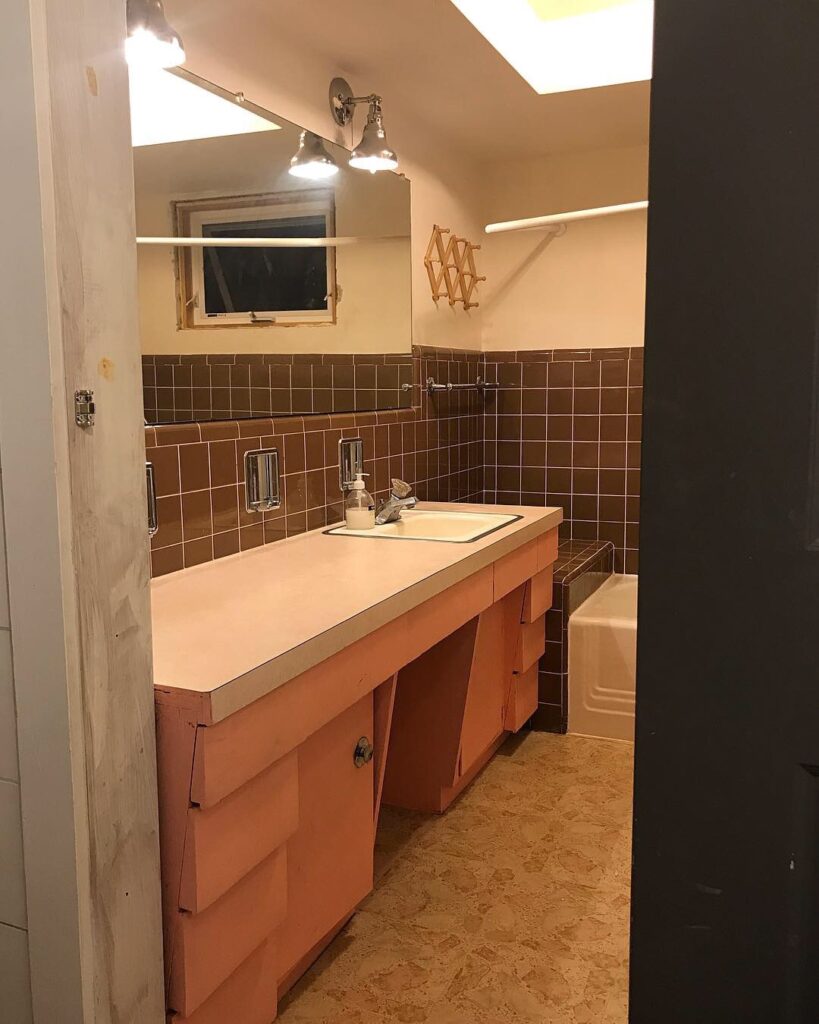
We reasoned that in a few years we would reconsider a more extensive bathroom makeover. But surprisingly to us, the changes we made then, have stood up until NOW, which is why I want to finally tell you all about the flooring we chose to install.
As someone who appreciates value and longevity, I wanted to wait and see how this budget friendly floor install wore over time, before recommending it. I reasoned that I wanted to really make sure the flooring had lasting qualities before suggesting using it in your homes, because honestly, at the point of install, it seemed to good to be true.
Flash forward to 2022 and I have to say that I have been astounded that a product so affordable could be so durable and overall vital in design and resilience.
So let get down to the details of this product!
What did we use?!
I used a product called “Floor Pops” and they make a variety of designs in a 12 by 12 peel and stick tile for your convenience. They are directly connected with their popular predecessor product “Wall Pops” that offers a massive line up of wallpaper-look-a-like peel and stick designs.
Where can you purchase this product?
You can purchase this product in different designs from “Floor Pops” directly, but you can also find them on line at a home improvement realtor near you.
I found the style I chose to go with directly from Home Hardware’s website.
(Here’s a quick look at the terrifying “before”)
What tools will you need to install this product:
Tools needed:
-Cleaning products of your choice
-A straight edge and utility knife to trim tiles to fit.
-Chalk line to mark your space.
-Pencil to mark your cuts.
-A base to cut the tiles on. (ie; a pice of scrap wood, a craft cutting mat, a kitchen cutting board wooden)
How do you install a peel and stick tile?
(In six easy steps)
Step one:
Lay tile package flat and allow 48 hours to acclimate to room temperature of at least 65°F (18°C)
Step two:
Remove your baseboards.
Baseboards and trim need to be lifted and reinstalled over the new tiles to allow room for expansion.
(If your tiles are laid snug against the wall, the pressure caused by expansion can cause them to lift and potentially crack.)
Step three:
Prep & clean your floors
The surface you’re applying your floor pops to needs to be clean, smooth, flat and dry prior to installation. Your area needs to also be free from grease, dirt, wax, uv coating, other oils and dust.
Step four:
Locate the centre of your floor.
Mark perpendicular guidelines to find the center of the room. For optimal measuring use a chalk line for this step.
Step five:
Lay out your tiles.
Inspect your tiles to ensure tiles are free of defects.
Leaving the back liner on, lay your tiles out from the center of the room to the walls to visualize your design.
After laying out your tiles, assess the outer edges and decide if you need to shift all your tiles over to avoid excessive trimming of thin tile pieces. (You’ll thank me later!)
Step six:
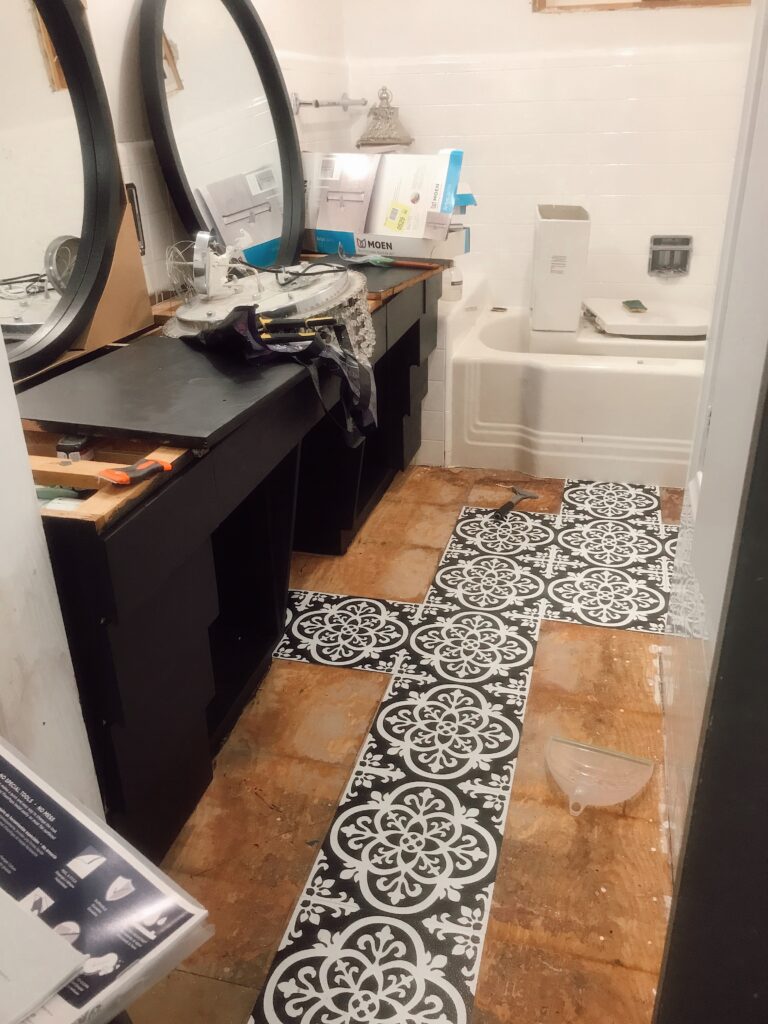
Remove the protective glossy paper backing and apply your tiles to your floor.
Starting from the center of the room, remove the protective backing from your first tile and press firmly into place.
Avoid touching and inadvertently removing the sticky adhesive. Dust, dirt and oils will affect it’s strength. (But also don’t worry, the adhesive is extremely strong that it can still adhere perfectly if you need to readjust your tiles slightly.)
Match your pattern and install your other tiles tightly against the side of the first tile.
Working on one quarter of the room at a time, apply your tiles in a pattern.
What are some things to consider before taking on this type of project?
• Make sure you do not apply tiles to loose or uneven flooring or radiant heated floors.
• If you are installing over concrete, a primer adhesive is necessary for a secure application.
• In a regular install you do not need to use additional adhesives.
• It’s advised on the Floor Pop website that your don’t apply their tiles where the temperature regularly falls below 55°F or over 85°F. (However, I have installed them in an outdoor travel trailer and they haven’t lifted or changed shape in any way in over three years!)
• Do not apply to heavily textured flooring.
And because at this point you’re all probably wondering the most important question of them all:
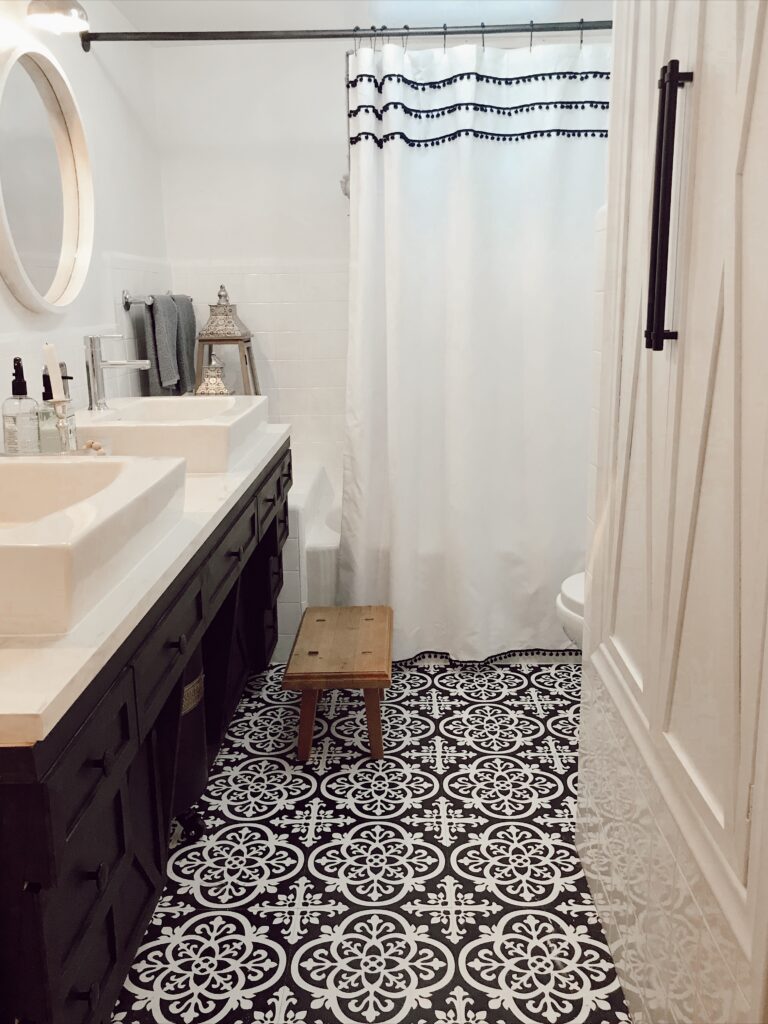
How have the “Floor Pops” stood up to a family of five over the last four years?
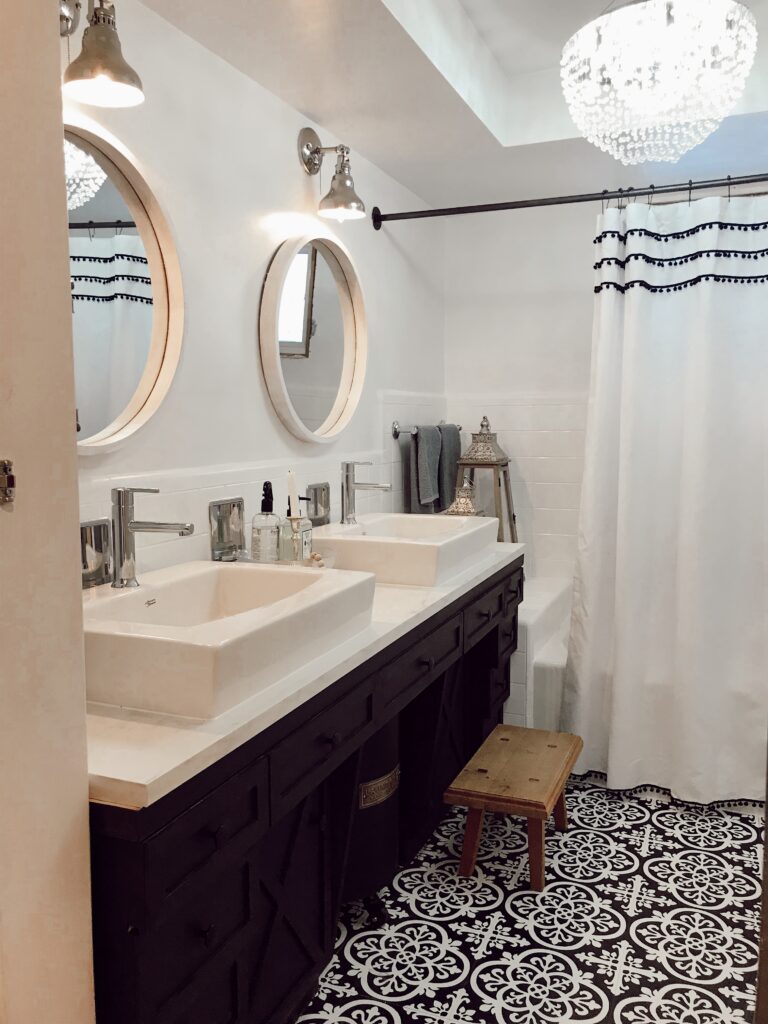
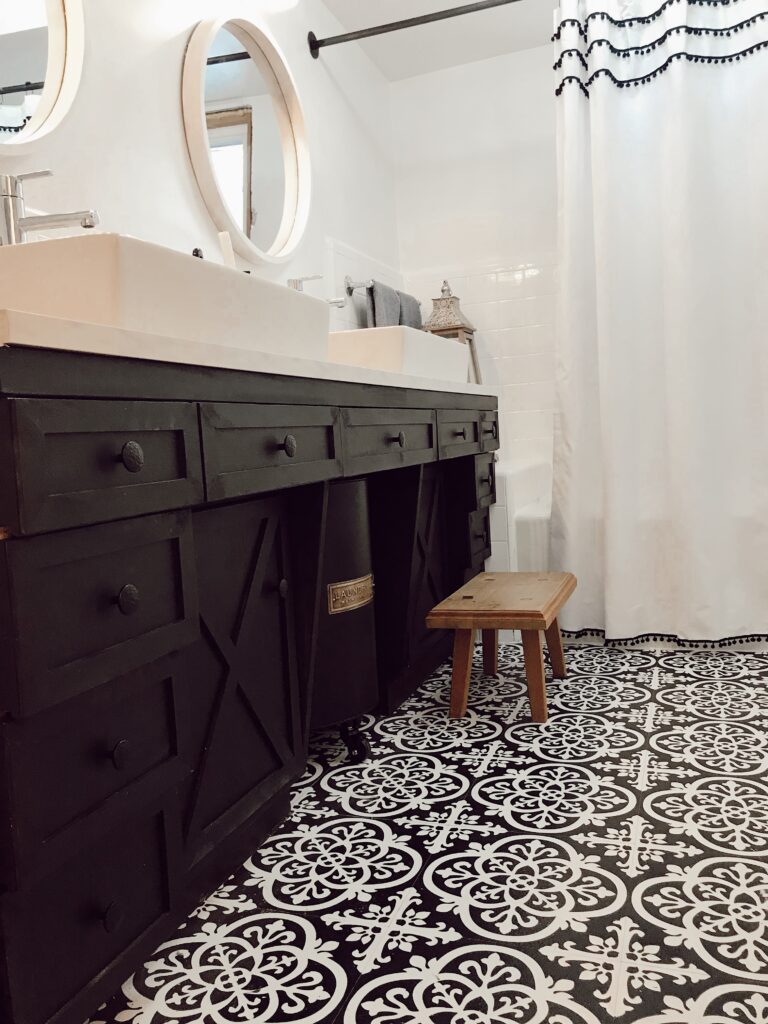
I’m happy to report that after years of constant wear and tear they have surprised me with how they’ve endured. The tiles have remained where we have placed them and have never budged or felt loose in any manner.
They are extremely durable to spills and water which I had been doubtful about. But they haven’t changed at all even after the consistent messy baths I give our two massive dogs.
The design of the tile is lightly textured and very durable and easy to wash.
There has been slight fading in the black graphics around the toilet where Mom scrubs the most, because, well, umm BOYS. 🙃
But overall, I am rather pleasantly shocked by the quality and longevity of this budget friendly material choice.
Can you believe the difference of the before and after??
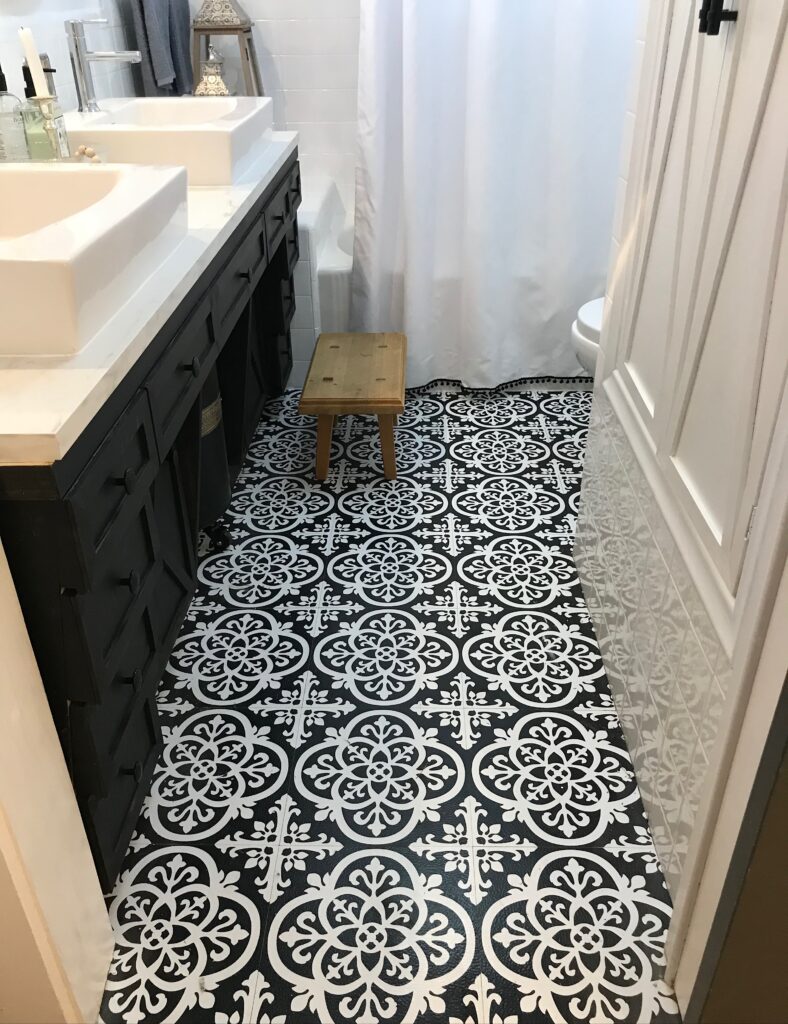
I think a product like this would work well in a space that just needs a little facelift, in a room where your budget is overextended, in a larger area where cost needs to be considered, in a home where you love a trending look but don’t want to make a life long commitment or in any area where you don’t want to break the bank!
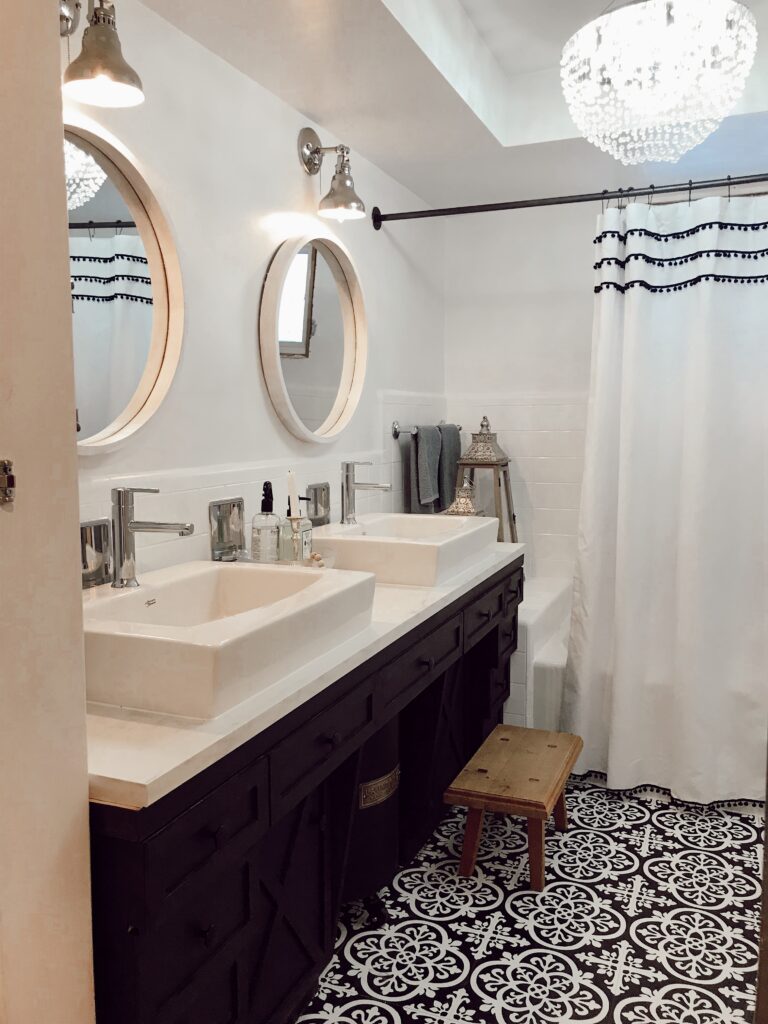
The total cost of this flooring for our space?
At the time we needed approximately five boxes of tiles and they were $35 each. Out total was around $175.00 CND.
Have you ever tried “Floor Pops” or another type of peel and stick flooring? What was your experience? Would you do it again? Did you have a positive outcome like we did?

