
Finally!! I sat down long enough to write a long awaited post about the newest additions to our master bedroom!!
Thank you for being so patient!
This whole master bedroom makeover began when we were sick of squeezing our two children, my big pregnant belly and my husband into a queen bed. It is hard to believe that we had shared a double bed for more then half of our married life!! Well, with the impending birth of a third baby we knew we needed to upgrade once and for all to a bigger bed that could accommodate family snuggles, morning wrestling match with the kids and our growing collection of pillows.
Our bigger bed was also taller than our smaller bed which meant we needed to take into consideration a taller bedside table. If you have ever had a King size bed, you know, that tall bedside tables are hard to find!!
Our backs were beginning to break from reaching down to our bed side table for a drink of water, and the tables we lived with for a while were so low, the kids would use them as “stairs” to climb into our big bed! They had to go.
So, the hunt for tall bedside tables began.
It didn’t take me long with Internet searches to find that Rast hacks have been the go to bed side table for those faced with this same problem.
I showed some of my favorite Rast hack renditions HERE.
That was it, I was in love with the Rast Hack and had to make our own!
There was just one problem.
I knew which Rast Hack I most admired, but didn’t know HOW to get to my desired final result.
So my dear, friends, this will serve as a little rundown of the steps we took and what you need to do to get your own beautiful bedside tables.
First, fill the car up with loved ones and gas and drive to your nearest Ikea. (And if you are like us, pack some snacks and water and more snacks.)
Second, locate these $39.99 Rast 3 drawer pine chests in their neatly packed flat boxes.
I love that you don’t need a big vehicle to transport furniture from Ikea!

Thirdly, find a loving hubby and two children “helpers” who will build the dressers after your day of failed attempts!

Then, step back and take in all of their fresh pine glory and decide on a colour you want to stain or paint them to seamlessly combine them into your space.
We had talked about a dark stain to accompany our grey toned dresser….
But some contrast in tones would be nice too….
Fourthly, is that even a word?…prob not…but, take this nice plain pine baby into consideration as you search the pots of paint and stain you have piled high in your garage. (Also, tell your hubby, that having selection is precisely the reason you are a paint hoarder. And then smile super sweetly, cause saying that was kinda rude.)

We selected a nice Teak stain in a gel form.

Next, find an old tea towel and rip it into strips. You will apply your stain with this cloth in a rubbing fashion.

Next, take off the plastic pieces on the inside of your Rast dressers and reiterate to your Rast building team, that you did love their help, you just need to stain the piece easily. Reassure the younger members of the “Rast team” by giving hugs and letting them dip the old tea towel into the stain.

Next, apply your stain. (PS: gel stain rocks my world. No more stain splatter everywhere!)

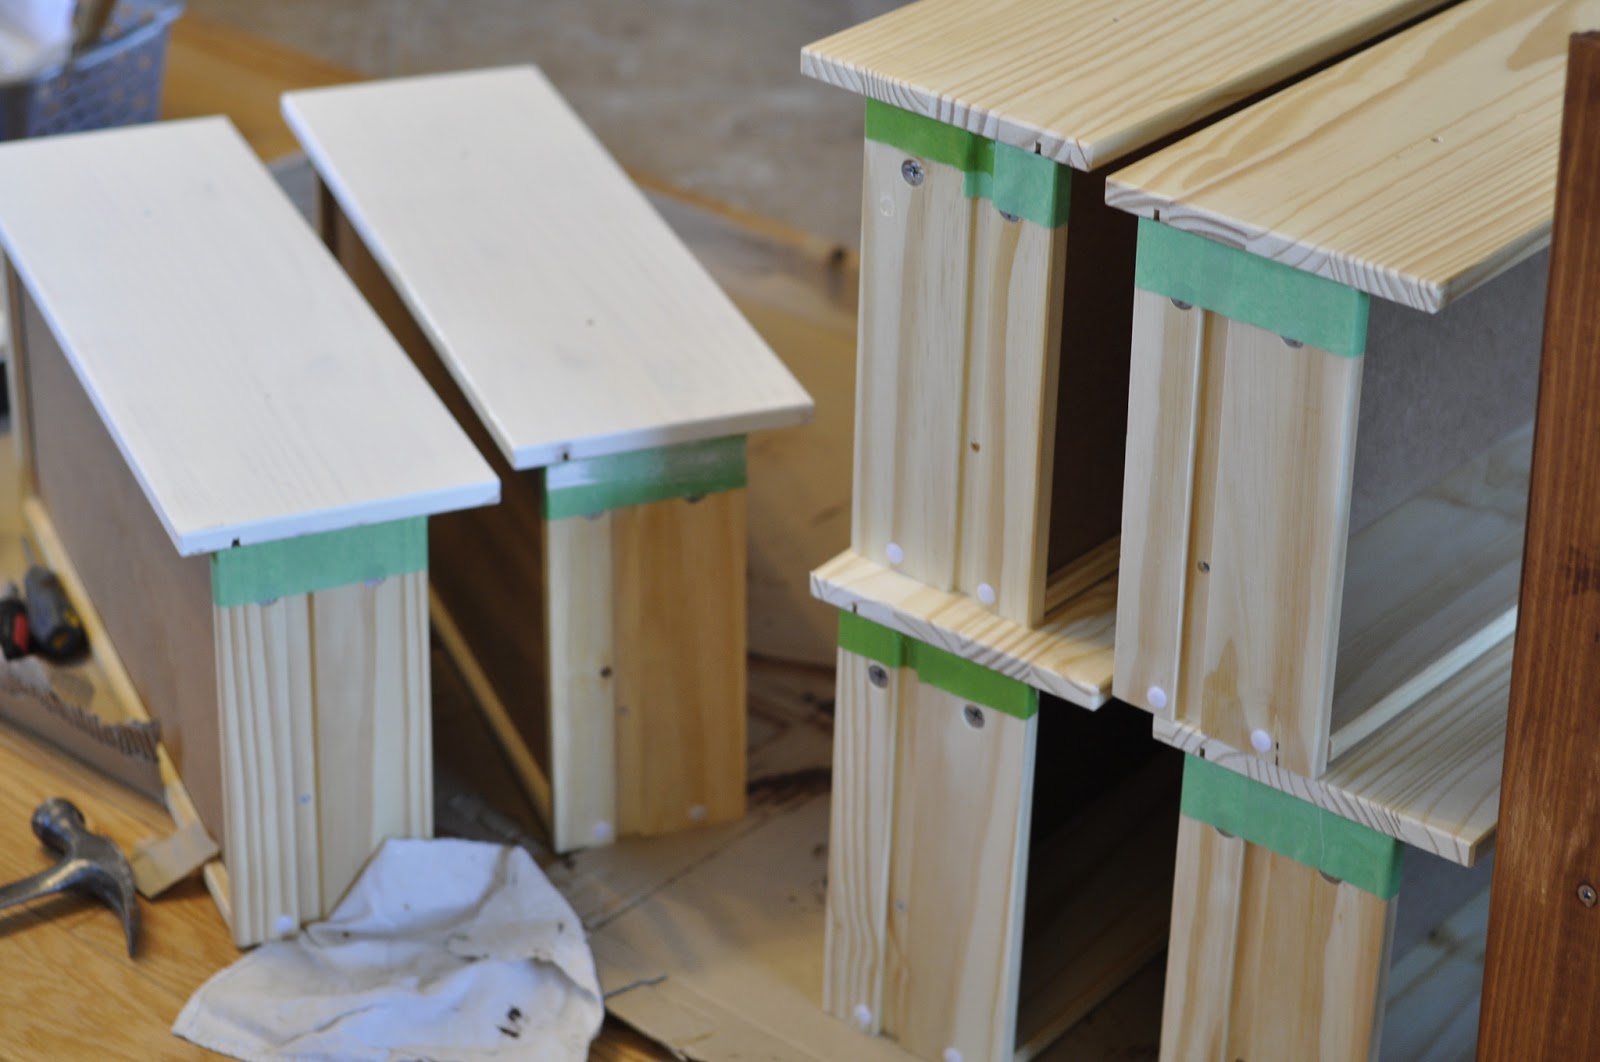
 After that, tape off the edges to your newly constructed drawers and paint the tops of them in a white (or whatever colour you have decided on for your hack.)
I used the same paint meant for the trim and doors in our house. It is a true, bright white and has a semi gloss finish, perfect for wiping down too.
Now comes the hard part.
I could not decide on what kind of hard ware I wanted to use on our dressers.
I wanted something with some visual texture, but something that was also elegant. So, I took some glass knobs off of a piece I had previously finished to try in place on one of the drawers.
They had the elegant factor, but weren’t substantial enough.
We visited our local hardware store and found these pretty round knobs with a decorative pattern. Their finish wasn’t what we needed but at the price point of $1.00 a piece I knew some sparkly spray paint would do the trick if need be.

So I attached them to the newly painted dresser and stepped back with a critical eye.
Who am I kidding? The inexpensive round ones with the decorative centres did not fit the bill, and the glass knobs on the first drawers looked like they disappeared into the white colouring of the drawer.

Here is a quick close up, so you can see just what I mean…
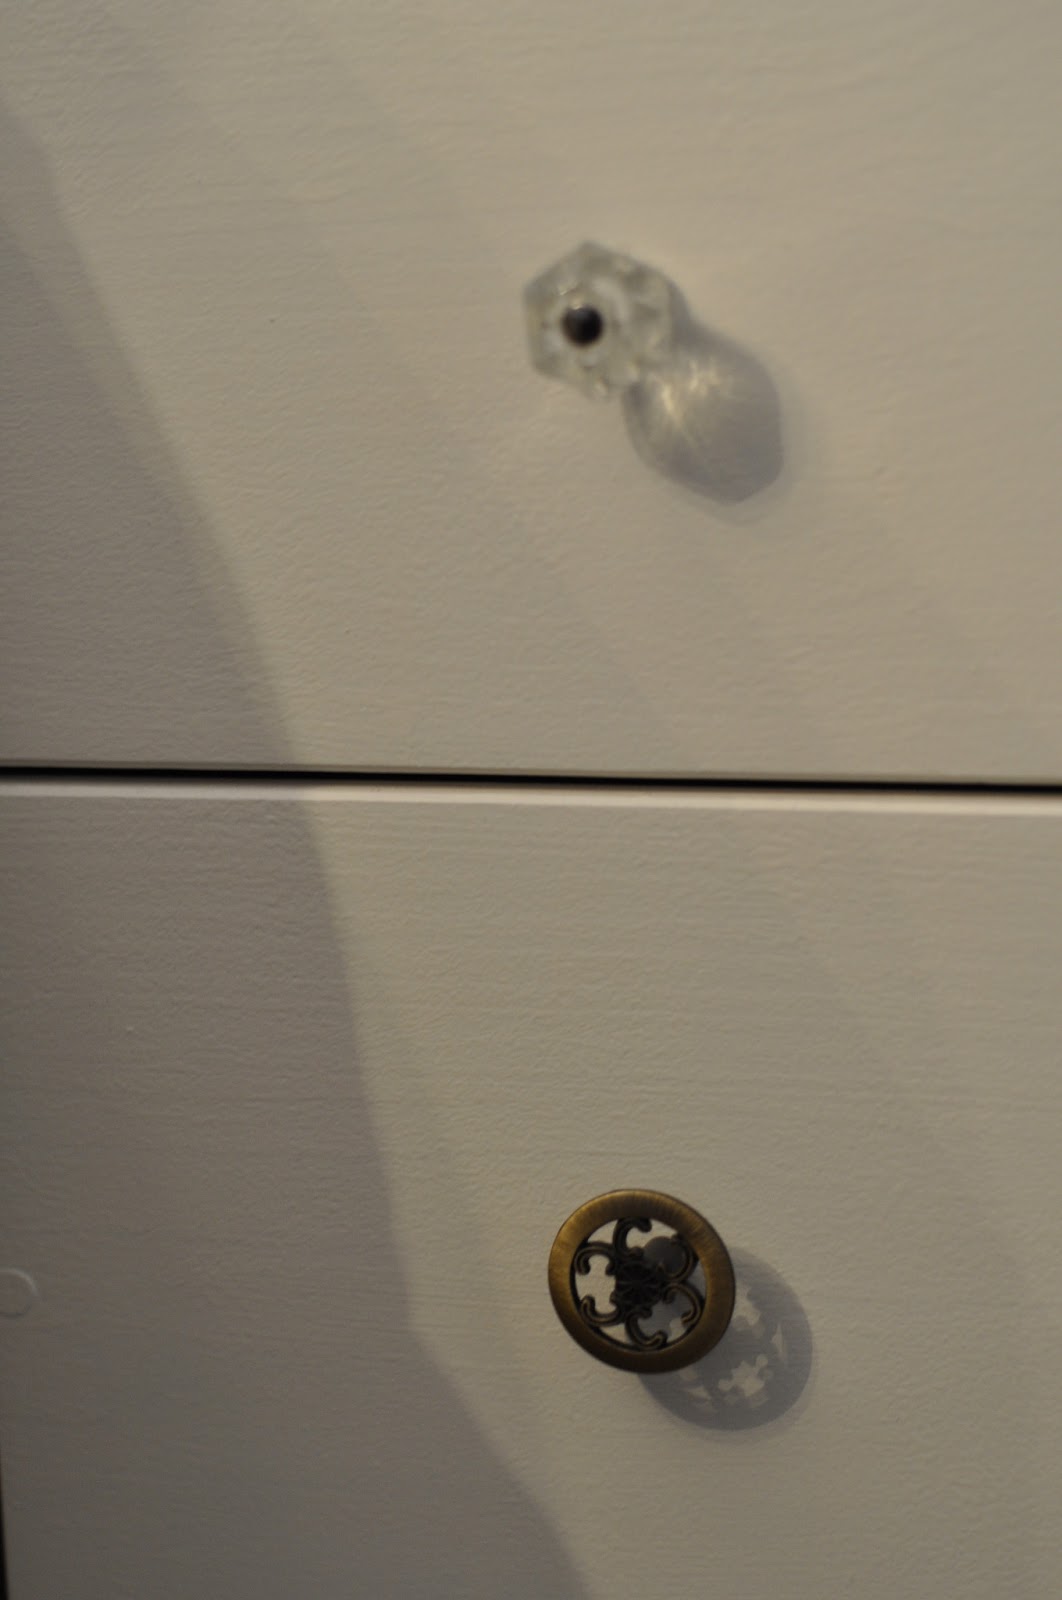
So, the dressers sat, without handles or hardware for about a week as I scoured every online shop I could find.
The sad reality was that, I just did not want to pay $10 plus a piece for hardware when I would need 12 of them. Being a cheap savvy shopper, I just did not want to spend that much.
When I had made up my mind to wait until I found a sale on hardware, my treasure hunting brother called me, saying that he found some hardware at a local second hand shop. I immediatly thanked God that our genetic-deal-hunting-genes were well matched.
I asked hesitantly what he had found, and he described quality glass hardware.

When these beauties showed up in his hands at the cost of 15 for $35.00 I was in absolute shock!
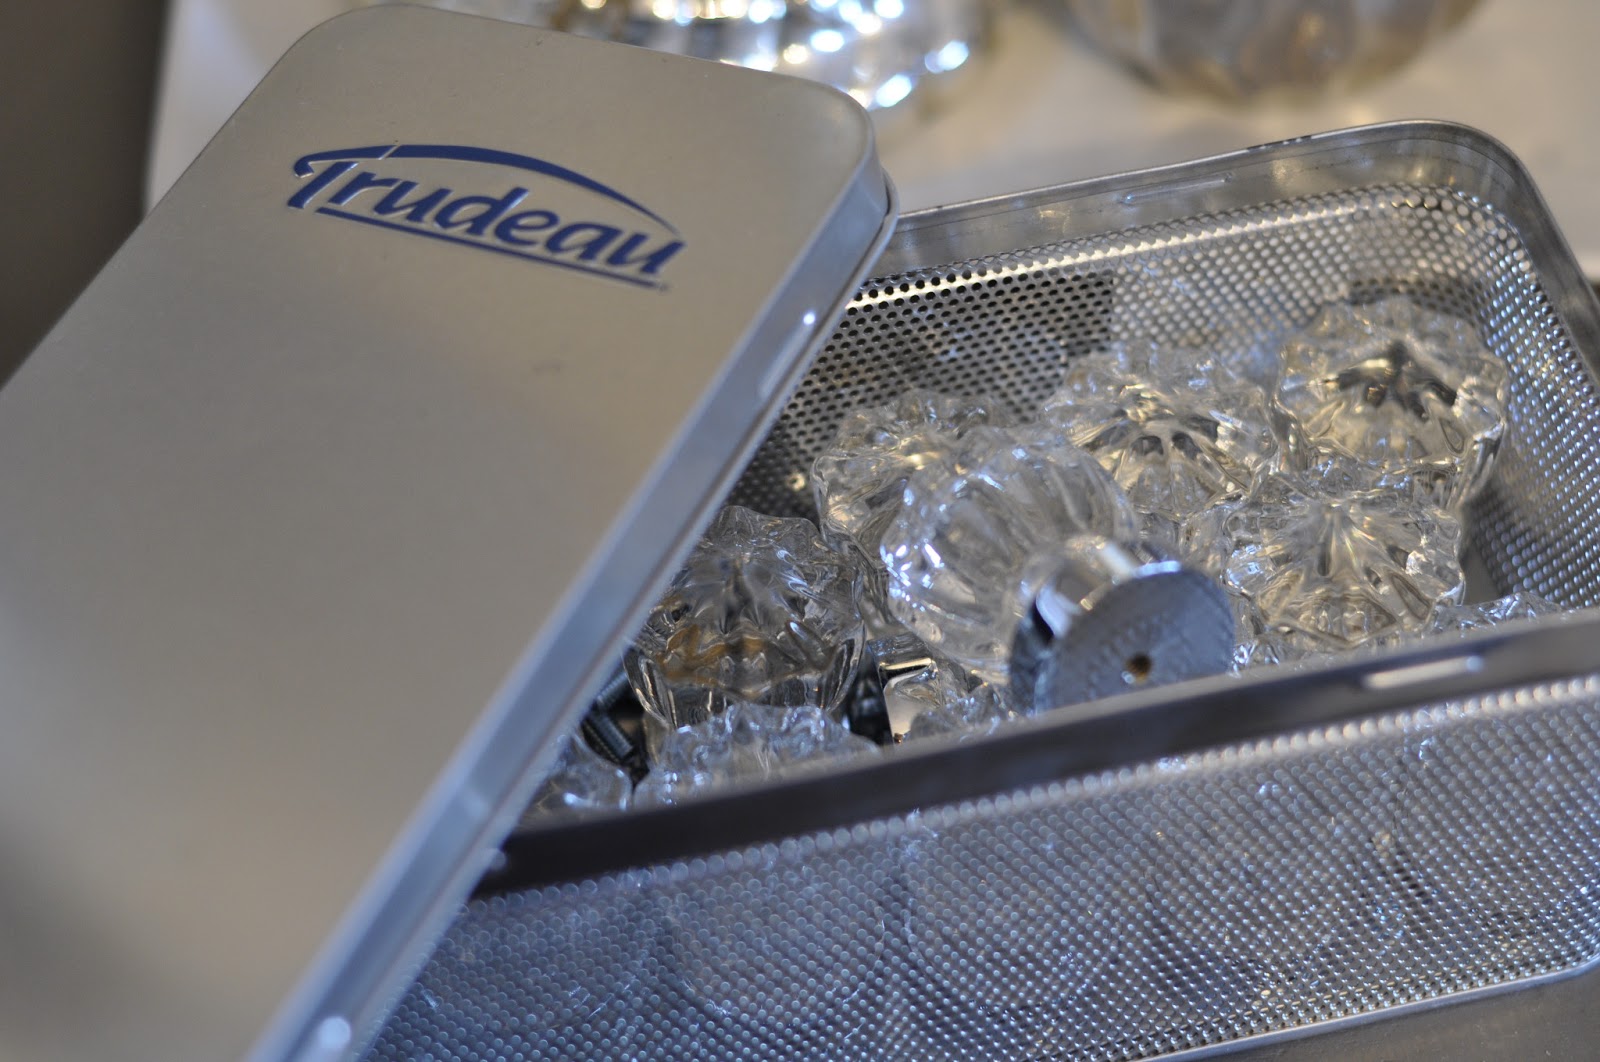
They were perfect!!
You can see how they compared to the other glass knobs I had put in place. These ones have a nice silver backing that give them some substance and weight. They are heavy too and have the best textured feel to them. 🙂
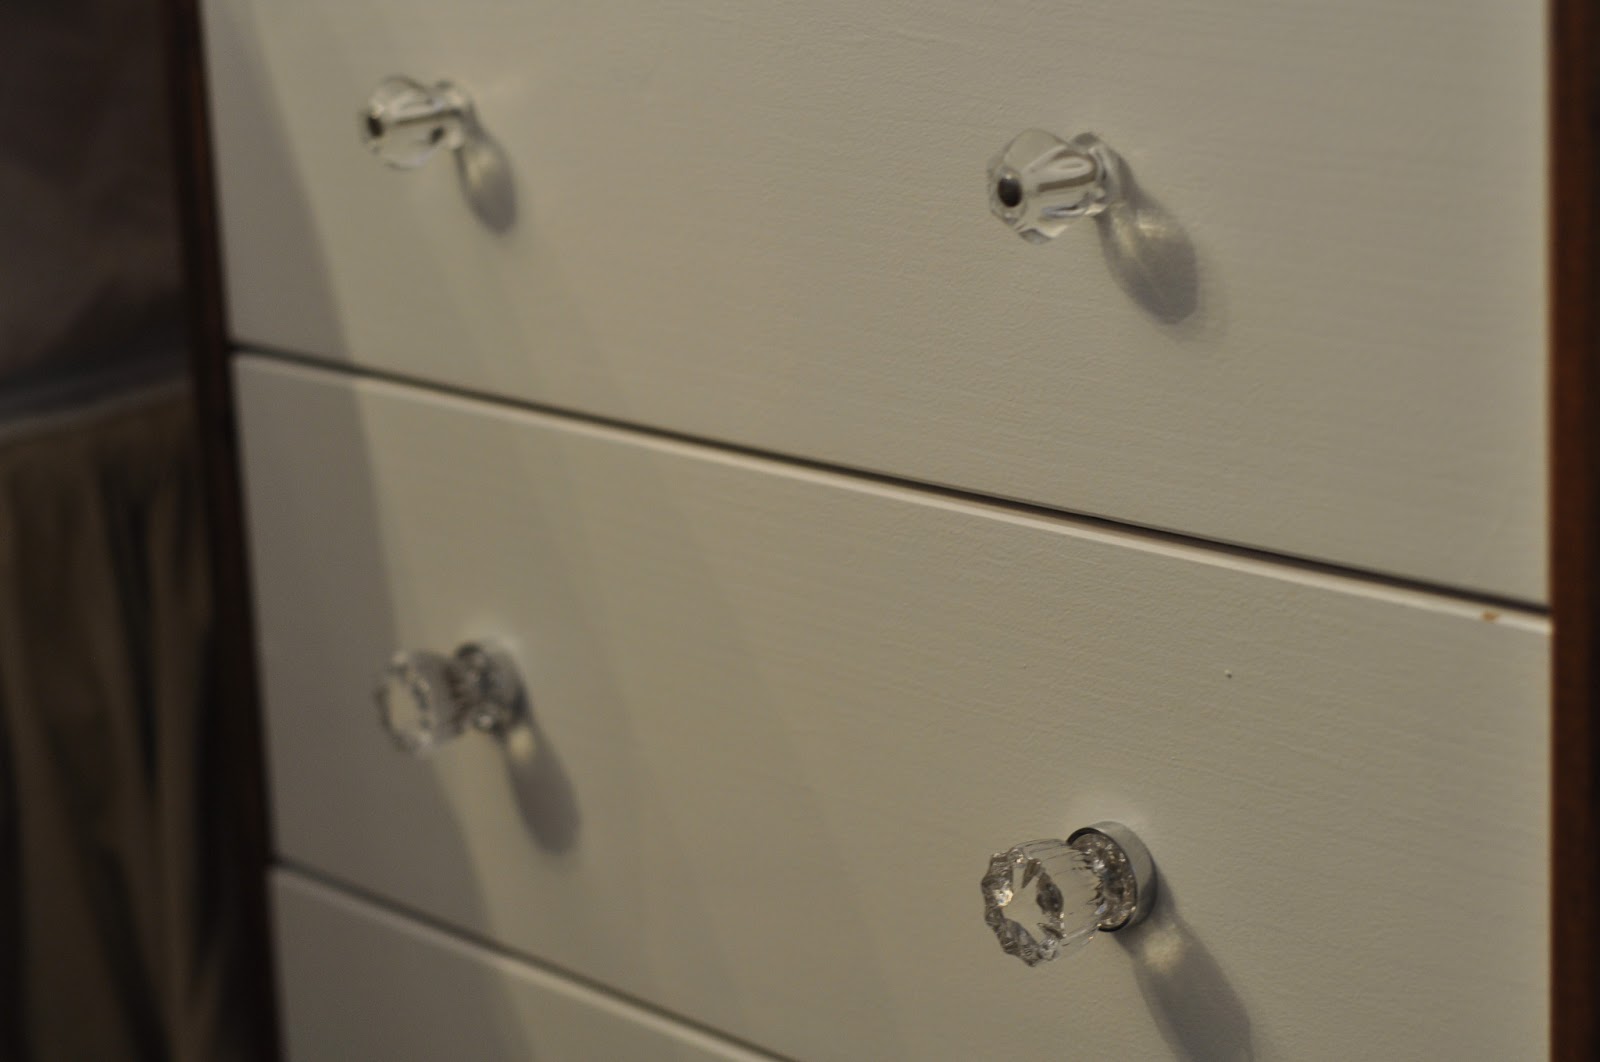
Your last step, is to snag a deal like mine, or a brother like mine, or a combination, and attach your lovely hardware on to your dressers.

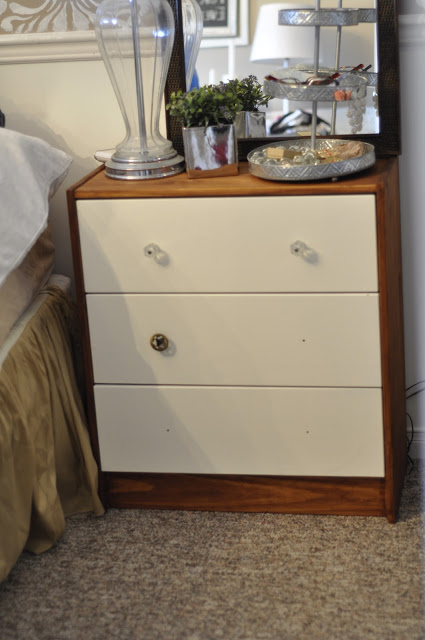
Lastly, step back and take in your finished product.
The perfect height dressers and for under $60 a piece!
If you begin shopping around, you know how hard it is to find something under $150 and at the right height.

I love that we are no longer breaking our backs reaching for a glass of water in the middle of the night, and I love that these full pine dressers add so much more storage to our bedside area.
They are truly, so easy to make and their porous wood makes them even easier to stain and paint.
Their predrilled holes make attaching hardware easy and best of all, they are the perfect height for a King size bed fit for the whole family. 😉

I hope these simple steps help you if you decide to put your own spin on the Ikea Rast Hack!
I couldn’t be happier with how easily they turned out.
Such a nice addition on either side of our bigger bed. 🙂
Now, all we need is a headboard and to finish the architectural details of our teeny tiny master bedroom.
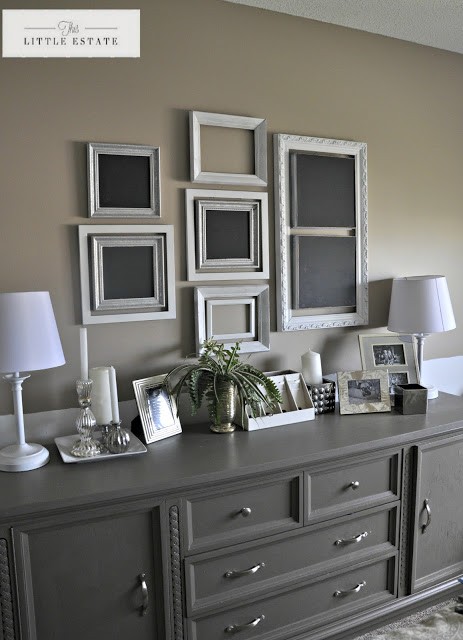
It is hard to believe that our master bedroom has gone from this….

to this

I cant wait to show you how we got to this point inexpensively, with a little ingenuity and a lot of savings along the way.
Stay tuned!!
Cocalores
February 25, 2013 at 4:24 pmYour bedroom makeover definitely makes a statement! I've been eyeing those Rasts, too – but I still have some "homeless" furniture that needs new paint and lots of love before I can start on a new Ikea project 😉
Unknown
May 31, 2014 at 4:33 pmLooks great! The overall room transformation is amazing! I tried an IKEA RAST hack too. Check it out http://www.redbarberry.com/ikea-rast-hack-upholster-and-stain/
Unknown
May 31, 2014 at 4:34 pmWow! Looks great! The overall room transformation is amazing! I tried my hand at Rast hacking too 🙂 http://www.redbarberry.com/ikea-rast-hack-upholster-and-stain/
Thaddaeus
April 16, 2015 at 7:40 pmSo, the hunt for tall bedside tables began. It didn't … sidetablesdrawers.blogspot.com
Filing Cabinet Makeover | This Little Estate
February 24, 2017 at 3:56 am[…] I fished out two remaining glass door knobs from our RAST HACK Bedside Table project and attached them to the filing cabinet drawers by drilling two holes centered in the middle of the […]