Happy Monday friends!!
If you are like me then you are dragging your tush today after a project filled weekend.
My hard working man worked all weekend, and as always, I cannot sit still while I know he is working hard for us, so this weekend I took on a little more then I could chew in the home project department.
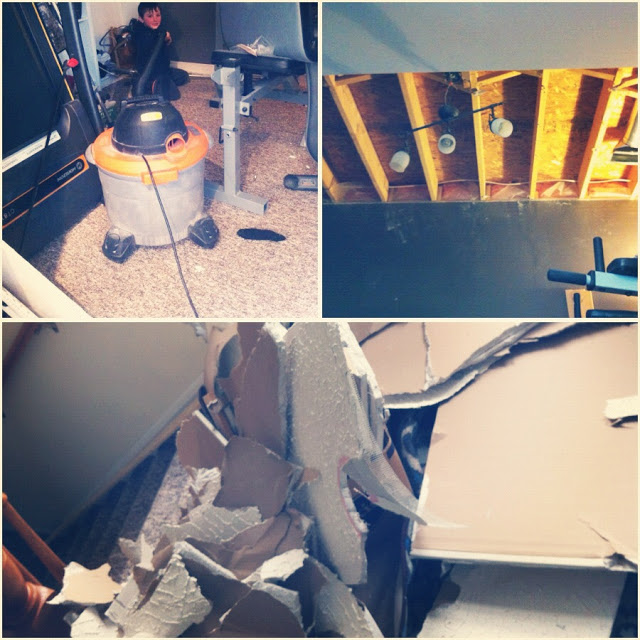
(This picture will catch up up on last weeks project: breaking down the ceiling on the opposite side of our lower level from the salon. My little man helped with the awful clean up!) 

And this weekend I took on the daunting task of grouting the tile work in the salon…

Excuse the blurry phone pictures. These ones made it to my Instagram Feed, where I may have admitted that I had no clue what I was doing, and that following picture directions have never been my strong suit.
If you want to follow along and offer advice along the way you can find me on IG here
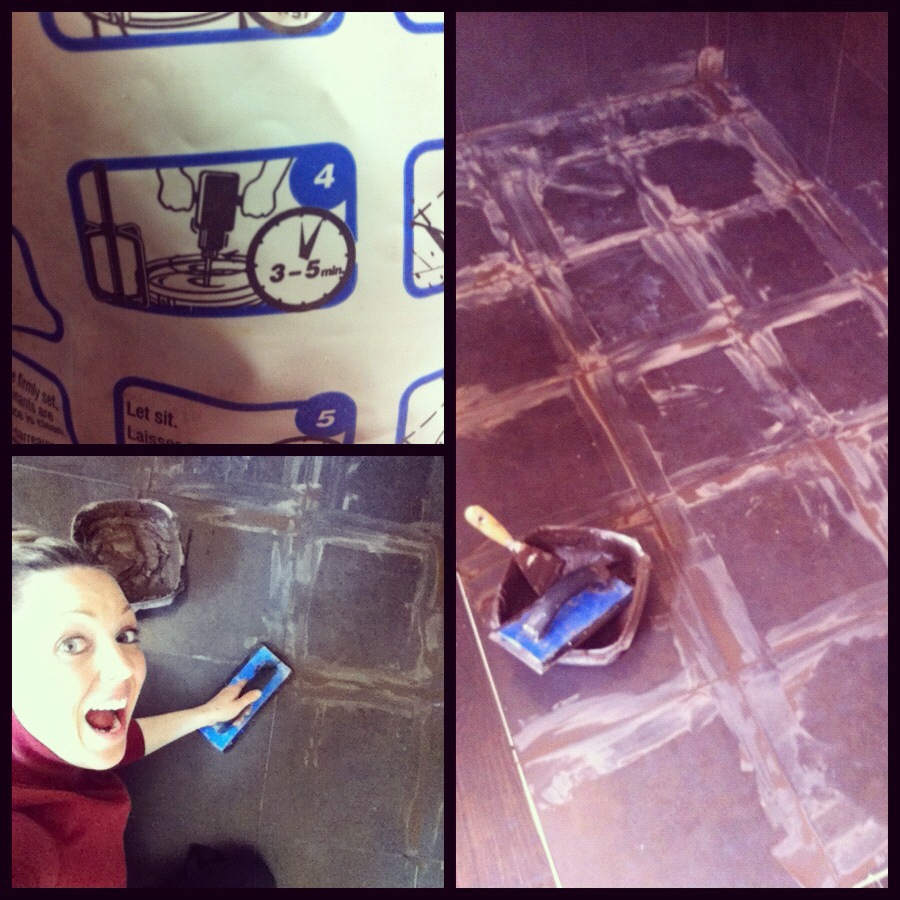
My hand blender is still alive and kicking even after being submerged into clumpy grout by the way.
Since I am the most impatient DIY-er EVER, I decided to paint the trim in our entry while I waited the 10 minutes for the grout to cure. What? You don’t take on a three hour project and try to squeeze it into 10 minutes?? I may be a bit of an over achiever at times too.
This project still needs a second coat of paint….
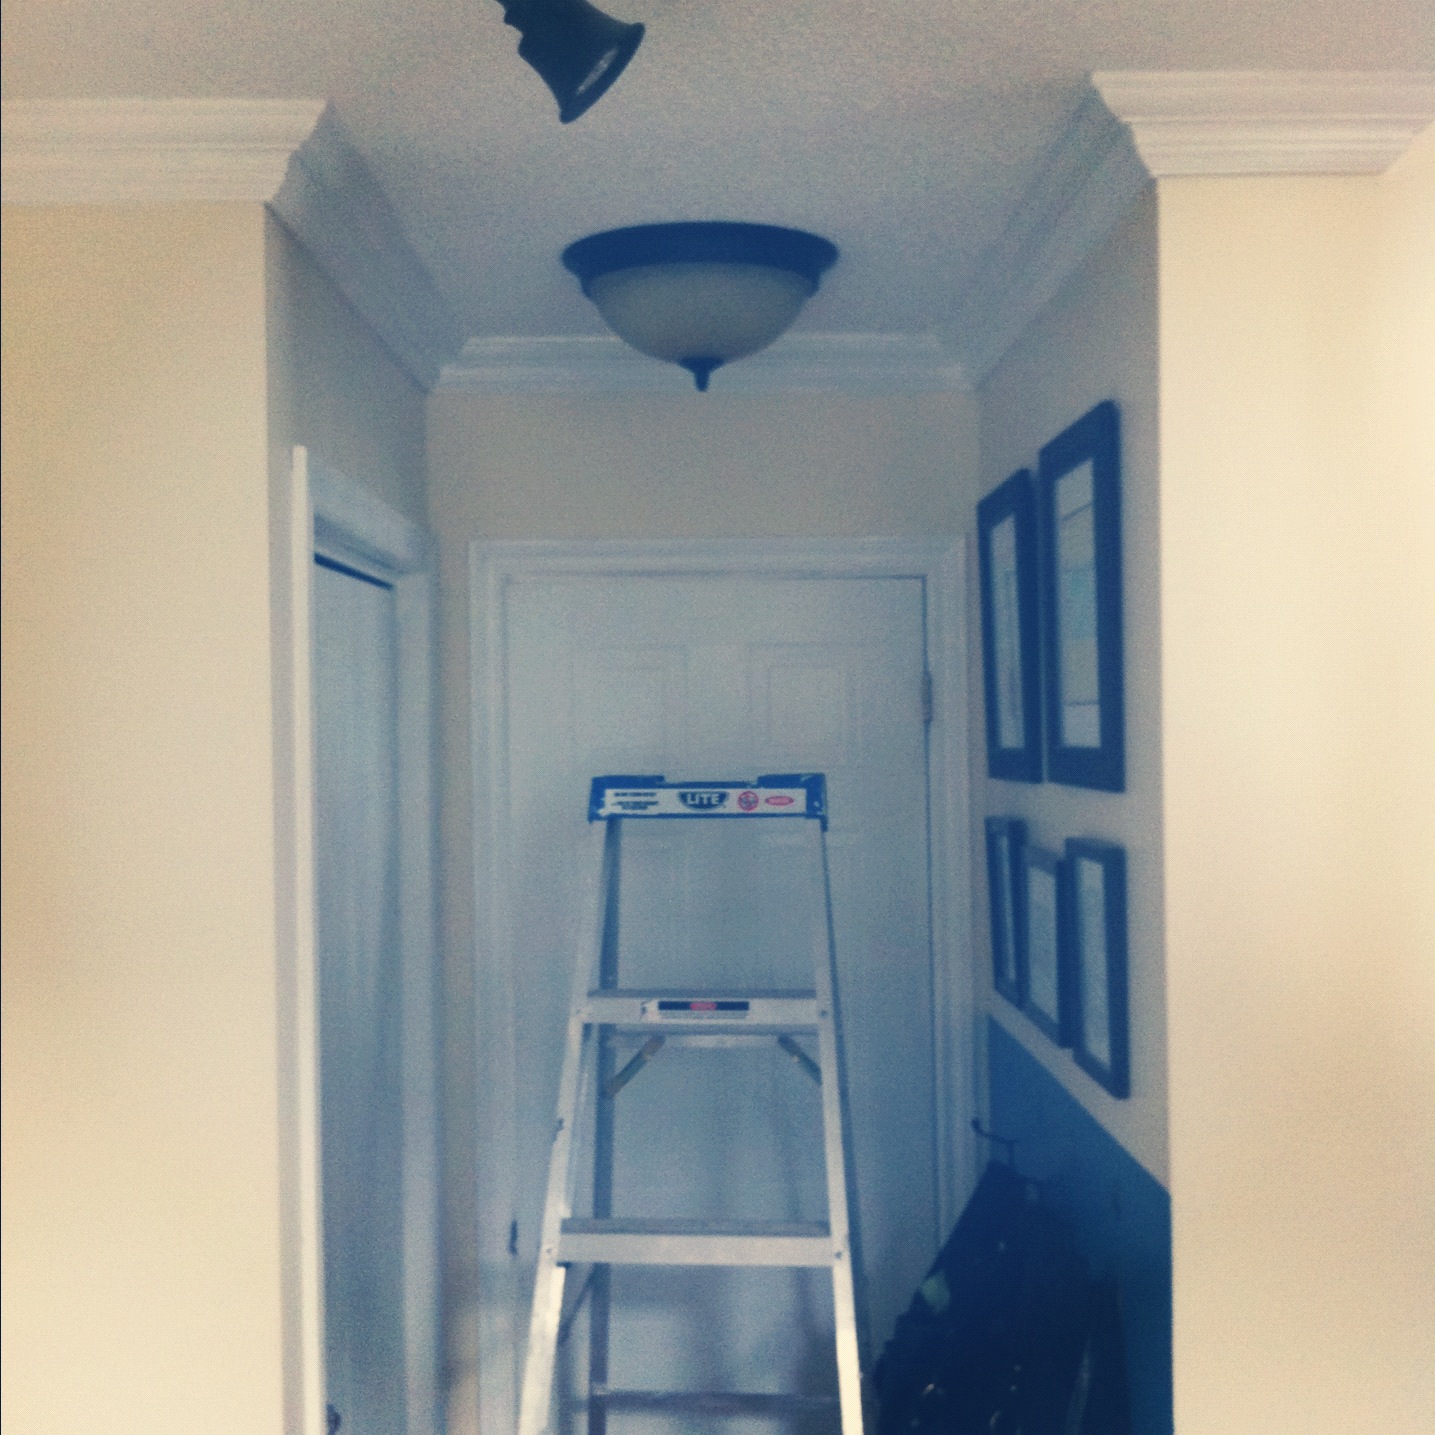
Finally though, the new trim my husband installed two years ago is looking good!
So, it has been a long time since we have updated you on the progress of our lower level in any way…so let me catch you up on our ceilings progression.
You can catch up on the lower levels overhaul HERE.
You can read part two of our lower levels second remodel HERE.
If you have been following along then you know that we are on our lower levels second renovation.
Yep, you read that right.
We moved into this house almost two years ago and we first converted the space into a living area for my sister, who had moved in with our family.
That entailed ripping up the old flooring, replacing it with new under pad and new carpet, replacing the trim work, giving the space new lighting and painting.
The space also had storage space that we decided to convert into a full bathroom for her.
We pulled out the sledge hammers and broke the cement ground, laid piping, built a shower, installed a tub, laid tile, caulked, painted, put in a, ahem, toilet and lastly, accessorized.
Then…she moved out.
The space went unused for the next year as I was busy being pregnant and on doctor ordered bed rest, and the hubby worked on his to do list in other rooms in our home.
But then, we decided to create the space into an area that could generate happiness and an income!!
We got to work building a salon!!!
Yessssss! A place for me to work at, while being close (super close) to home and to our babies.
So….let me catch you up!! Enough of my ramblings! Lets get to the good stuff!
 Here is our inspirational board for the space!!
You can tell I want a very neutral theme to create an environment that wont impede expressing creativity.
I usually don’t have a plan when decorating, but for this space I knew we would be deciding on elements that would have to work for a business and stand the test of time.
I picked elements that are both rustic and elegant and we have loved watching the space come together.
Just like our inspiration board suggested, I searched everywhere for a gorgeous sparkly chandelier,
and after pricing them out everywhere, we finally snatched up this one!
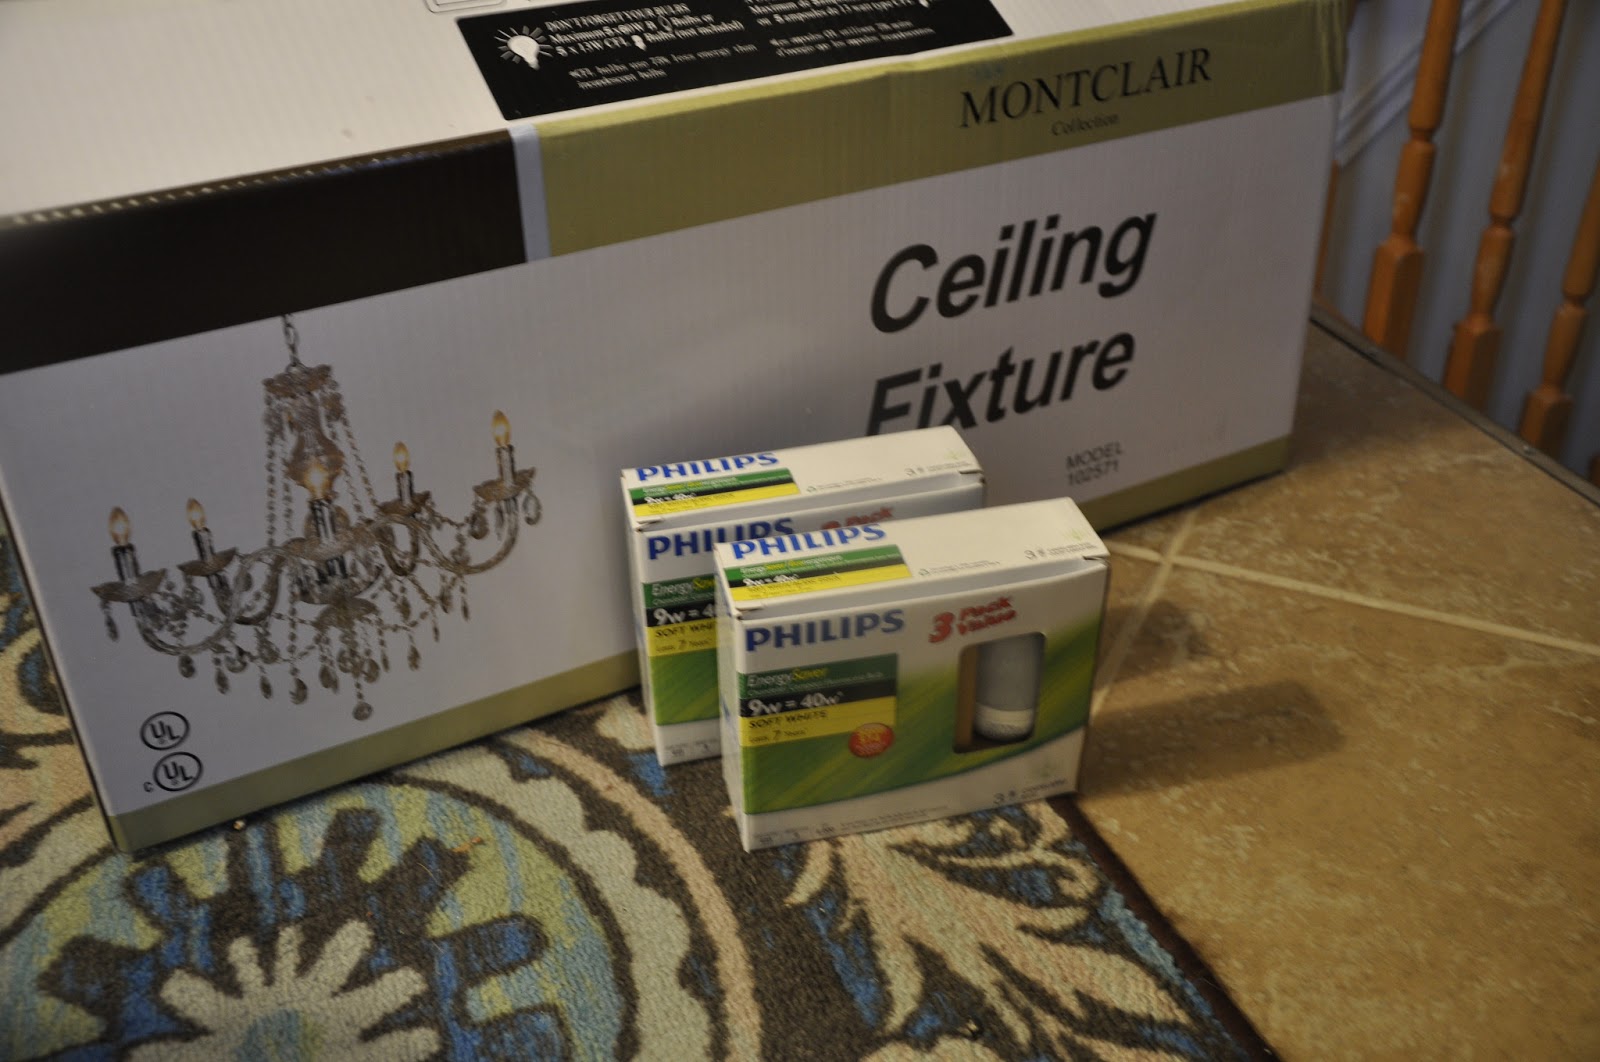
It is sparkly and gorgeous and has lots of beautiful jewels! I am in love with this chandelier!
But, not so much at trying to figure out how to put it together.
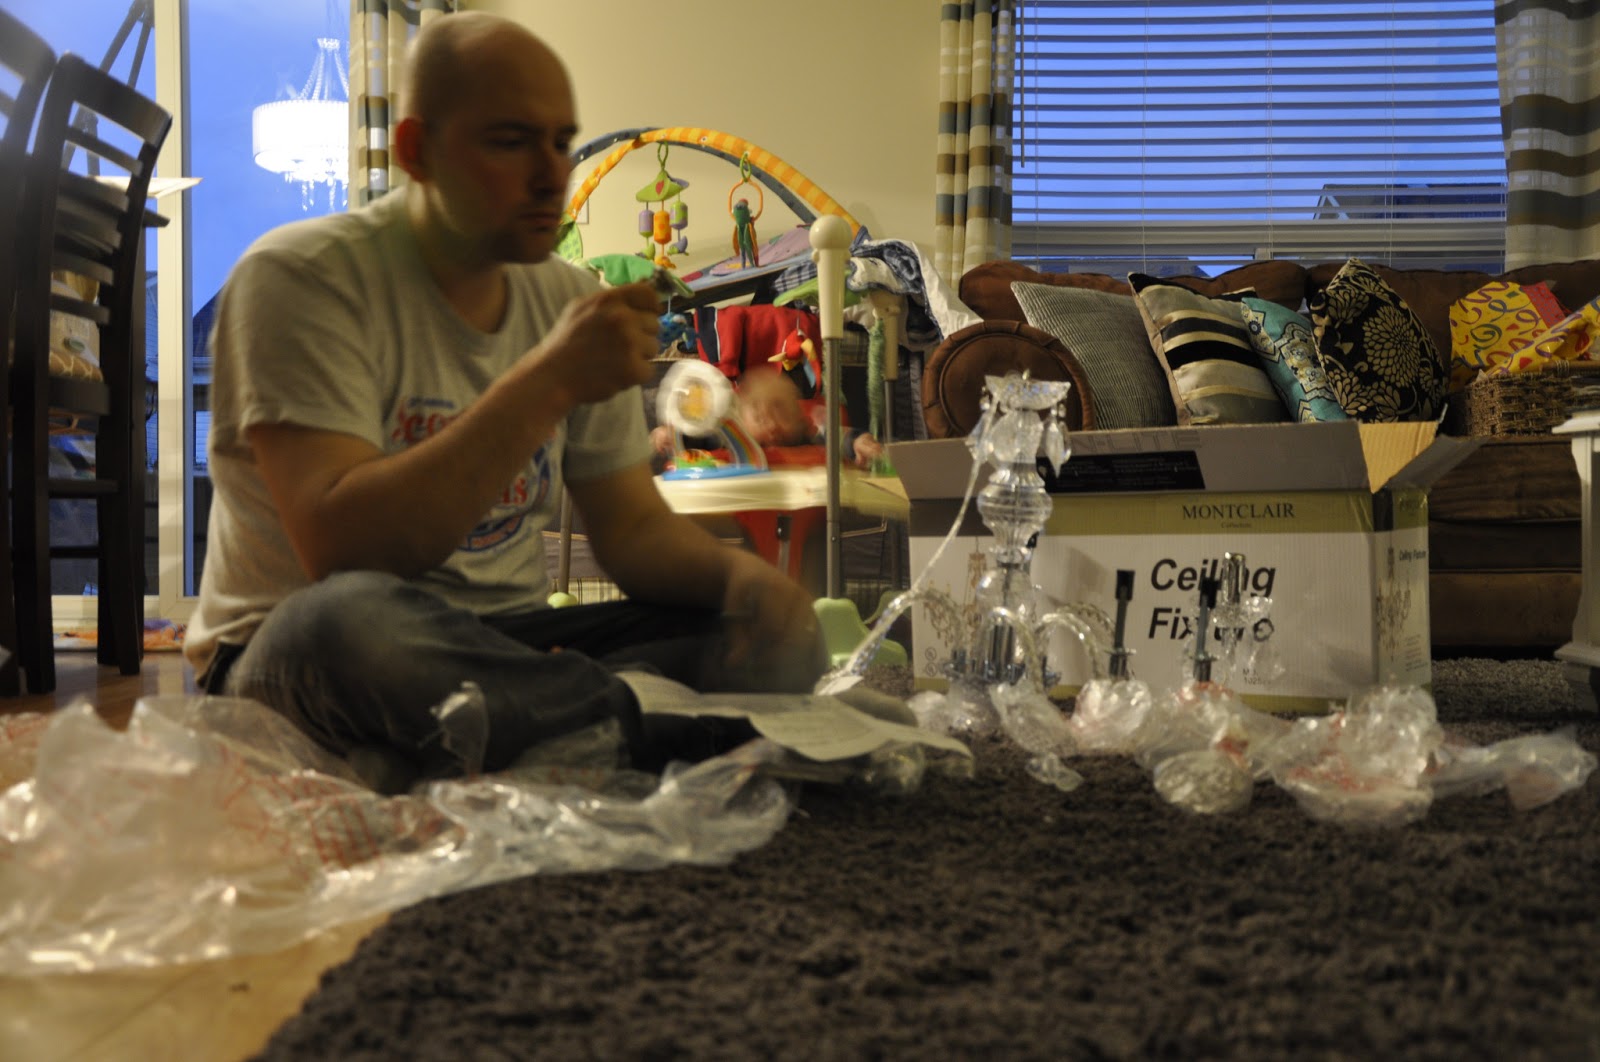
Late one evening my awesome hubby got to work on it. He looked just as confused as I did. (PS: What a great guy, for not caring that I am taking pictures of him working on a project for me, instead of helping…)
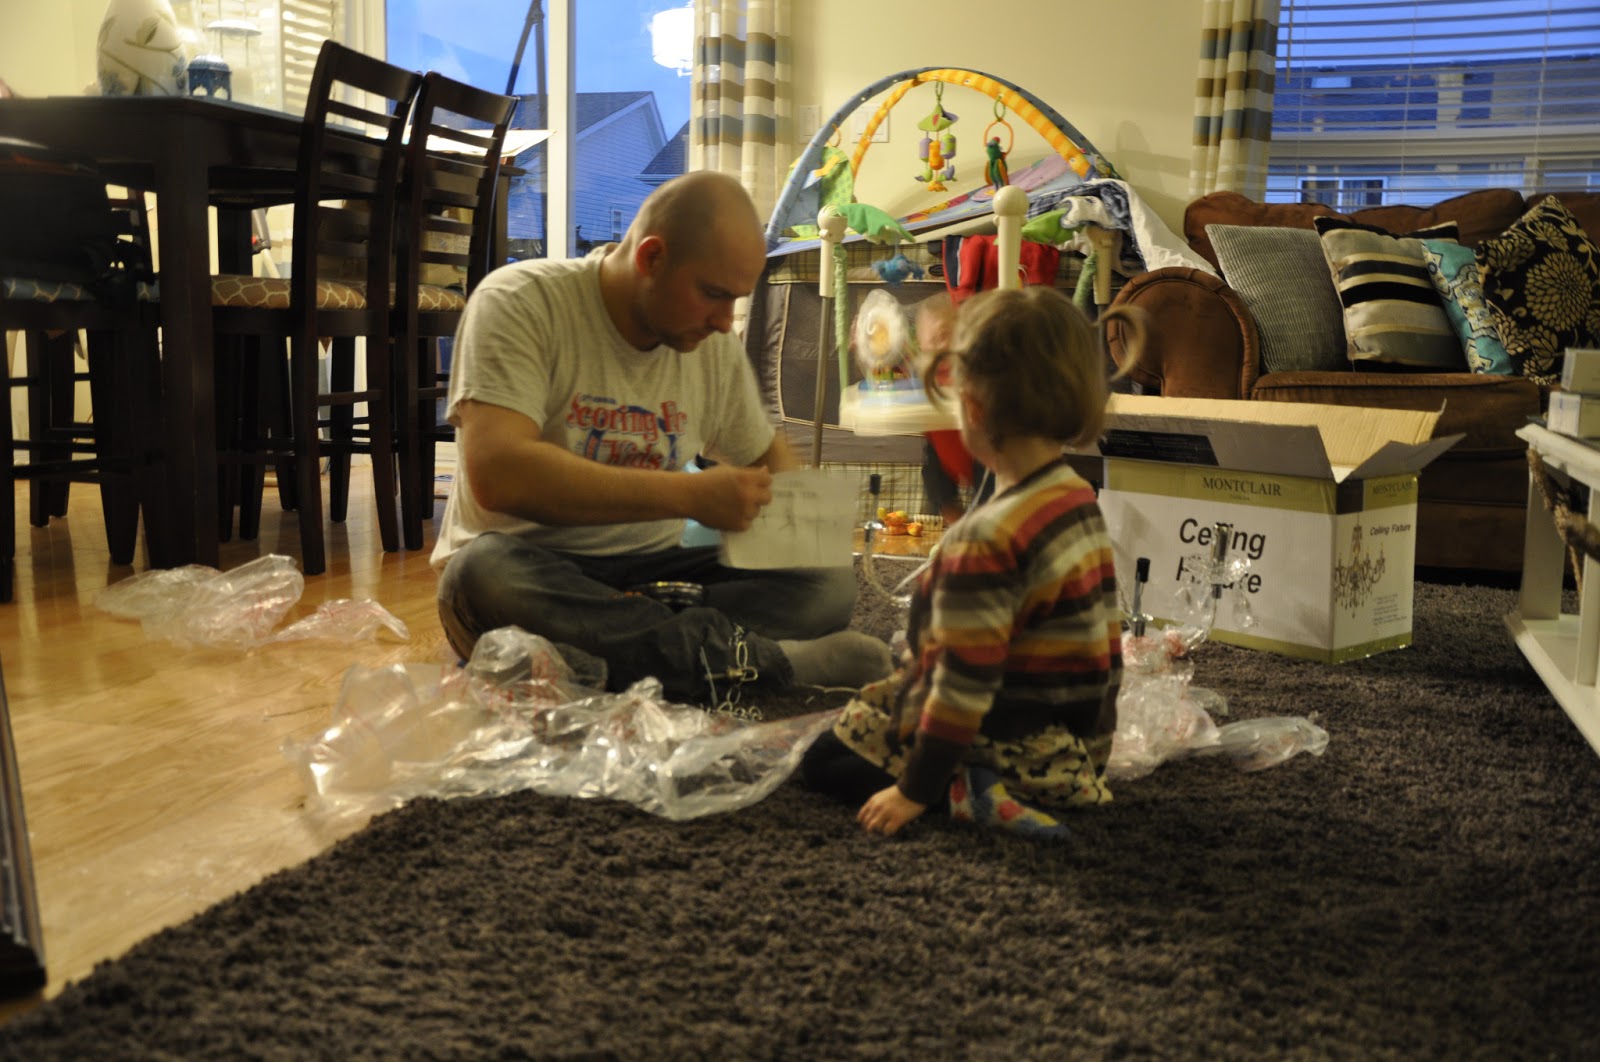
A little helper DID come along though and things got moving right away. 😉

Hubby stretched and stood on the top of a ladder to install my new light and I happily teetered and tottered on a ladder to take pictures to offer my help.

After scraping the horrible stalagmite-like-ceiling off one day (one LONG day) I stepped back to admire my handiwork, only to determine that the ceiling was in fact, NOT scraped nice and smoothly, but was bumpy in places and looked like a huge wreck!
After some more scraping…and more scraping and more scraping….the hubs and I came up with the idea that we needed a pattern on the ceiling to camouflage the dry wall imperfections on the ceiling.
Thank goodness for pinterest at this point in our project!
I showed my Handy man some pictures of ceilings with a box pattern and he concluded that it was definitely doable for his skill level and our wallet.

We didn’t waste much time.
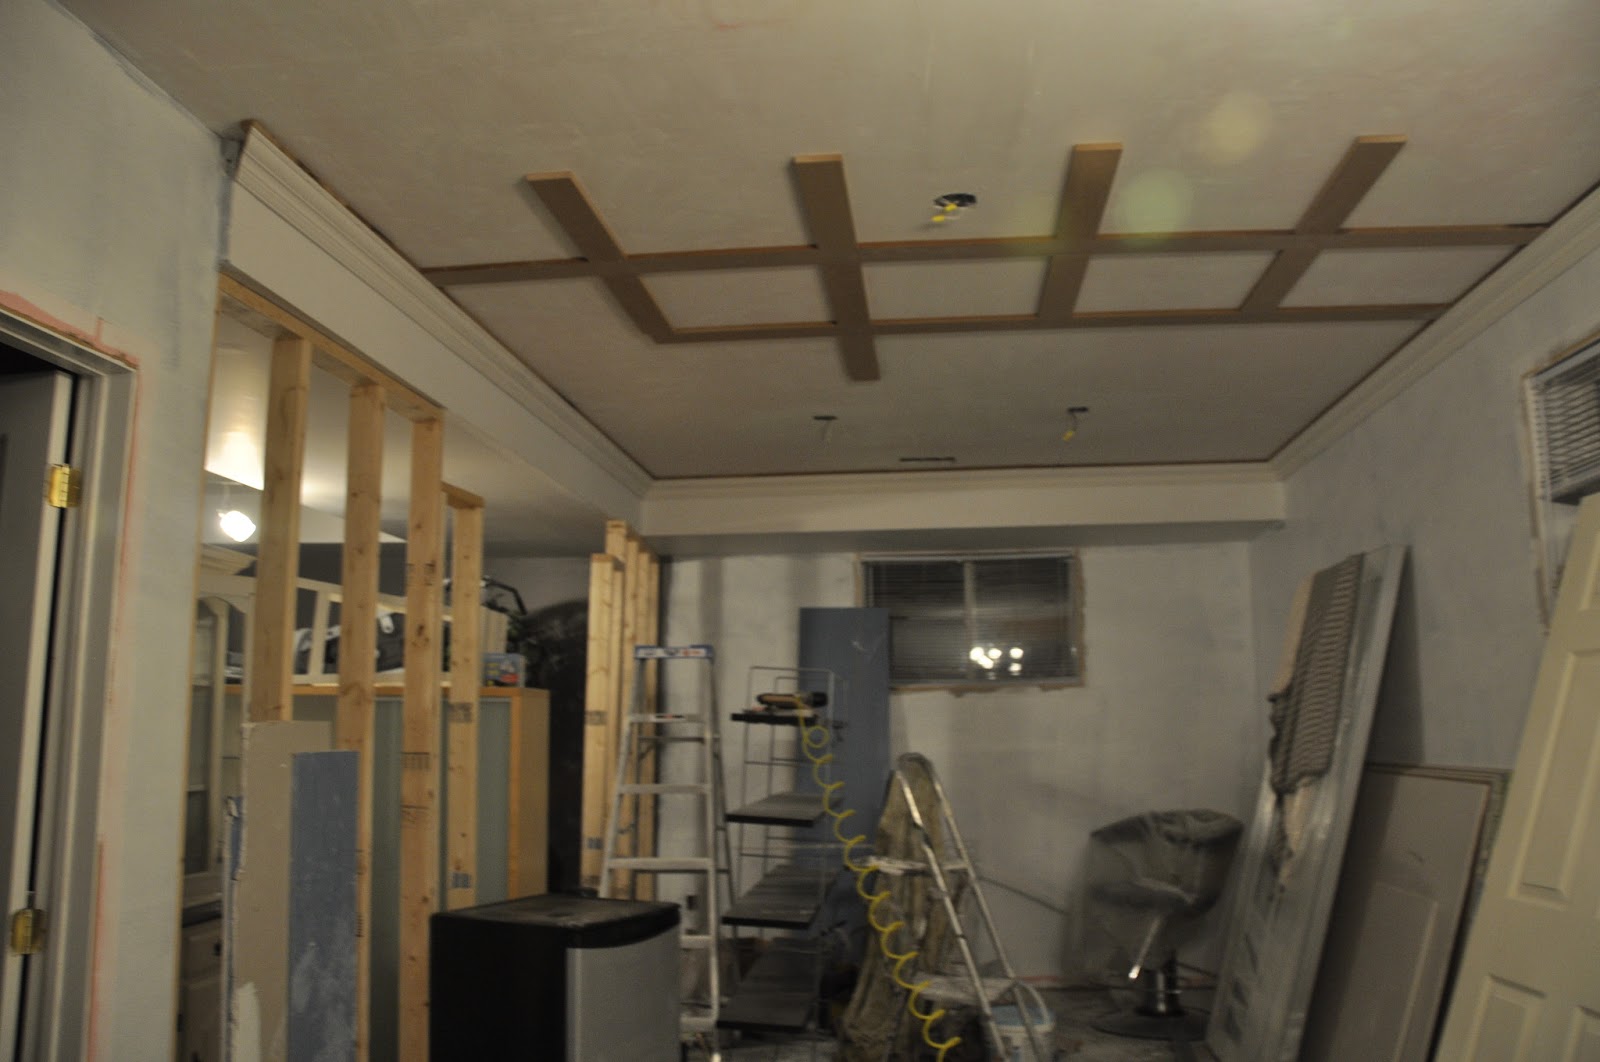
Art went to the hardware store and had some mdf boards stripped to the width we had decided on for the box pattern. We chose to strip ours at 4 inches, so the look wouldn’t over power the room, but would add enough visual interest to draw the eye upwards and to ultimately add some much needed texture.
He started the grid pattern in the middle of the room and worked around the new electrical outlets he had recently installed.
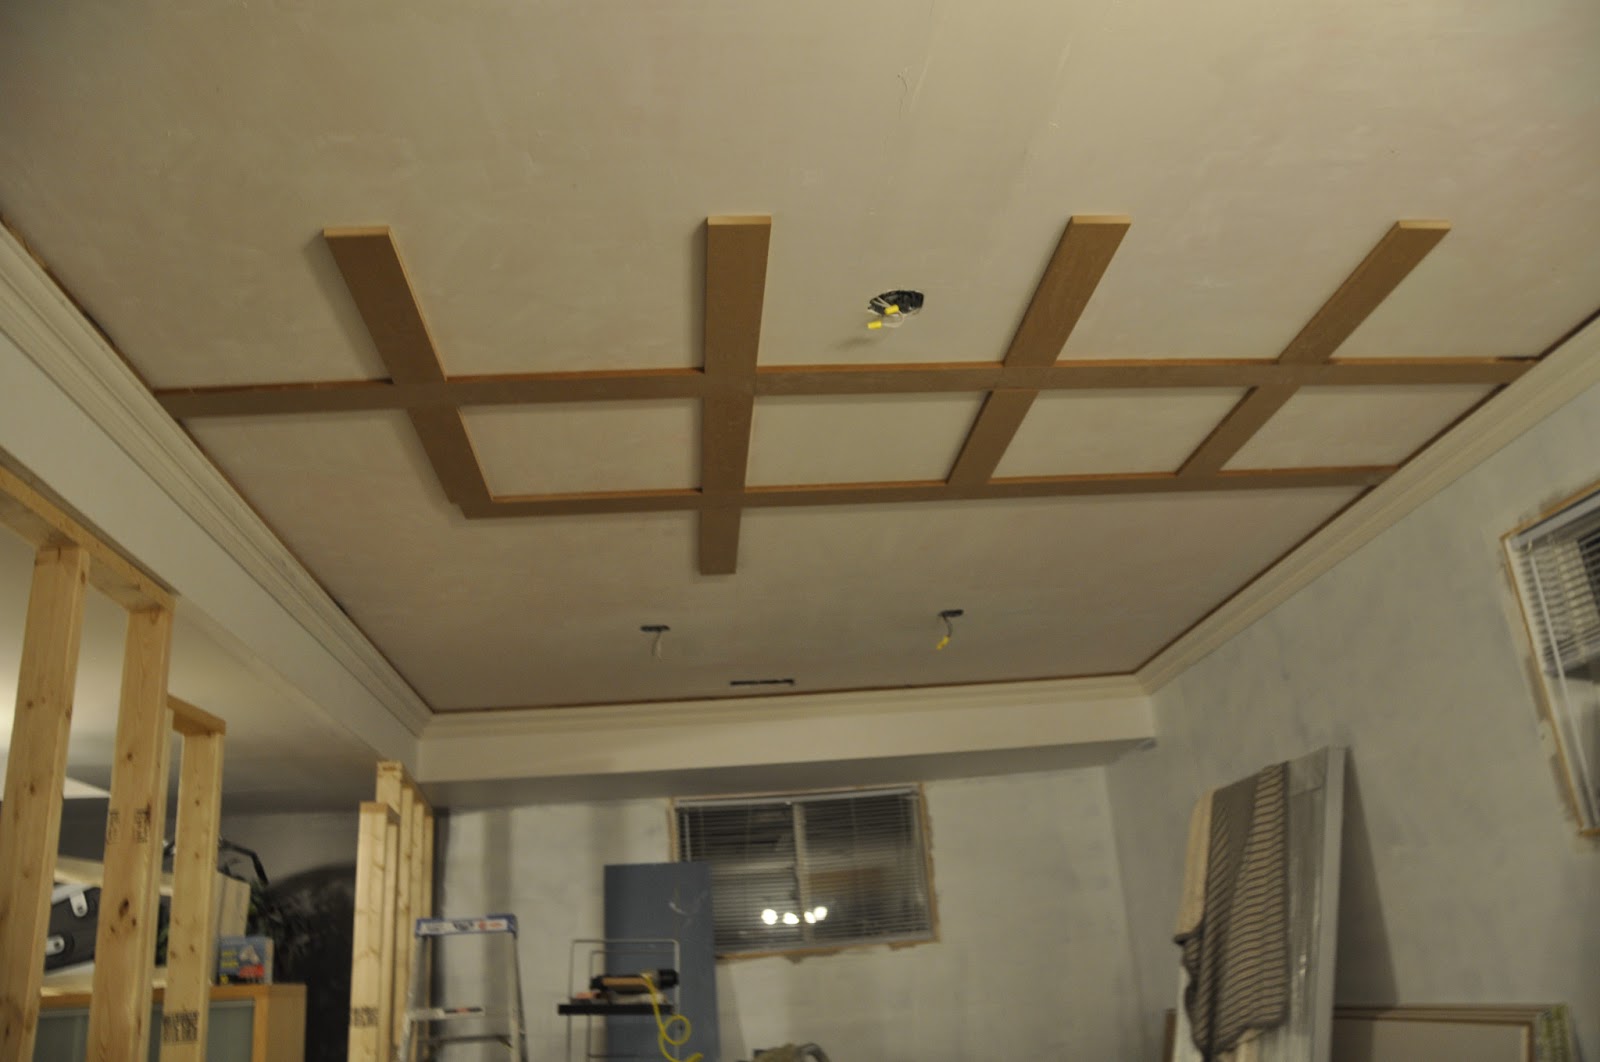
It definitely had to get worse before it was going to get better!

Since we wanted to add crown molding to the space, we had to add an mdf piece to the crown molding to lower it a bit. We wanted the ceiling molding to line up, and attach perfectly with the crown molding.

We also got to work framing the wall that would separate the salon from the rest of the lower level.
So far, we have gone from a finished basement to a torn apart space.
We have been slowly putting the space back together over the last 9 months and despite the trials, the dry wall dust everywhere and the late nights working on the space while wearing a baby in a sling, this space, is starting to take shape! 😀
We cant wait to show you the rest of the space, now that the ceiling is done, the walls are built up, and the dry wall dust has settled!!
I hope to give you all the COMPLETE tour of the space over the next few weeks as we feverishly put some finishing touches on the space! 
Yaaaaaa for hard work, and being so exhausted that we wont remember this chaos in a few months! 😉
Sharing and getting inspired at:
French Country Cottage
Craftberry Bush link party
The Shabby Creek
The Vintage Farmhouse
Common Ground

Pudel-design
March 20, 2013 at 2:43 pmLove the ceiling and the floor!
Can`t wait for the whole room;)
Love
Lydia