Ever since our kitchen post and our half wall post, (found HERE) where we took you through a quick tour of our totally do-it-yourself kitchen, a lot of you have been asking about the rest of our house.
Since we have three babies, it is coming along slowly, but we are happy with the results. I wanted to take the time today to show you about the half wall we built up that has been the main topic in my inbox these days. You guys want to know how the OTHER side of the wall turned out, and I definitely want to share!
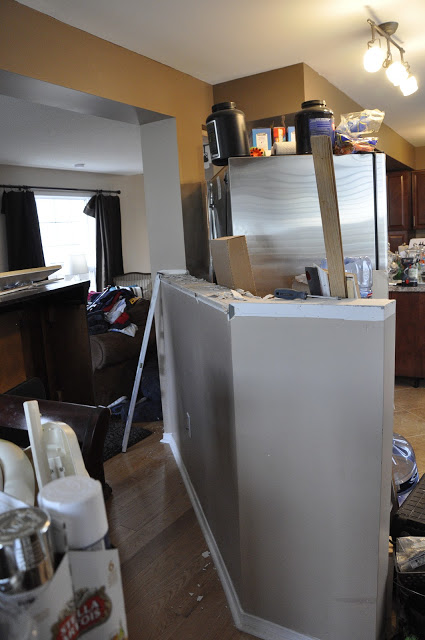
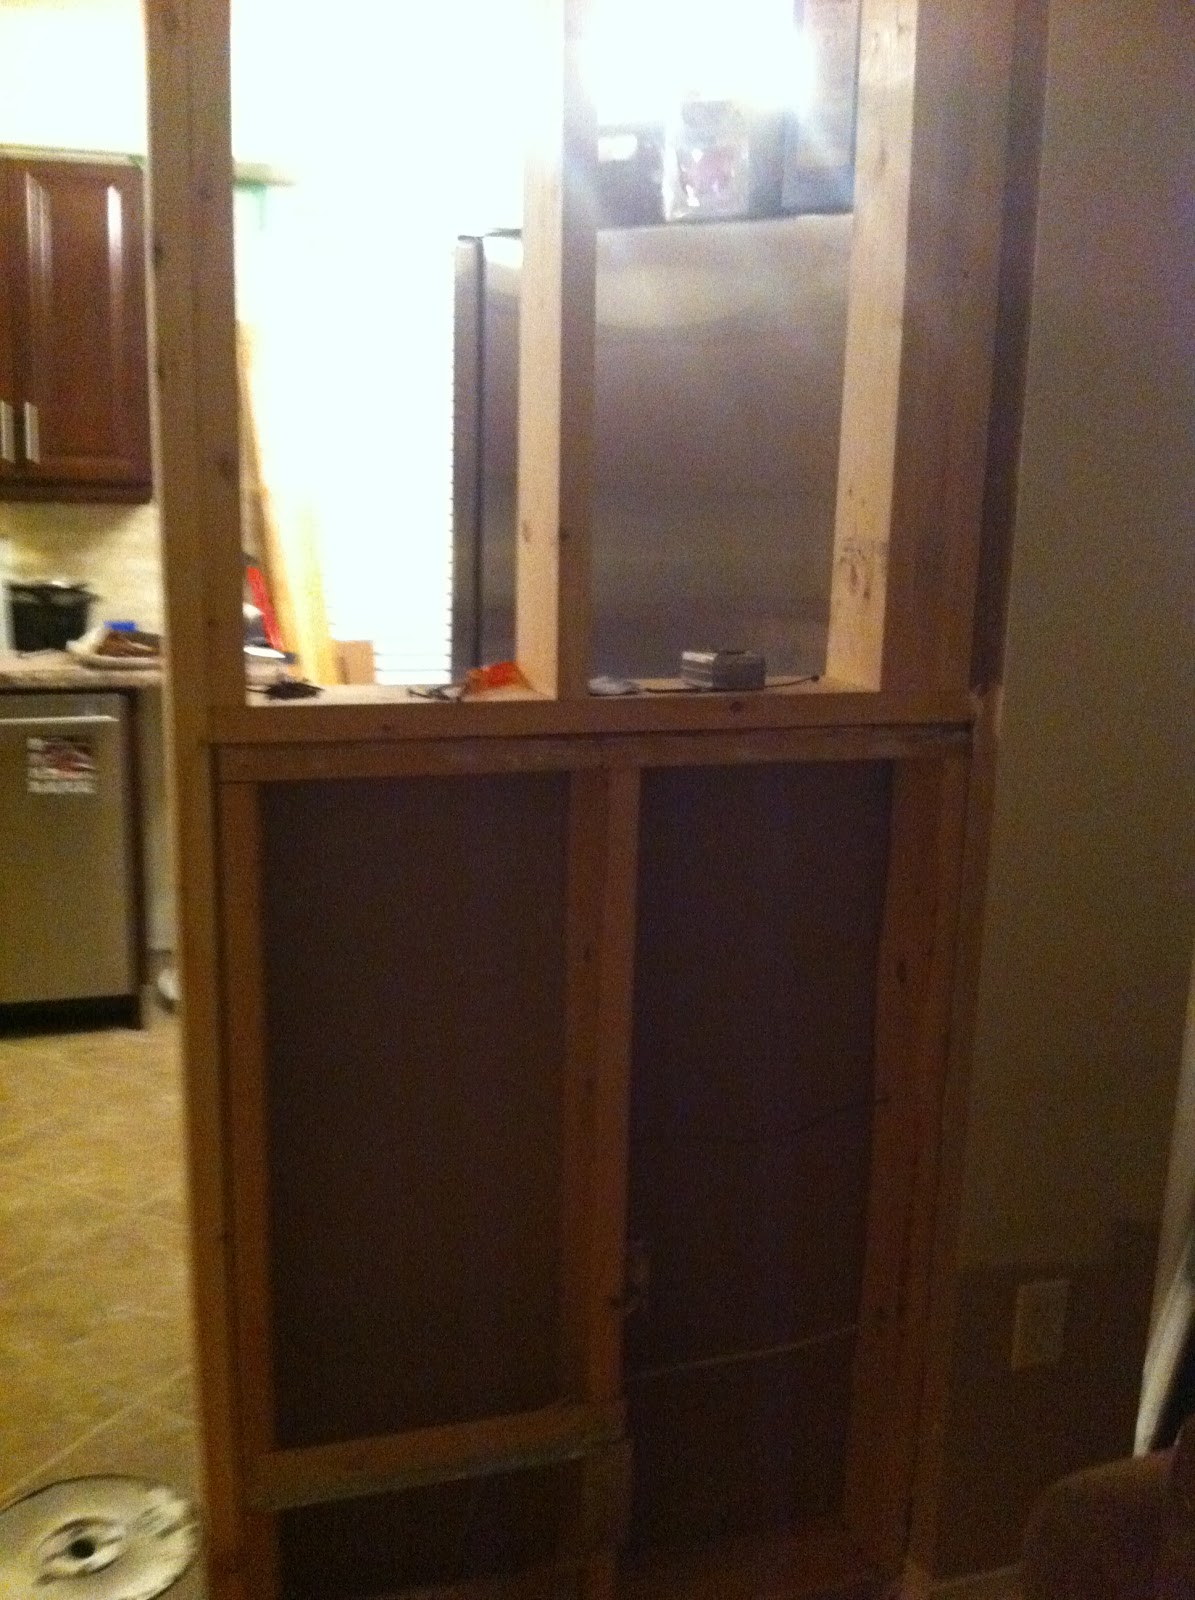
The half wall that separates our kitchen from our little dining area and living room looked like this during our kitchen overhaul. You can read the post about it here.

I swear we aren’t pigs…all of the time, but when you are renovating, this mess is real life.
.JPG)
Total chaos, right? The story of two working diy parents.
.JPG)
We moved the one side of the wall over two feet and built it up to the ceiling; this required relocating some vent work. Thank goodness for awesome hubby’s that don’t need a lot of sleep, and don’t mind dry wall dust all over the house
Once the wall was built we decided it needed a little something more, it didn’t take us long to decide to brick the wall. It would eventually have our television mounted on it and our fireplace beneath it, we knew it needed to be a feature wall.
So, we went for a trip to our favourite tile store in Kitchener, Ontario, a half hour from our house. “Source Flooring”, is where we got the tile for our kitchen, entry way and bathrooms. You can read about our trips there here.
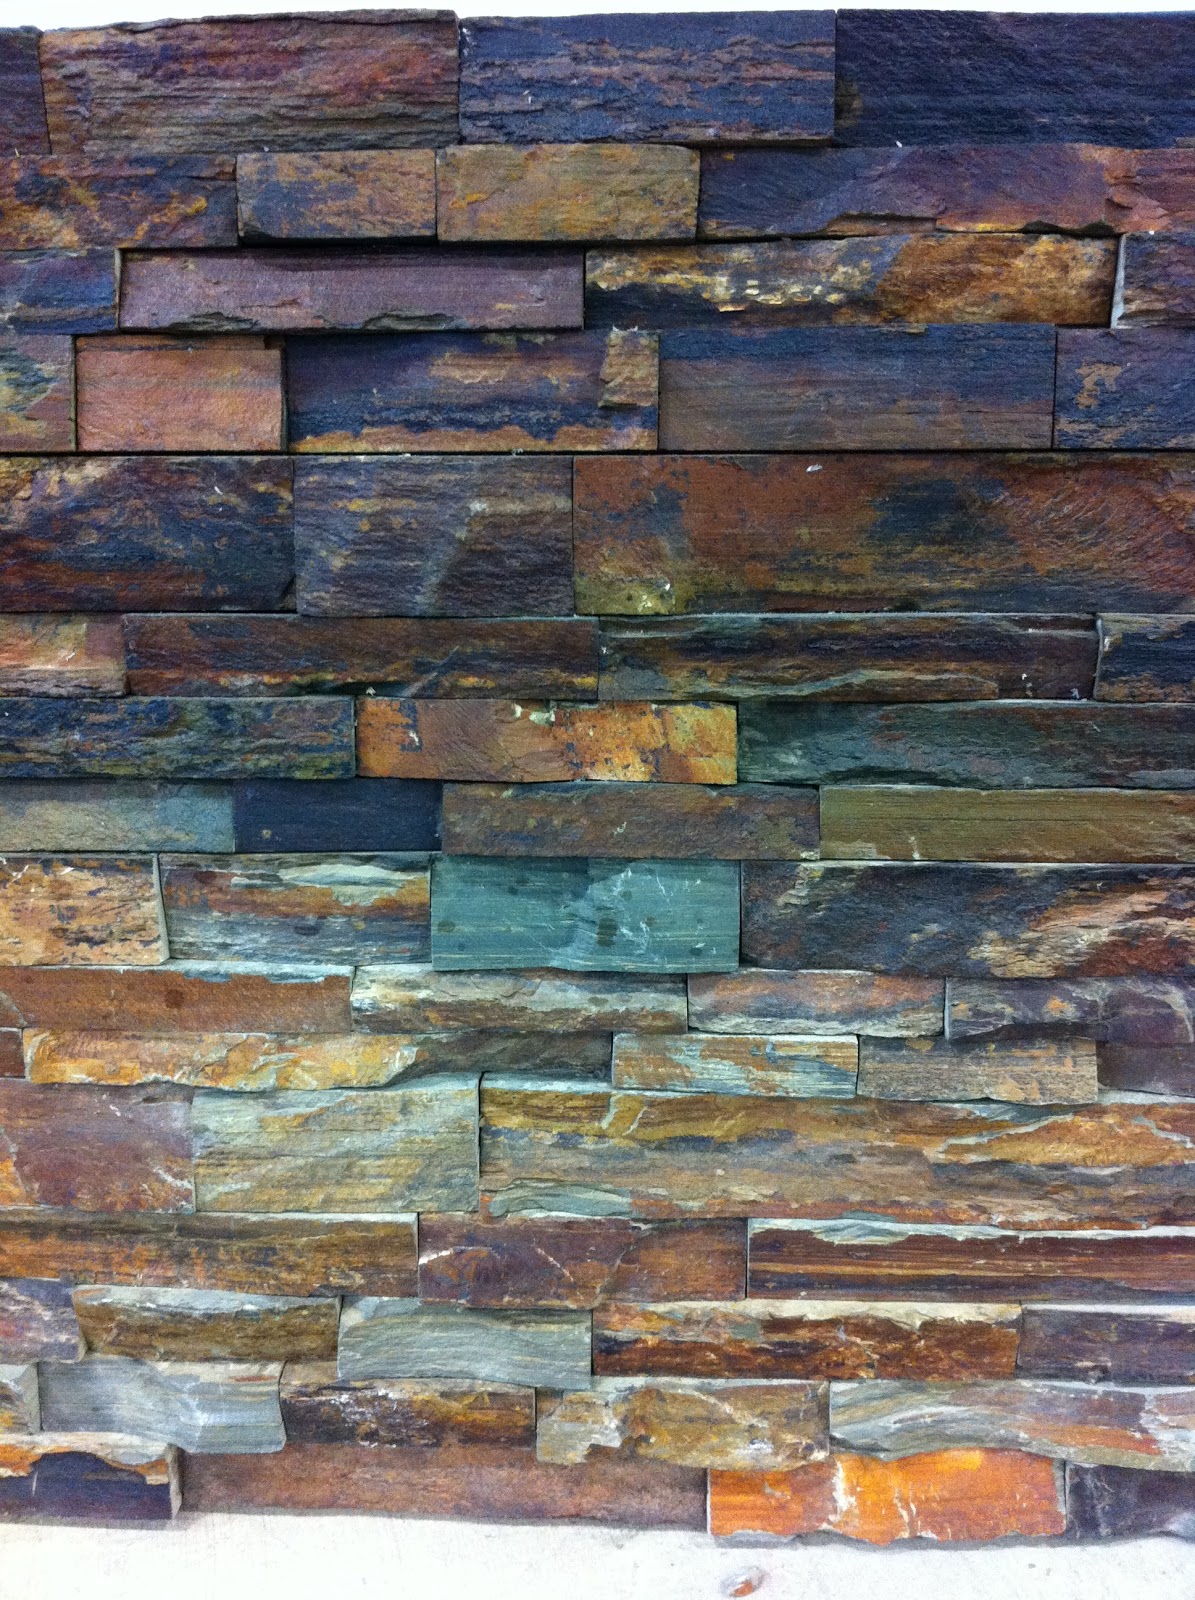
I dug deep in my picture archives to come up with these Iphone pictures of the other choices that were runner ups in our brick debacle. I love the darkness of this one and the fact that you can see right in the store how it would look if you sealed it. (Check out the top half of the picture for how it would look sealed. This would be great to do if you were using the brick as part of a water feature or to stand the test of grubby hands in a high traffic area, or simply for the semi-gloss finish.)

This dark grey one was also great looking in the store and would have been perfect if we were going for a more rustic look.
We ultimately went with a neutral one and got to work right away.
We looked at all of the selection and decided on this:
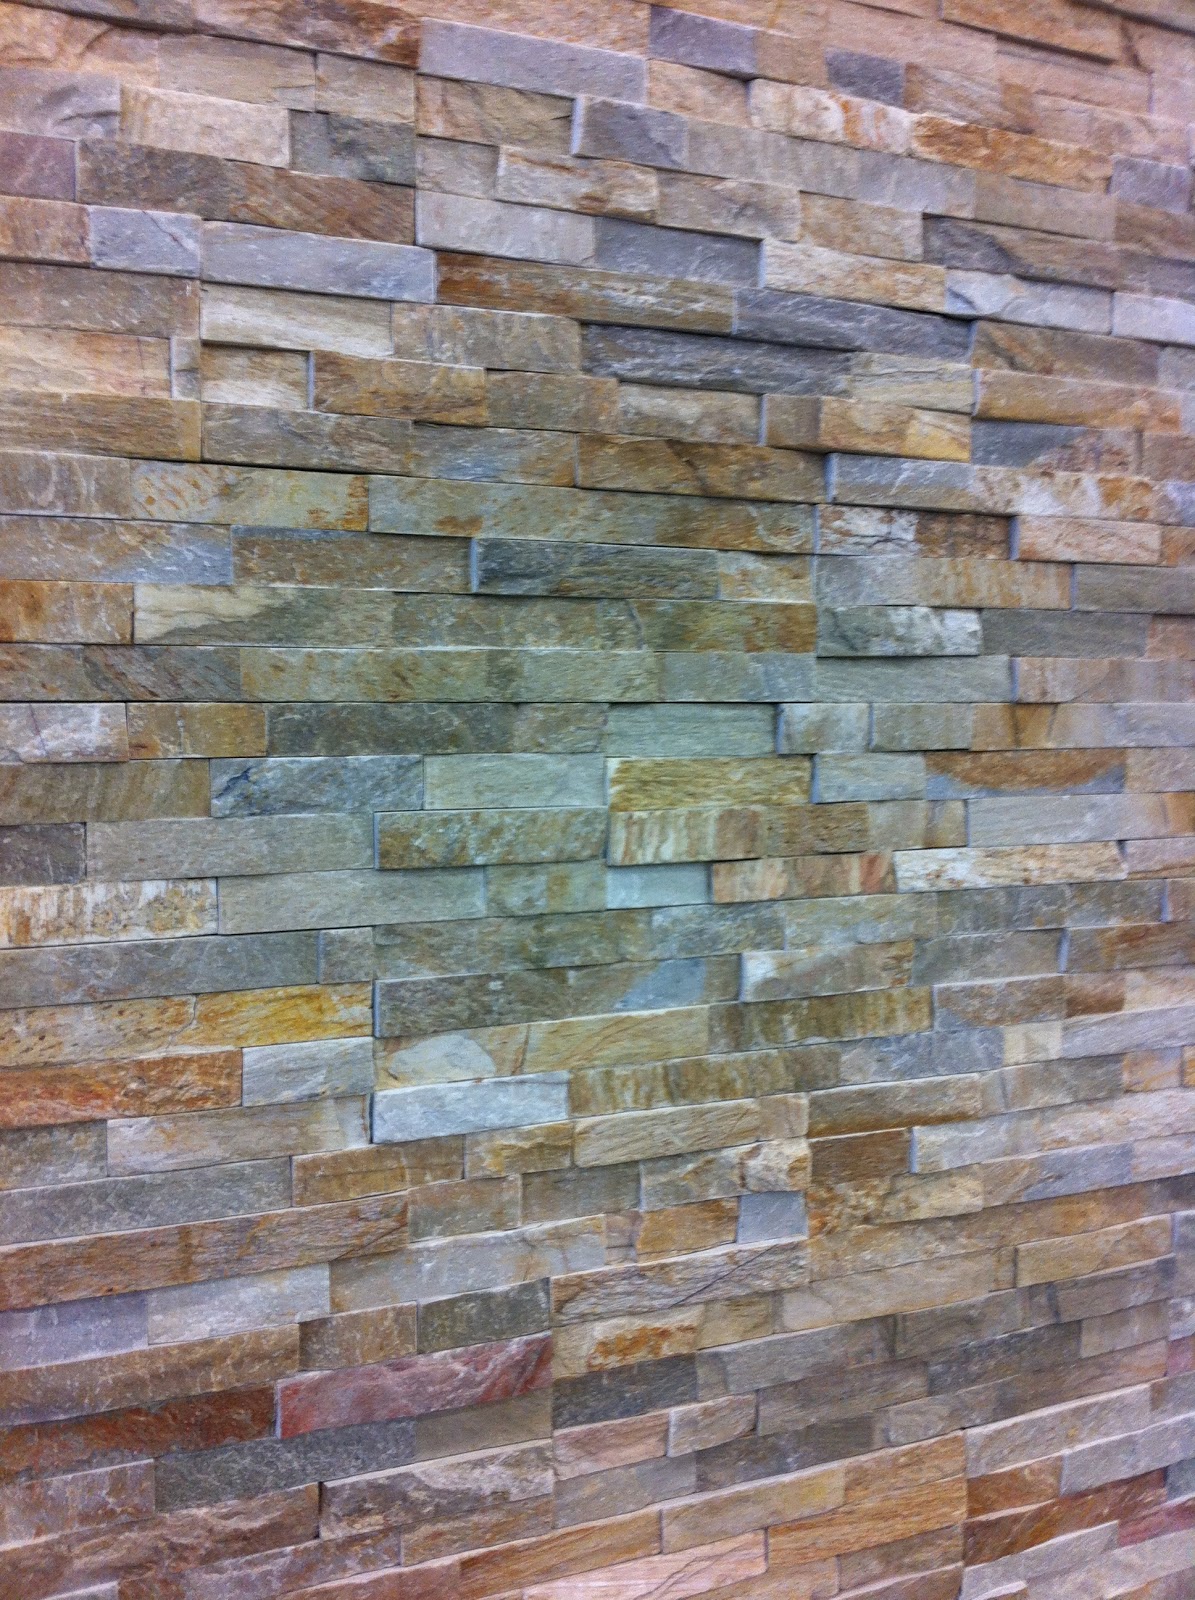
It was neutral enough and I especially loved the contrast of the reddish brown coloured stones and the light golden brown tones; I knew the colour combination would pull together our natural oak floors and our new darker toned kitchen.
These brick tiles come in a 6 by18 slab. Which makes them so heavy!
We were concerned at first with how well they would adhere to our wall, but had no worries once we started using
“Acrylpro” is a ceramic tile adhesive, it is meant to be used on the wall and is easy to set. To make sure our bricks gripped well to our surface, we put the adhesive on the brick AND on the tile.
We also tiled at the bottom so our tiles could rest on top of each other until they set. It was as easy as what the packaging says, “Spread and set”!

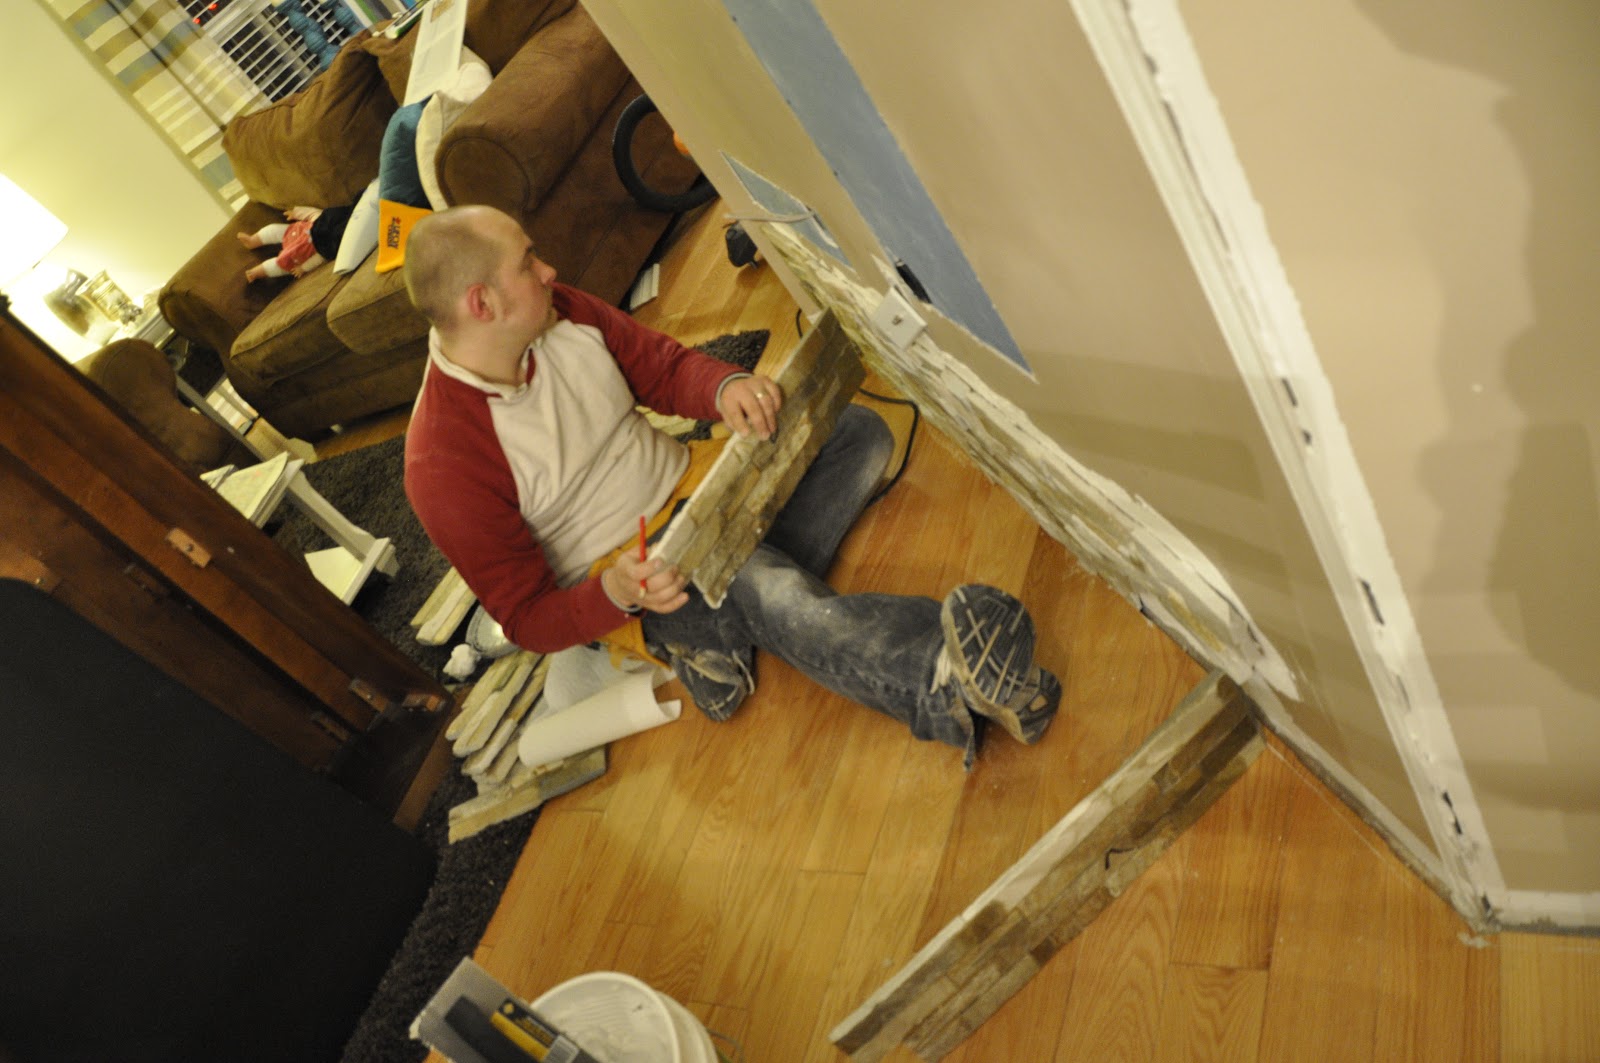
My perfectionist husband took his time and made sure each brick lined up perfectly. I stood close by with my camera and we consulted on where the bricks should be, so certain colours wouldn’t line up drawing the eye to one particular spot.

Perfectionism at its finest.
.JPG)
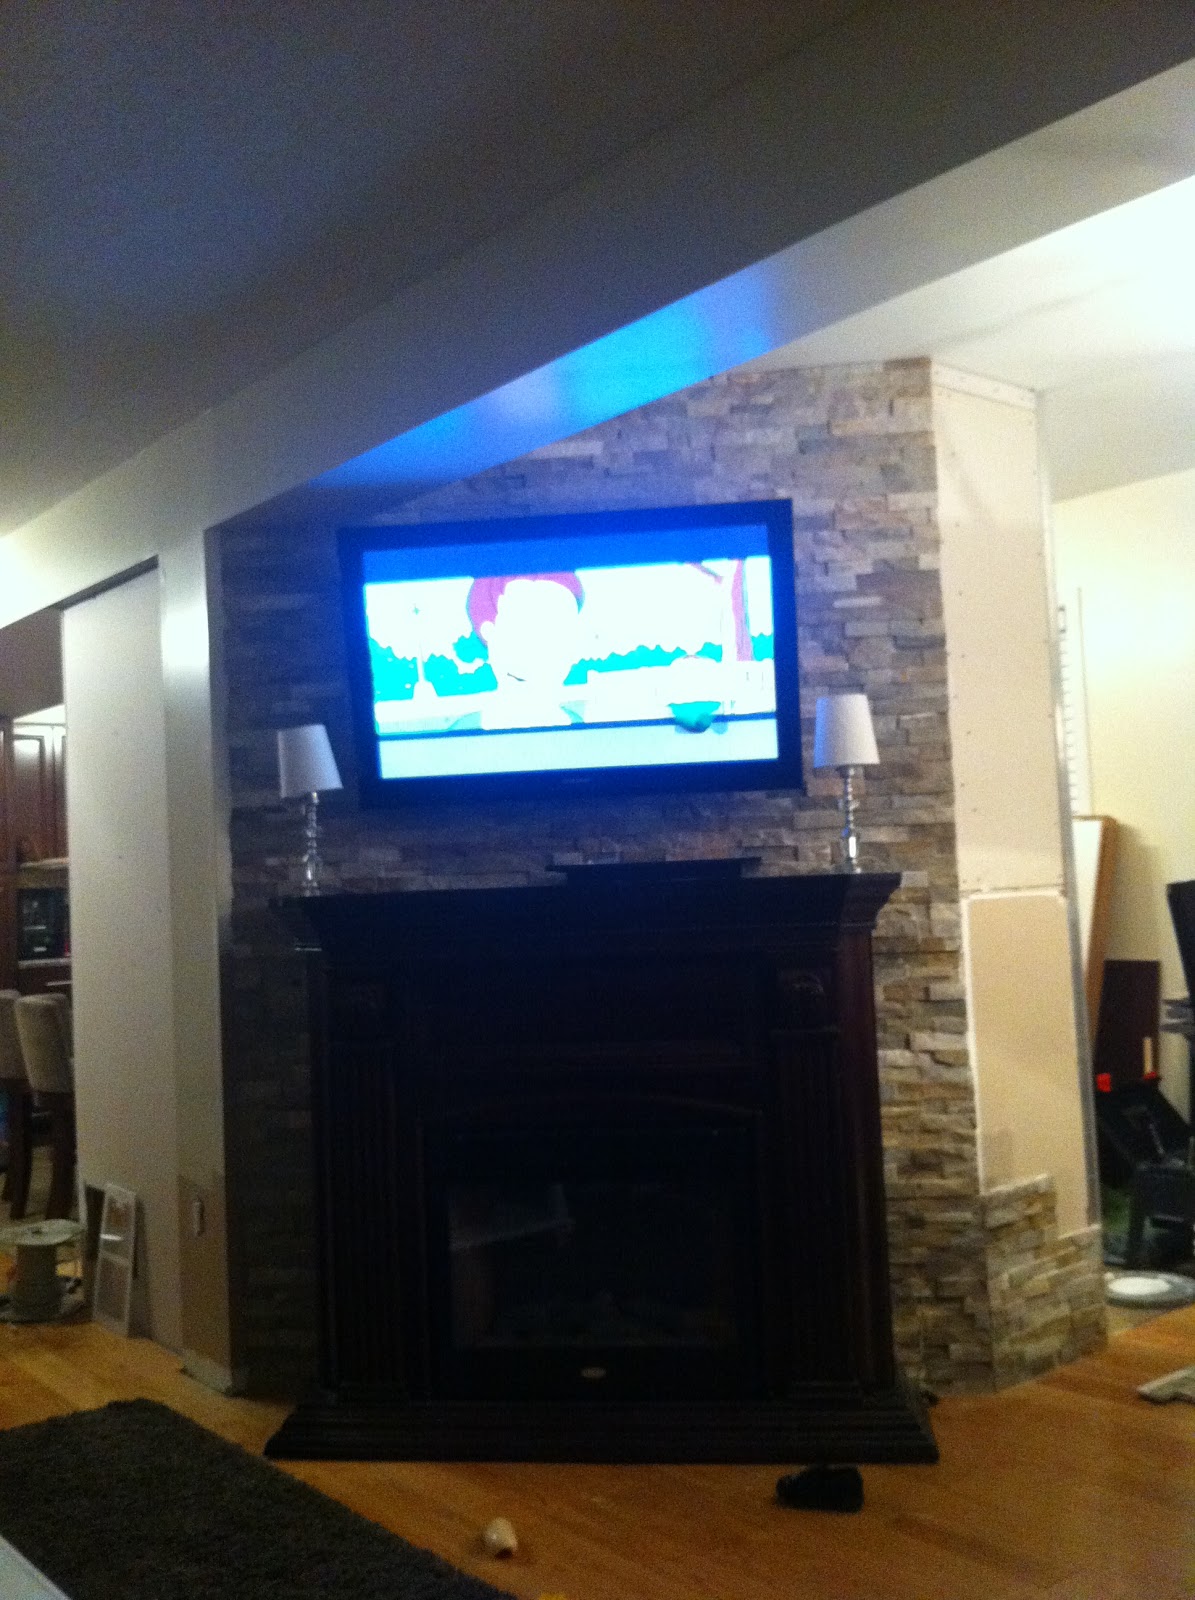
And then after a few late nights, I got this pleasant surprise sent to my phone when I was working late one evening.
I almost, fell over. I loved it!

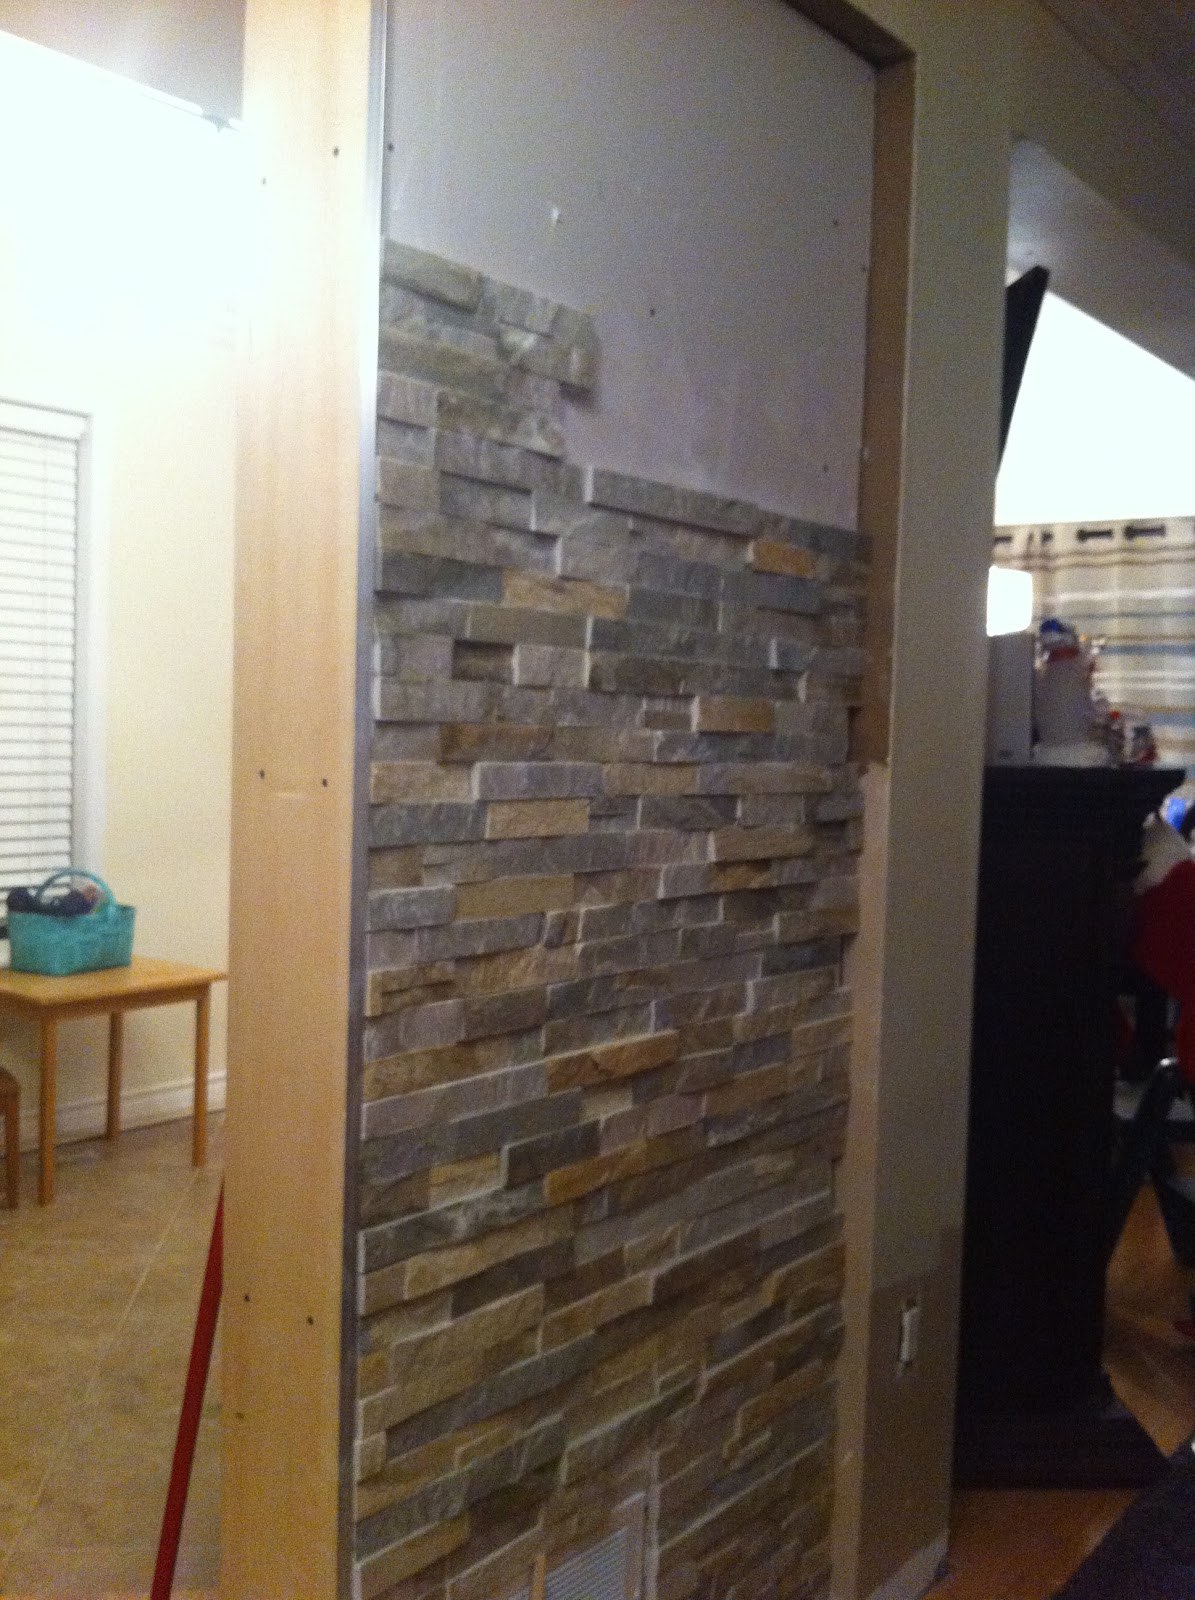
If you can tell by this poor quality late at night i phone picture, we only bricked the center of the wall. We were trying to be cost effective. (One of those things you learn to do when you are remodeling an entire house!)
Remember we still had this wall?
Here is another phone picture, we decided the small angled walls on either side of the main wall needed to be tiled too. We started off just doing the right side that would be seen from the dining room….
We stood back, yet again, and admired the wall.
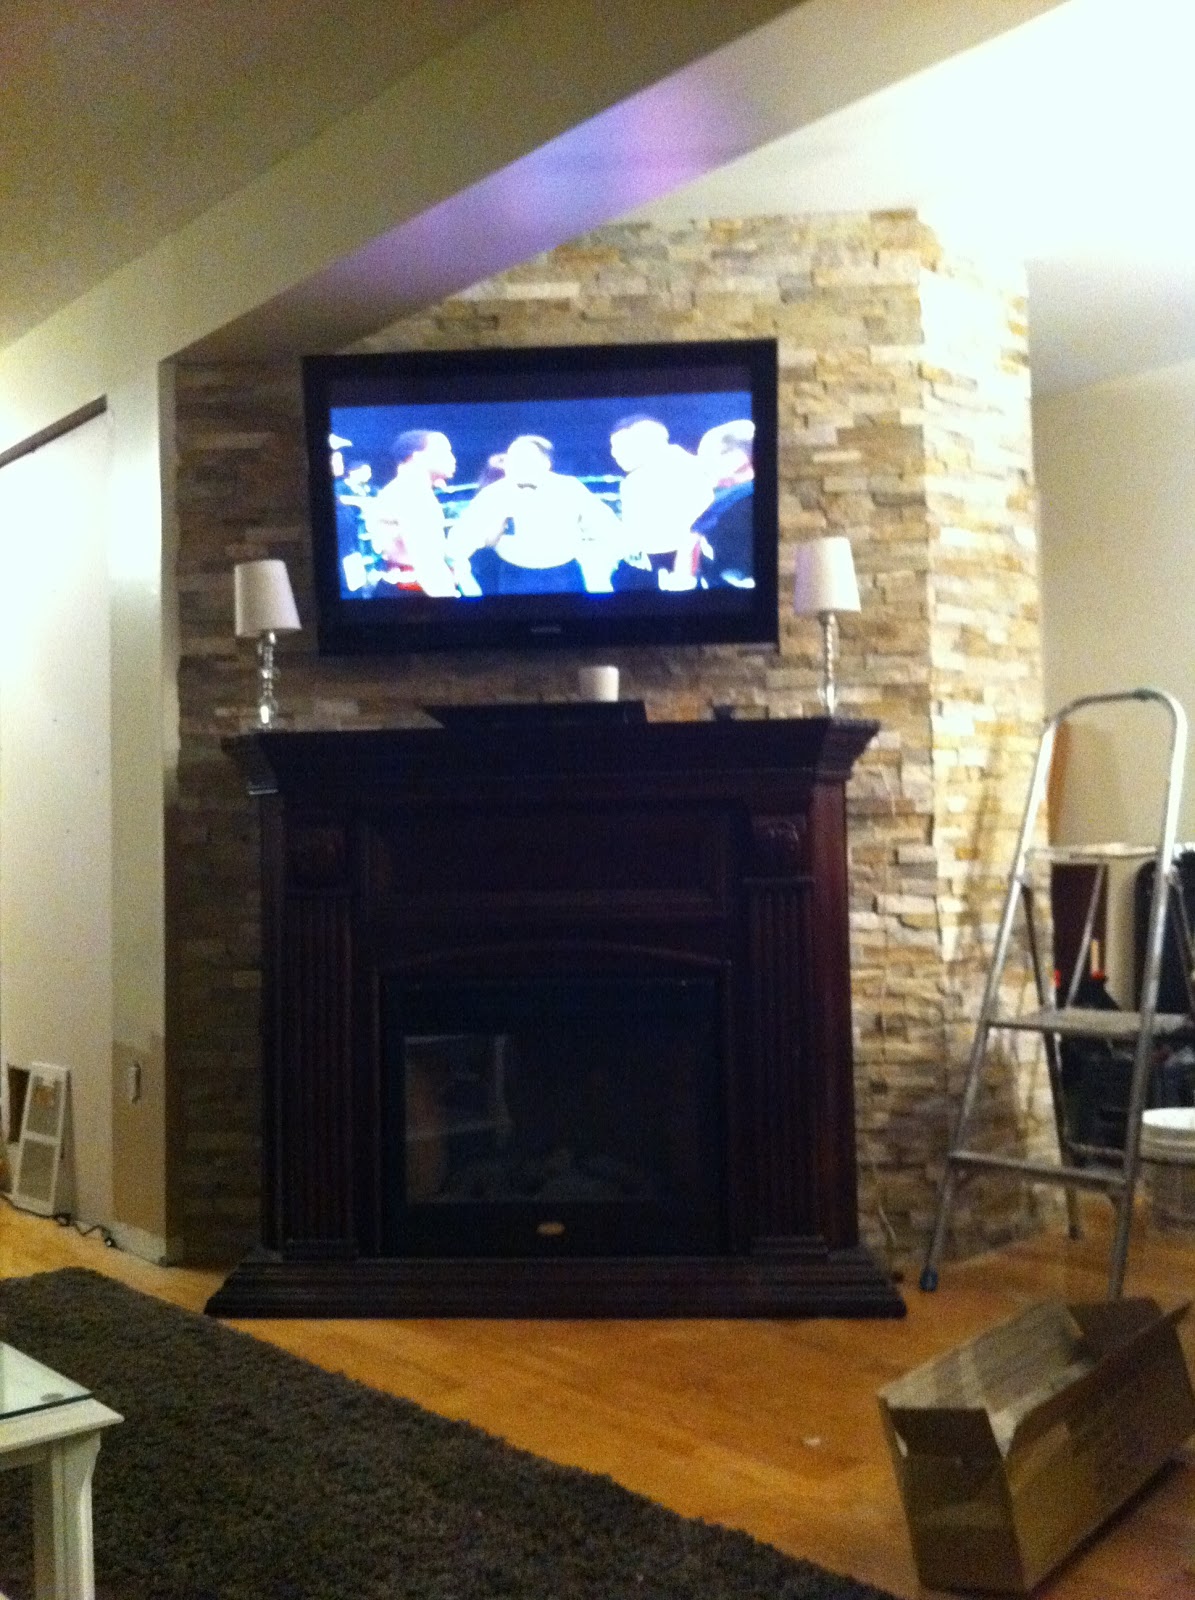
And again, we knew it needed something more. We decided to brick the ENTIRE wall.
It is so great being your own contractor and designer; you can make these changes in the late hours one evening and do what you want!!
If you are planning to do your own brick feature wall, you need to remember to use silver edging (or edging of your choice) on the outside of your wall. It is a very visible area and if you don’t attach it first, before bricking your wall, you won’t have a polished professional diy look.
All of our projects change and evolve over time and with many hurdles, but we are happy to say we lurrvve our new feature wall.
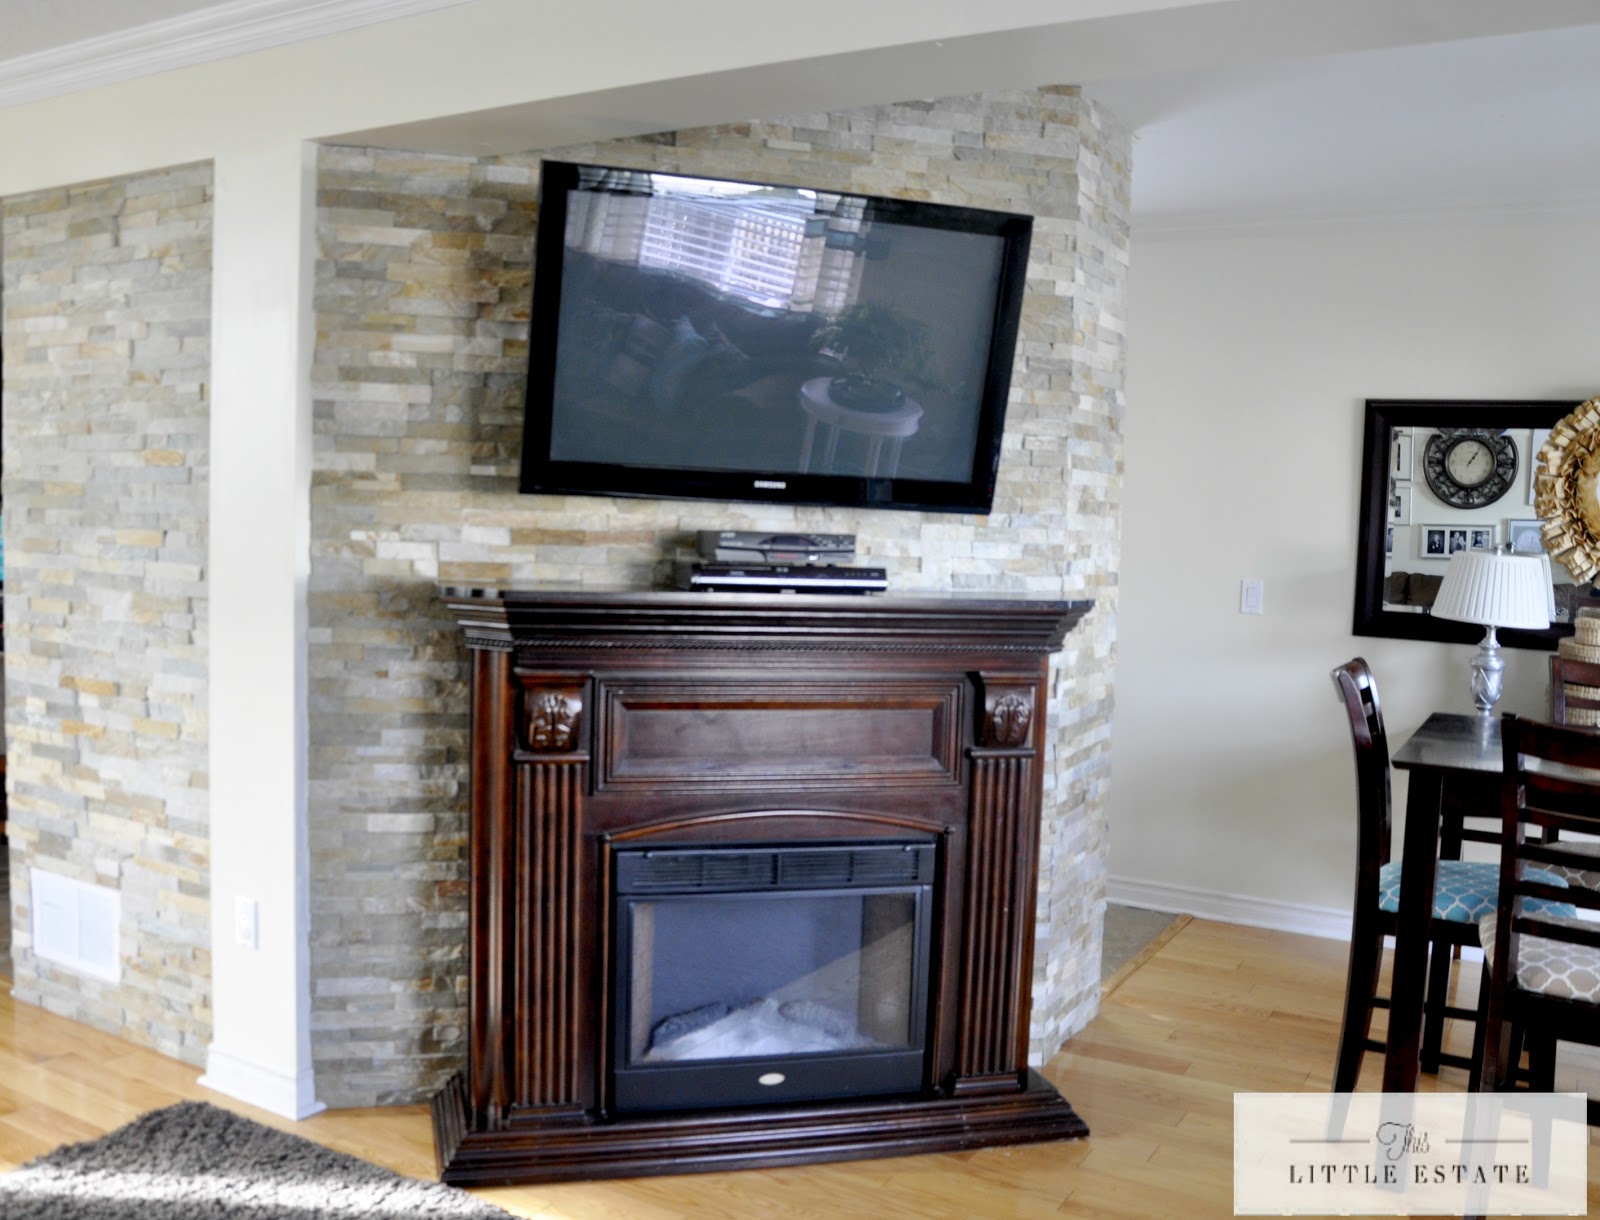
We love that this wall is in the middle of our main floor.
Because we stoned the entire wall, it now looks like it has always been there.
For a few reasons, it is now the best place for our fireplace and television.

We love that we can now watch the television comfortably from the sofa, and with a swivel mount you can also watch the game from the dining room table without getting nacho dip and wing sauce all over yourself.
A major plus!
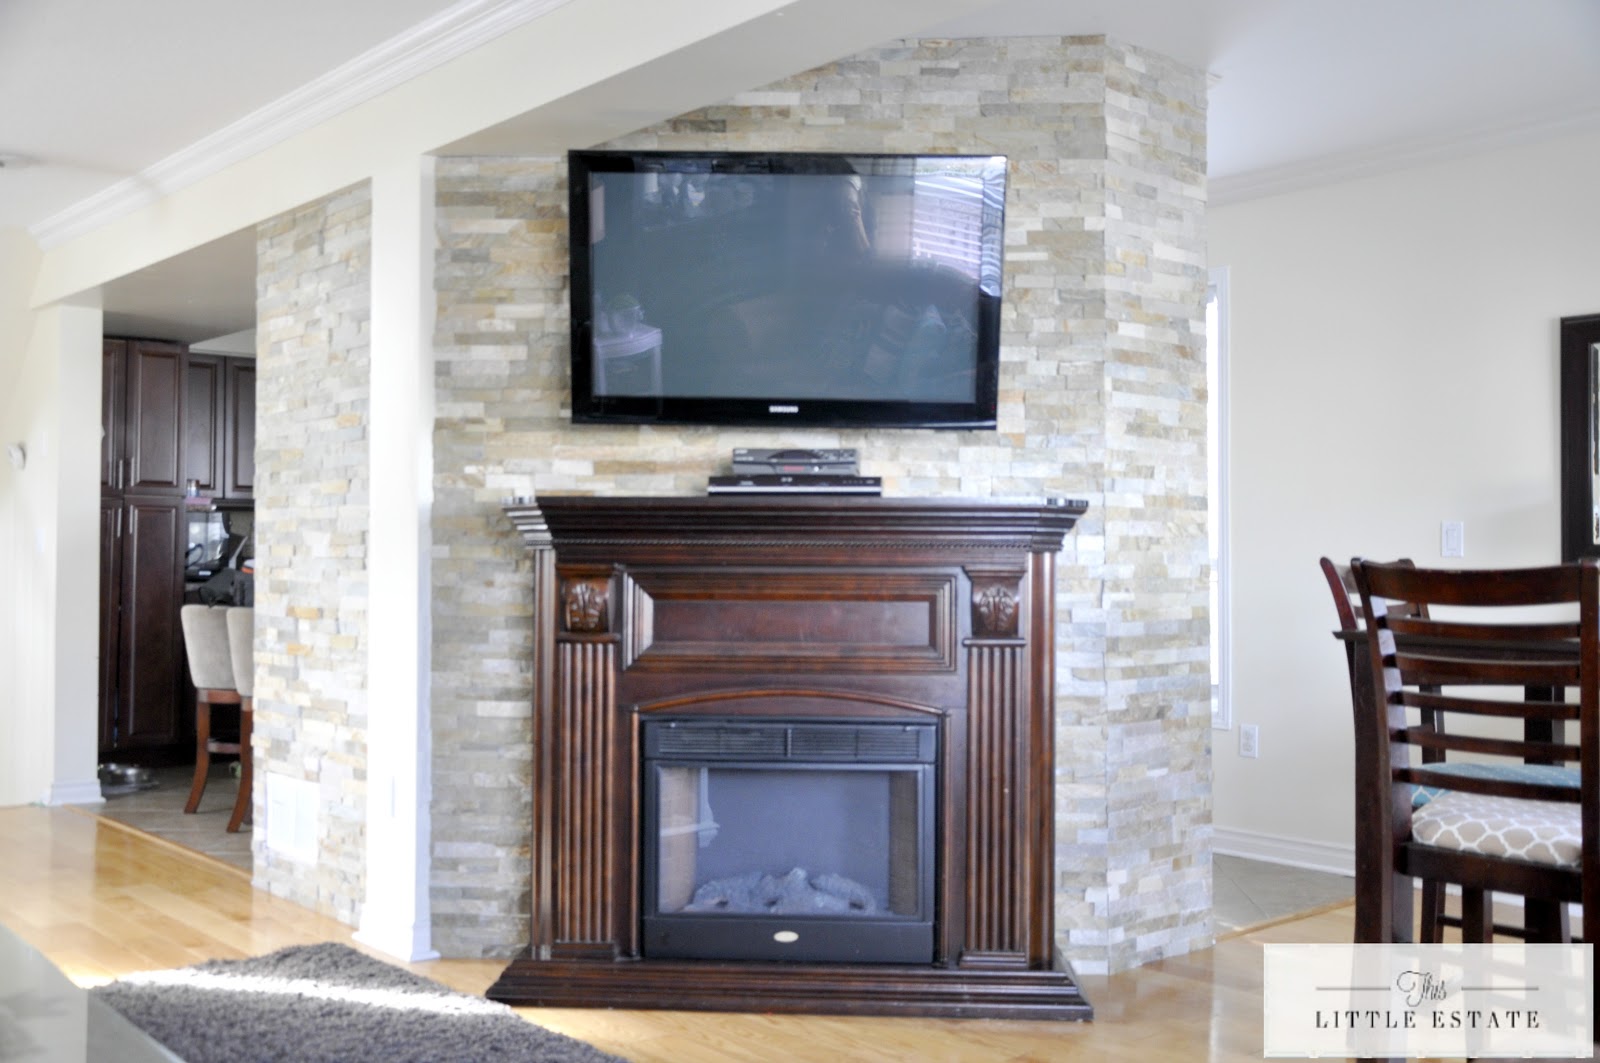
We also love that the bulk head and supporting post now look like they serve a purpose. The feature wall looks like it was planned first and the beams around it.
We also love that when we have guests over for dinner, we cant see the big mess in the kitchen.
I hope to show you the rest of the main floor soon so you can get the whole picture! Stay tuned.
Thanks for checking us out, and for asking for more finished house pictures!
I hope you have a marvelous Monday!
IF YOU ARE LOOKING TO SEE HOW THIS ROOM AND OTHER FINISHED ROOMS IN OUR HOME LOOK NOW, YOU CAN CHECK OUT THESE TWO RECENT POSTS:

Amy Lou
November 26, 2012 at 2:53 pmMy husband is a stone mason. We have to stop and inspect and analyze A LOT of masonry. So I know more about the subject than I care to (: and I gotta say, it looks like your husband did a stellar job! Also, I think those would be called cultured stone rather than brick.
Kelly @ thelilypadcottage
November 27, 2012 at 12:47 amThis looks awesome! Looks just like an old brick wall in a brownstone or something, which I love. Gorgeous, well worth all your effort. It added so much character.
Susan Brocklebank
November 27, 2012 at 2:12 amThis is a beautiful feature in your house!! It looks soooo professional!! I love how Art got the tv on the wall before it was finished:). My husband would have done the same 🙂
Dawn @ Inspired Living
November 28, 2012 at 1:34 pmI can't believe you guys did this yourself! One look at all that tile and I would have run the other way. It looks great and adds a nice touch of character.
My parents have a VERY similar feature wall in their home that they added last winter. I love staring and admiring it with them….so I kinda know how you feel! 🙂
bethanygier
November 28, 2012 at 11:59 pmIm so glad you guys like it! Thanks for taking the time to comment. 🙂
Susan – ya, he had the tv up as soon as he could! lol
Amy Lou- Im so happy you let us know what exactly the stone is called! The store referred to it as brick. My hubby will be so pleased to find out a wife of a mason thinks its ok!! 🙂
Kelly – i love a brownstone too….unfortunatly we are trying to add character to such a builder boring house.
Dawn – ohh I would love to see your parents place! Thanks for visiting!
The Remodeled Life
November 29, 2012 at 7:17 pmI love the feature wall! It turned out beautiful and you are right, totally looks like its always been there or was meant to be :).
Pudel-design
November 30, 2012 at 3:08 pmHi, it`s me again!;)
This looks amazing!
You have a new follower;)
Jaime Lyn
December 2, 2012 at 5:48 pmWhat an AMAZING wall! I love seeing how you guys "did" it! I would love to do something like this is my home someday, thank you for the great inspiration and for linking up at Happy Hour Link party! I am pinning your wall on our Happy Hour Feature Pin Board!
Jaime from Crafty Scrappy Happy
Stephanie @ The Hardscrabble Home
January 8, 2013 at 7:29 pmI have one of those (a perfectionist husband) and am planning for the other (a bricked wall). THANK YOU for sharing this how to DIY. We are going to cover over an old interior chimney that has been covered with wood. I had hoped to just remove the wood and find beautiful brick, but alas there is a reason why the chimney was covered. haha So, rebricking it is in our plans. Thanks again! Yours is beautiful!
Kelly Bartlett
April 29, 2013 at 8:24 pmOh I love this! We used stone just like that on our fireplace. A little stone can make a huge difference. Here are some pics of our stone makeover if you want to peak. 🙂 http://www.bartlettunedited.com/2013/01/finished-fireplace.html
Sheila Reynoso
November 11, 2017 at 9:55 pmDo you happen to know what the name of the stone you ended up with is. I found one similar, but when up on the wall in the display it seems to have a lot of pink in it.
bethanygier
November 16, 2017 at 2:20 pmHi! Thanks for the question but unfortunately I wont be of any help as the company that sold them didnt have specific names for them. If you are local to us, we picked them up at Source Flooring in Kitchener, Ontario, if that helps! Also, when considering installing stone or brick, be aware that each piece will be slightly different in tone and colour. If you are buying boxes, you might want to lay out every piece and return the pieces that have too much of an unwanted one color in them. We needed a lot of stone for this wall and ended up getting another batch of the stone that was clearly a different color than the others. It was a frustrating process, but worth the keen eye to detail in the end. Good luck with the project you are working on!
Bethany