Since the Spring, I feel like we have embarked on the looooooonnnngggggestttttt kitchen renovation of all time. That’s what happens when you have an unexpected renovation to begin, but you have no respective budget to speak of.
Can you relate to this? 🫣
The short version of how this renovation story started is that we had previously started a kitchen renovation during the lockdowns of 2020. I hate to remind you of those times, but with lockdowns everywhere, our reality was that home renovation products were hard to get our hands on. When stores were closed down and items were hard to come across, my husband and I opted to replace our kitchen countertop with one that was readily available. We chose a faux butcher block countertop from IKEA.
Unfortunately with time, this porous surface soaked in every little bit of liquid that it came into contact with. Remember that paper towel advertisement that sucked up full jugs of spilled juice to show off its capacity and moisture wicking qualities?? Yeah, that was THIS countertop.
The counter seemingly drank up any small spill, which was easy to do seeing as it was installed right beside our kitchen sink. Any liquid cleaning product we used to upkeep it up was also devoured. After two years, the countertop had completely disintegrated in quality. It looked swollen and thick and we worried about mold growth.
If you like a good thriller murder story, read on. During the counters slow demise, it also took out along with it our ceramic sink (that eventually bent and cracked) and it inevitably snapped our glass top stove top right down the center leaving it dead and useless in function.
We knew our kitchen was far too gone when our cabinets beneath the counter also started feeling the effects of disintegration and slowly started expanding and malfunctioning in purpose. It’s sad to say, but it has now been over a year that our countertop, kitchen sink, stove top and cabinets have all needed desperately replaced.
These days though, renovations and building products have never cost more since 2020 and kitchen renovations have become more expensive than ever. If you have been dreaming up a kitchen makeover you may feel like you have been on a financial rollercoaster ride of highs and lows that has left you with rhetorical whip lash. SAME, SAME. We are just like most people and we don’t have thousands of dollars sitting in wait ready to be thrown at a hefty reno budget sum.
That’s why this project has taken us so long to make progress on. We decided to tackle this kitchen overhaul on an extreme micro budget, to prove to ourselves, and to others with minuscule budgets, that a little patience and a lot of product hunting can mean the difference between a functional finished kitchen and potential bankruptcy.
Every element in this space that we have considered and purchased has been tirelessly searched for. We knew this time around, we needed to first consider durability when choosing elements for our kitchen. We also needed to consider the cost of each item. Keeping in mind both considerations took up most of my time the last few months as I hunted and watched for cost-effective and durable materials to consider.
As someone who likes to cook a lot, I also had my fingers crossed that I would find affordable products that were also visually alluring that made me WANT to spend time in my kitchen.
I built a Pinterest board to begin, and was immediately drawn to hard surface stone backsplashes. Unfortunately for us and our minute budget, they all seemed completely outside of our capacity. That was until I spent countless hours scouring the internet to hunt down an alternative product that had a similar look.
If you are Canadian, you know that often times this can be harder for us as we sometimes don’t have the options that our neighbours to the south have. I found some American based blogs that had used similar looking solid stone products but were made from laminate. But when I tried to source them locally, I came up empty-handed and frustrated. That’s when I decided to look in alternative places like social selling sites like Facebook Marketplace.
Lo and behold, after a lot of back-and-fort while messaging potential sellers with similar products, I finally found a supplier that was responsive, direct, professional and who was semi local to us in the GTA. From the pictures on their website, I was very hopeful about their potential product meeting all of my hopeful requirements too.
(This project and post are not sponsored or gifted. Our research led us to this specific company and seller. If you aren’t local to us, here are some specifics to consider when searching for a similar product.)
OUR SOLID STONE DUPE CONSIDERATIONS:
UV coated high gloss PVC panels, that look like marble sheets.
Wall panels that come in 9.5ft by 4ft pieces that are 4mm thick.
A sheet that is PVC through its entirety ensuring a tough finish that can withhold high heat.
My husband and I made the trip to Oakville to the seller’s warehouse to view the potential granite slab dupe. We were pleasantly surprised with what we discovered!
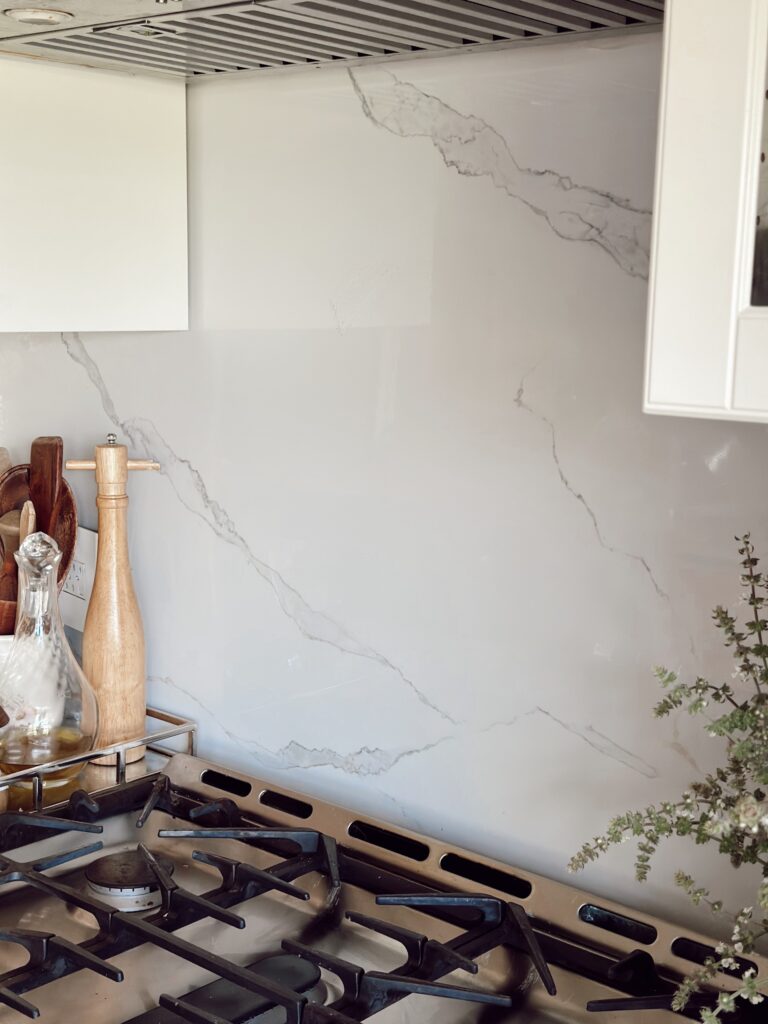
The warehouse was unassuming and was amidst a lot of other warehouses that were tucked away in a strip mall setting close to a major highway. The seller met us there and showed us around the warehouse. We ended up having a private viewing of the different colour options. There were many types of different designs of PVC panels available. There were a few colour options we were considering like the ones that were black with gold throughout and gray base ones with black stone-like veining. But the one that caught our eye was the shiny white base PVC slab with the gray marble-like veining.
It looked exactly like the granite slabs I had been ogling over for months!!
(Those stone slabs however were approximately $200 a square foot. If we had of chosen natural stone the cost for our kitchen would’ve been close to $10,000. Not to mention, we would have had to have someone with more muscle and stone skill to deliver and install the product.)
Instead, we walked away with a 9 x 12 sheet of a look-a-like granite for the humble cost of $95 a sheet! That’s $190 TOTAL for the two we brought home with us!!

(Shop here for the same product we used. https://lakeshorepanels.ca )
*link and post not sponsored or gifted.
**when purchasing through Facebook Marketplace or Kijiji please ensure all personal safety measures.
***never give a down payment on social purchasing sites.
When we discovered this stone alternative in real life, it was truly a start the car kind of moment for our budget conscious kitchen renovation.
My husband and I decided to purchase two sheets and laid them in the bed of our pick up truck. We were intentional before arriving for pick up and chose to bring with us drop cloth covers to go between each sheet and a piece of drywall to stabilize the sheets. (Things to consider if you’re also going to follow in our foot steps with this DIY.)
These in fact were the biggest sheets of PVC that we could find through our searches which was perfect for the amount we required. Although it is good to keep in mind that moving a sheet this large does need precision and care and at least two/three people to move. (I’ll save you the story of how we moved one sheet and it snapped in the middle when one person tried to carry it on their own.)
These particular sheets were 4mm and others we had research were only 3mm thick. They were exactly the dimensions and qualifications we had on our wish list. We believe their thickness helped us stabilize them while we installed them as well.
We were initially hesitant about how PVC sheets would hold up in a kitchen that is well used and we wondered how they would withstand being installed behind a gas stove. All of the reviews we read said they were heat resistant and stain resistant, but I really wanted to put the claims to the test before approving the product and sharing it with you here.

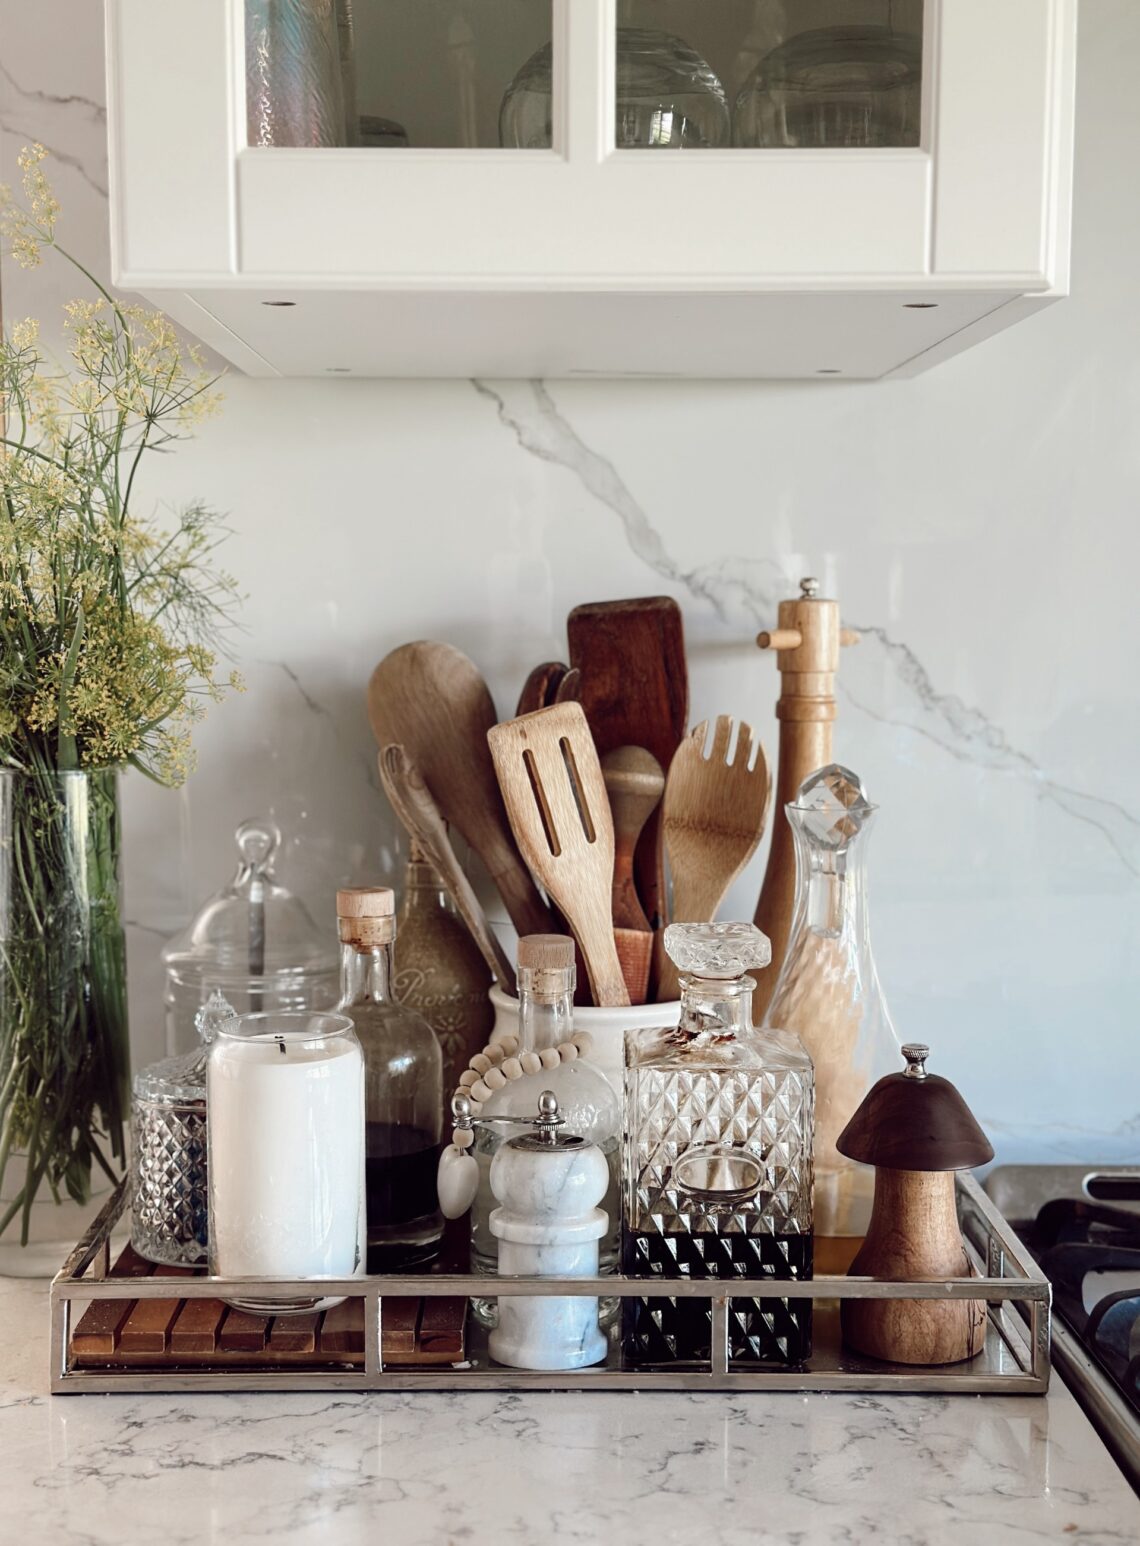
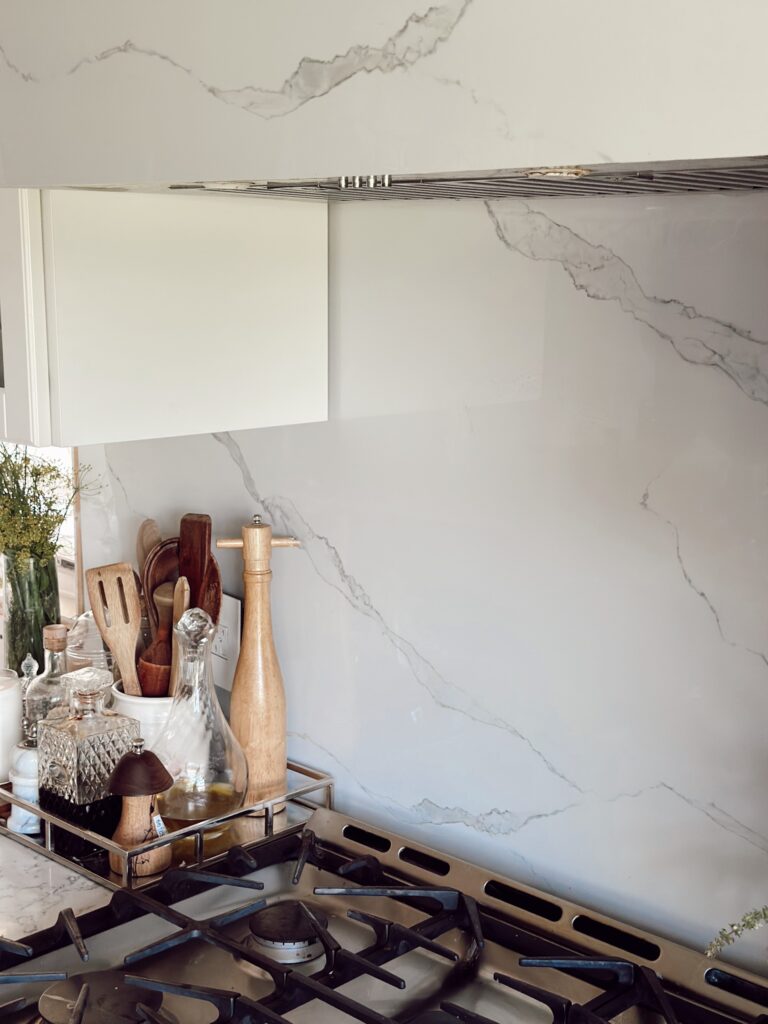
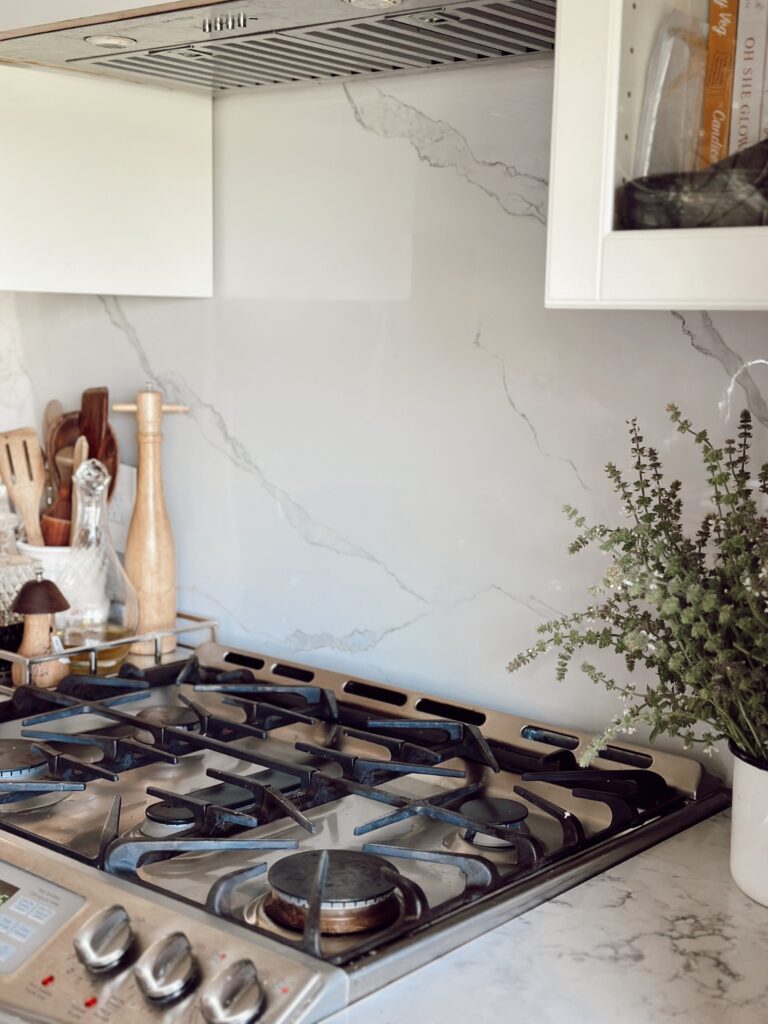
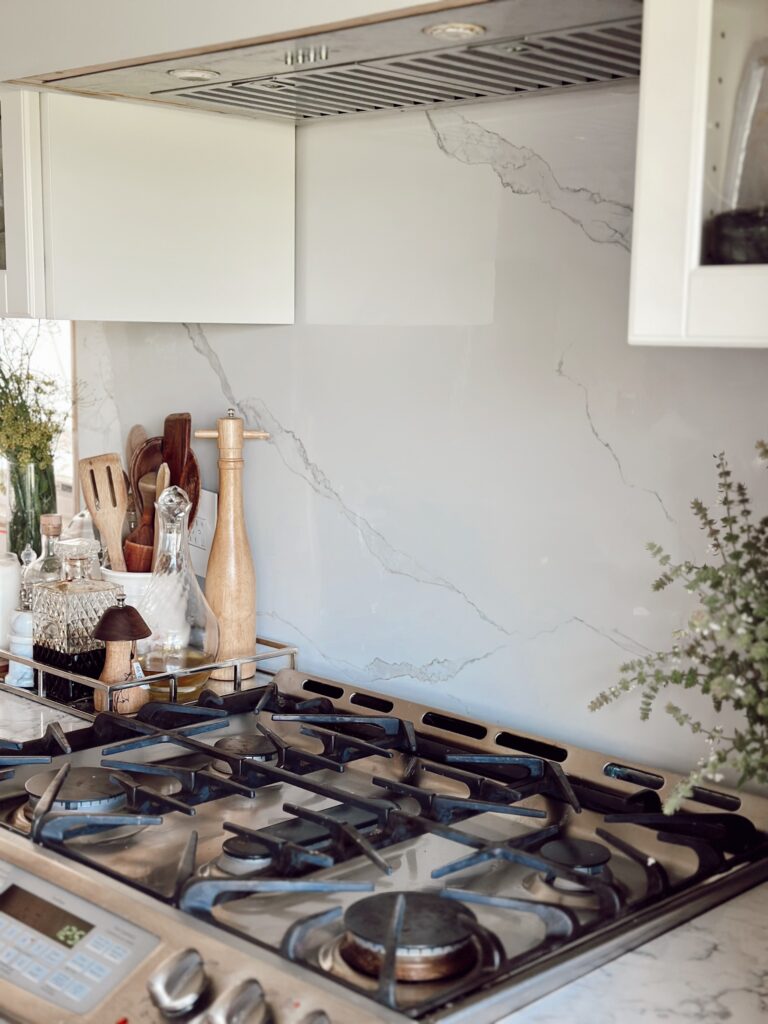
We installed the granite dupes behind our stove and over our new hood range as our first installation step. We wanted to see how the sheets held up in a high heat zone for a few weeks before installing them throughout our kitchen. We are happy to report that not only is this backsplash option high heat resistant it is also extremely easy to keep clean with a wipe of a clean damp cloth and, to me, it looks timeless and beautiful as well!
I will share how we installed the sheets in another post along with the supplies we used to have a seamless installation.
If I’m honest, there are still more pieces to install in certain areas, and the viewpoint I’ve shown you is still only 80% finished. (We still need to install the outside corners of the backsplash, install hardware on our cabinets, trim around the base of our cabinets, add crown molding and we need to finesse a lot of finishing touches. But for now, I wanted to give you a little peek into our budget friendly kitchen renovation, in case you too are looking to save on your next home reno project.)
If you are wanting to follow along behind the scenes on how we install the rest of the kitchen backsplash, be sure to follow us on INSTAGRAM. We will be sharing a lot of the ways we are rebuilding this space and I also have so many more recipes on the way seeing as I can finally cook on a working stove again!
(NOTE: we also found this place holder gas stove on a social selling site for $100. When we find a money tree, I will definitely be getting the stove of my dreams, but this is reality and I think a lot of our readers can understand the importance of recycling and reusing when taking on a big renovation project.)
What do you think of this marble, granite look-alike product? Have you ever thought to look on Facebook marketplace for renovation supplies? Do you prefer a flat finish backsplash like this, or do you prefer tiles or another product?
Last question!! Would you extend a product like this down the side of an island?? We are still considering doing this! What would you do?
For now, I personally love the fact that we just get to skip the step of sealing grout after installing this product. If you are a DIY addict like us, you will totally appreciate the sentiment.
Can you relate?

