When we moved to our new house we had literally just finished renovating our master bedroom, master closet and master ensuite at our old house.
We lived in our last house for five years without a master bathroom which made it extra difficult to say goodbye once we had it all shiny and new for the new owners. It was the last space in our old home to be completed after five years of DIY renovating and it was a difficult space to let go of since we didn’t get the chance to enjoy it.
However, you would think it would be even harder to accept our new dated master with open arms, but it actually wasn’t.
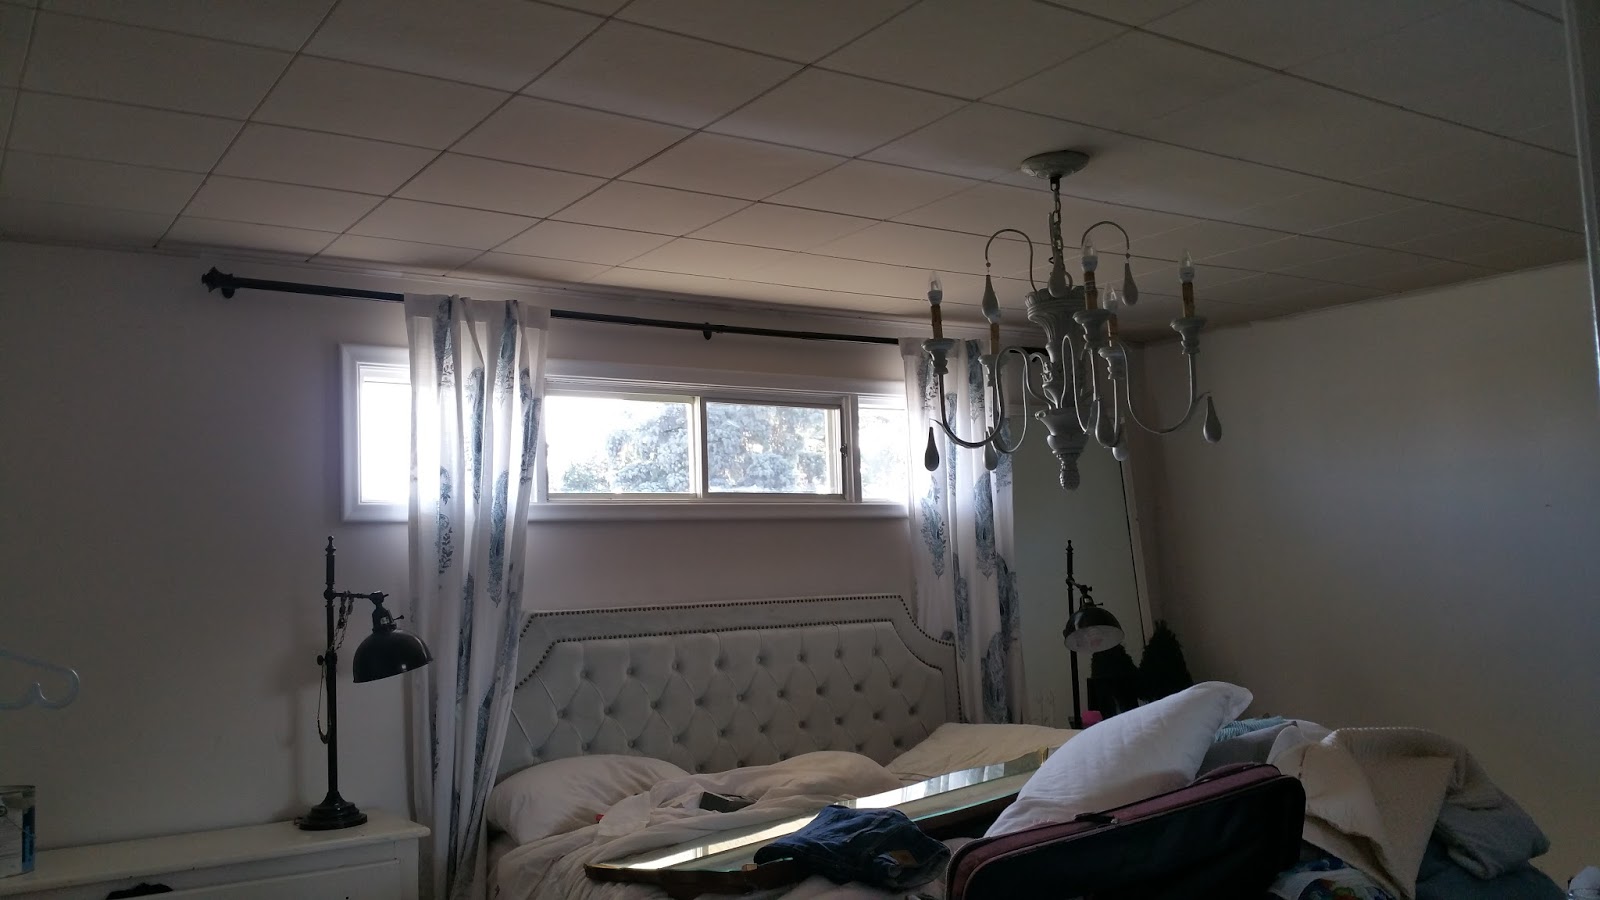
It wasn’t, because we see potential in everything! You too? have a peek…
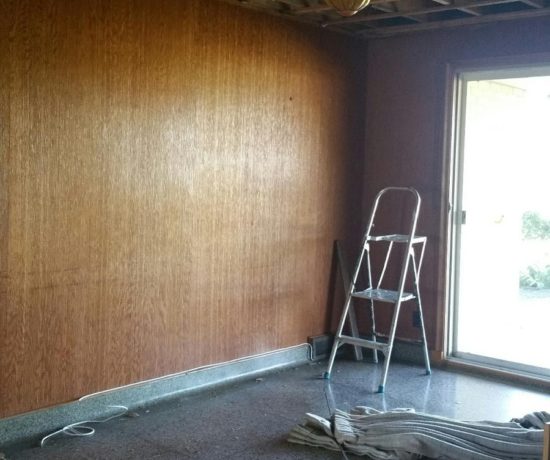
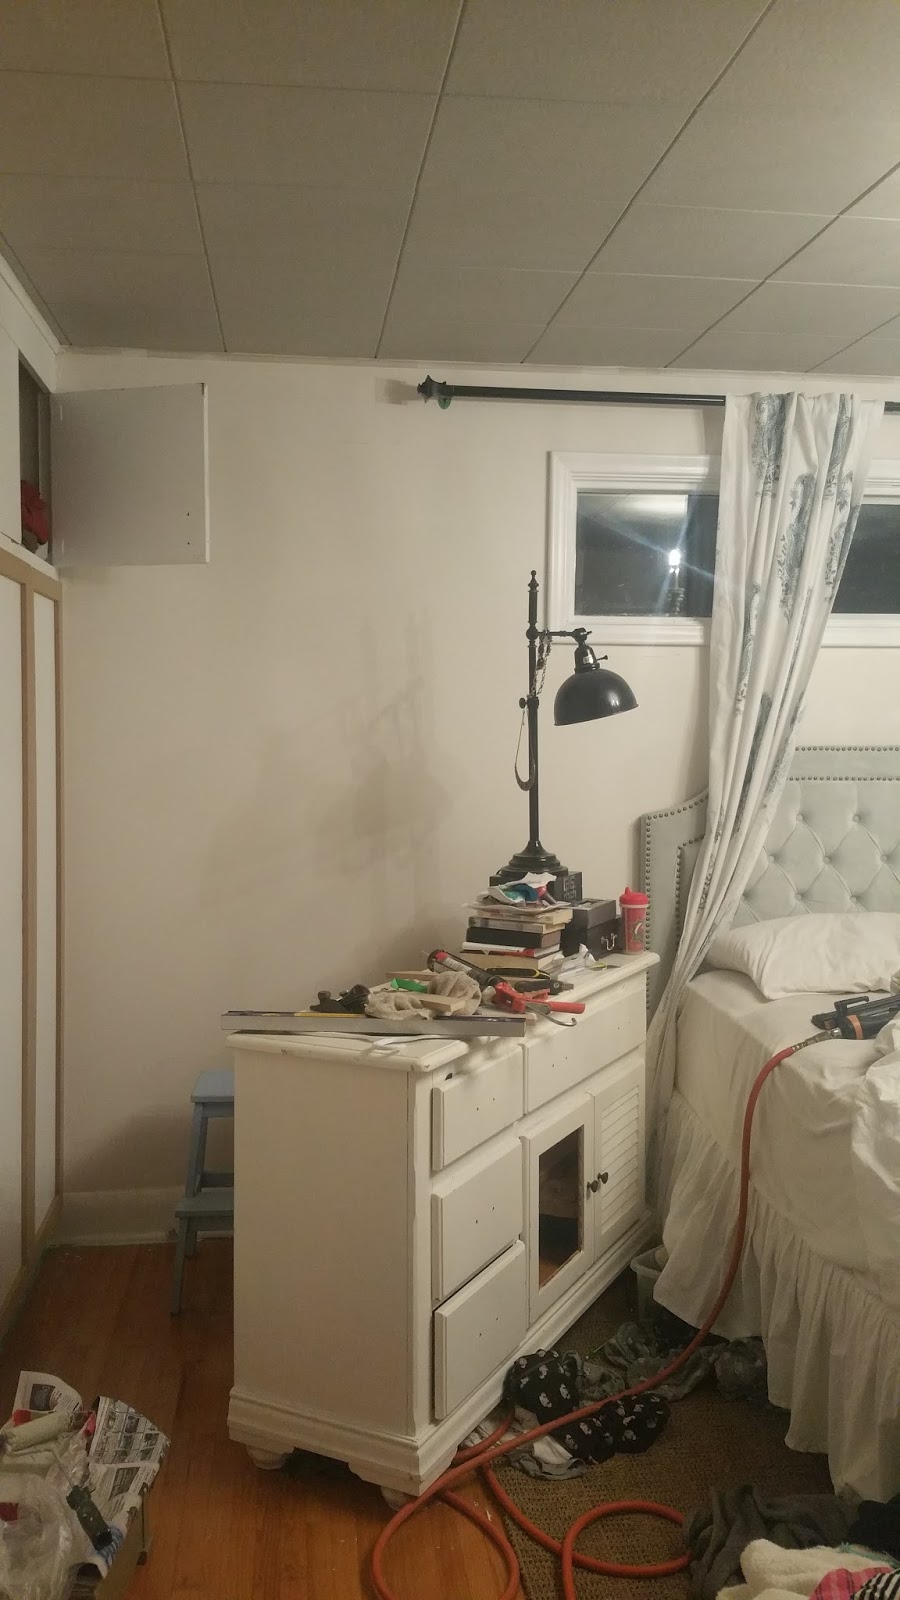
See? Can you see it too?
What you can’t see is the musty smell that lived in the attached hallway’s orange 60’s carpet. If the internet had a scratch and sniff option you would be transported in time to the day we got the keys to our new home and to the moment when I snapped this picture and longed to rip out that carpet to relieve the whole house of it’s musty aroma.
The space felt older than it looked because of that.
Our new home was well kept over the years and had never passed hands since it’s build in 1954, it’s finishings indicated it had never been updated too.
We wouldn’t have a master ensuite here and we definitely wouldn’t have a walk in closet here, but we looked beyond that. We knew this room could be a cozy master retreat. All it needed was a ton of elbow grease, a lot of paint and some creative thinking.
Here’s how we transformed our master closet.
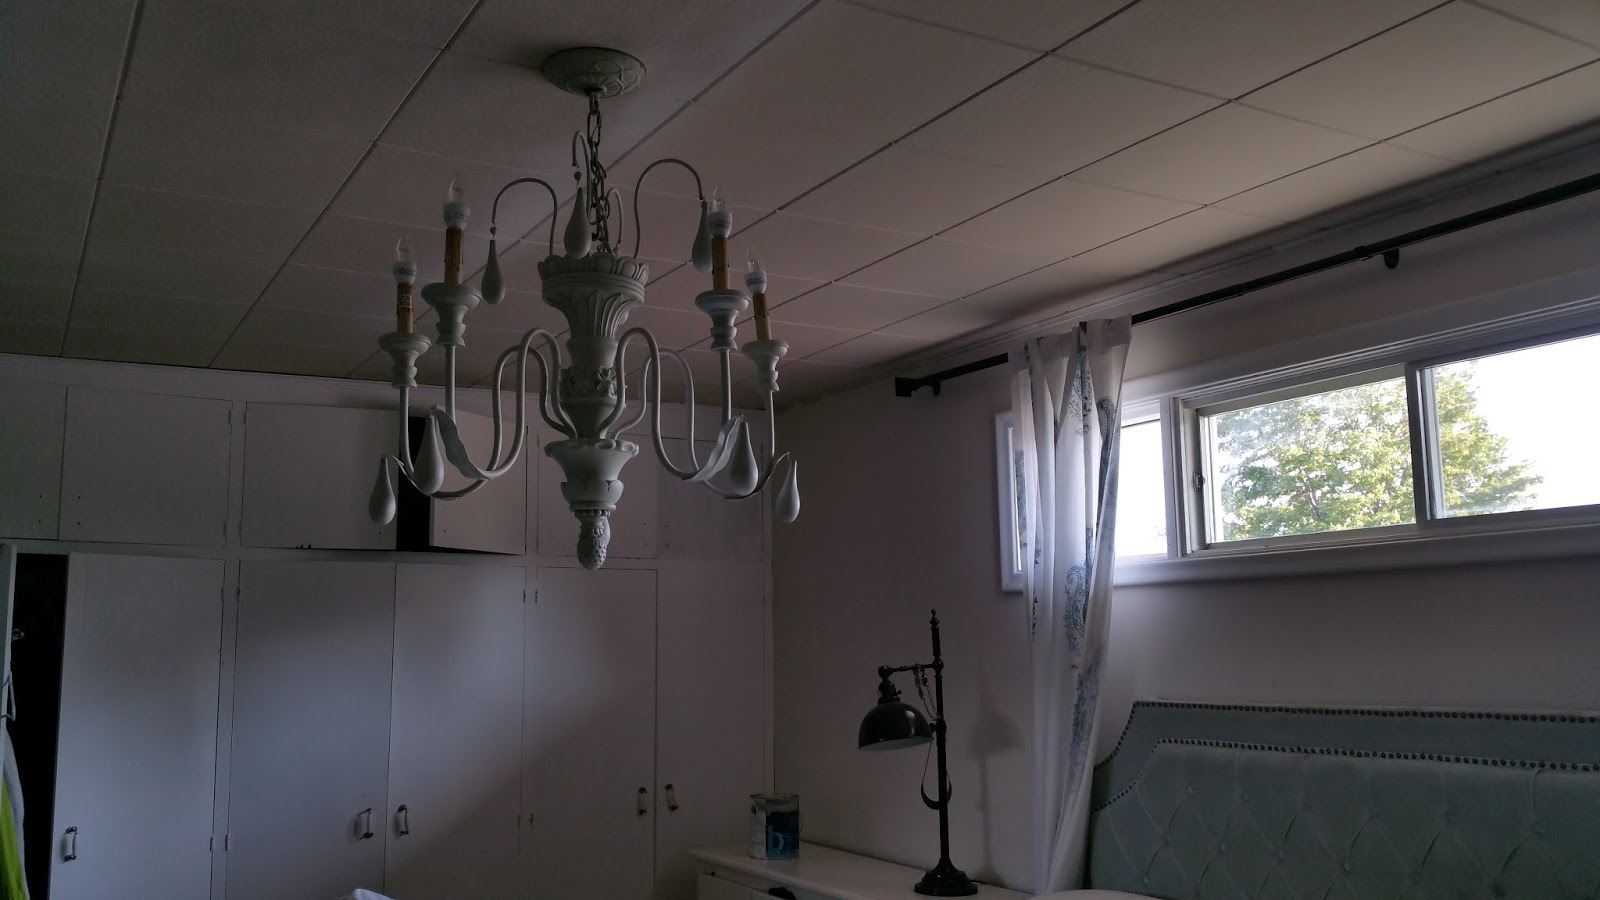
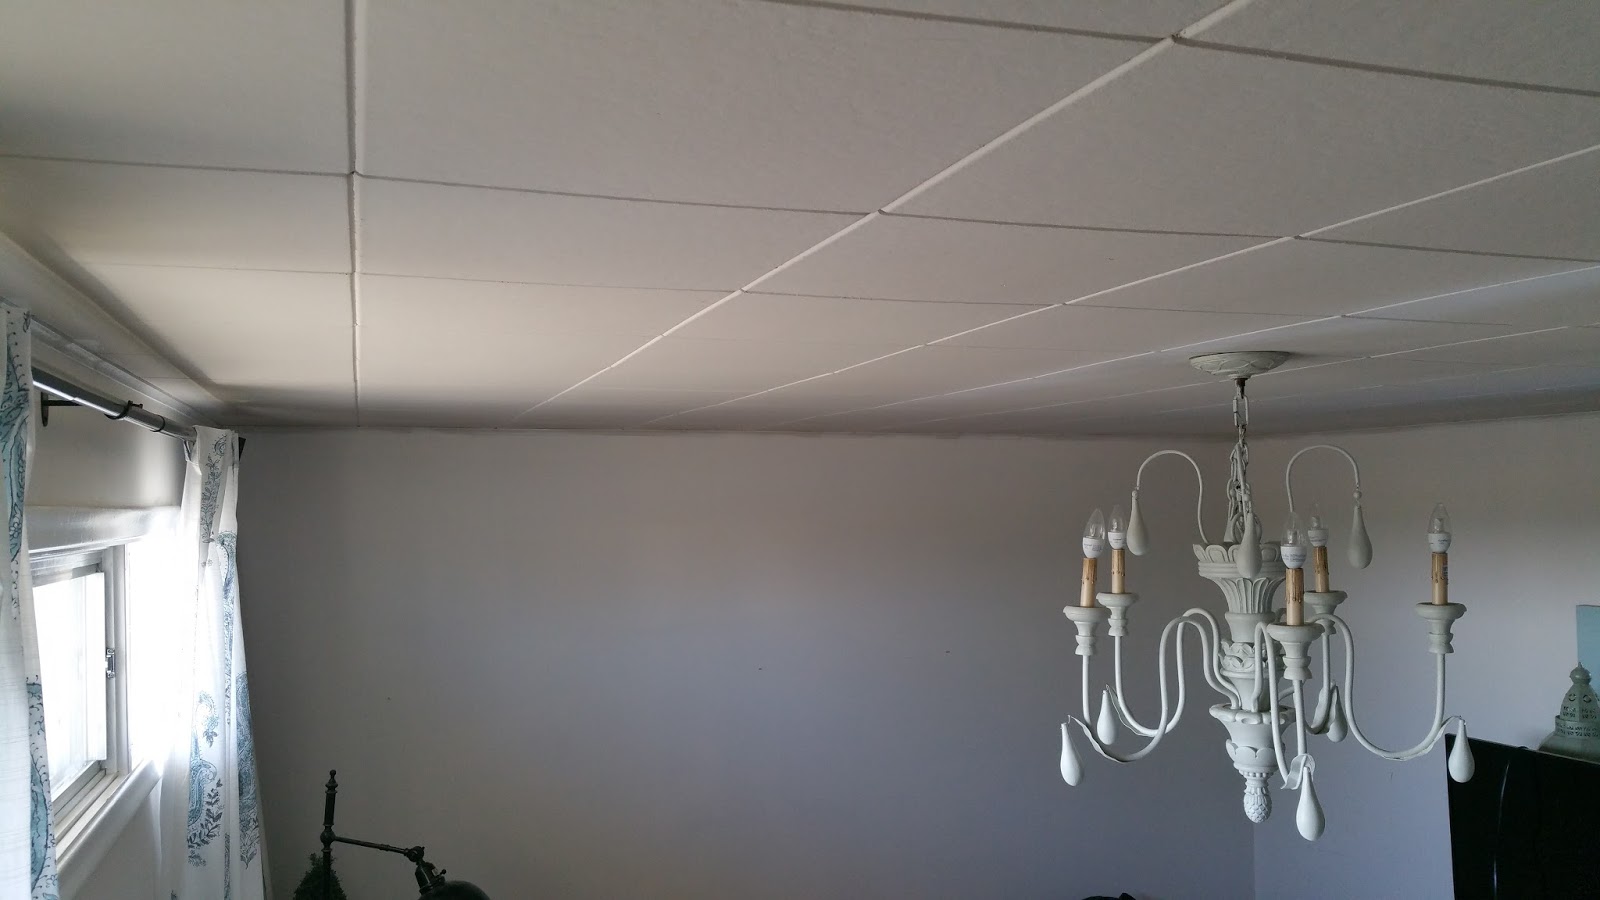
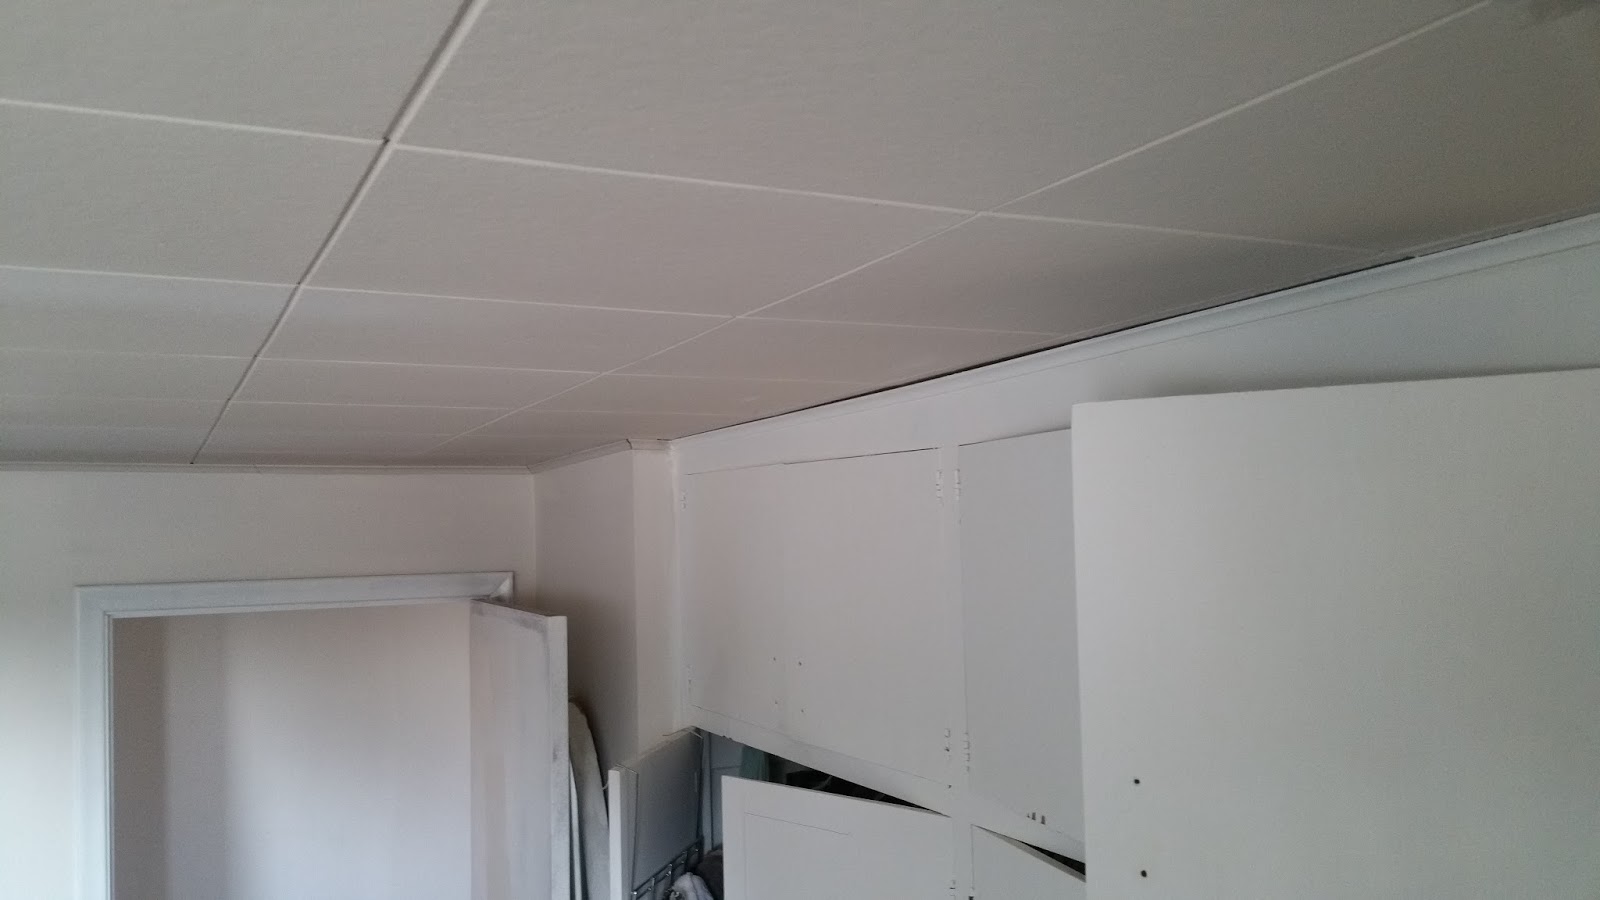
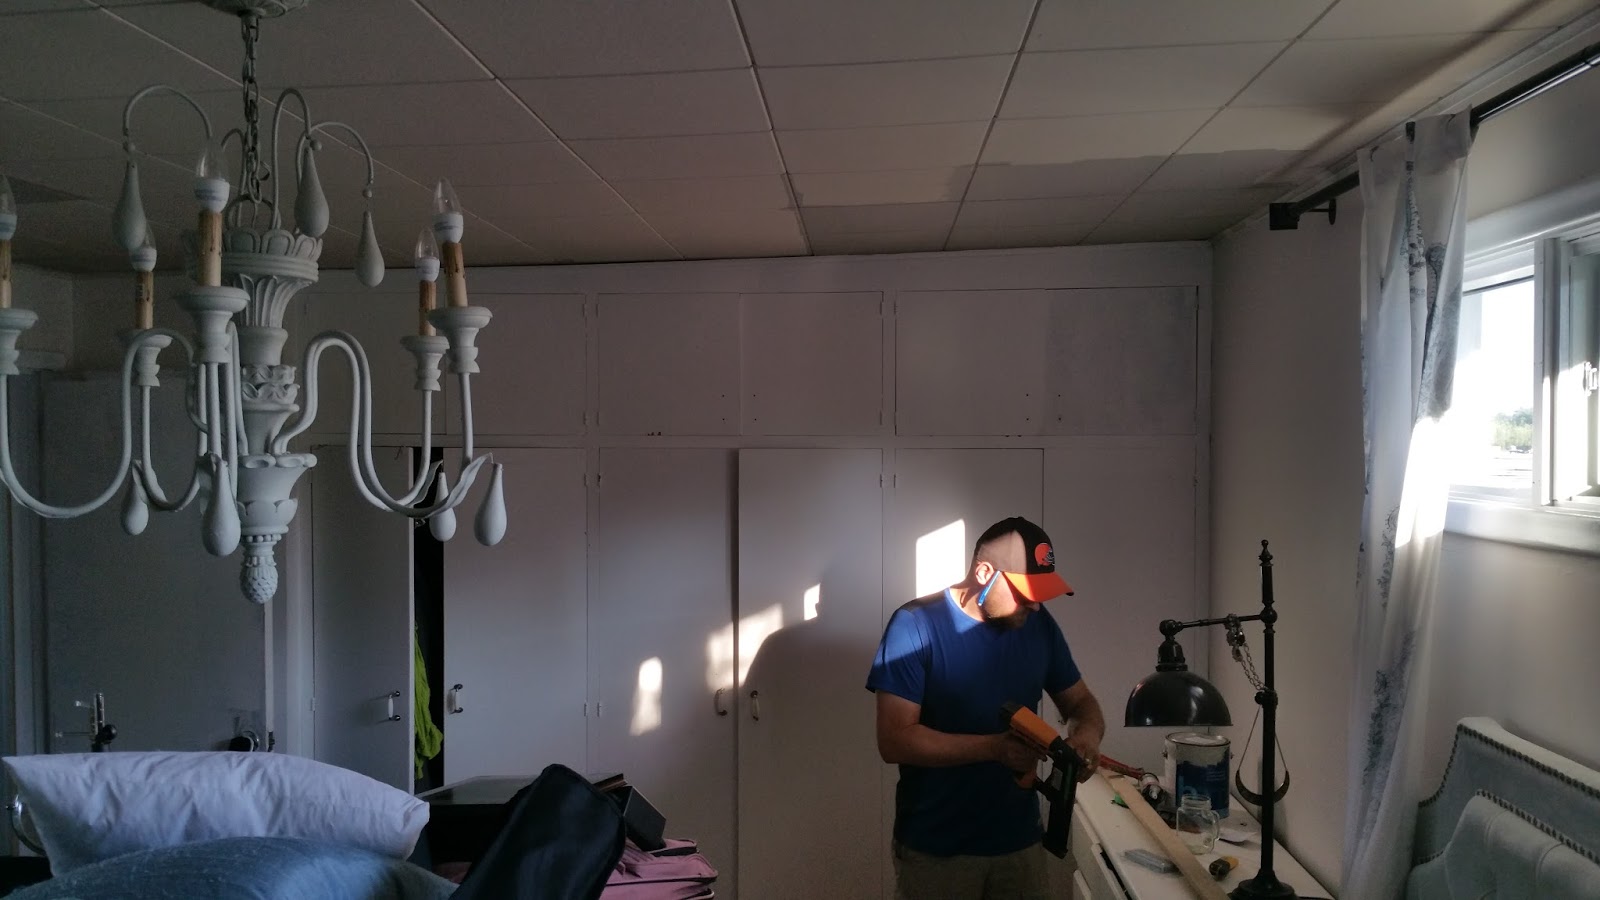
First, I cleaned the walls and built ins and painted everything a bright white.
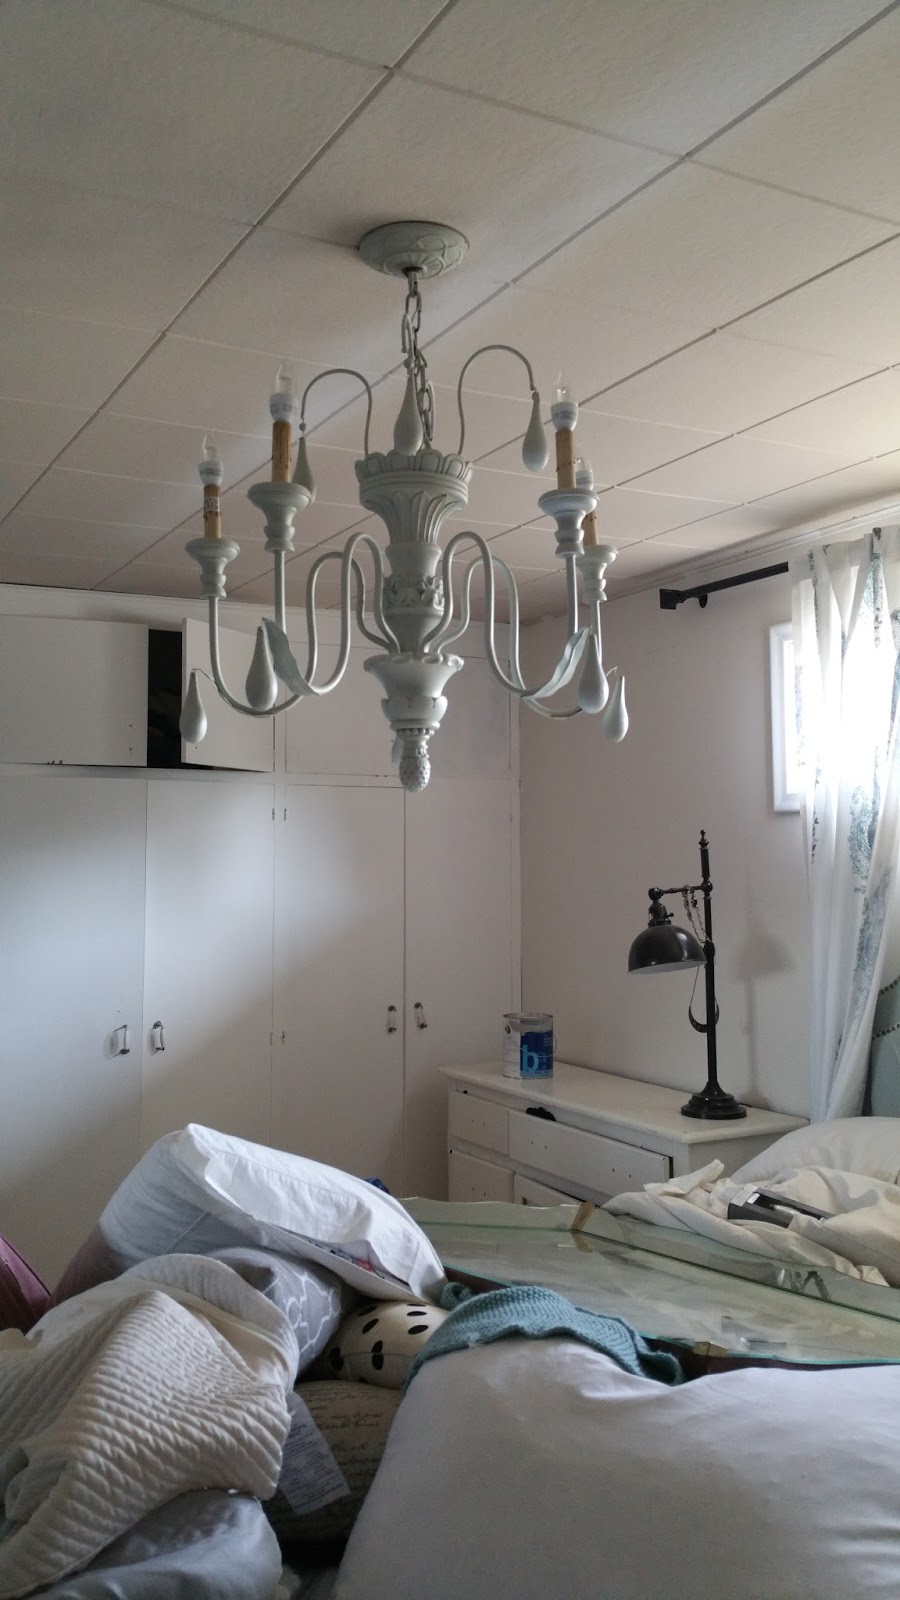
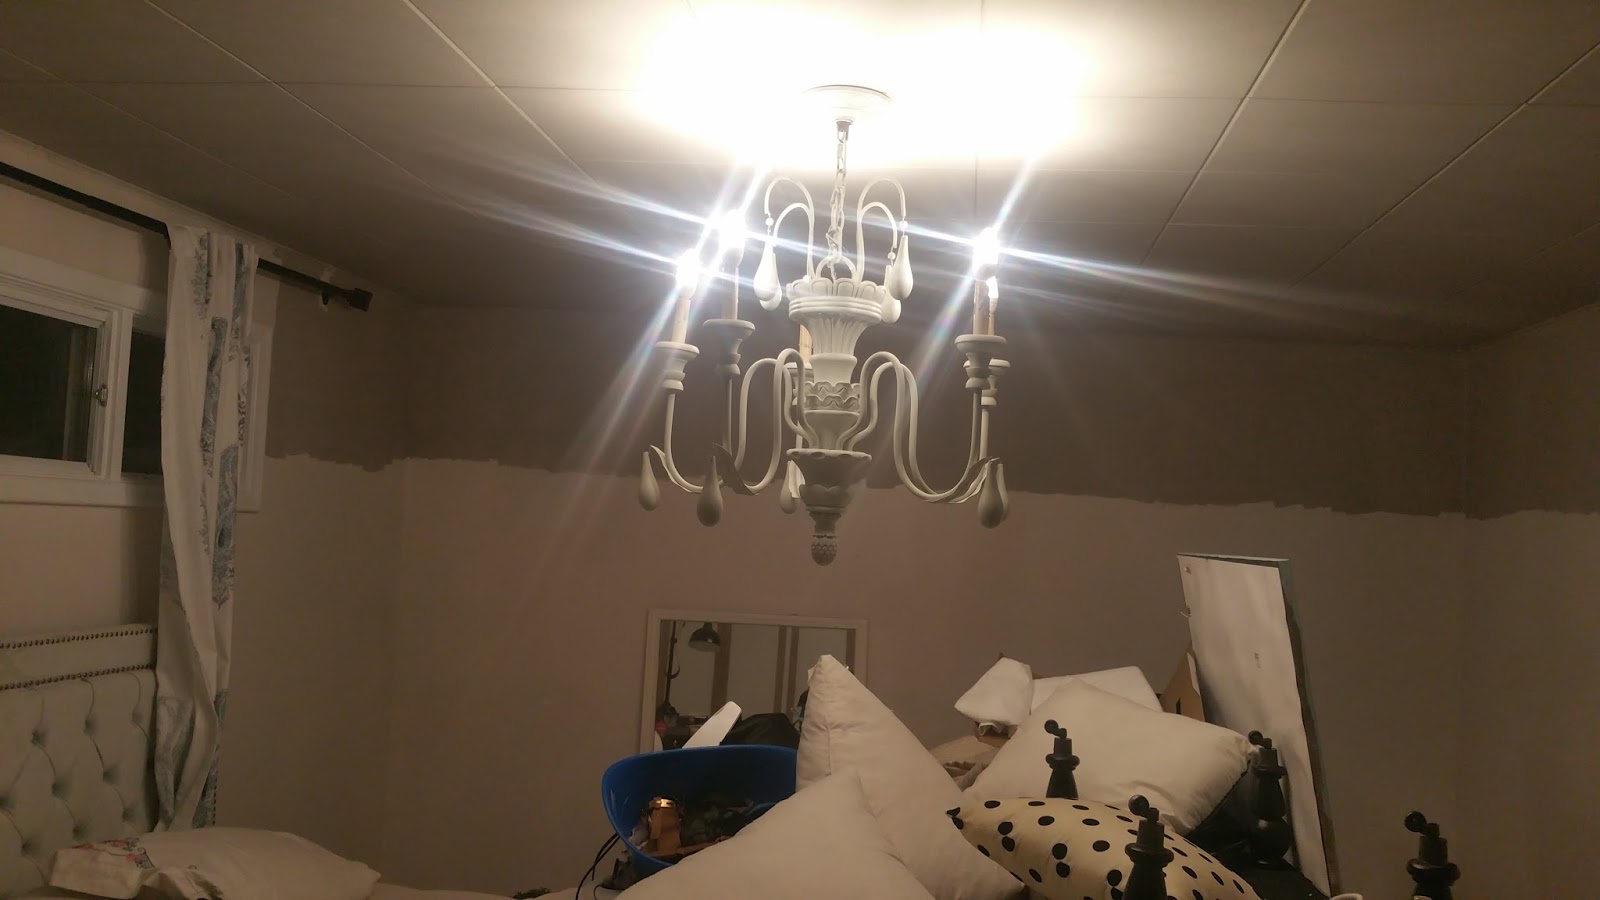
I then got sidetracked for a few months while I figured out what I wanted our closet to look like. In the mean time I refinished and added a French country chandelier to distract from the room’s dropped ceiling.
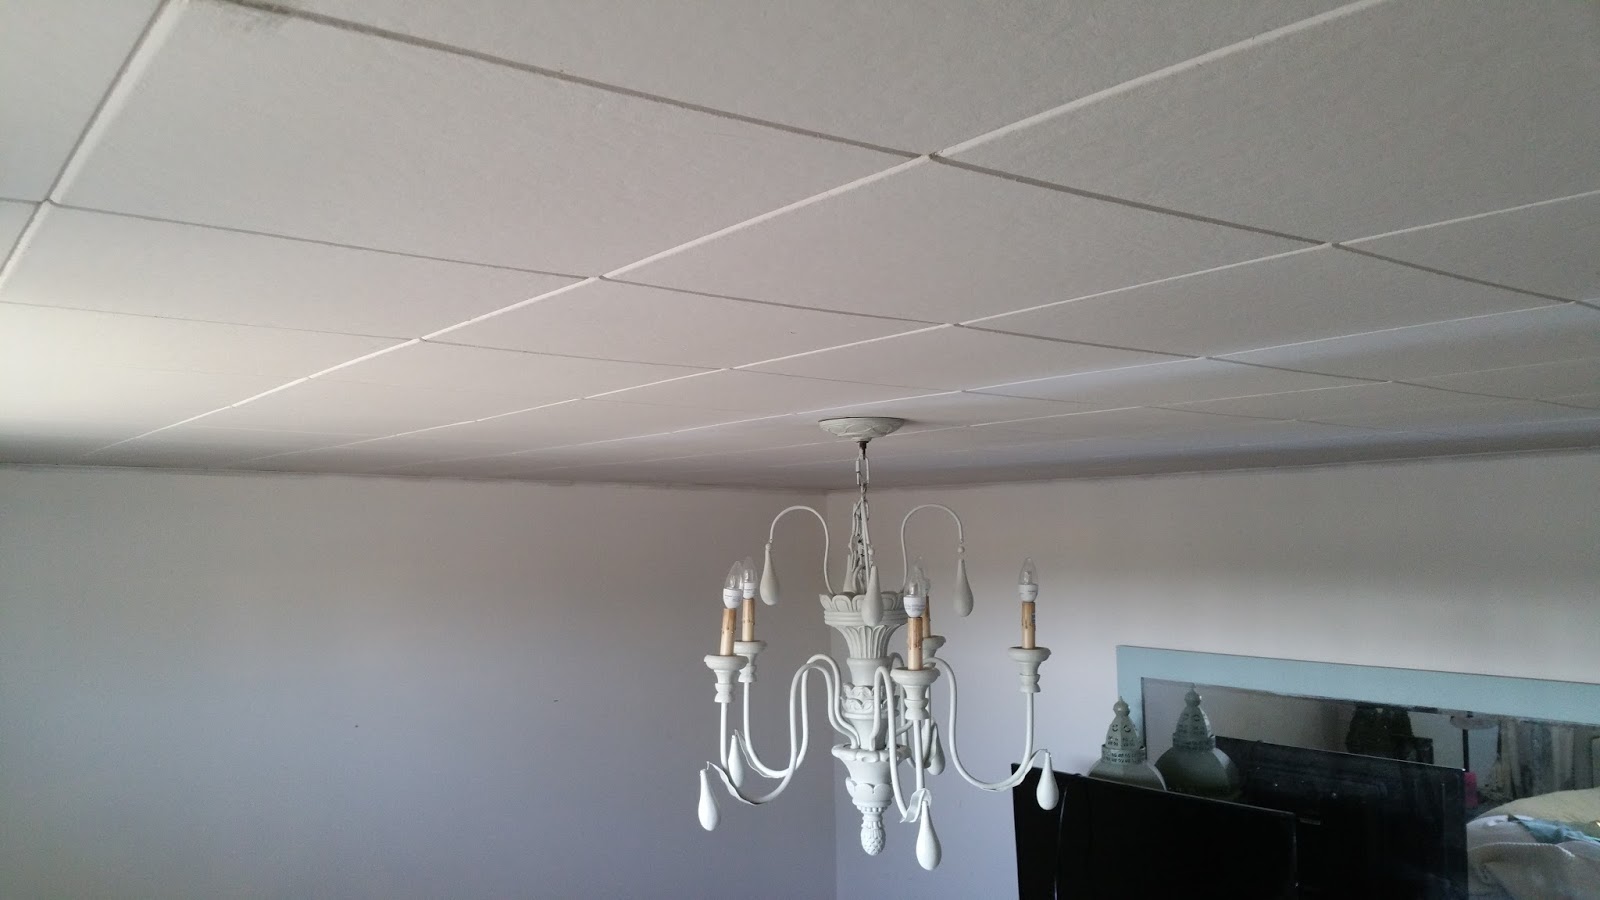
You may have heard us mention before that we plan to peak our flat mid century modern roof in the future, so we decided to simply paint out our ceiling instead of wasting moula on replacing it.
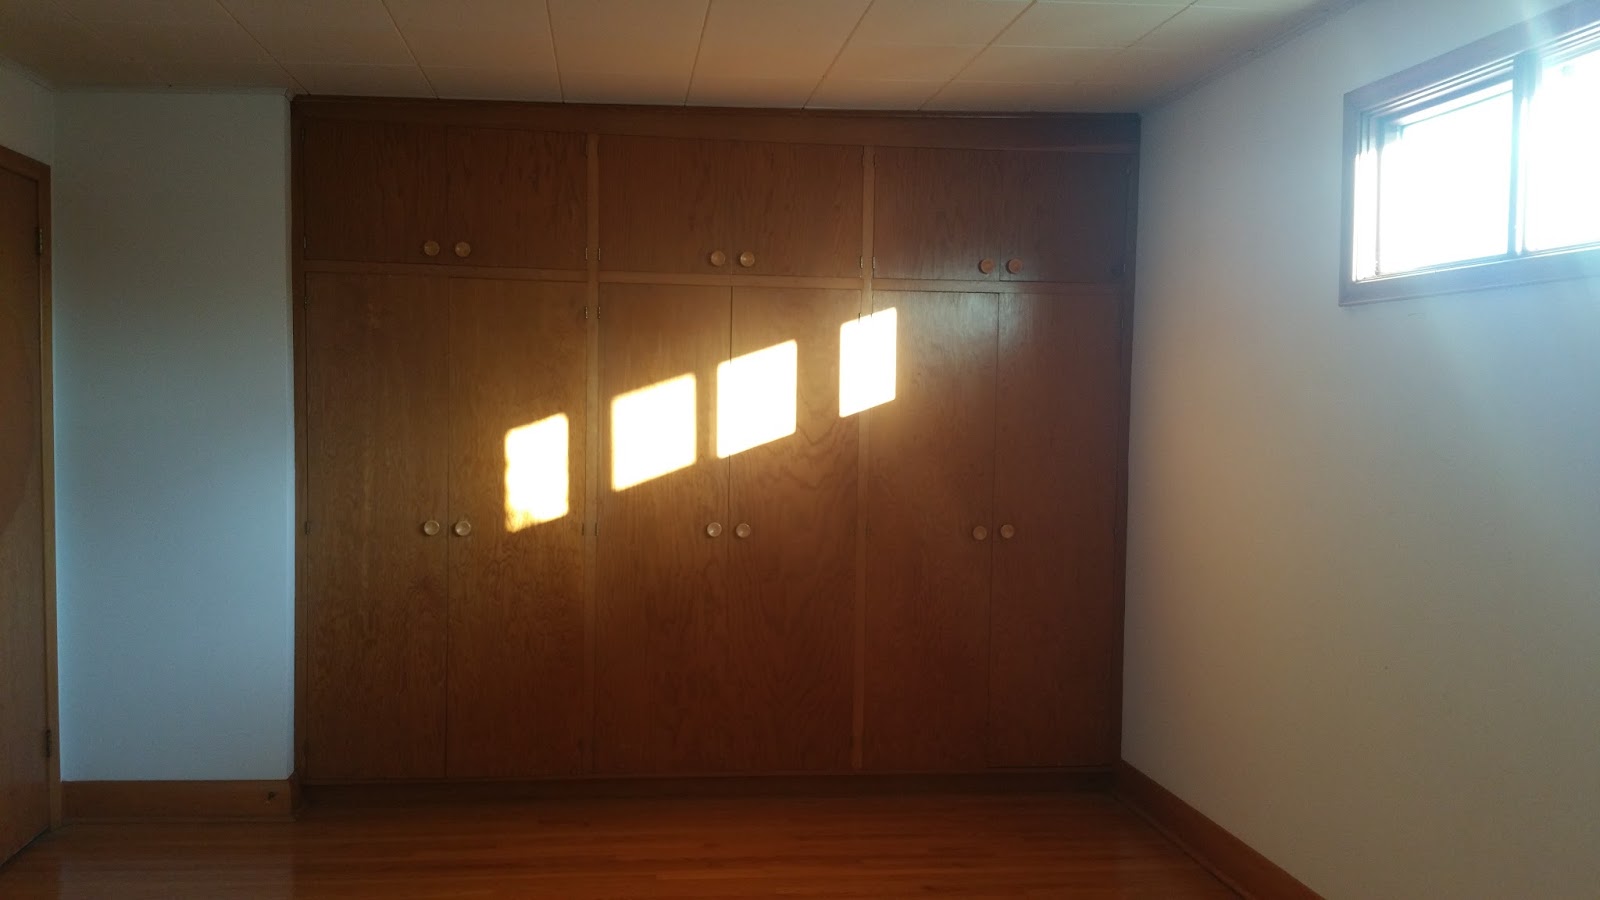
We are renovating an entire house after all and saving for that peaked roof, so we decided to use the potential that was in our newly painted built ins. Why rip them out and start over? They were sturdy and well made and so we gave them another chance.
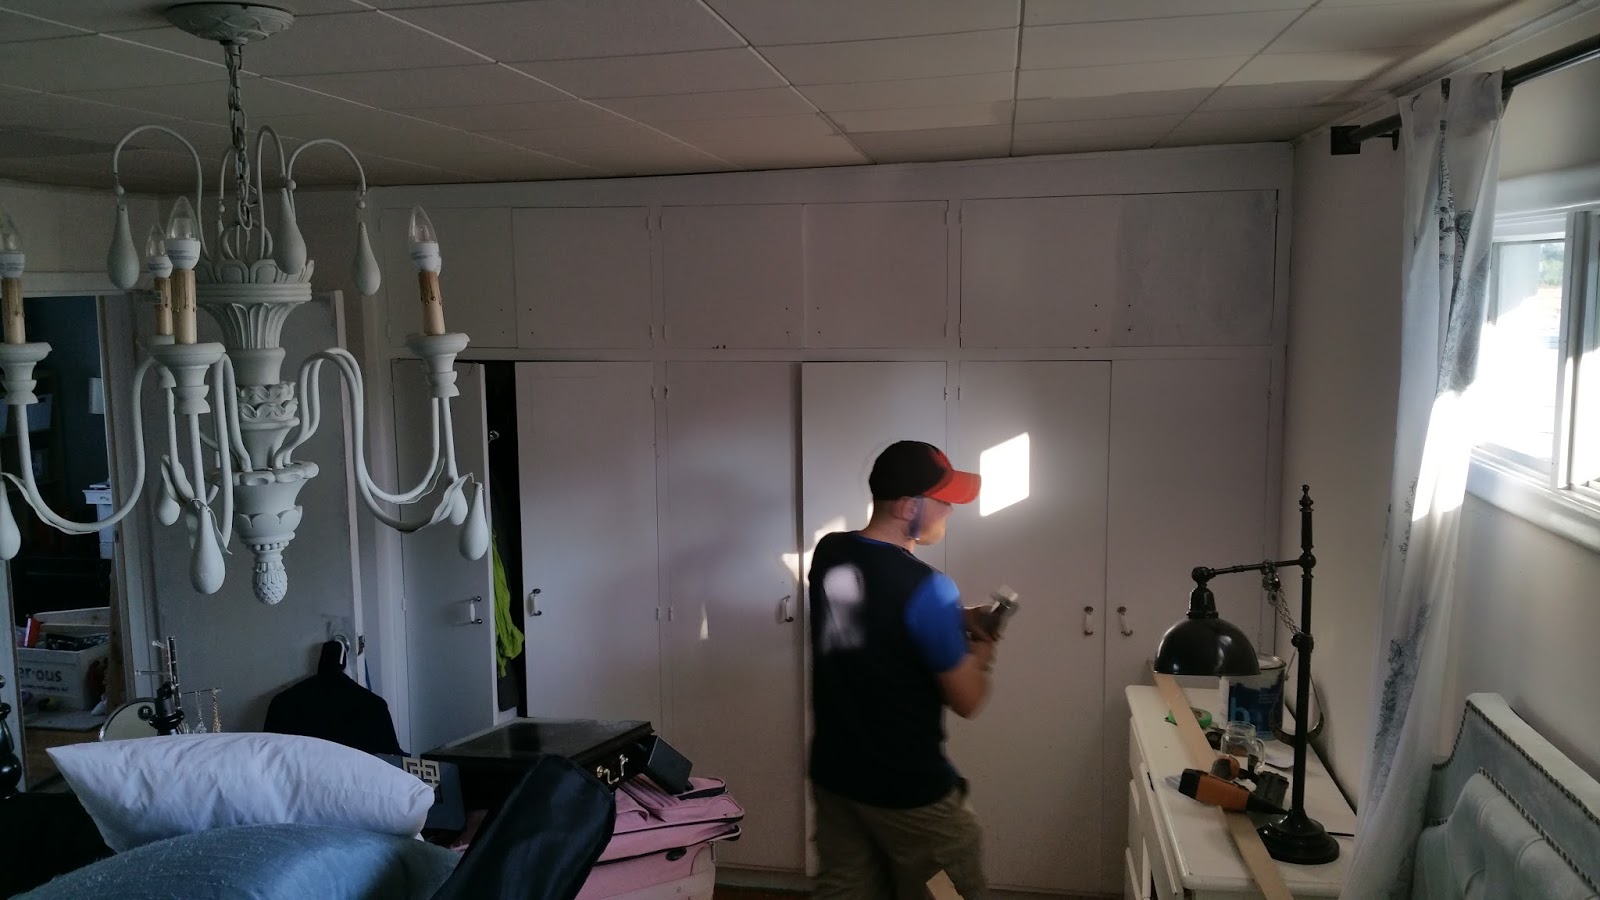
After some planning, a sketch or two and some measuring we got to work turning our flat panelled, newly painted, cabinet built ins into a pretty feature wall.
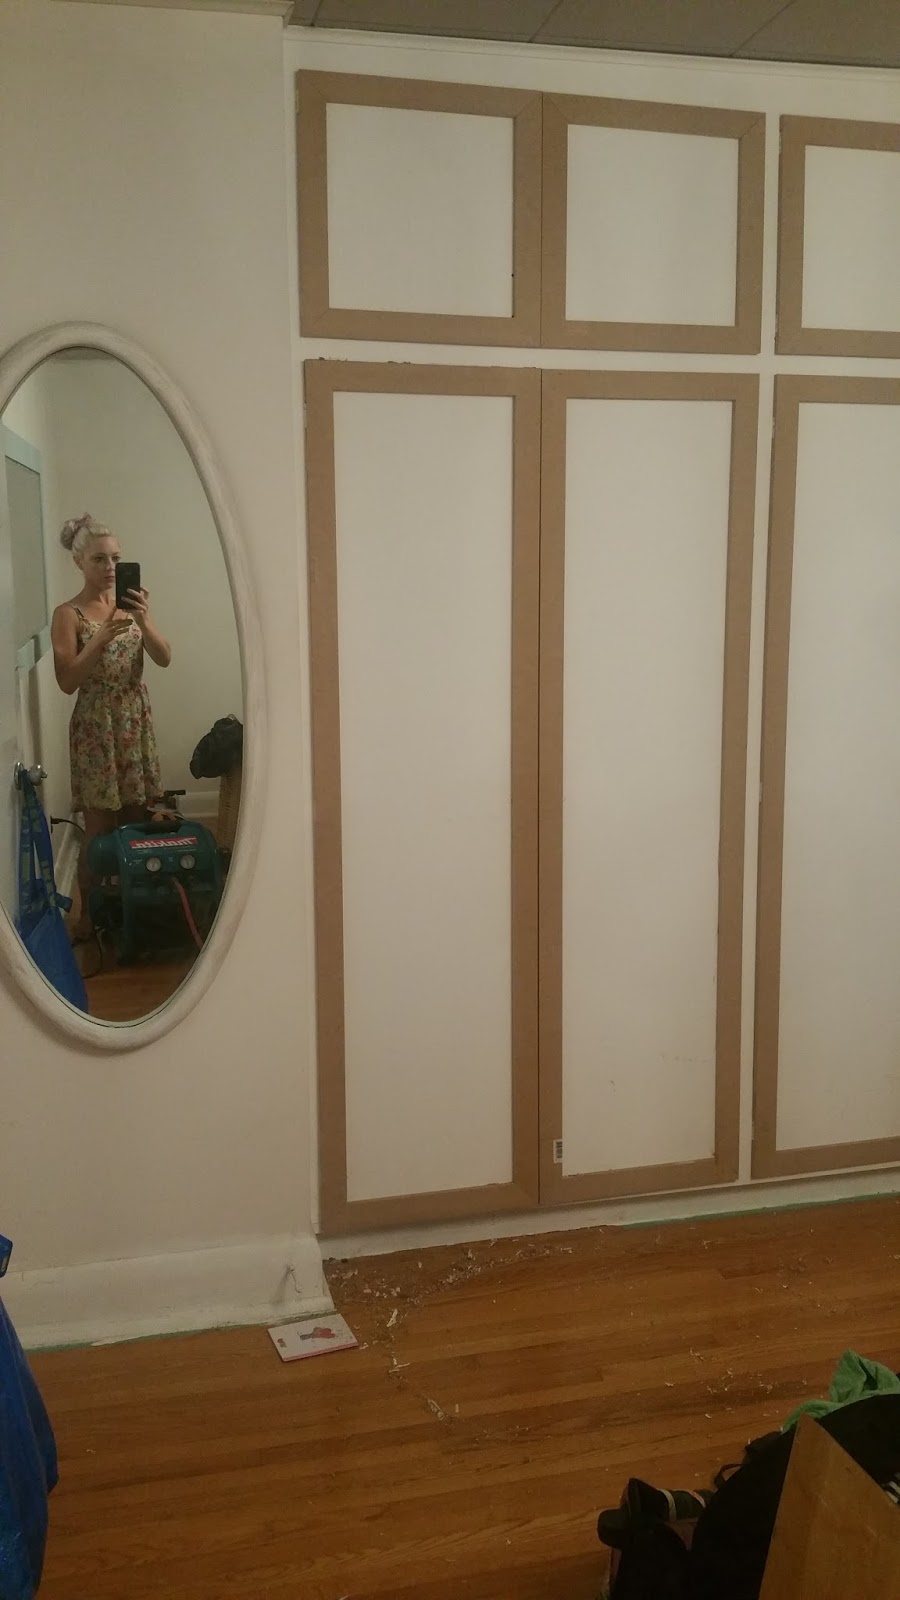
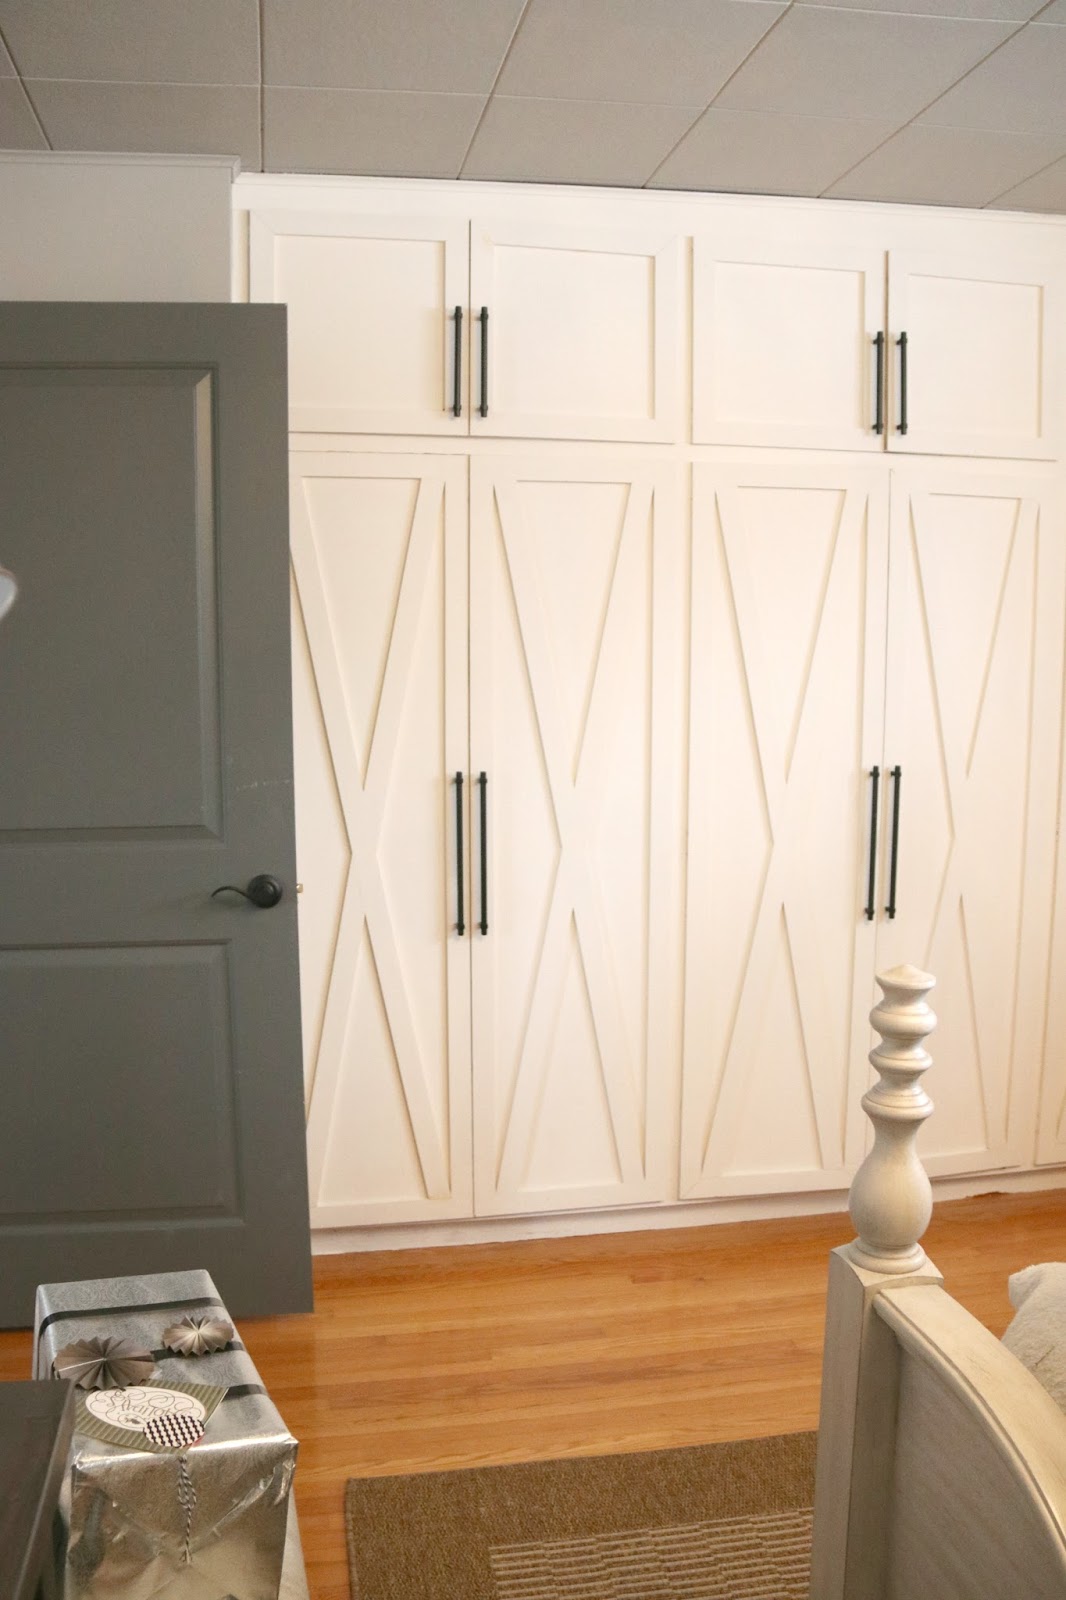
Here is a look at what we started with.
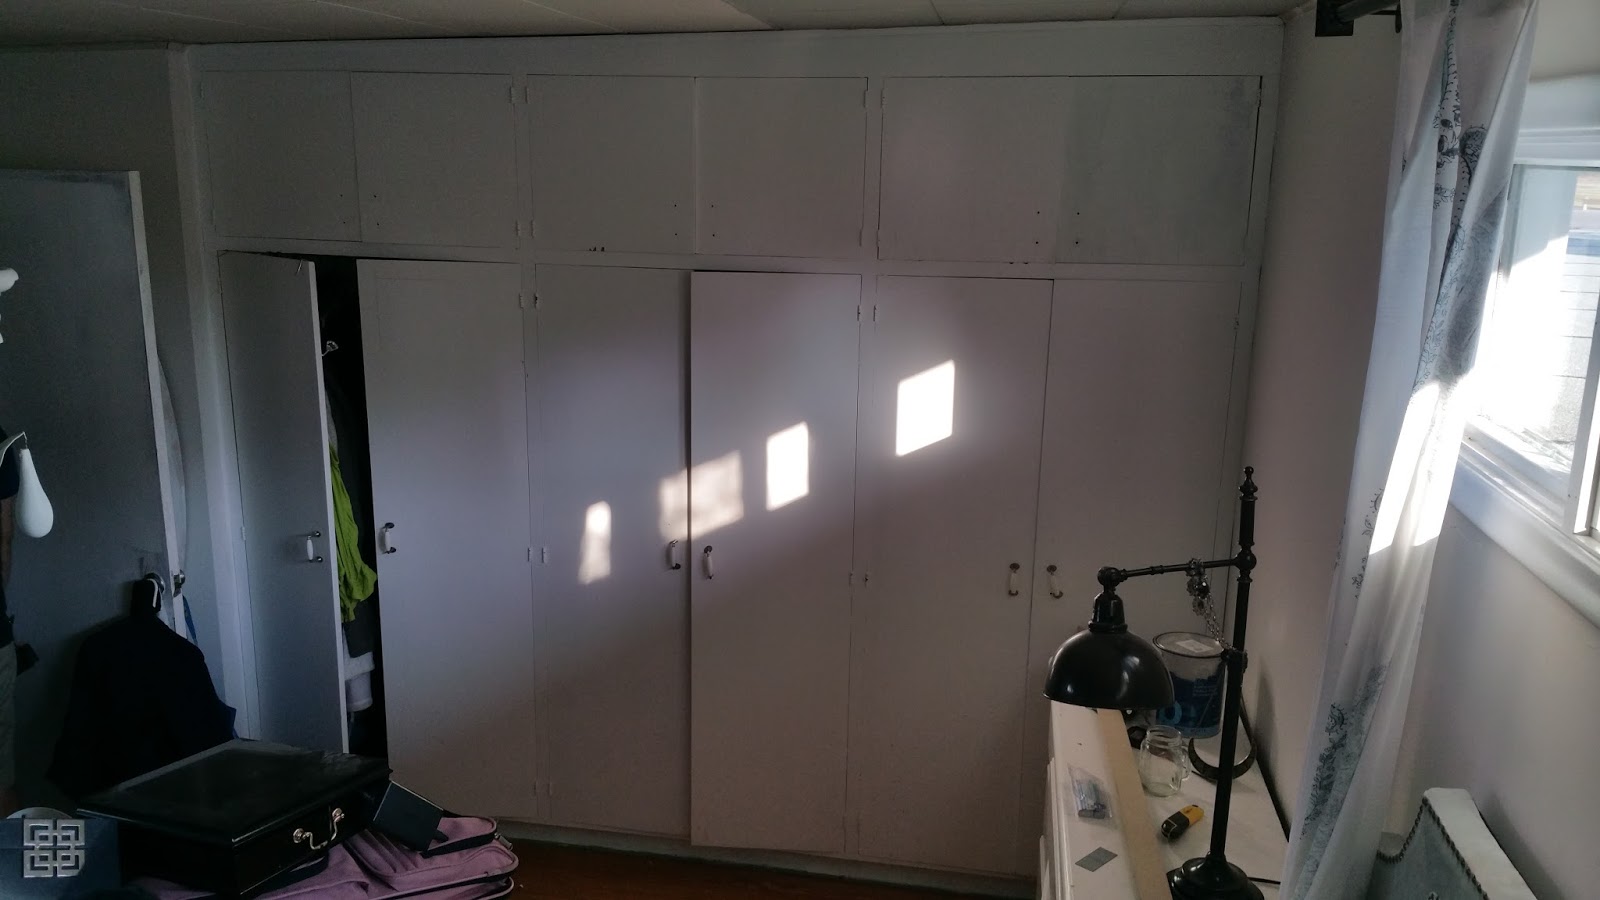
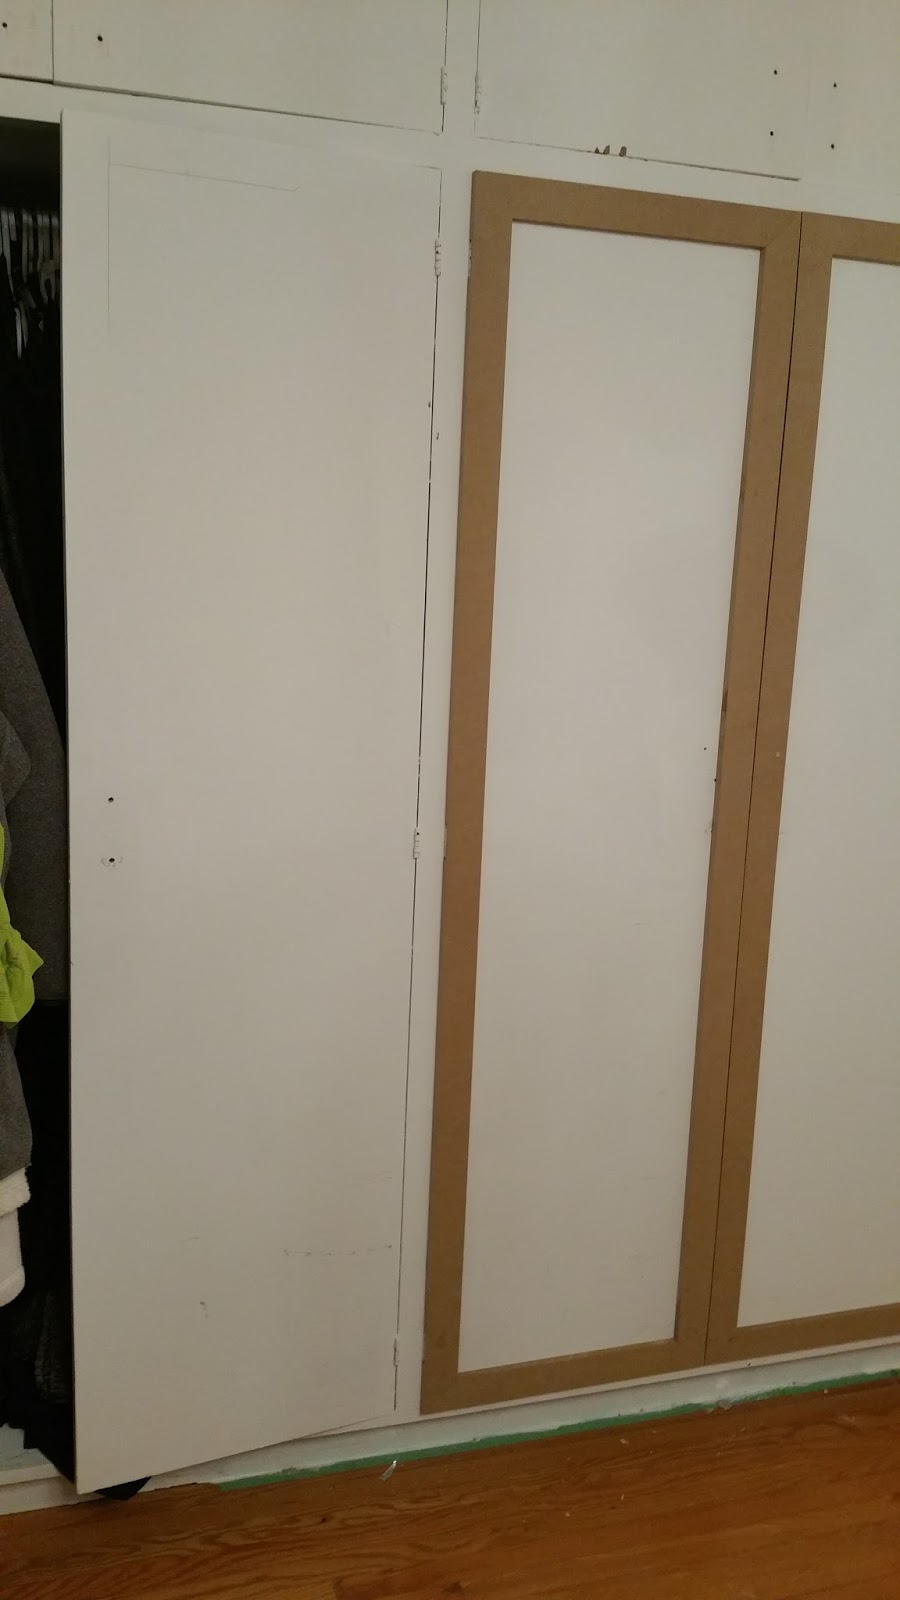
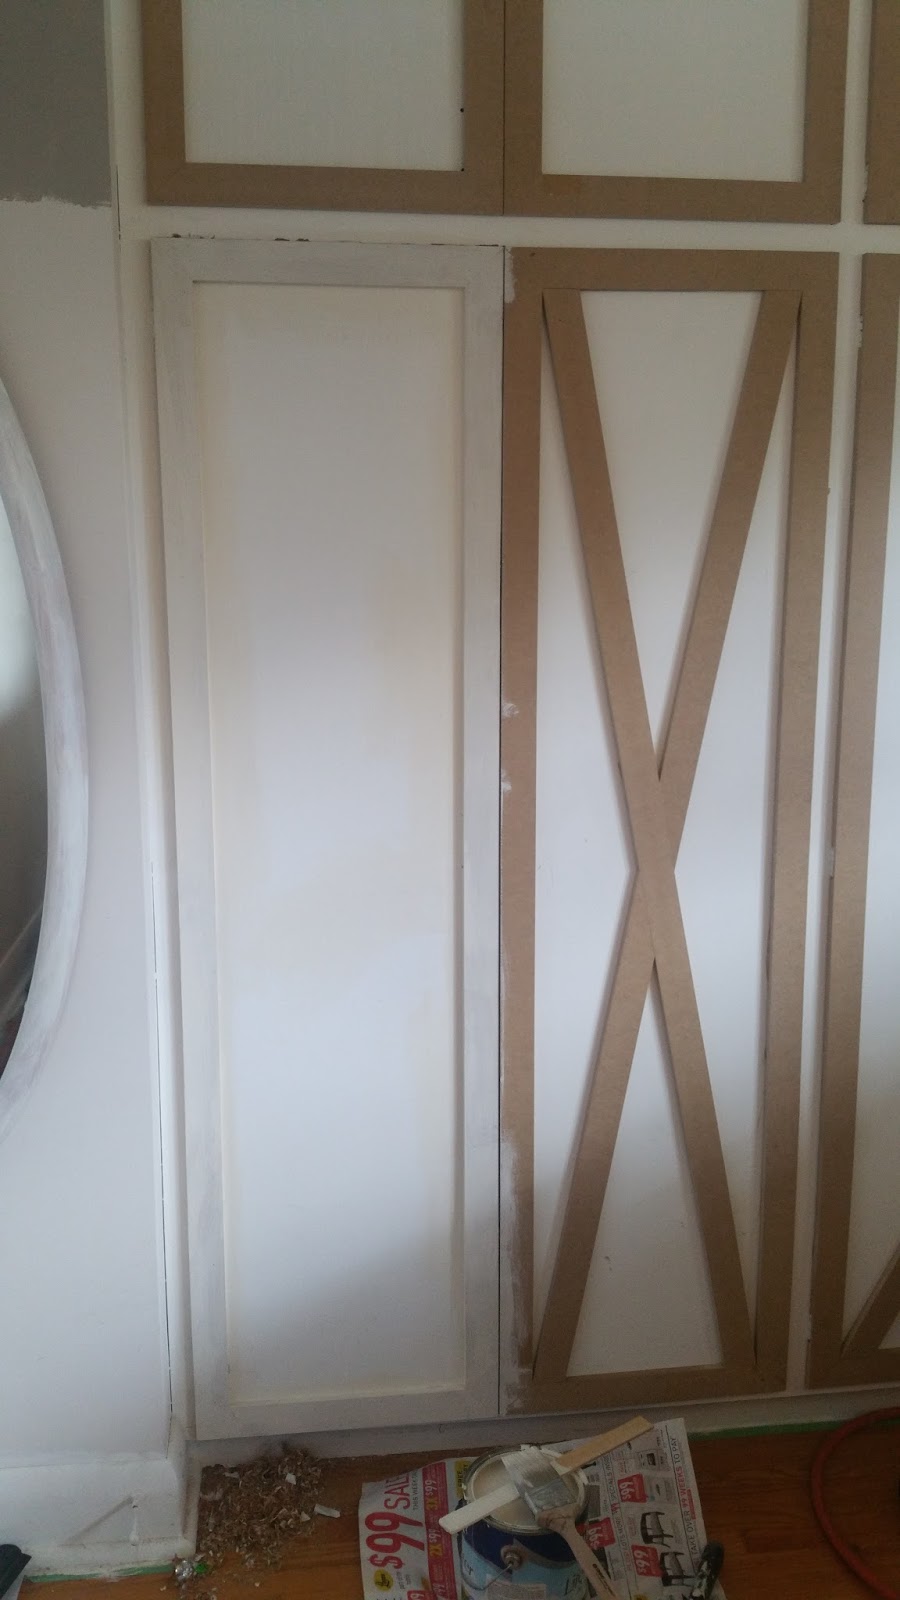
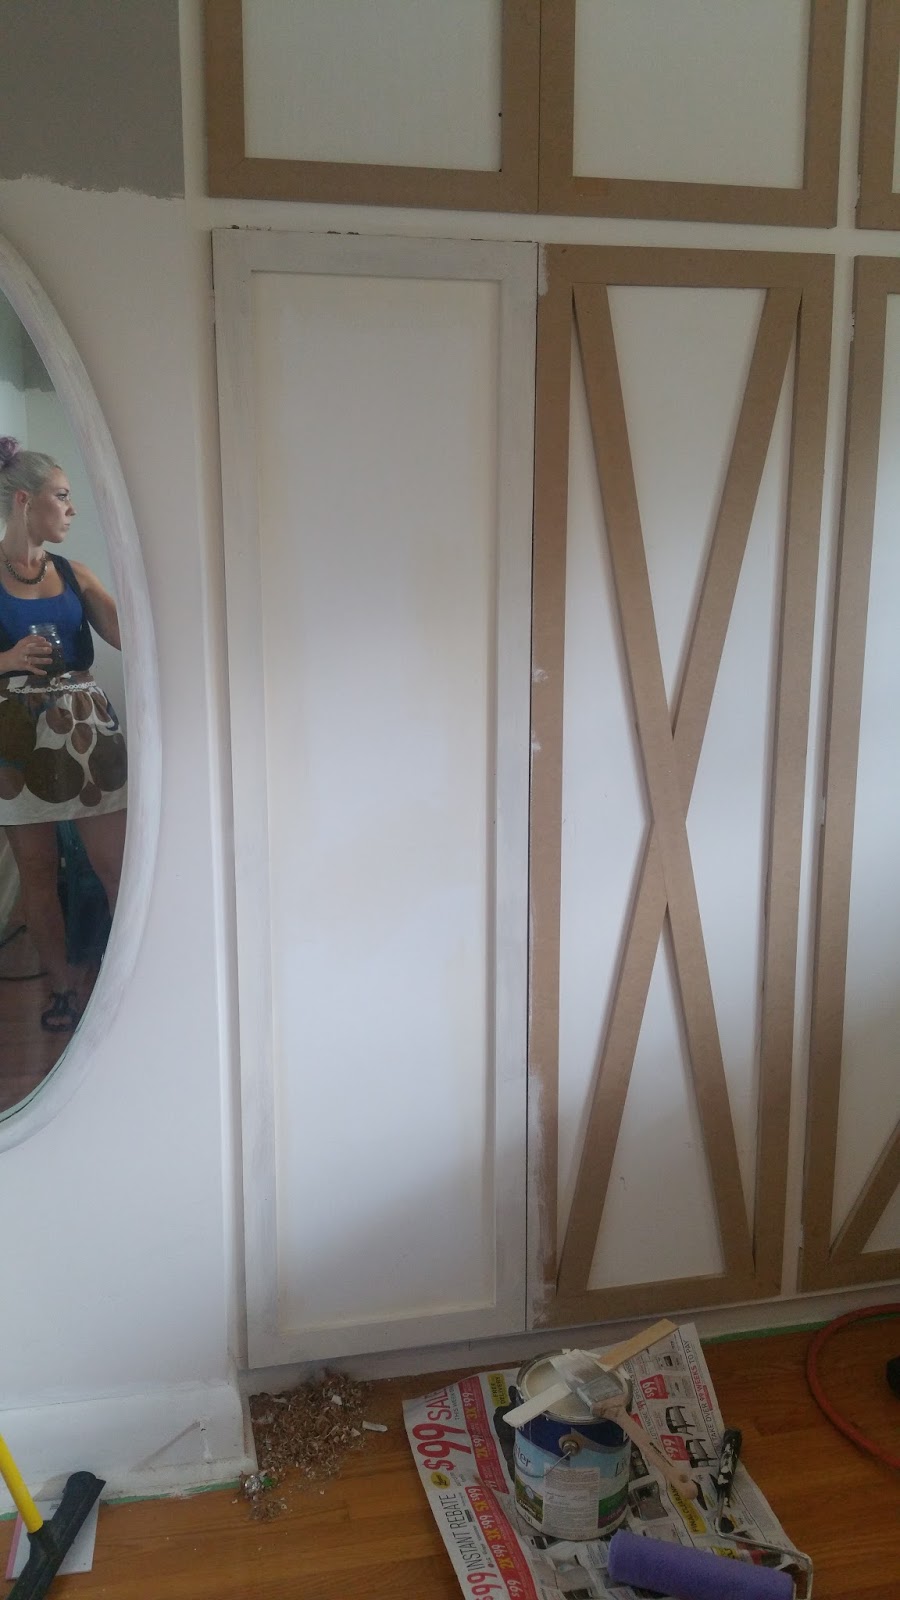
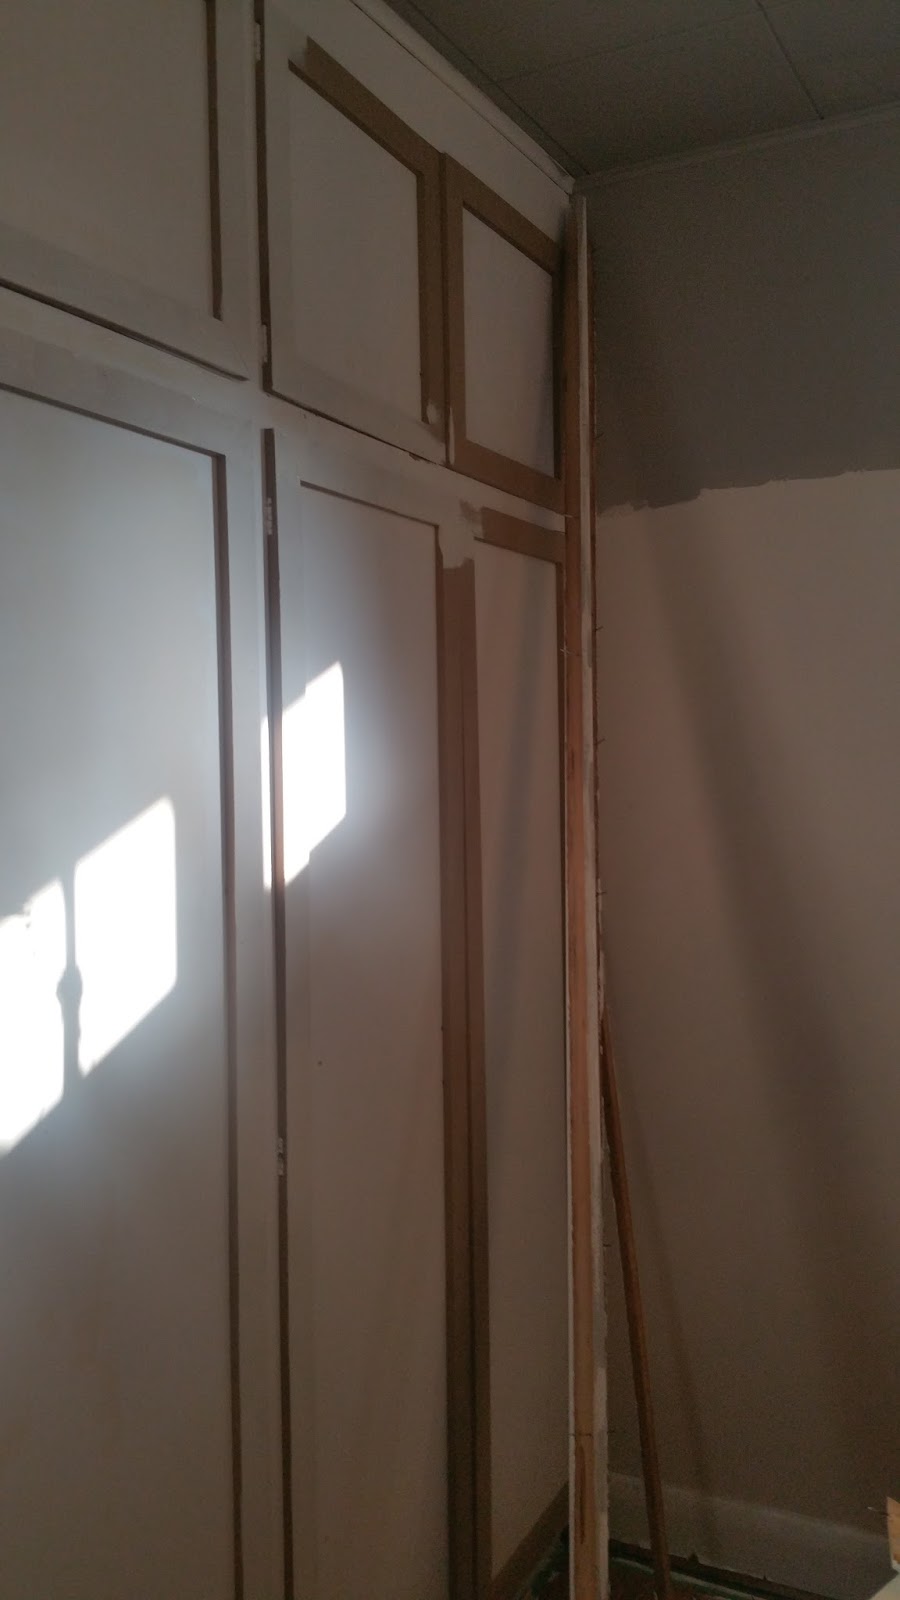
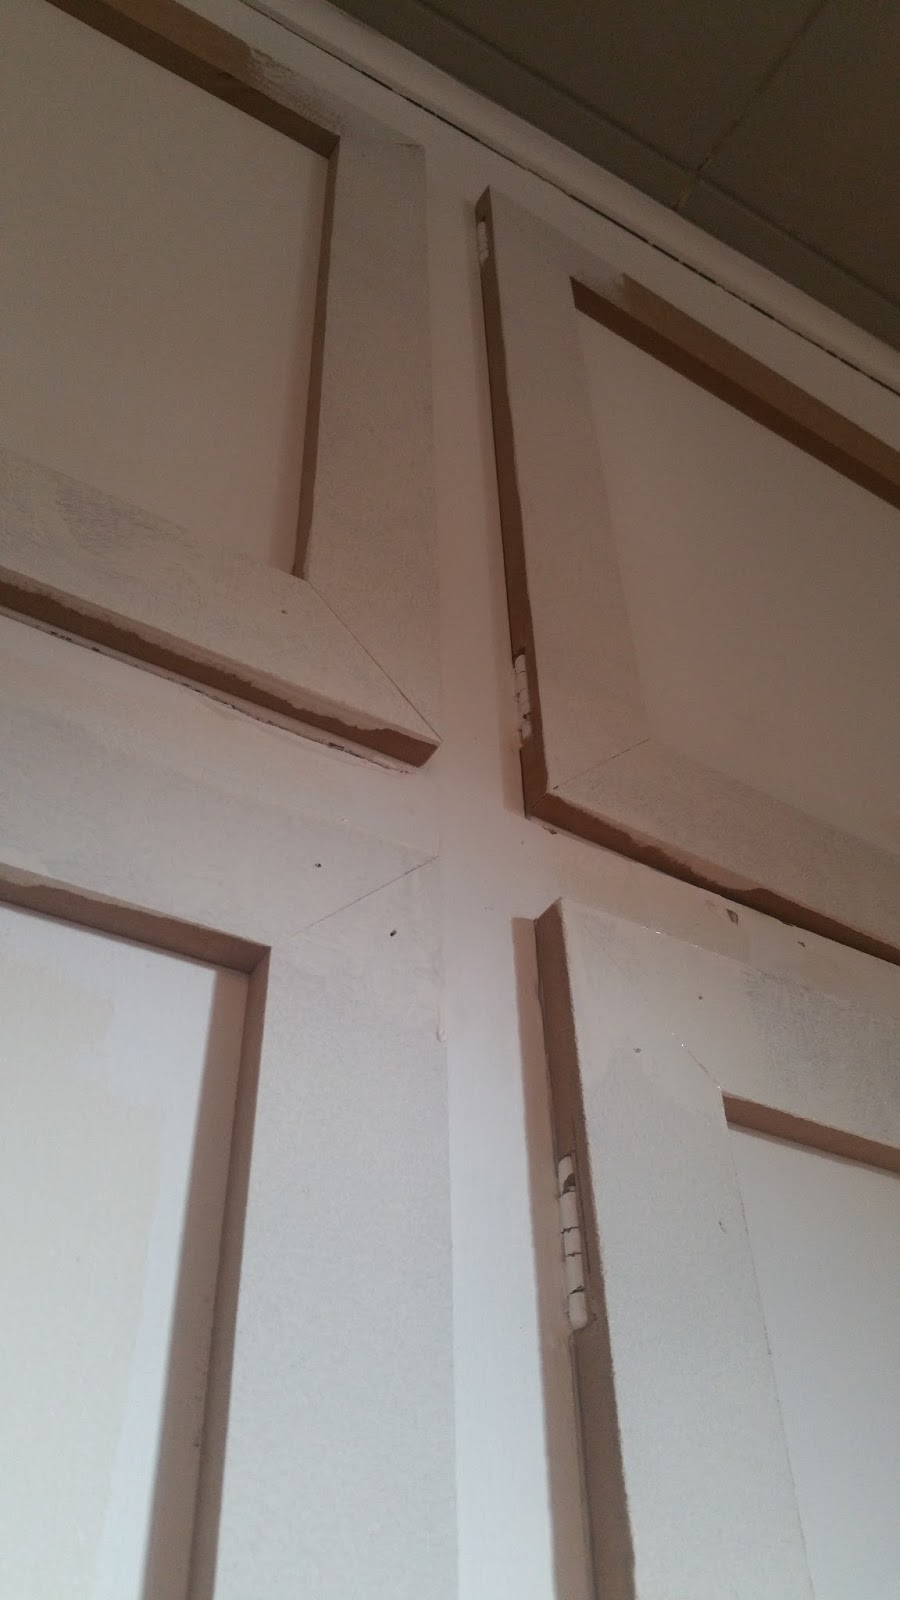
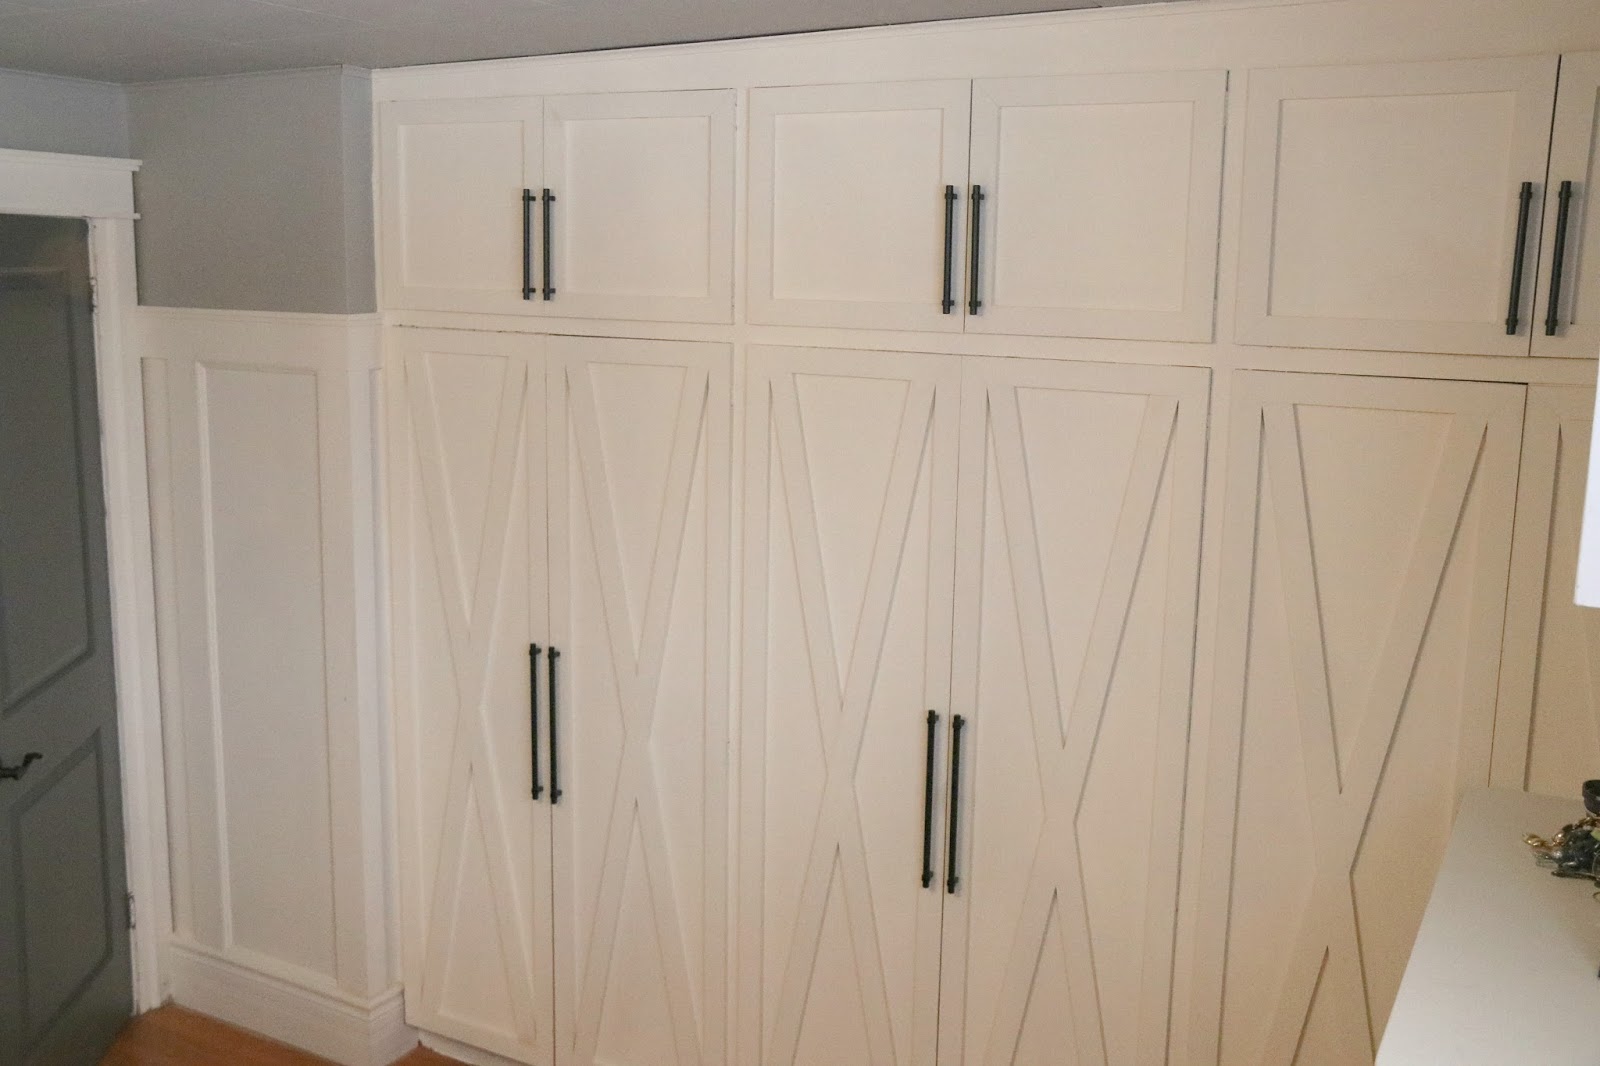
We measured the perimeter of each door and cut 2 inch MDF strips to outline each door face. This would create immediate visual depth to each door, just the interest this space needed.
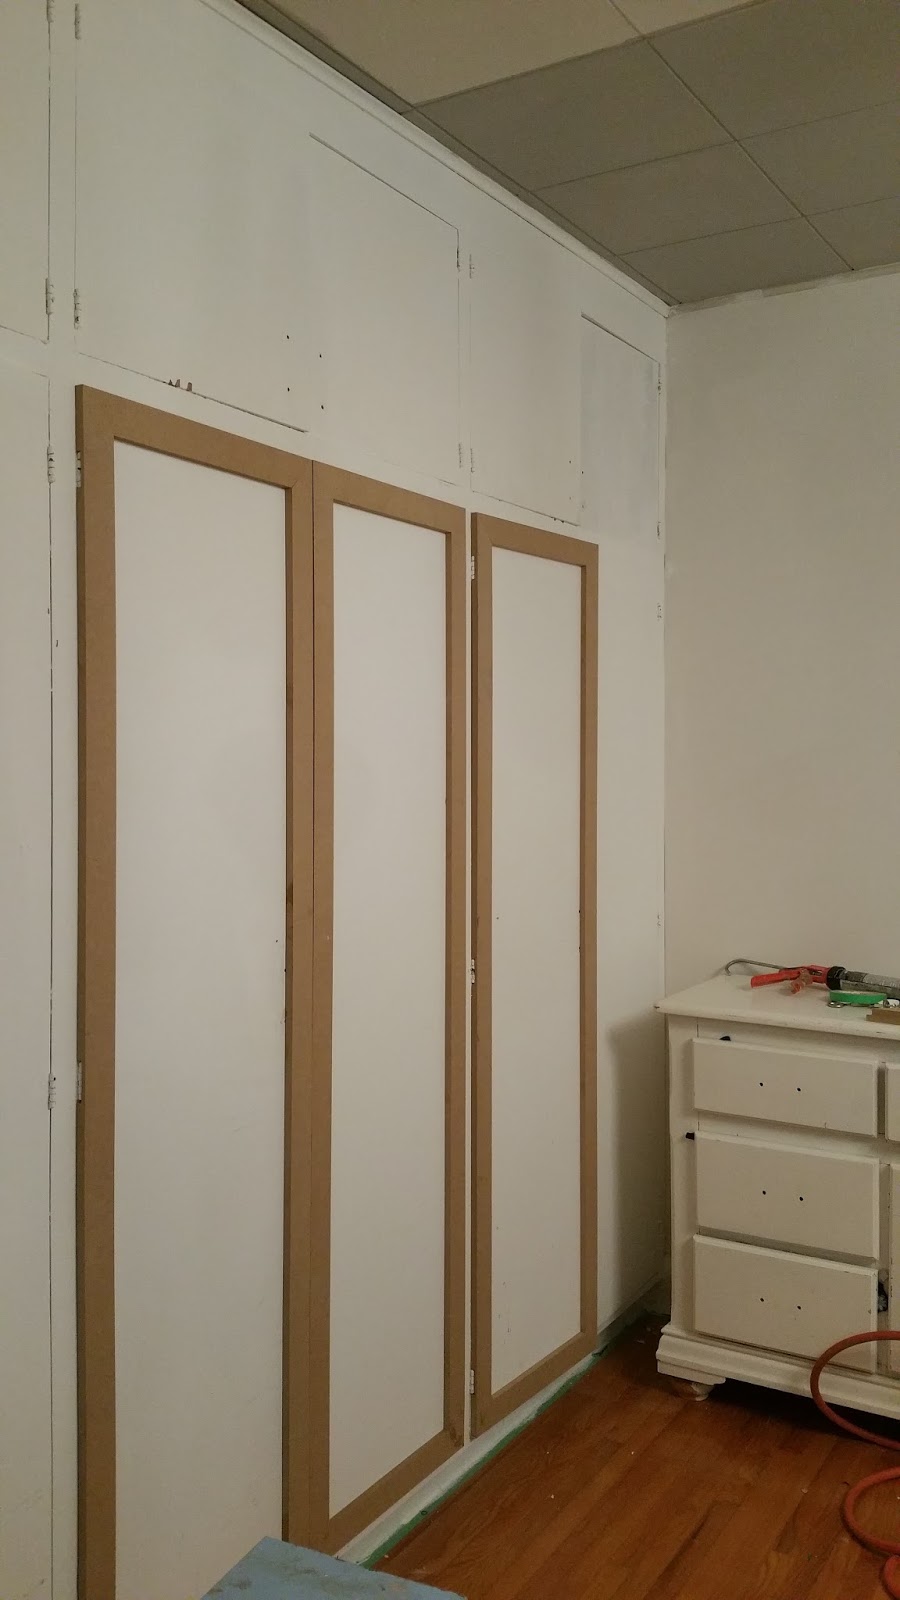
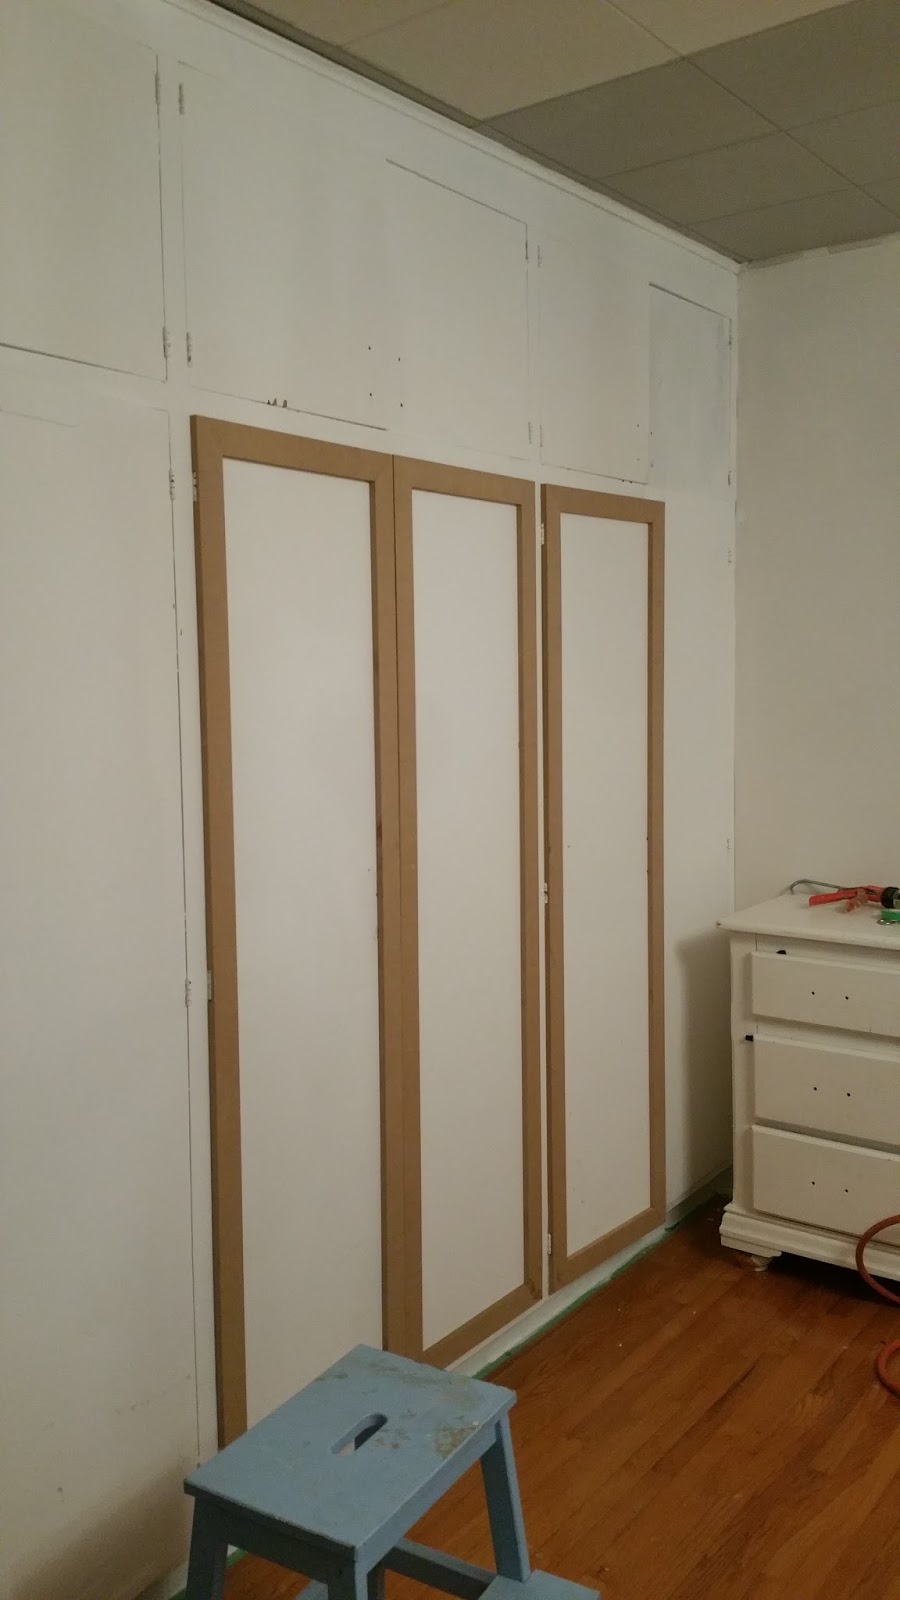
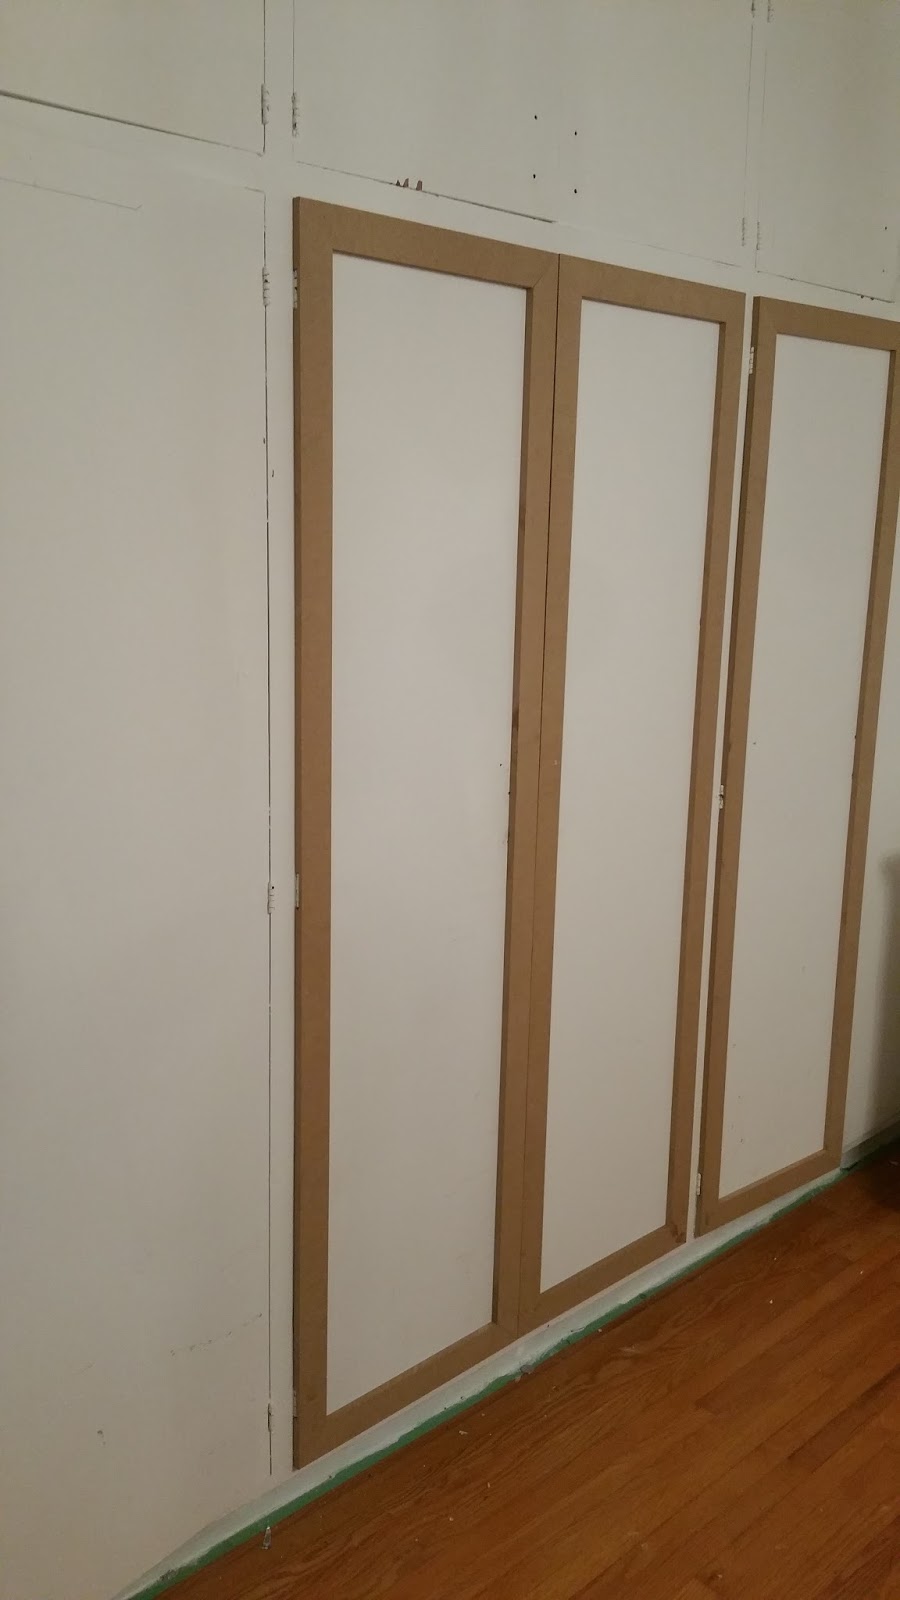
You can see the immediate difference a little inexpensive trim made to these flat and boring door fronts!
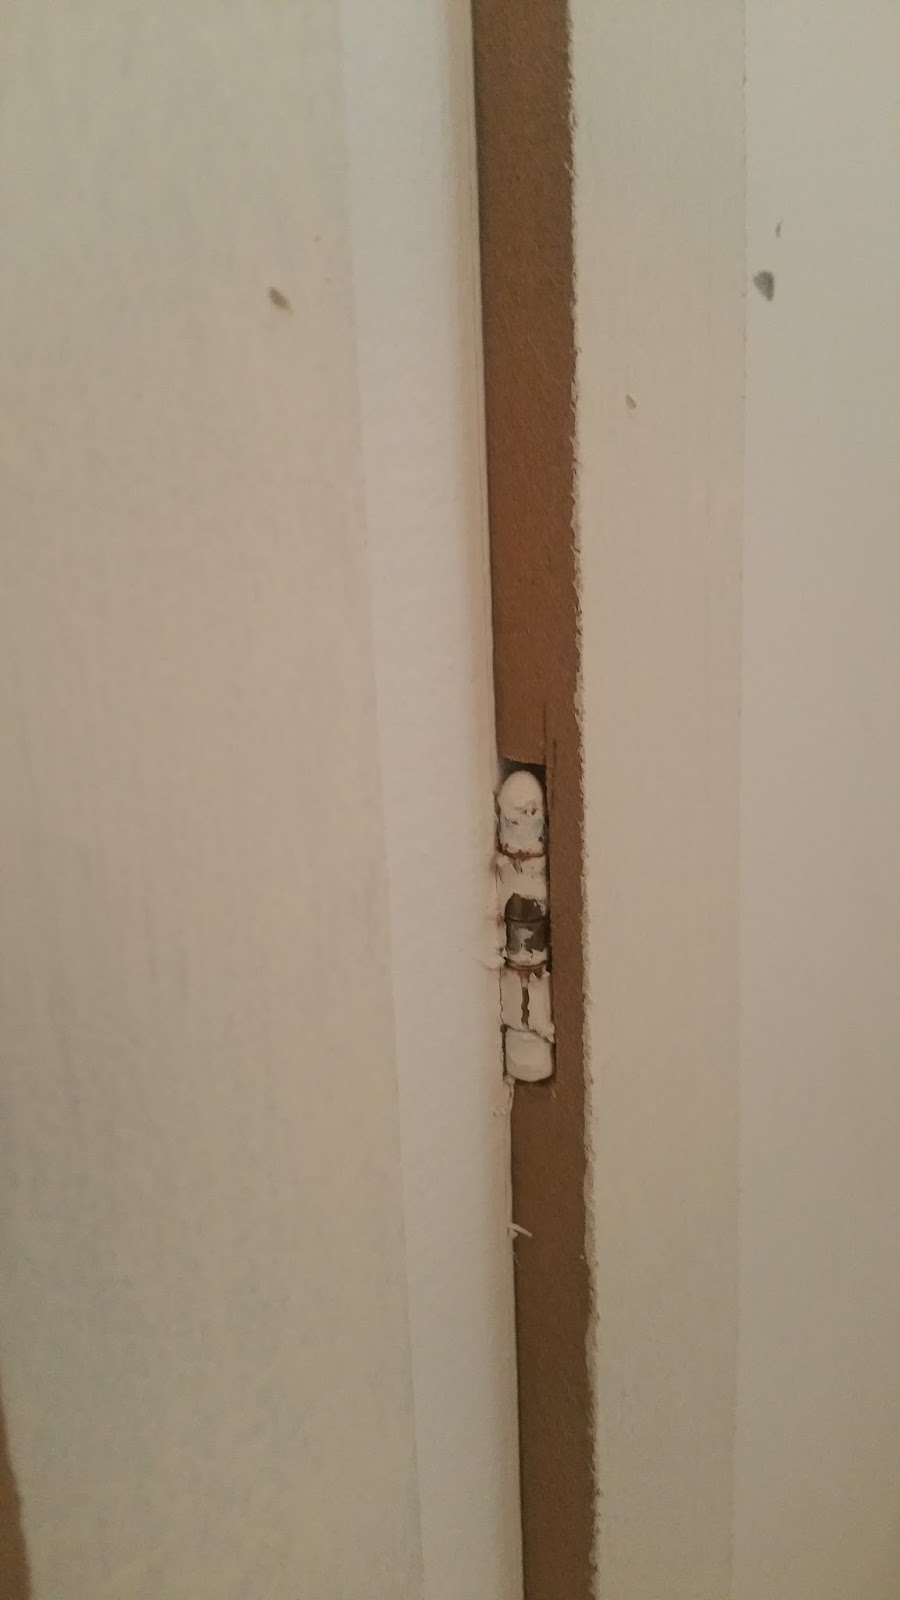
We had to notch out areas for the original hinges that were flush against the flat panels. This allowed our doors to move with ease. It didn’t however make this makeover a fast and easy one.
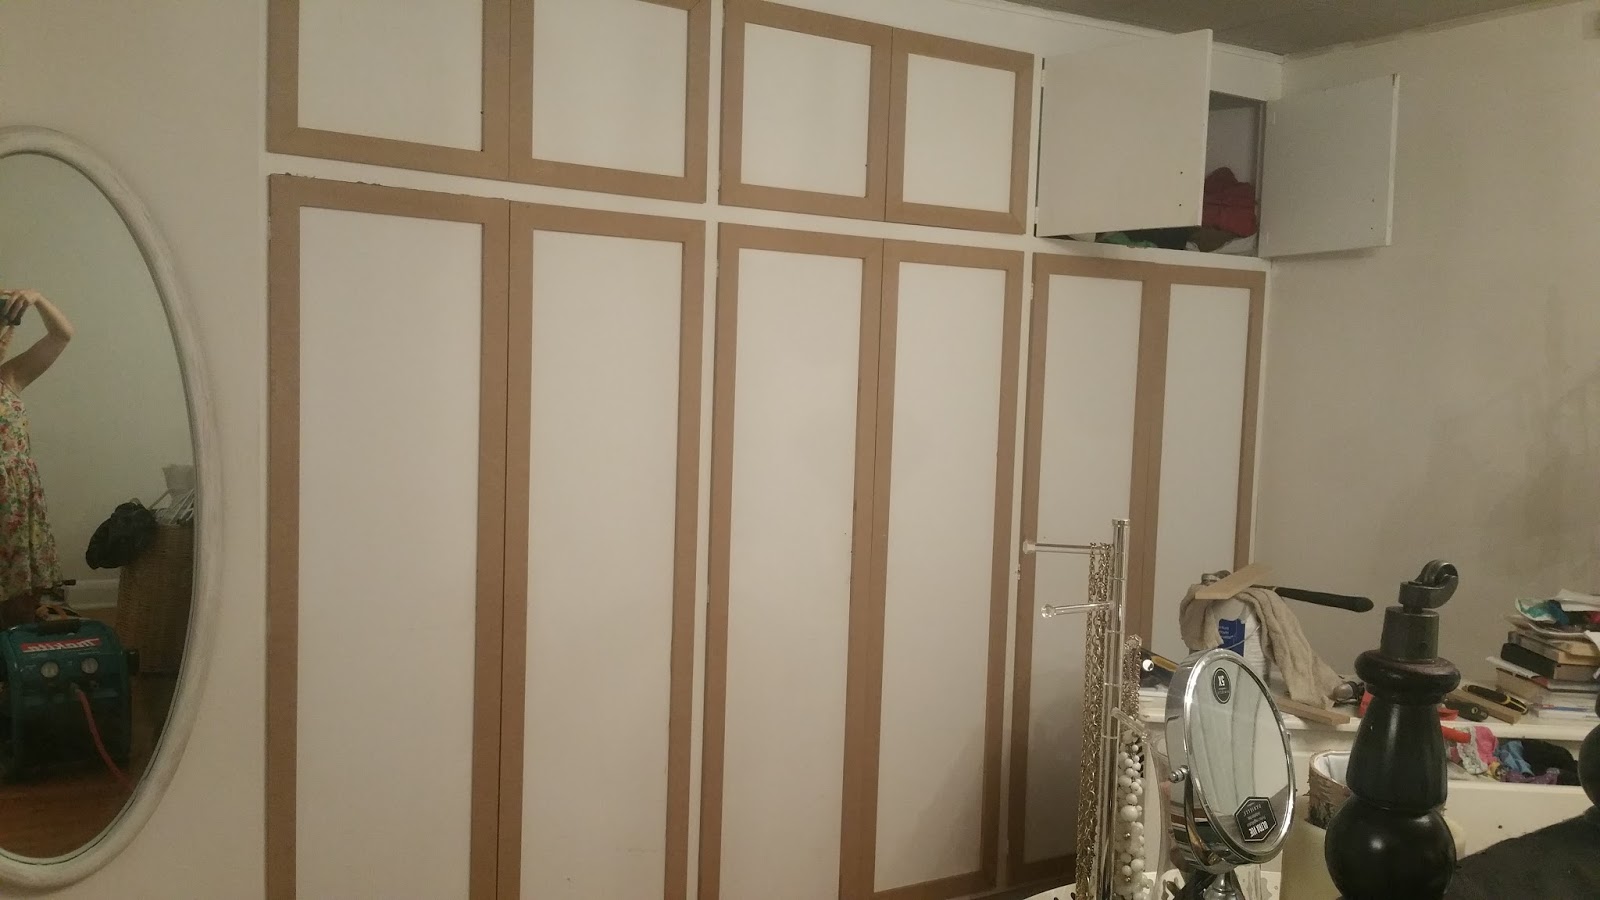
We decided to frame out each individual door and then to add some detail to the base doors.
But first we glued the paneling on to the doors with PL Premium glue and then secured them in place with finishing brad nails.
In the mean time our room looked like this for far too long.
#reallife
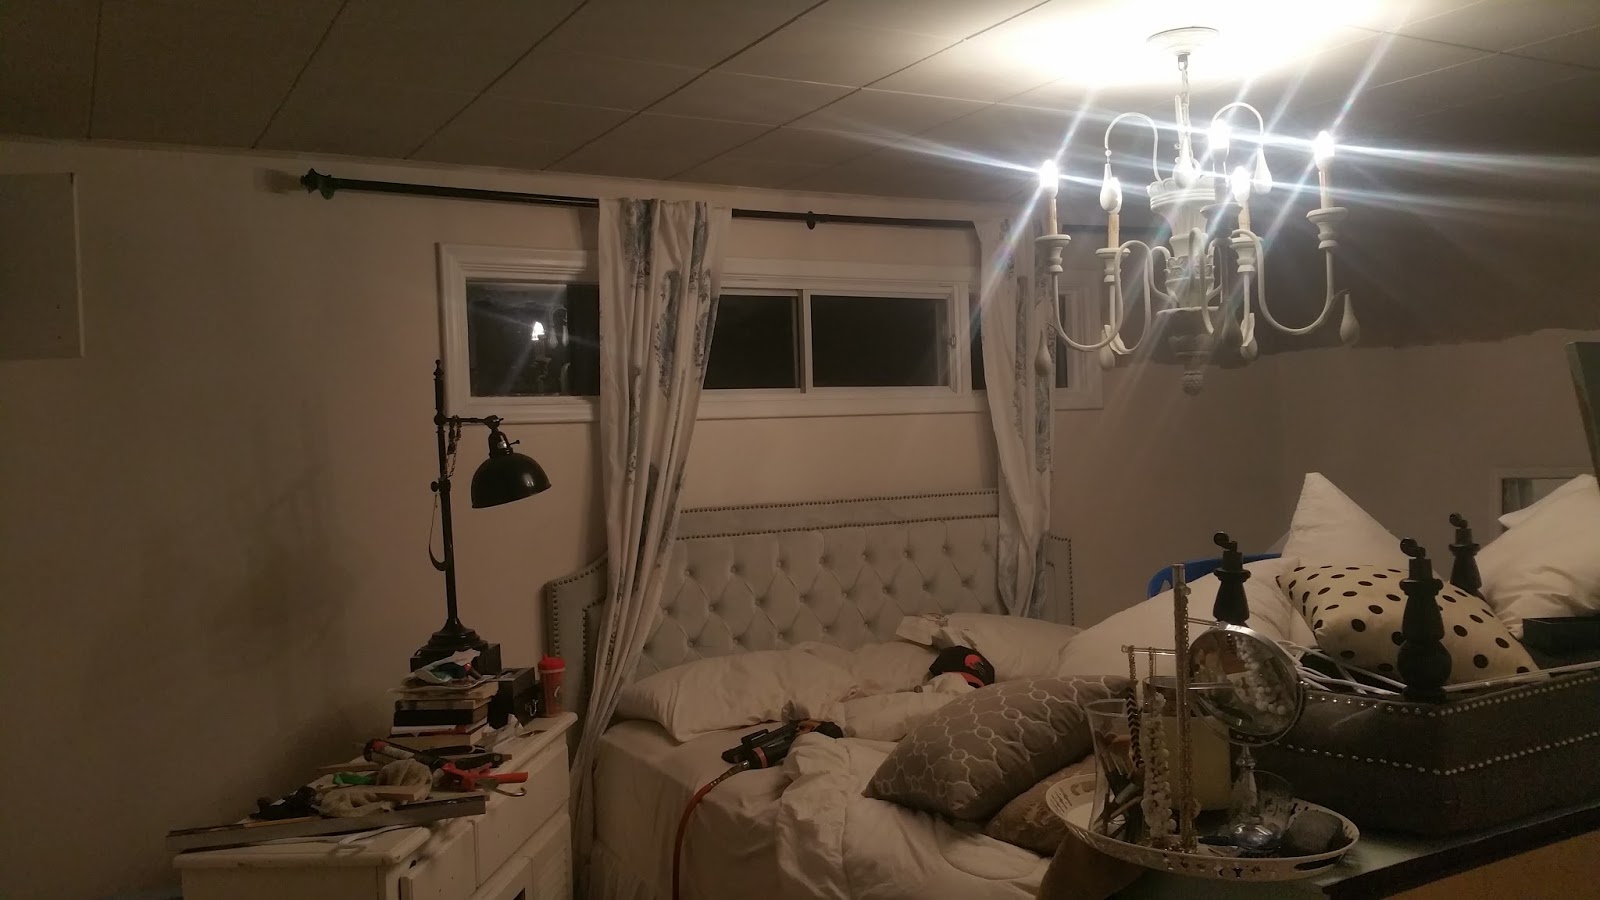
Not pretty, but the truth when you are DIY renovating.
A little time after work every free evening allowed us to slowly work away at this space. Which, is hard to do when little ones prefer your bed to theirs. Can you spot the little one?
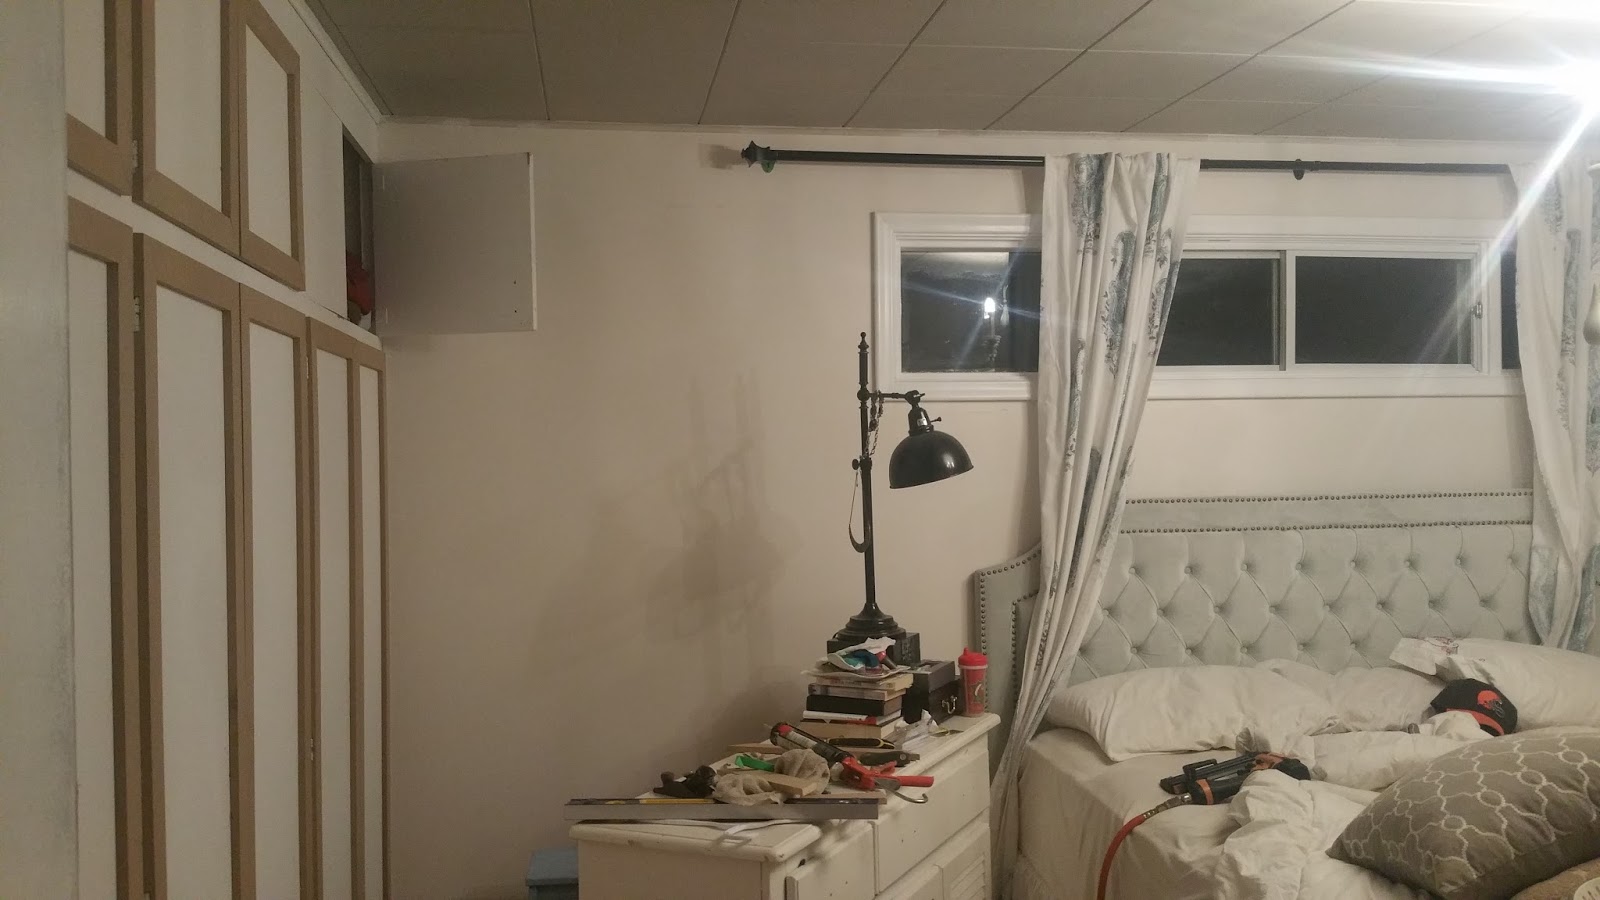
In the mean time while the panels set into place, I went ahead and painted our ceilings a medium grey color called Thunder by Benjamin Moore.
I carried the color 3/4 of the way down the wall to draw the eye down and away from the dropped ceiling. A perfect paint trick to fool the naked eye!
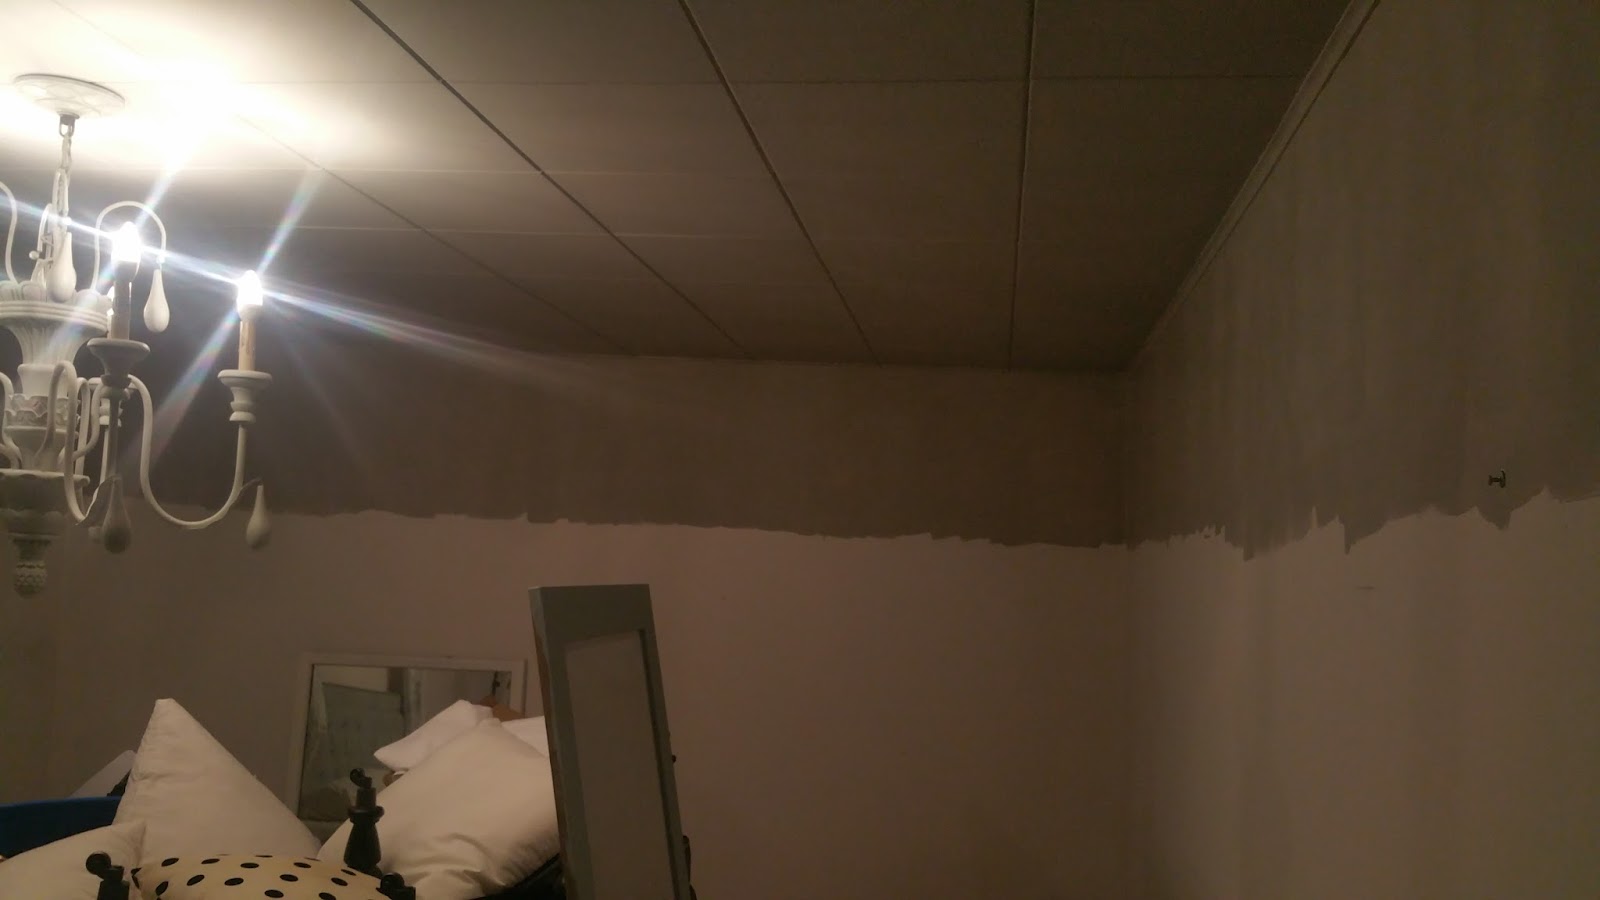
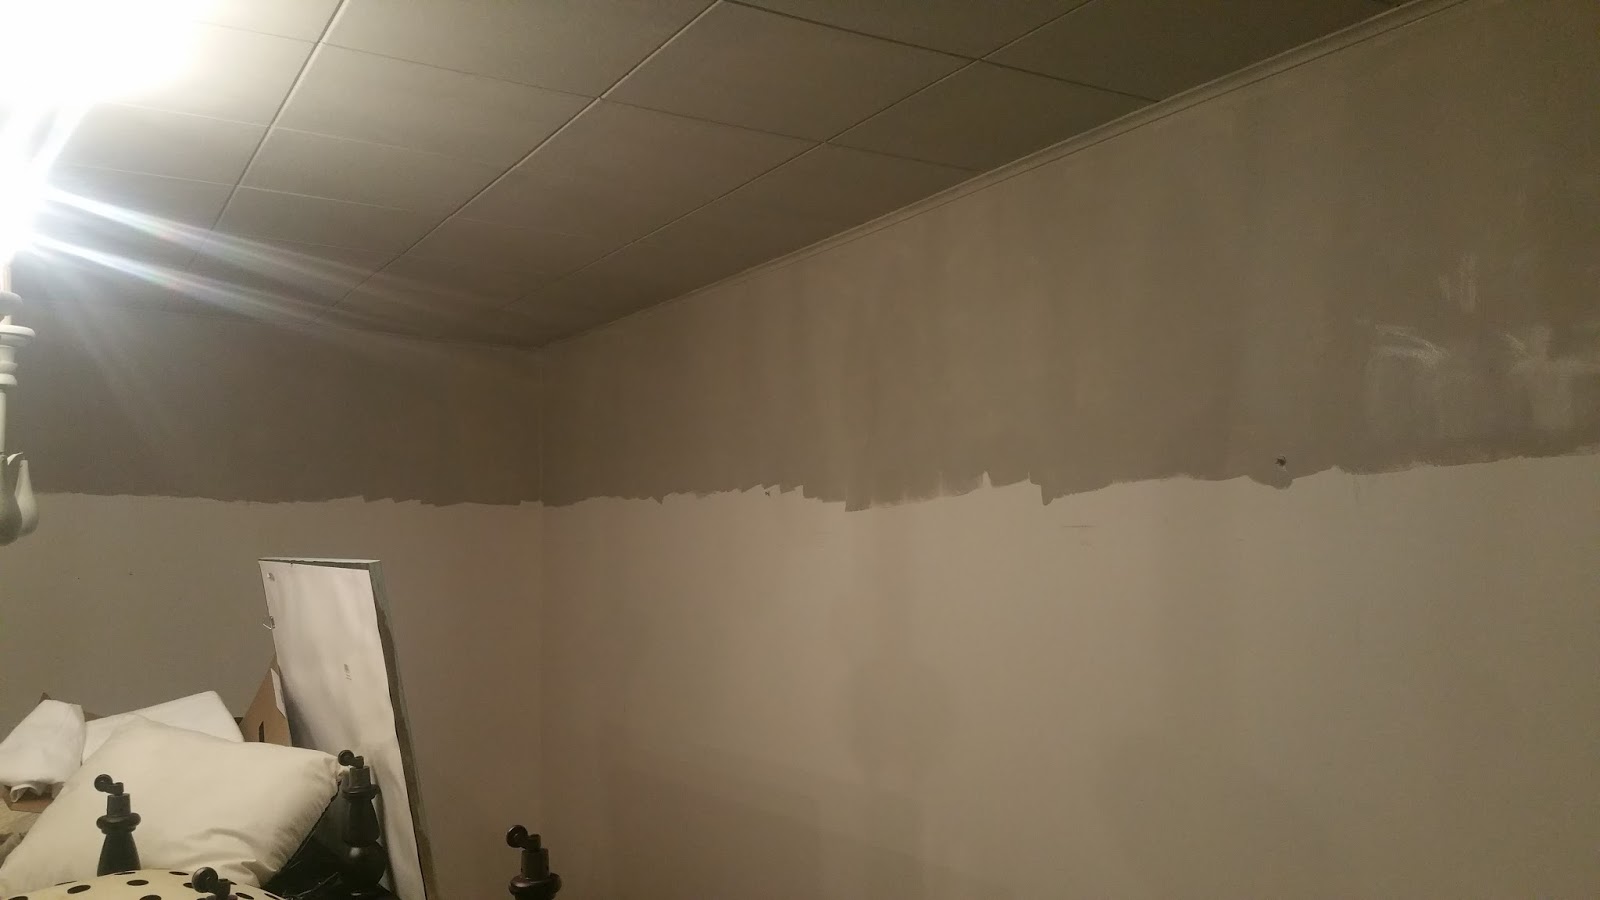
The color felt dark at first but dried to a pretty grey finish with no blue undertones. If you’ve ever chosen a grey color then you KNOW the underlying hue of a color is an important component to consider! This color was the perfect grey for a cozy bedroom.
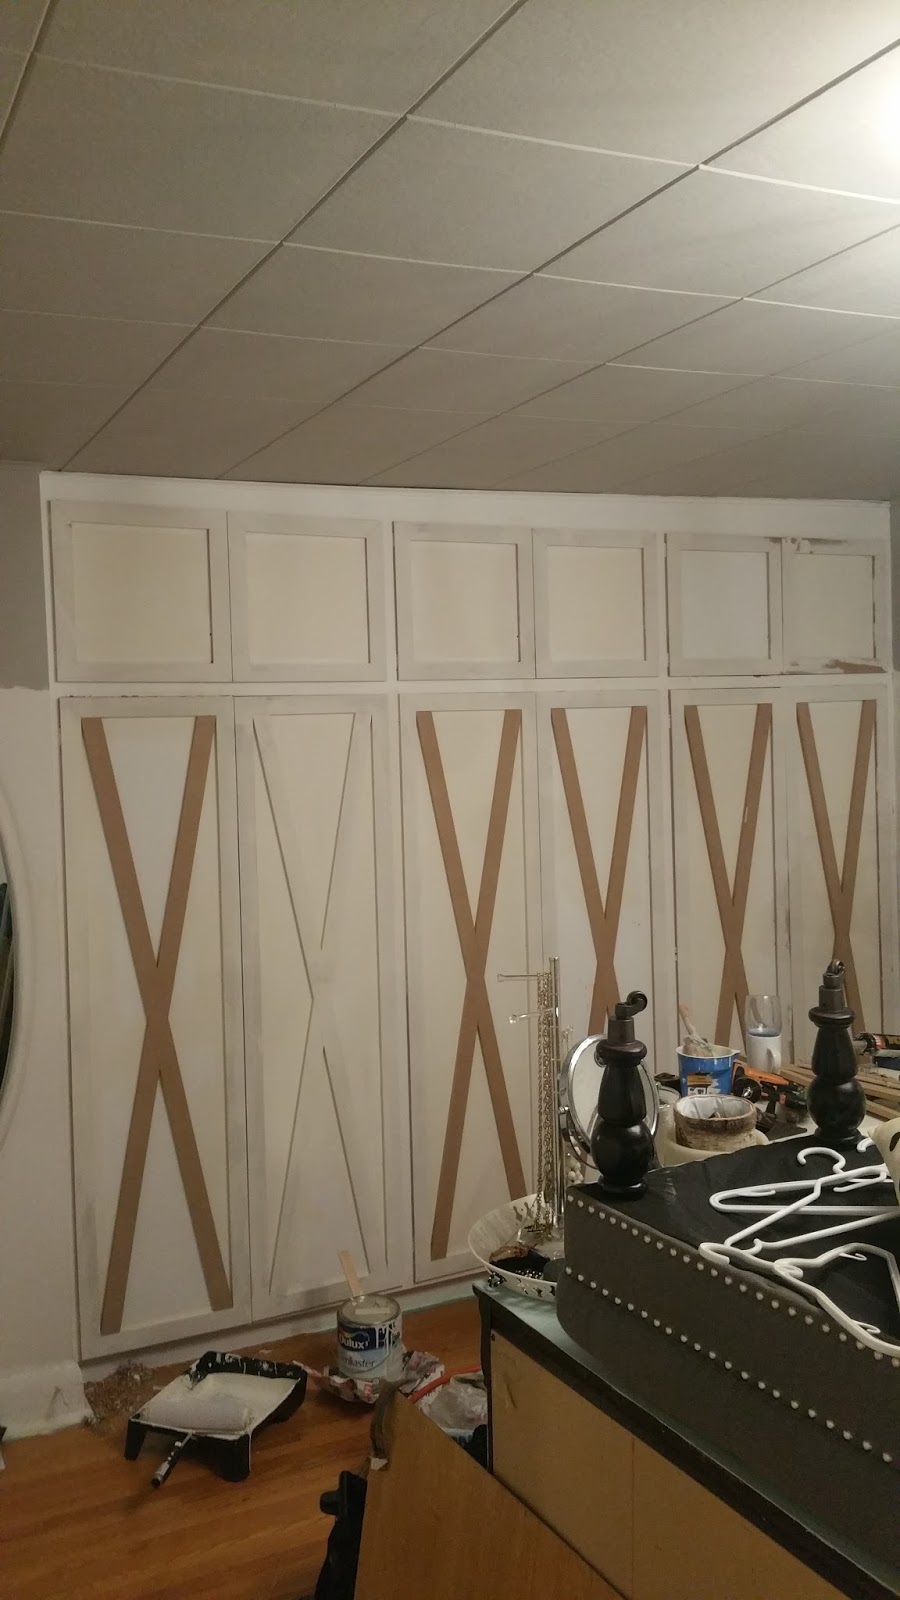
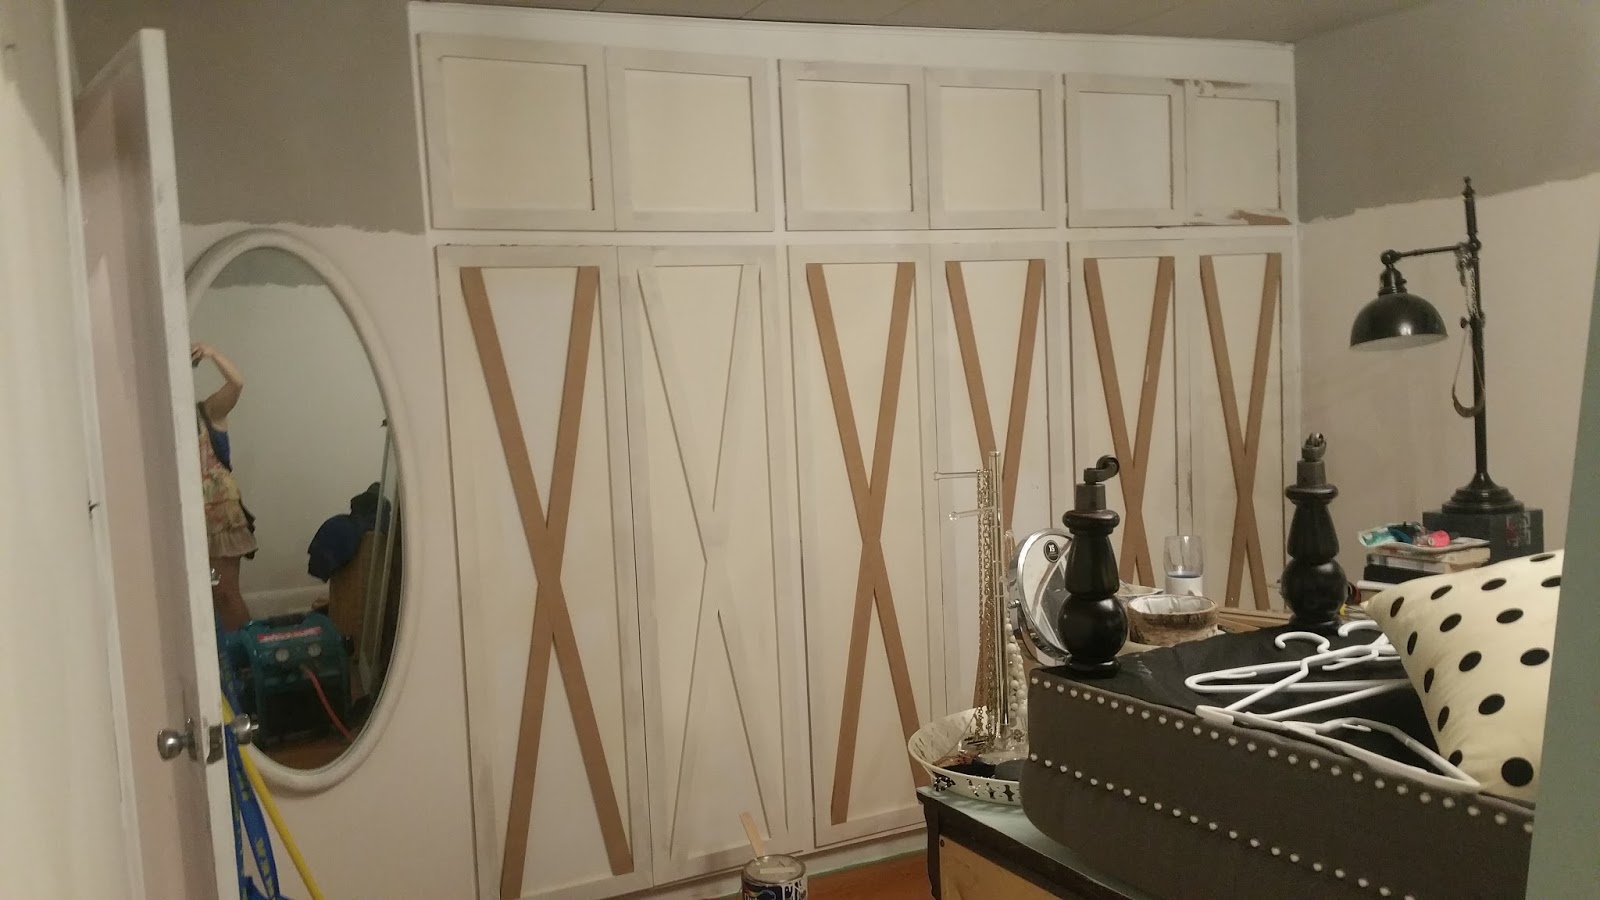
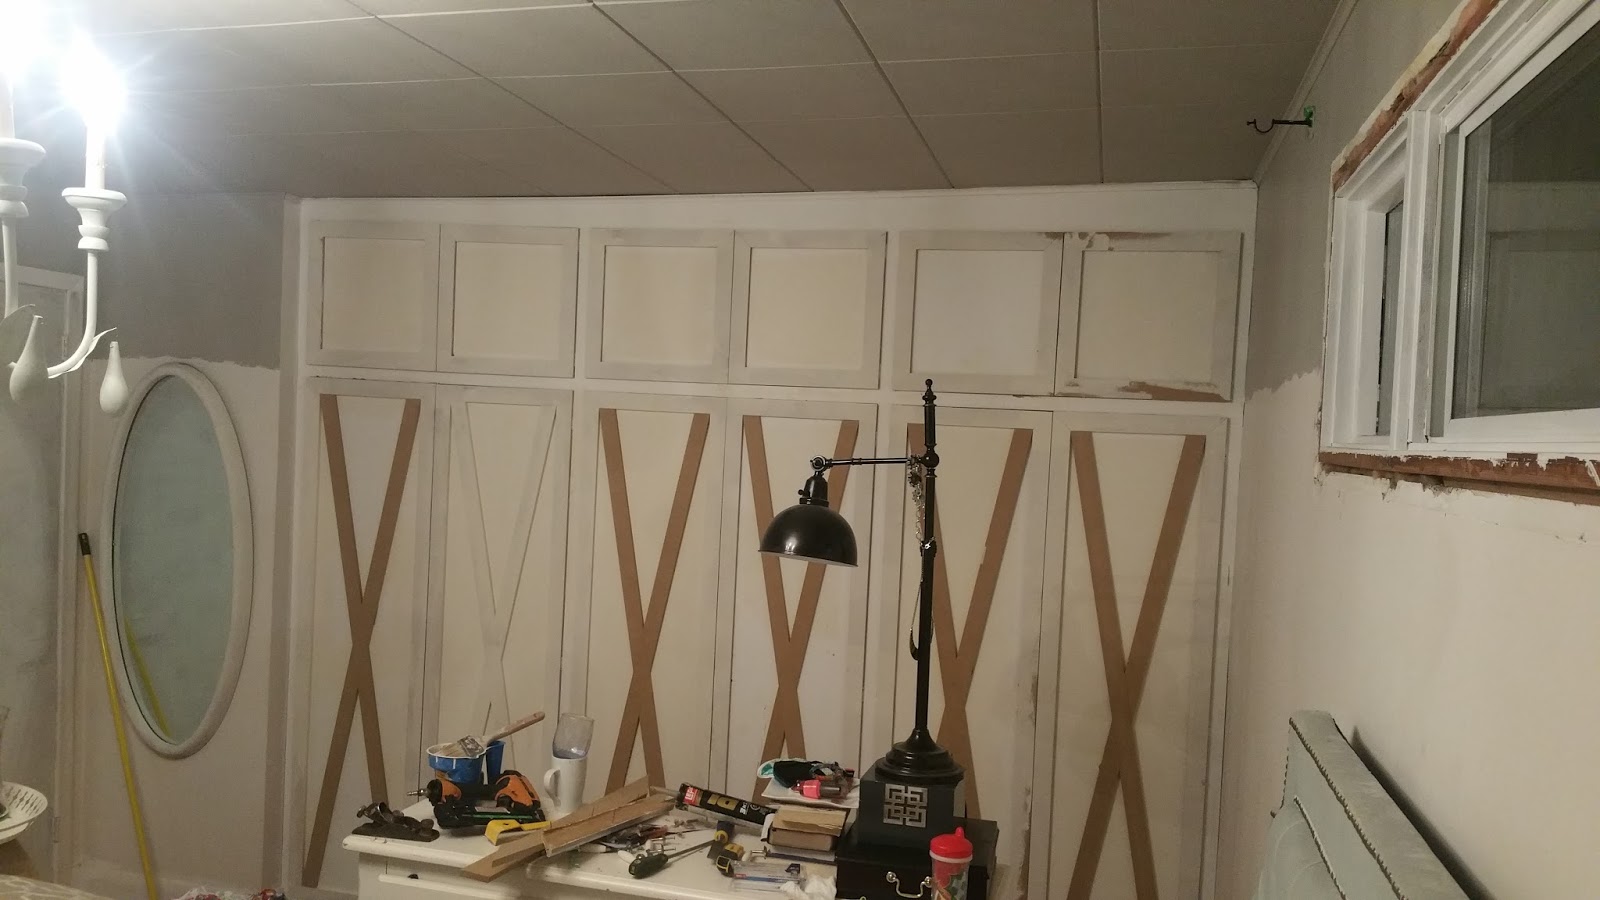
We decided to create an X pattern on each lower door panel to give the room that touch of farmhouse aesthetic that we love.

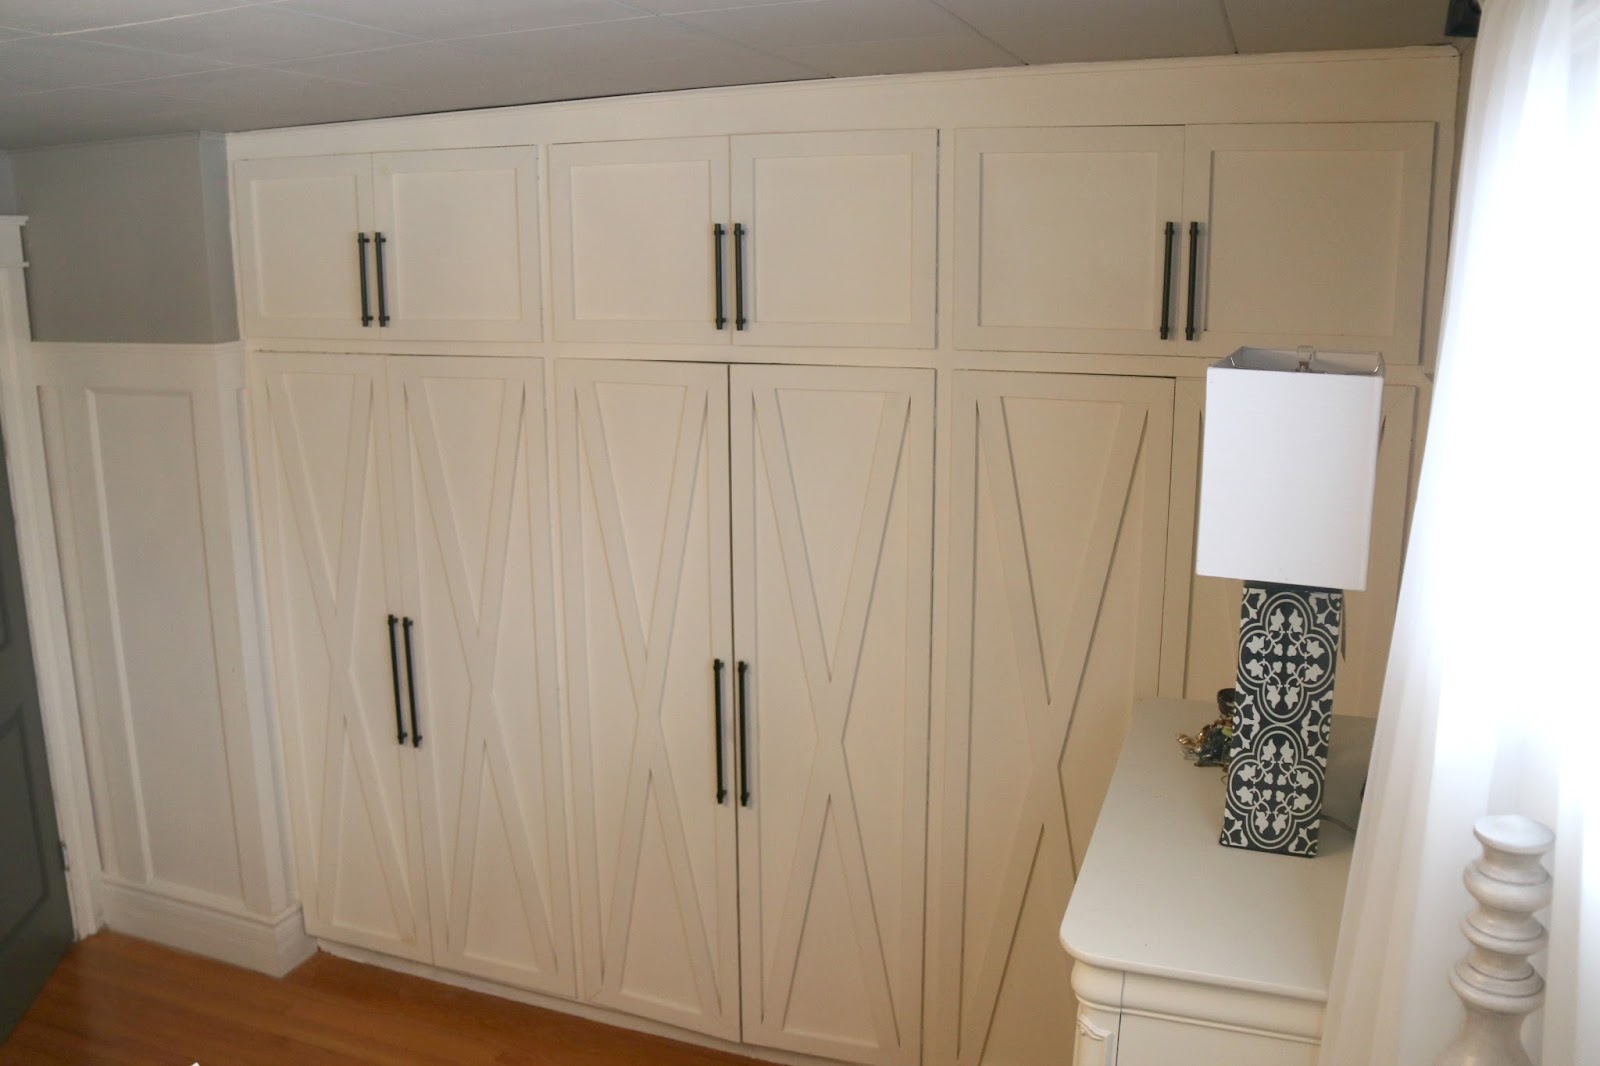
Here is another progress photo of a before and during cabinet door. I loved seeing the space change right before our eyes!
I then caulked every seam, sanded down all the edges and got to work painting everything out a creamy white.
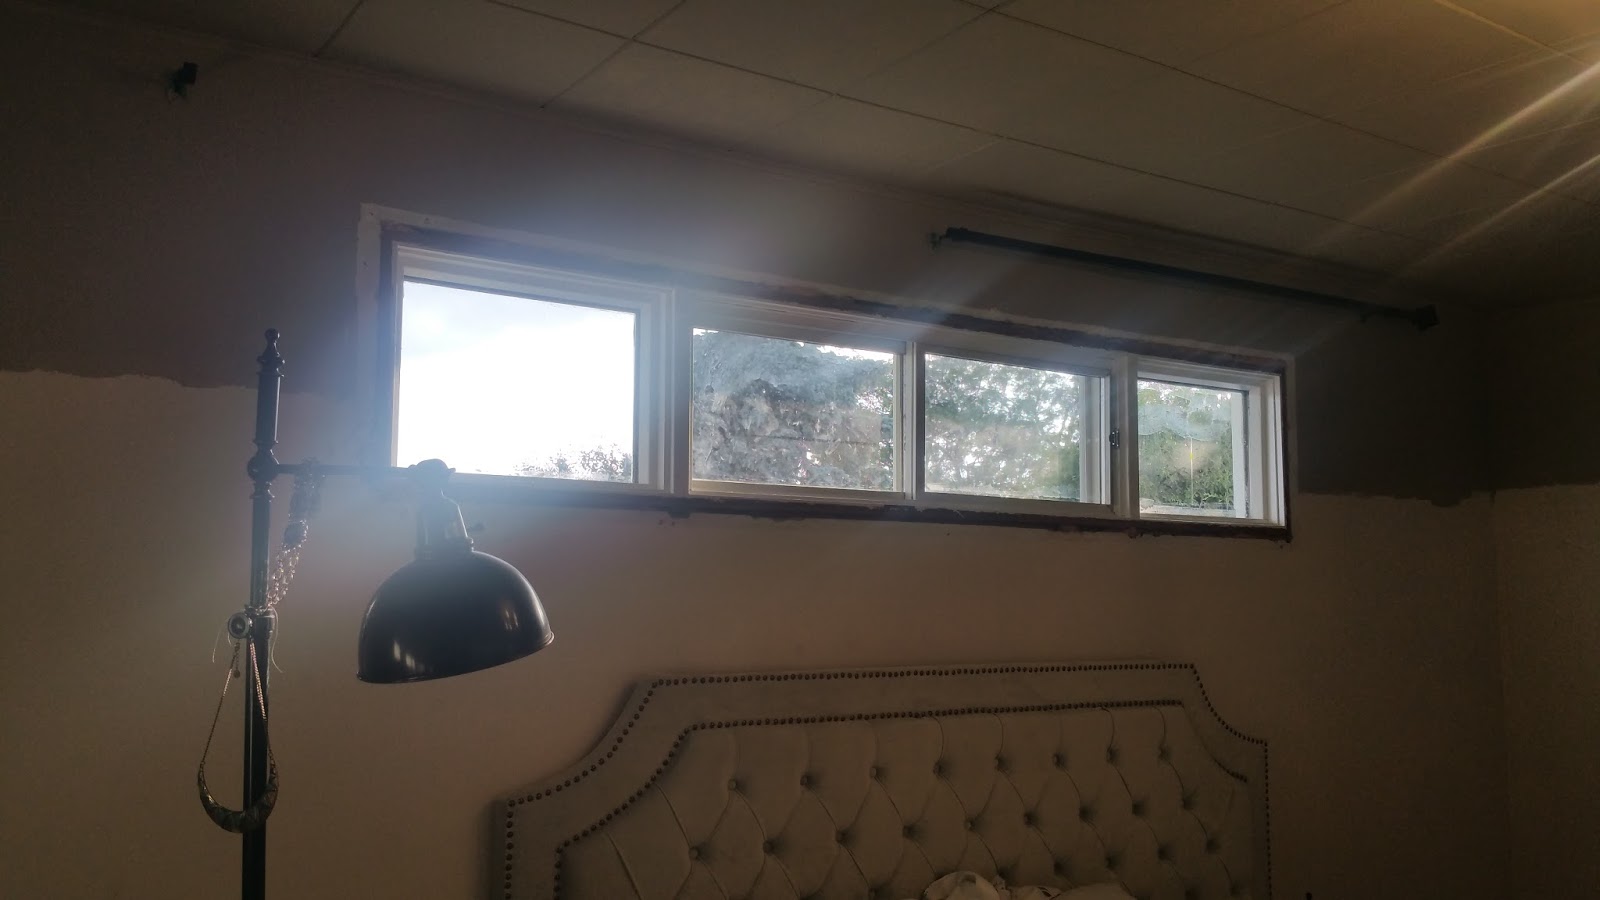
While we were at it, we took off our bedroom window trim and the room’s baseboards.
More on that in another post!
Between every stage of adding the cabinet door trim, I applied coat after coat of white paint on to every crevice of our newly made over cabinets.
It took such a long time and a lot of coats, but the effort was worth it in the end.
In the reno world, things have to get really bad before they can get good. It’s just how it is. These messy progress photos prove just that.
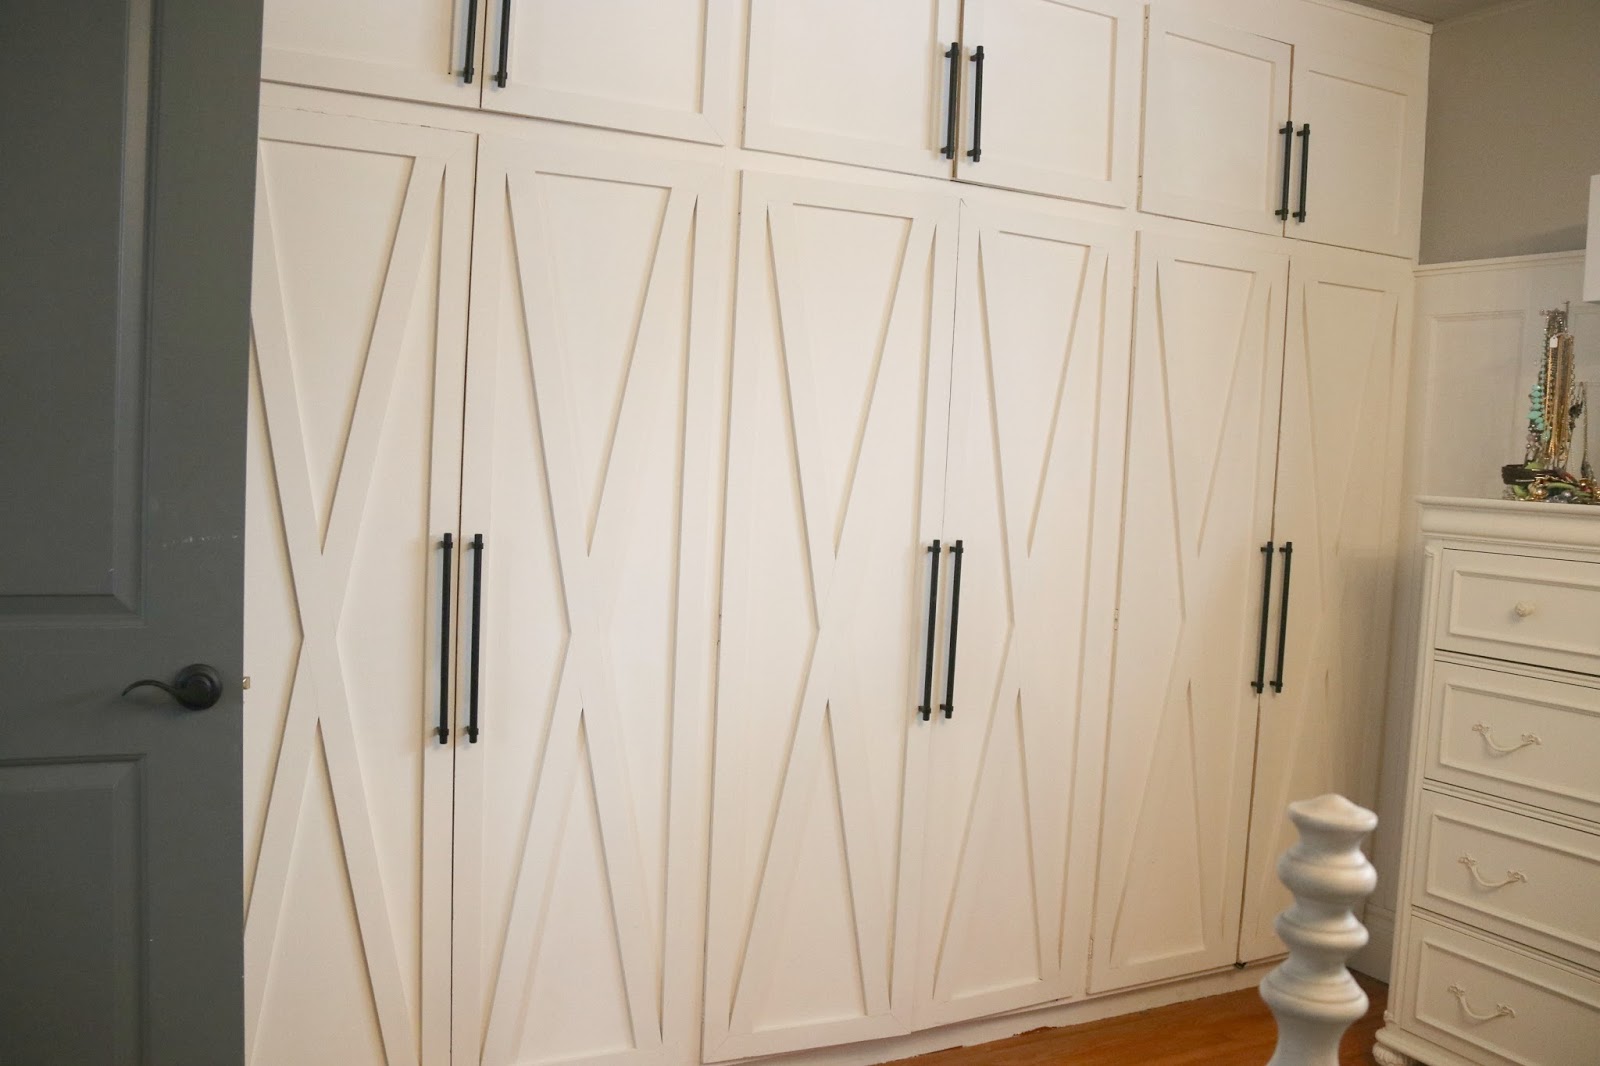
When we were done all of our painting we installed our favorite linear matte black hardware. You may recognize it from our living room built in seen here:
We loved how simple the hardware was in that space and knew they would work perfectly in our bedroom as well. A few holes later and we were finished with our inexpensive master closet DIY upgrade.
We now love that this wall is more like a focal wall as opposed to being an out dated eye sore.
It’s not the walk in closet we had made at our old home and left behind, but ever since moving to the country we have been simplifying our lives.
Now, it’s time to simplify our wardrobe! 😉
I’ll share more about our trim work and paint sources and bedroom details in a subsequent post.
For now, lets just look at a side by side comparison of our master closet a short year ago, and our master closet today. 
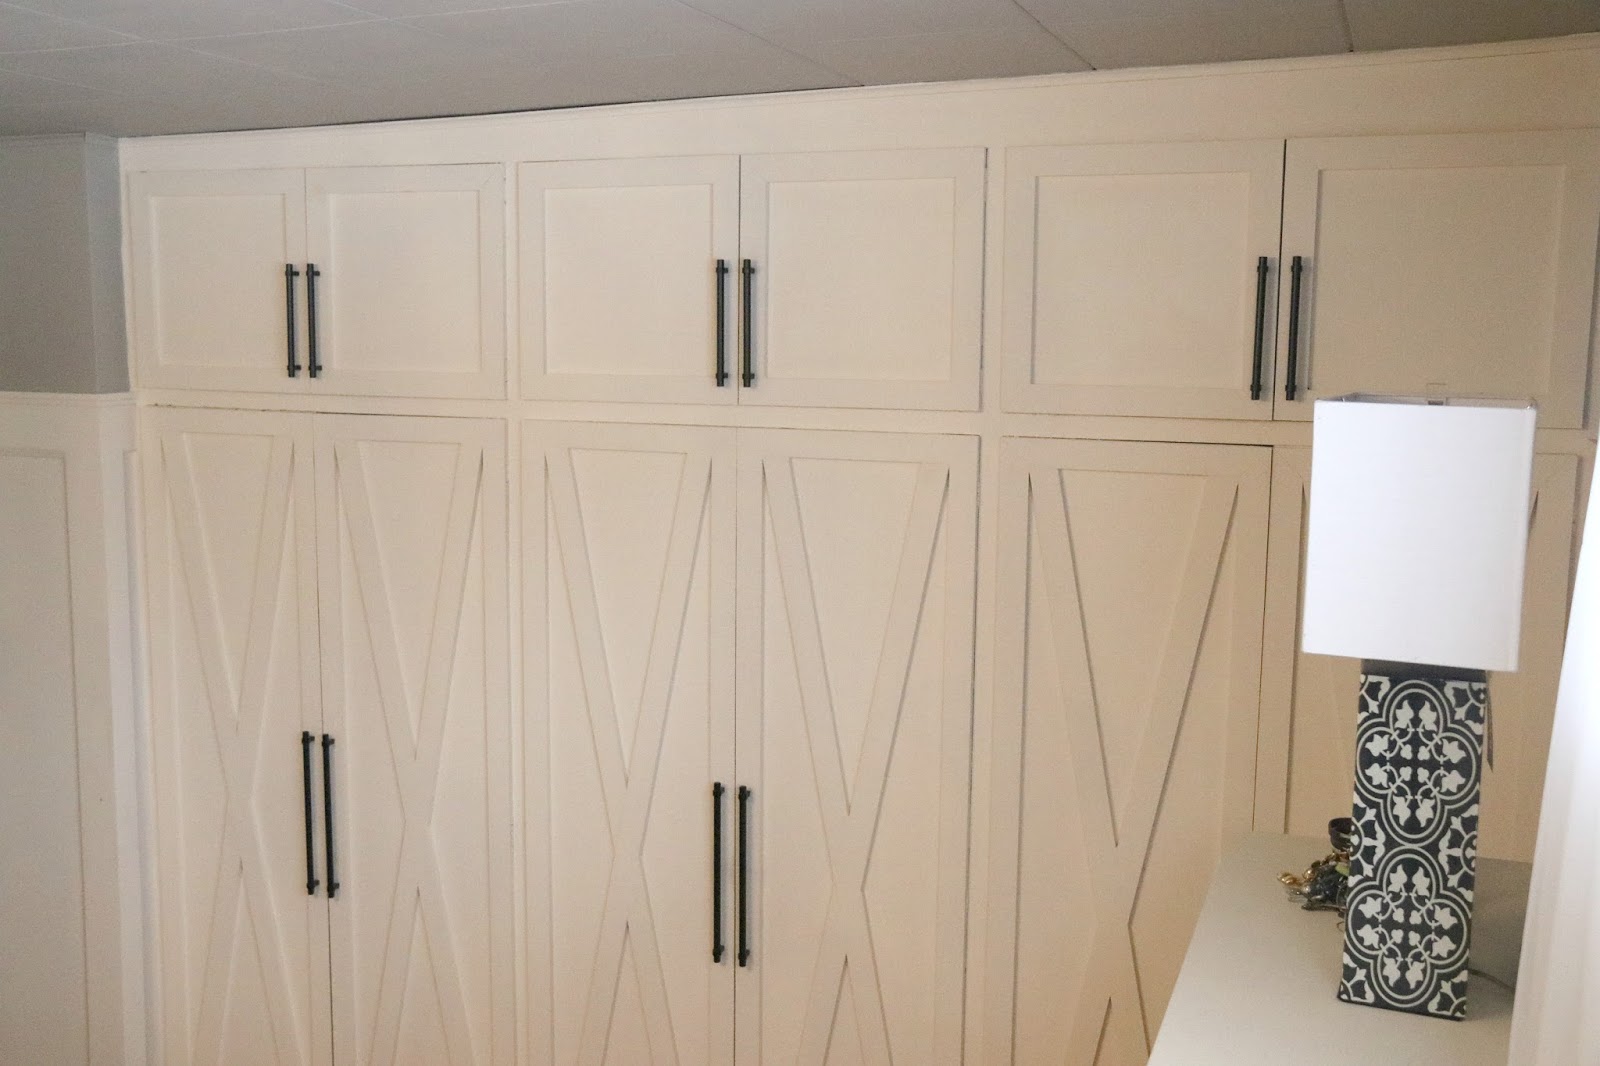
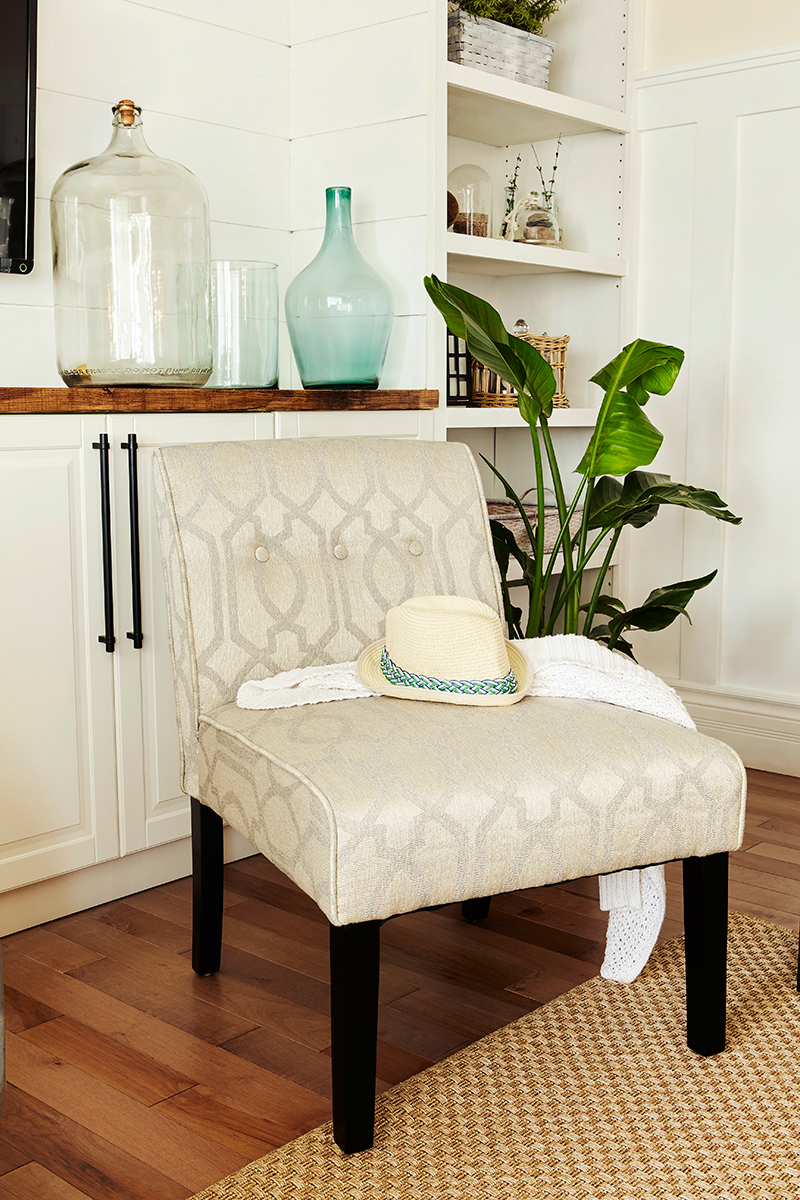
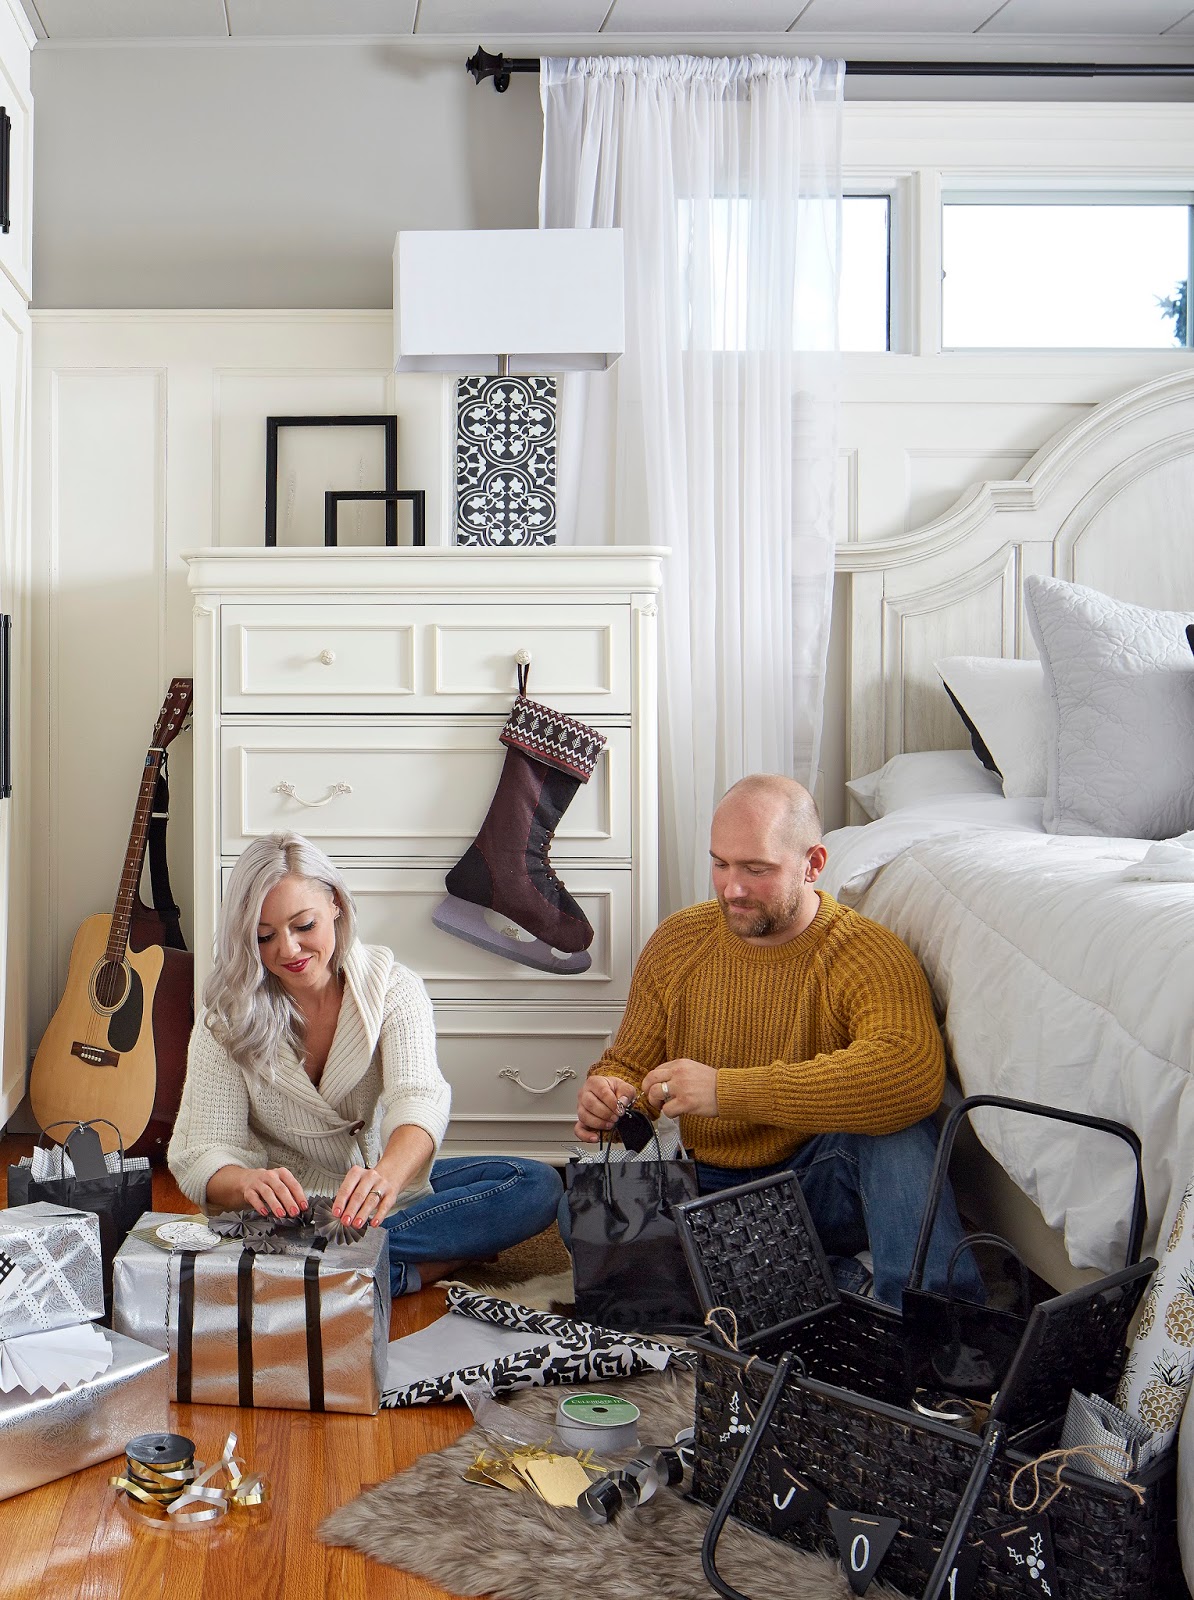
To see the other side of our room, you can see part of our master bedroom at Hello Holiday a holiday guide put out by Leon’s Furniture. Also, these graphic lamps are available at Leon’s too and are a favorite addition to our newly refurnished bedroom. They are so unique with their faux encaustic cement tile details! LOVE!
We may not have a giant bedroom, but the changes we have made have made our space cozy and the perfect room to retreat to at the end of a long day.
Do you have a door or a closet that could use a refresh? Would you ever try something like this? Would you do it if I told you the trim and paint only cost us $32.99 ? YUP.
That’s it.
Now would you give your plain doors a pretty refresh? 😉
If you need more advice on how to create a DIY custom master closet built in, let me know in the comments.