

I have been promising you guys a tour of one of our only completely finished bathroom. And by “finished” I mean that this one has a door. I never would have thought of a door being a bathroom luxury, but for us, in this house of never ending half finished projects, a door is just that!
Our multilevel home had three bathrooms when we moved in, MORE then enough.
BUT (my sister who had lived with us when we decided to move to our money pit fixer upper) did deserve her own bathroom where the bathtub wasn’t full of floating duckies and fisher price boats. So now we have four bathrooms and only one is complete.
SOOOOOO, I wanted to show you just how we got to the finished product!
Here is our “Before” bathroom:

This bathroom is the one between our children’s bedrooms.
It is the one they use in the middle of the night and the one that needs to be kid friendly. In my book though, kid friendly doesn’t have to be a combination of bright green counter tops, golden cupboards and cartoon palm trees.
Trust me, I am all for a whole day on a deserted island and relaxation in many forms, but THIS bathroom didn’t read “relaxing”. I certainly wouldn’t want to be trapped in this bathroom for a whole day! (The peeling stinky floor is a whole other story.)
Today I want to share with you how we saved sooo much money in this bathroom remodel and how we started by getting rid of the golden cupboards that were even more glaring in real life.
I want to show you that you don’t have to live with the bathroom or the kitchen that you have grown tired of. YOU can change the look of your room with some simple paint and some elbow grease.

I started by removing the cupboards from their hinges with a simple screwdriver and took them out to our deck for a light sanding with my palm sander. I removed the shine coat from my cupboards and roughed up the layer of oak underneath.

Then I got a little creative.
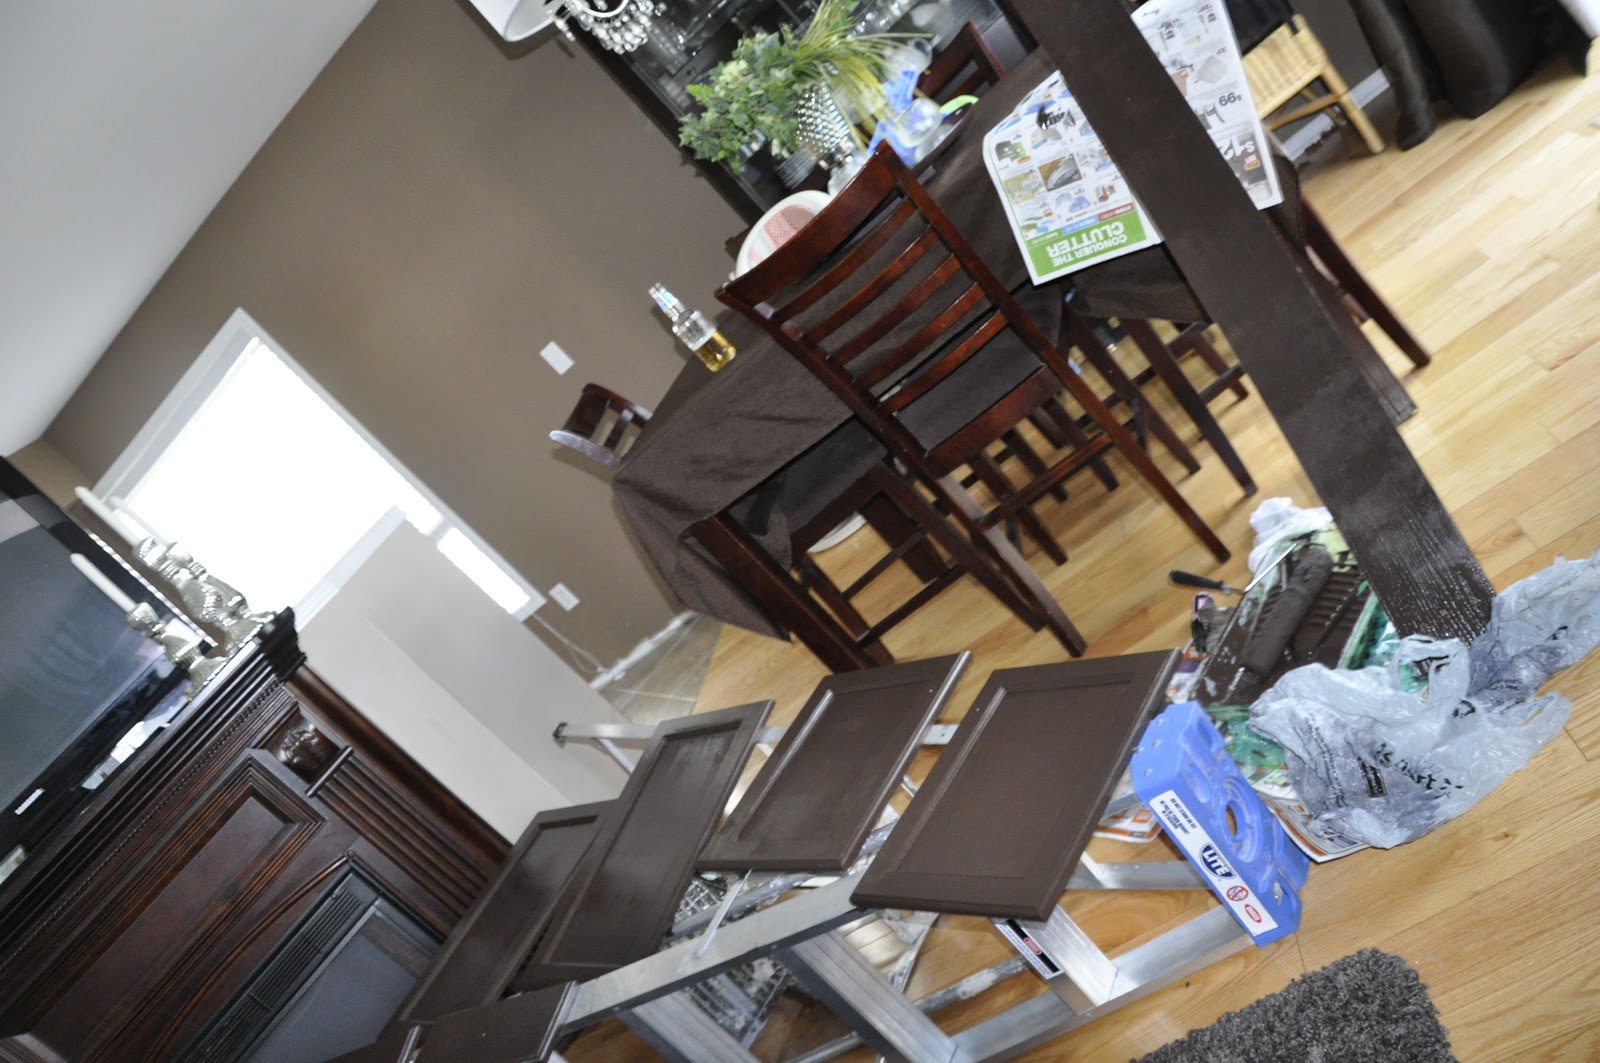
I pulled out the biggest ladder I could find and laid all of my newly sanded cupboard doors on top of it. You could always use a saw horse or a table top. This was when we had just moved into our new home and I didn’t have a table that wasn’t covered in an array of tools.
.JPG)
Please excuse the poor quality night time pictures, this was way before our blog and way before I knew what one was. (Oh what a difference a year makes!!!)
I wiped the cupboards down with a wet cloth and then a dry one so there was no left over sanding residue.
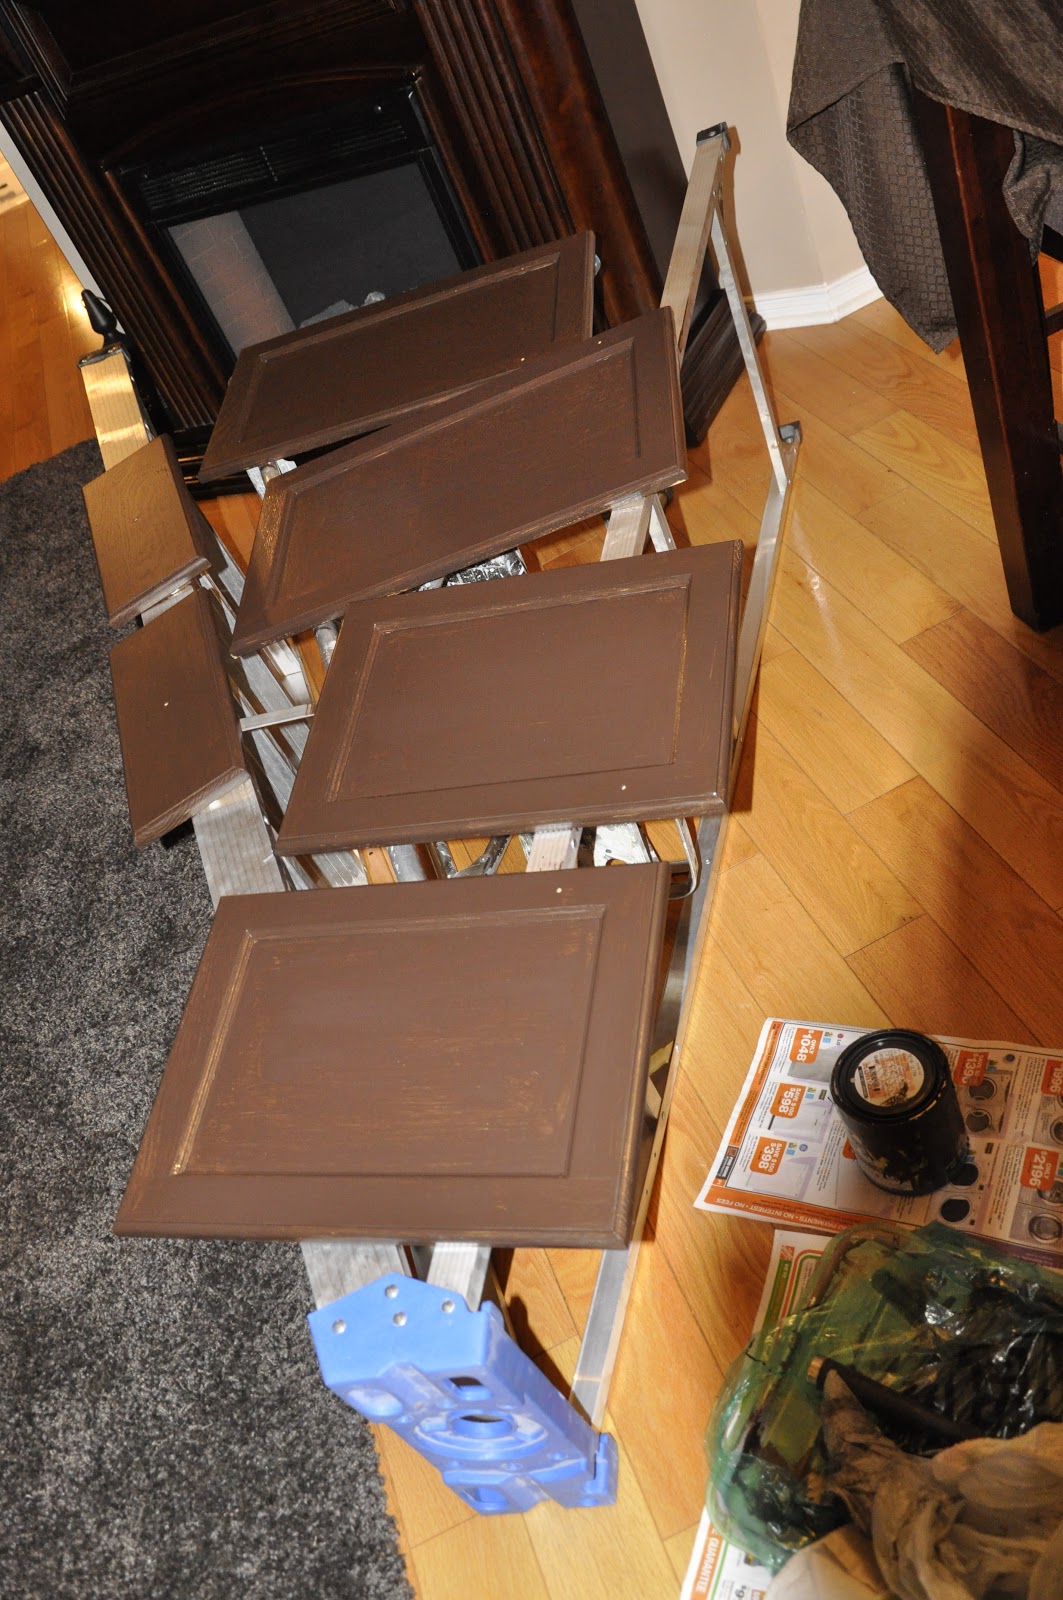
I applied one coat of dark paint and let it dry over night. I made sure there were no excess paint drips that would be visible and would inhibit a nice final result.

The next day I painted another coat of paint with my foam roller.

This little pup stayed far away while I painted again, after work and at night when the babies were in bed. (Apparently, I was doing laundry too! Story of my life! Nightly multitasking!)

The next morning, my cupboards needed one more thin coat of paint before I left for work. You have to get creative with paint drying times when you have two small children with little hands.
… but so far they were looking great!

By time it was the weekend, these cupboards were looking and drying fabulously! I was so pleased to see that they were shaping up to look brand new! In the mean time, I went up to the bathroom and painted the inside frames of the cupboard boxes for a flawless finish.
After I hung them back in their place, I wiped on a light layer of non-yellowing polyurethane coat to protect the painted finish. This step is an absolute must. It will give your cupboard a semi gloss finish but it is the finish that won’t allow your painted finish to scuff or scratch.
To break it down this process for you, I made up this project into 10 easy steps!
This could easily be YOUR weekend project!!!!
So here you go!
Feel free to pin this so you can convince your hubby that you “need” to do this soon. (That is what I do! Shhhh!)

Over the last year, we have been so pleased with how this cabinetry has held up!
Originally, it was just something we were visually upgrading until we could afford something better, but seriously, these cabinets don’t have any scratches or ding marks and they hold up to two rough and tumble children and their toothbrush wars!!
We absolutely love the rich colour and I love that these cupboards are solid oak and can stand up to our family of five.
And here is the final result, after some sweat, sanding and painting.

I love living with one finished bathroom and I can’t wait to show you how we got to this “After”!!! I have so many more photos to share next week!
Ill try NOT to share all of the gruesome stories of having no bathrooms and two small babes during the remodeling process! 😉
I hope you all have a wonderful weekend!
Maybe YOU will tackle your own cabinetry?!
Just know, that it is easier then it looks AND I am always available for your inquiries!
Happy Friday friends!!!
Getting inspired at:
Craftberry Bush link party
French Country Cottage
Chic on a Shoestring
Redoux
Miss Mustard Seed
My Romantic Home
The Shabby Nest
Cozy Little House
Getting inspired at:
Craftberry Bush link party
French Country Cottage
Chic on a Shoestring
Redoux
Miss Mustard Seed
My Romantic Home
The Shabby Nest
Cozy Little House


Diane
January 4, 2013 at 5:59 pmFound your blog through Cozy Little House and am your newest follower. You have an amazing home my friend. Diane
Natalie @ Blossoming Visions
January 4, 2013 at 6:39 pmIt looks absolutely stunning! I'm so glad you posted this. So many skip this process in their posts. It's good to see the nitty gritty details. I'm your newest follower!
Karen Mary Butterfly
January 4, 2013 at 10:58 pmWhat??? It went from Island insanity to paradise! I love it!!! Really need to re-do our cabinets. You make it look easy! Inspiring!
Karen
Anne
January 5, 2013 at 1:12 pmAwesome job on the bathroom makeover!! Happy new year!!
The Rosegarden in Malevik
January 5, 2013 at 4:57 pmwoow….this is a great job..it looks wonderful…
and do not miss……
S
A
T
U
R
D
A
Y
S
H
O
W
O
F
F
it is FUN 🙂
WELCOME
Håkan ( The Roseman)
Erika
January 5, 2013 at 6:26 pmThis looks wonderful! Great job on the painting!!
Sandy
January 6, 2013 at 7:10 amBeautiful bathroom makeover. Don't you just love the power of paint and a little elbow grease?
Cocalores
January 6, 2013 at 1:11 pmWow, what a difference! I love the new color! =)
bethanygier
January 8, 2013 at 9:36 pmThank you for all of the lovely comments, I am so glad you approve!
Natalie and Diane, thank you for following along now! How sweet of you! I hope we can share our projects and advice in the future! xoxo
Karen – I like your description of the room! Thank you!
bethanygier
January 8, 2013 at 9:37 pmThanks for sharing the love guys!
xo
Lisa Chakalis
April 16, 2014 at 9:24 pmCould you tell me the paint color you used on the bathroom walls?
Lisa Chakalis
April 16, 2014 at 9:25 pmCould you tell me the paint color you used in the bathroom walls? Thanks! Bathroom looks great!
Bathroom Reveal | This Little Estate
February 24, 2017 at 3:57 am[…] we last posted I showed you how we turned our outdated bathroom cabinets from gold to bold with some sanding and some paint! So simple! I completed this cabinetry overhaul a […]