

When we decide to do a project, we hop in with both feet.

We start on a Sunday night and pretend that the weekend is actually just beginning.
Can we do a redo? We weren’t ready.

We move honkin’ big pianos, and pull out the power tools.
We like to start off strong and typically give up only when the going gets realllllly hard.
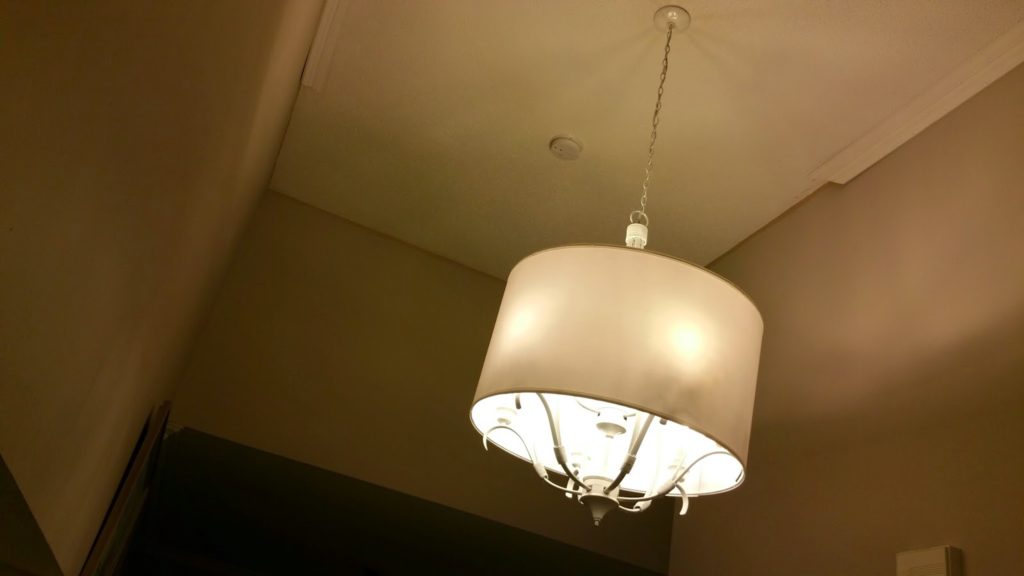
Like when we were doing our crown moulding last year and our ladder wouldn’t reach the tip top part of our family room ceiling. (see above)
Perhaps that is why I barely share this part of our home, or perhaps because this is the place that we use as our toy room drop off, messy office, and family hang out spot.

This is the place in our home where the kids run wild and where our creativity does too.

So, I got started on our late night proeject by wiggling and moving our piano out of the way.
Can’t let my nickname “Mighty Mouse” lose it’s meaning.

And we got started.
Typically when we do projects here, three little children run rampant around us.


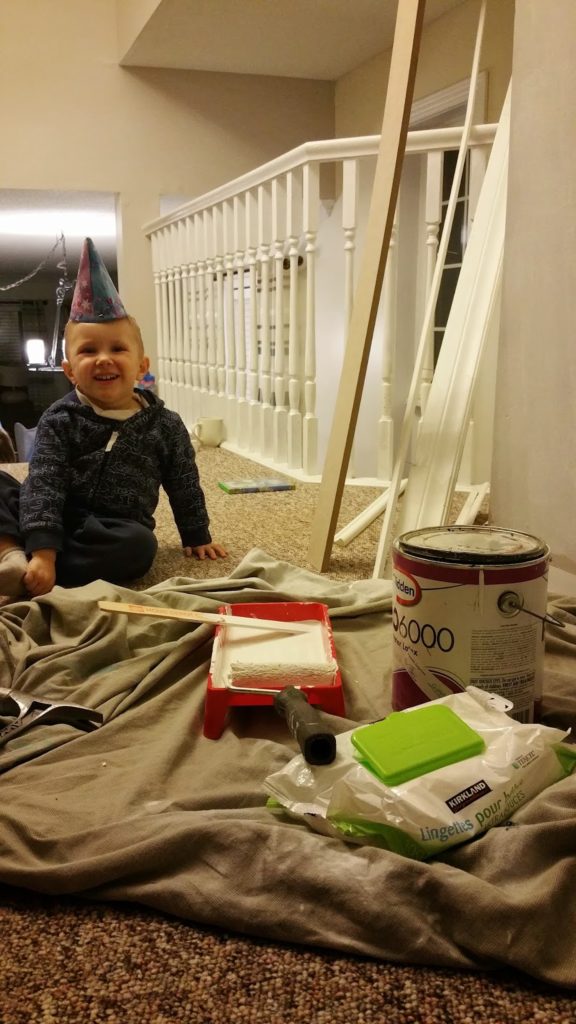
Though it usually adds another element of craziness, the kids come in handy for their moral support and the fact that they love catching us working hard with their picture taking.

Someone loves my late night, hair brained ideas.

Also, check it out, every project needs a little bit of muscle. 😉

And a lot of paint.

After moving all of our furniture away from the walls in our family room, I started by removing all the trim work. I simply loosened the trim with some tools. Then I took off all of the outlet plate covers and got to work painting the walls from the floor up with Behre premium paint in “Bright White” and with a Semi gloss finish for some interest and shine.

We painted our walls in this soft “Sharkey
Grey” by Martha Stewart three years ago and surprisingly we needed at
least four coats of paint to make our walls a bright white.
Grey” by Martha Stewart three years ago and surprisingly we needed at
least four coats of paint to make our walls a bright white.
That is a lot of painting!


It
took me so long that the baby decided to reward me with a little
celebration that included celebratory hats and half a dozen sticking out
your tongue selfies.
took me so long that the baby decided to reward me with a little
celebration that included celebratory hats and half a dozen sticking out
your tongue selfies.
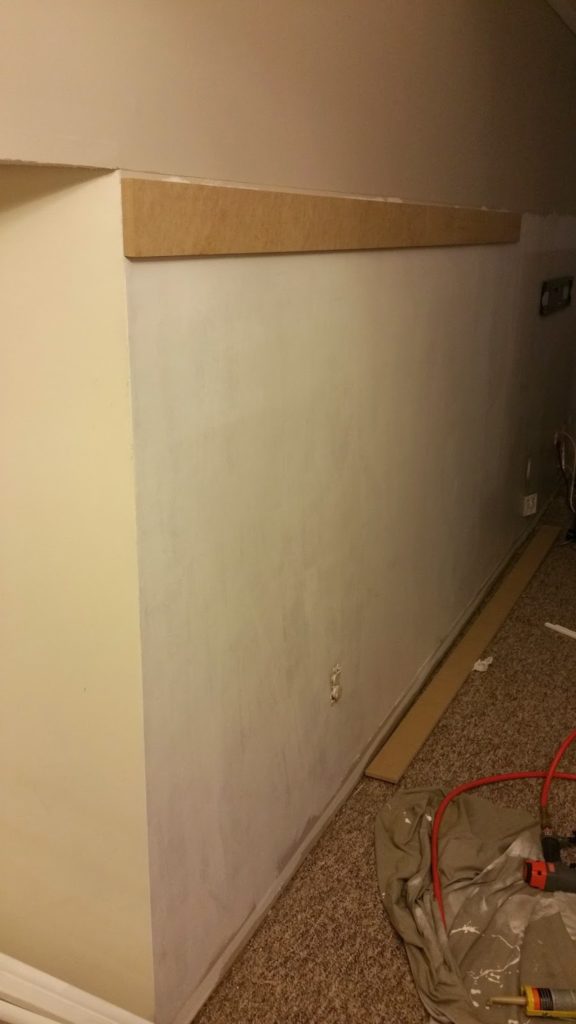
We marked off our wall with a level and a pencil line at 5 feet 3 inches.


This is about two coats of paint later.
So much painting!

(My
husband built some tubes that he will later insert into the back of the
wall. It will keep our television cords from view so we can mount our
television to the wall instead of having it rest on top of our console.)
husband built some tubes that he will later insert into the back of the
wall. It will keep our television cords from view so we can mount our
television to the wall instead of having it rest on top of our console.)

Thank goodness for hardworking garages…

…and hard working little boys who help assist where they can. (MDF is the messiest thing to cut! Be aware that you should always have your garage door closed when cutting MDF
or else there will be a small layer of dust all over every inch of your
home. It is also a great idea to use protective eye wear and
appropriate masks and such if you want to keep your lungs clear of all
of that dust.)
or else there will be a small layer of dust all over every inch of your
home. It is also a great idea to use protective eye wear and
appropriate masks and such if you want to keep your lungs clear of all
of that dust.)
#safetyfirst

With the mount attached to the wall we could move forward with our trim work.
And yes, that hardworking boy is wayyyyy too close to that television!
We attached our top piece by spreading some glue to it and attaching it to the wall with our nail gun.

We then caulked all the gaps and the nail holes for a smooth finish.

My hubby angled the cuts on the wood where we wanted them flush with our angled walls.

The
thing with starting projects late at night is, that the hubby plays
hockey some nights and when we are in the middle of a project I don’t want to stop!
thing with starting projects late at night is, that the hubby plays
hockey some nights and when we are in the middle of a project I don’t want to stop!
And I like to fight the thought that you cant teach an old dog new tricks. 😉

I conquered my fears for the sake of continuing our project and learned how to tame this bad boy.

For all of you cautious DIY wannabees, let me tell you that miter saws are not difficult to operate. They are however super loud and a tad intimidating, but once you get started you will be flying through your projects.

Once I got started with the saw and use to the way it works I was flying along — all by my lonesome!

Oh wait, the dog was there too. 😉

It took us a few more nights, but we started really moving along with this project.

We
decided to take the moulding all the way up our stairs that lead from
our family room to our level with our bedrooms. I think it was such a
great idea! I love how the sight line just continues up tot he next
level of our home and how it balances the white banister on the other
side of the stairs.
decided to take the moulding all the way up our stairs that lead from
our family room to our level with our bedrooms. I think it was such a
great idea! I love how the sight line just continues up tot he next
level of our home and how it balances the white banister on the other
side of the stairs.

I also love how this awkward angle now doesn’t look so awkward with the moulding dressing it up.

We carried it around the entire room, from our desk area all the way around the room.

Once
we had the whole room done, we decided to dress up the straight lines
of the board and batten panelled wall with some more trim work. We
wanted our panelled wall to look custom and knew that we would need some
more trim to really make the board and batten unique to our home.
we had the whole room done, we decided to dress up the straight lines
of the board and batten panelled wall with some more trim work. We
wanted our panelled wall to look custom and knew that we would need some
more trim to really make the board and batten unique to our home.
I will save the rest of what we have done for another day.
This project definitely did not happen overnight but I am so completely pleased with how it did turn out.
I cant wait to share the results with you in another post and to give you the ultimate room reveal! My plan is to break it all down in an easy to follow tutorial so you can achieve this same look at your little estate.
Until then!
Happy DIY-ing friends!

Marie Blackburn
February 5, 2015 at 6:21 pmBethany this is exactly what we want to do in our dining room. So grateful for your tutorial which I'll be pinning. Your panelled wall looks fabulous!
Marie@The Interior Frugalista