
IF YOU JUST WANT A PAINTED TILE TUTORIAL, PLEASE SKIP DOWN TO THE SUPPLY LIST. HOWEVER, IF YOU LIKE TO KNOW HOW AND WHY WE LIVED WITH THE UGLIEST BATHROOM OF ALL TIME, KEEP READING.
The first time I saw the brown tiled bathroom in our fixer upper three years ago. I cringed. It had every original element that dated it back to the 1950s, when our house was built. It boasted sea shell wallpaper, a faux stepping stone pattern on the floor, peel and stick flooring that was peeling OFF, an eroding faucet and the only tub in the entire house. SO, actually, the space pictured below looks BETTER than it had originally. I can barely believe that too.

BEHIND THE SCENES (The Prequel):
As with most situations though, I like to focus on the bright side of a renovation so I pointed out the fact that when the time came to remodelling, we wouldn’t be taking apart a recent renovation to make the space fit our taste and esthetic. SEE, we were already saving money! I also mused that other than that eroding faucet and sink, the tile, that was just about everywhere within the space, was in fabulous condition.
However, as bright side seeking as I can be, I swore I would never take a bath in the old bath tub.
In hindsight I’m humbled by my first reaction of our bathroom that has served our family well over the years. It was a visual shock to go from a home with four brand new renovated bathrooms with four pristine tubs complete with custom millwork and tile to ONE that was in desperate need of some TLC. HUMBLED!
As things go in old houses, one gets used to the quirks that come with old houses.
QUICK FIXES:
Upon moving in, I replaced the single bulbs above the mirrors with a pair of matching chrome ones and almost immediately removed every bit of wallpaper within the house. The sea shell trim in the bathroom was offset by a light pink wall that I neutralized with a coat of cream paint. The original trim got painted out the same tone for a quick fix and on a whim I painted over the layered shellac cabinet in hopes of stifling the old house smell that seemed to constantly come from it. After all, we would be renovating this space ASAP anyways.
ASAP turned into three years and here we were, in the end of 2018, living with with all the same elements as when we moved in.
THE PLAN:
Now that we have wrapped up a lot of our projects, I decided a few weeks ago that it was TIME.
TIME FOR CHANGE!
The major issues that were holding us back from renovating this space was that, eventually we will be adding an addition to our home that we assumed would impede on this bathroom space, or so we thought. However once we got architectural drawings professionally finished, the addition ended up being connected across the hallway in our home, than in this space. SOOOOO, a renovation could happen ASAP.
Because the tile in this space is built around the vanity, we would have to replace all the connecting tile and subsequent drywall. The thought of doing another gut job project to our only working bathtub or shower was terrifying when we first started planning. Not only would the project put us back about 8k (thats with doing all of the work ourselves!) we were also realistic about a timeline. Full time jobs and gut job renovations do not marry easily. We decided for our budget and our time line we would makeover our bathroom while utilizing some of the elements that were already in place.
Instead of removing all of the 4 by 4 tiles I decided I wanted to take on the task of refinishing them.
I know, I was scared too.
This is something I had never done before and something I have rarely seen done well. The feedback I receive from all of my DIY buddies who have done a similar project have not unanimously said the results were amazing. However, I love a good project and especially love finding the easiest way to do something so I can share with you!
Here’s what I learned, painting tile isn’t hard at all, however, prepping for enamel paint requires a lot of earnest dedication. NOTE: I did not do this and completely slowed down the whole process. So, don’t be like me, learn from me.
HERE IS WHAT YOU SHOULD DO:
Gather your supplies, you will need:
Two rollers
Two paint brushes
Tile paint
An exacto knife
Heavy duty breathing mask
PREP:
Remove all caulking from around the area you are going to be painting with an exacto knife. If you won’t be replacing the caulking, make sure that you cover it WELL with painters tape to ensure that your paint brush and caulking never come in contact with each other. If you are removing a water proof caulking (most likely) it will leave behind a residue you MUST remove.
Use a small blade, goo-be-gone and wipe perfectly clean.
Next, you can get started!
VENTILATE:
You’ will need as much ventilation as possible to keep your environment free of fumes. Ensure that you are wearing a breathing mask too. It is vital to ensure this step, to keep you and your lungs healthy and happy!
This is the mask I used, and I would highly recommend it.
MIX: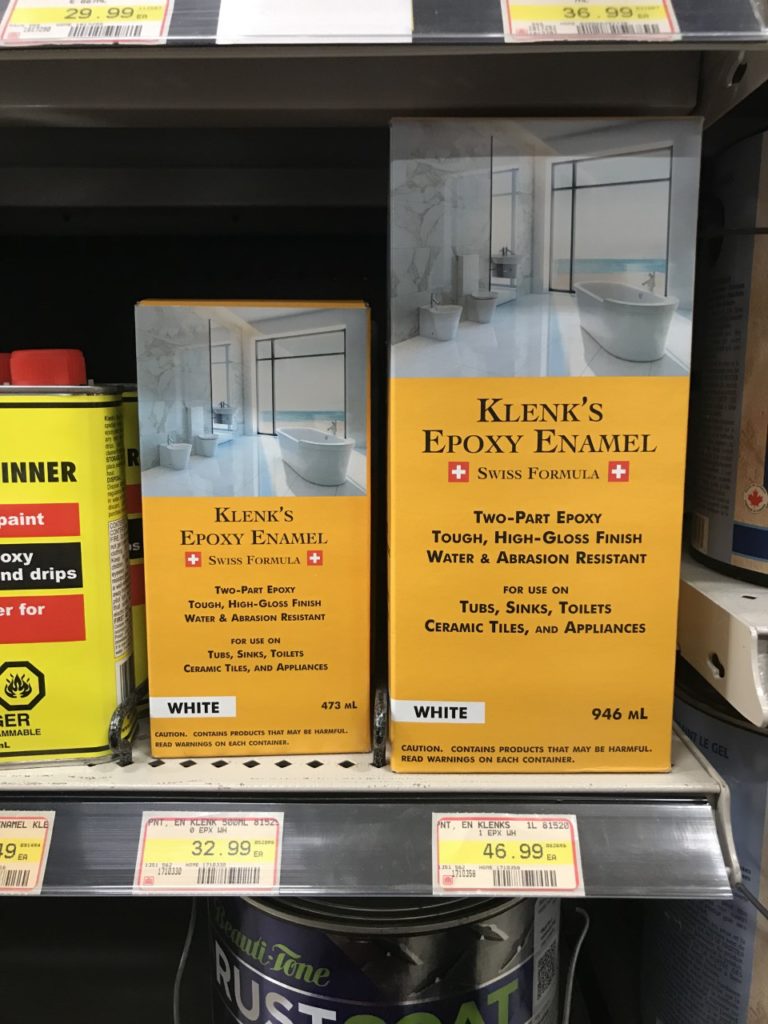
First matter of business, open up the box your paint came in and combine the two containers. The small epoxy paint will fit perfectly into the larger pint size can and needs to sit mixed for one hour before you paint.
Spend this hour, making sure your kitty cats and children have not come into the bathroom tracking in hair or dirt. Your tile will need to be very clean to adhere properly.
PAINT:
Starting in the corners of your space, cut in with a clean paintbrush. If your space is tight (like a kitchen backsplash), continue to apply the paint with your paintbrush. If your space is large, like ours was, continue your applications with a roller. You will need to use a lint free roller for application. DO NOT USE a sponge roller, these will deteriorate due to the formula of the paint and will leave a giant mess in its path.
It’s also good to note that your roller and paint brush will seize and die once they are used and will not be able to reuse. Toss immediately and get a new set for your second application. Note, you will only need additional coats if you are covering dark tile like we were.
Let dry for 8 hours between coats.
PROBLEM SOLVING IDEAS: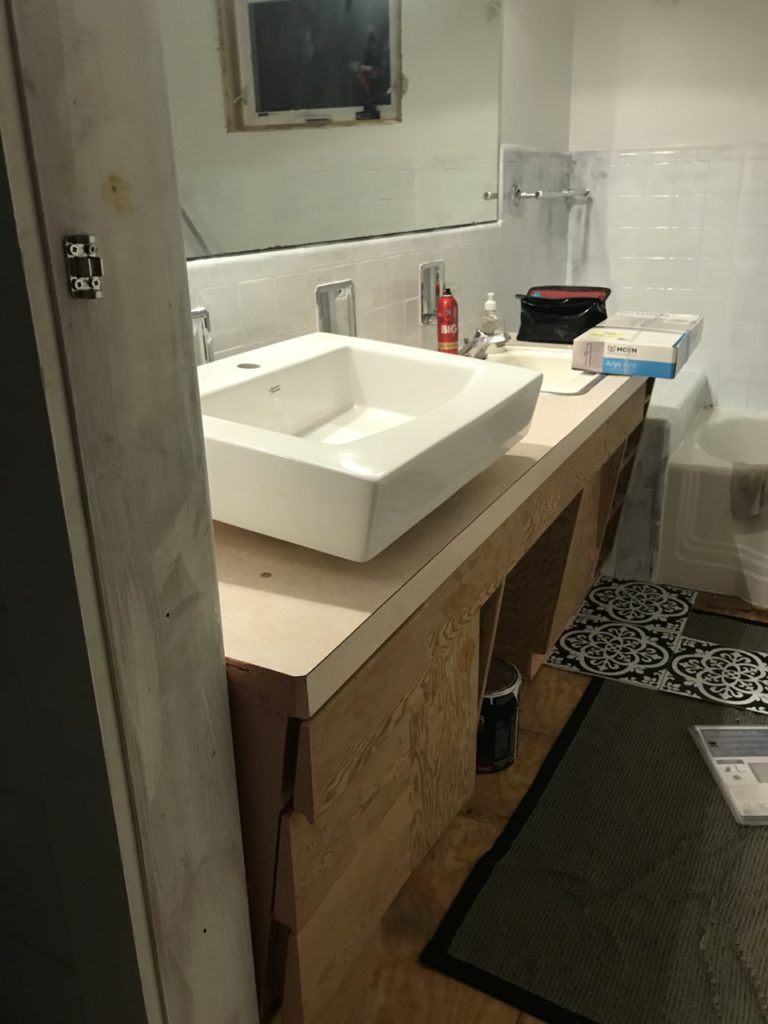
- If the caulking residue DOES, stick, despite your best efforts, I’m sorry, you have been warned. AND, can we be besties since we BOTH don’t pay attention to the fine print and instructions on the paint? 😉
DO NOT WORRY THOUGH, IF this does occur, despite your good intentions, your painted tile won’t adhere, but you can problem solve easily. What will happen is your finished painted tiles will have what resembles bubbles in the finished product. These are commonly referred to as “fish eyes”. To get rid of the small bubbles you will have to sand in between coats of paint, prolonging your painting progress but leaving a nice smooth finish. The area cannot be painted over to fix this issue, trust me, the only thing you can do is smack your forehead, pour some wine and sand away the fish eyes.
- Your epoxy paint will start adhering as soon as it touches your tile. Drying time takes about 8 hours. It is recommended that you don’t get moisture on your tiles for five days after painting, so make sure you have another usable shower/bathroom to meet your needs. OR, do what we did and house crash your parents. 😉
- If your paint drips and dries that way, don’t sweat it, you can sand in between coats for a nice smooth finish.
- If you use a lint brush with questionable quality, you will also have lint drying into your paint. Don’t worry, a quick sand with a palm sander will fix any lint the roller leaves behind.
- Do not use a sponge roller, as stated earlier, a sponge roller will deteriorate.
- Use a small fan to push the smell of your paint out an open window if possible.
- It is recommended by the paint manufacturer that your painted surface stay dry for five days before usage.
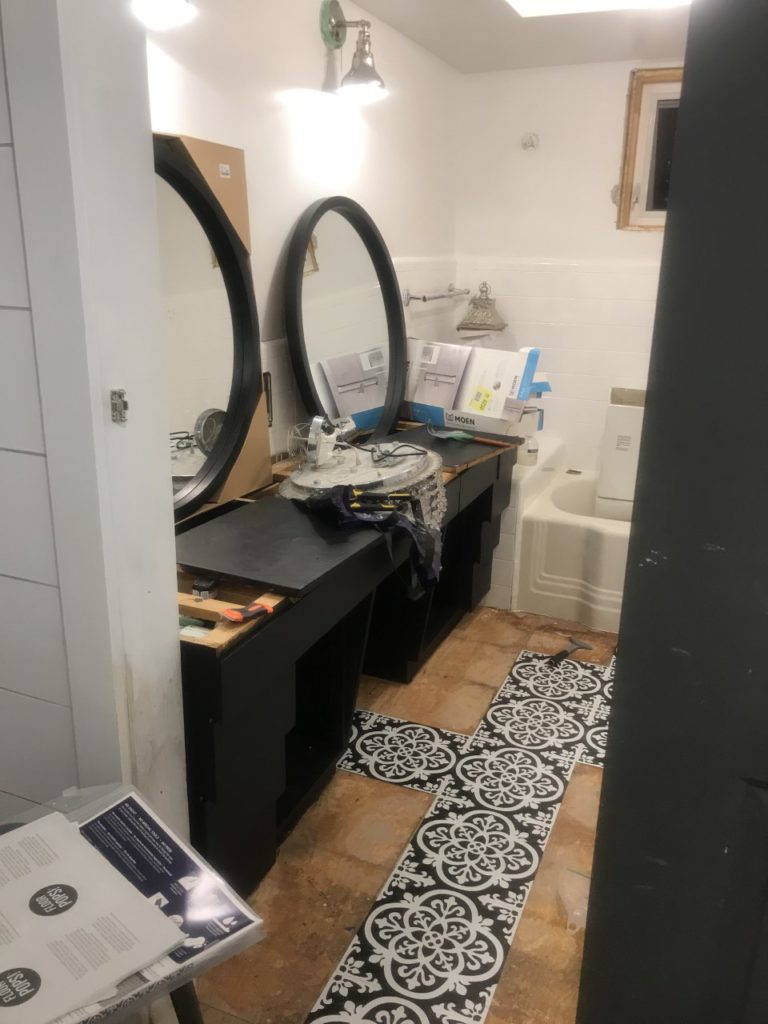
THE FINAL RESULT:
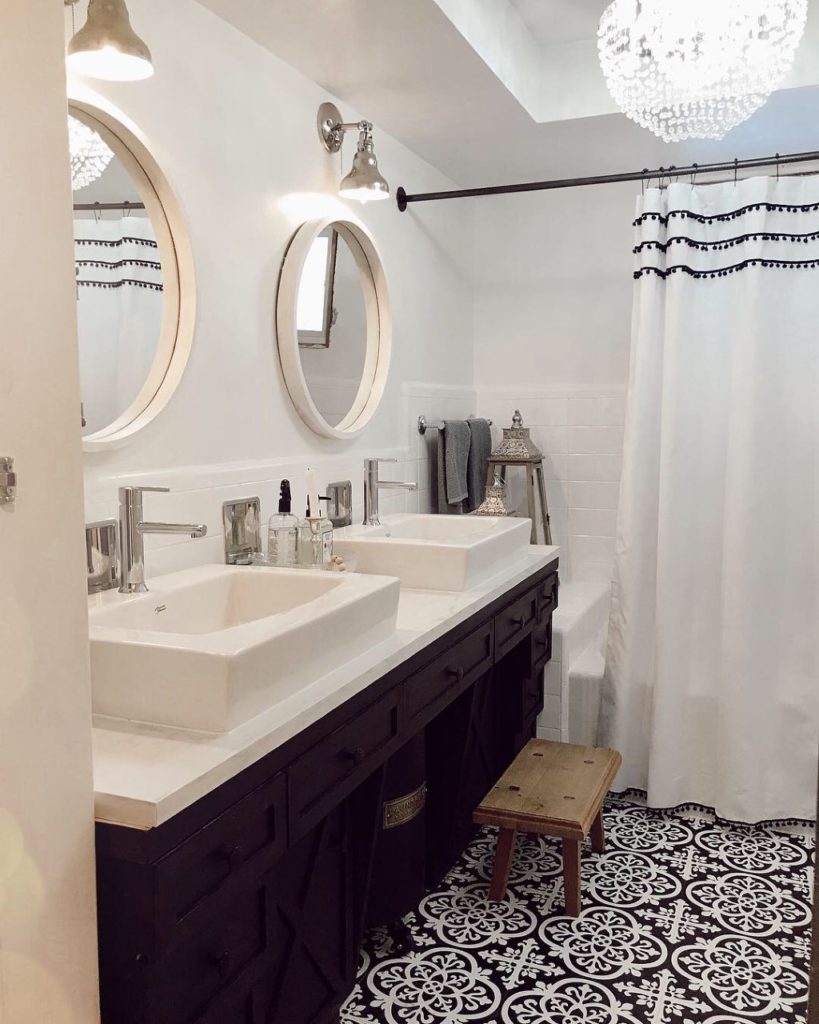
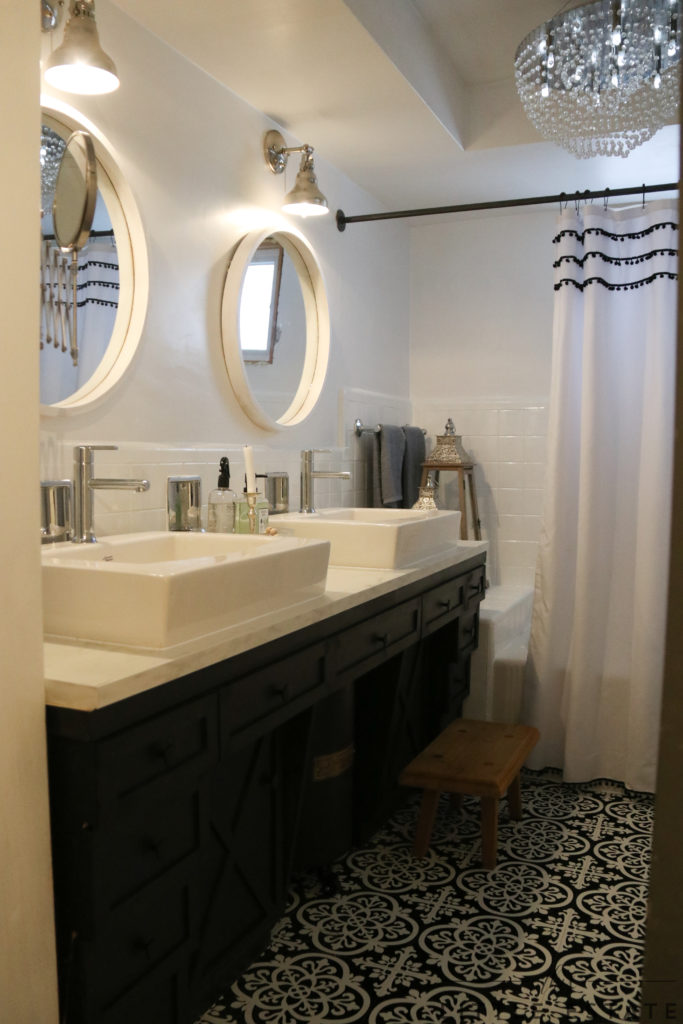
Our space required three coats of paint, but was worth every swipe of that paintbrush! I am beyond impressed that this space was transformed at a fraction of the cost I had previously THOUGHT would be needed! Hallelujah!
I really wish I had of got up the urge to redo this space YEARS ago. Now we can scratch off one more room off of our fixer upper to do list! Next up I will share all about the amazing floor we installed and HOW we took that vanity from terrifying to pretty with trim and paint!
Would you guys ever paint tile? Have a space in your home that could use some love? Can you BELIEVE we lived with this before bathroom for three years? Yeah, I can’t either! 😉
Laurie @ Vinyet Etc
February 5, 2019 at 9:47 pmAbsolutely spectacular! Wow!