Last week we left you with this unsightly view of our sons bedroom ceiling. We were in the depths of DIY demo also known as week three of the one room challenge! 
To recap, we took apart this room’s dropped ceiling, removed it’s dated 60’s wallpaper, primed the flat faced panel closets and added farmhouse inspired trim around the new window we installed. The room was coming apart nicely. Now, to put it back together!!
We relocated the contents of our sons room to our narrow hallway while we embraced demolition, and what couldn’t be moved out, had to be worked around. That is of course, not the easiest way to work my husband often reminds me, but we make do around here with kids and pets underfoot and know the hardest part of any project is actually carving out the hours after our day jobs to get the renovations moving! ANNNDDDDD they definitely moved this week!
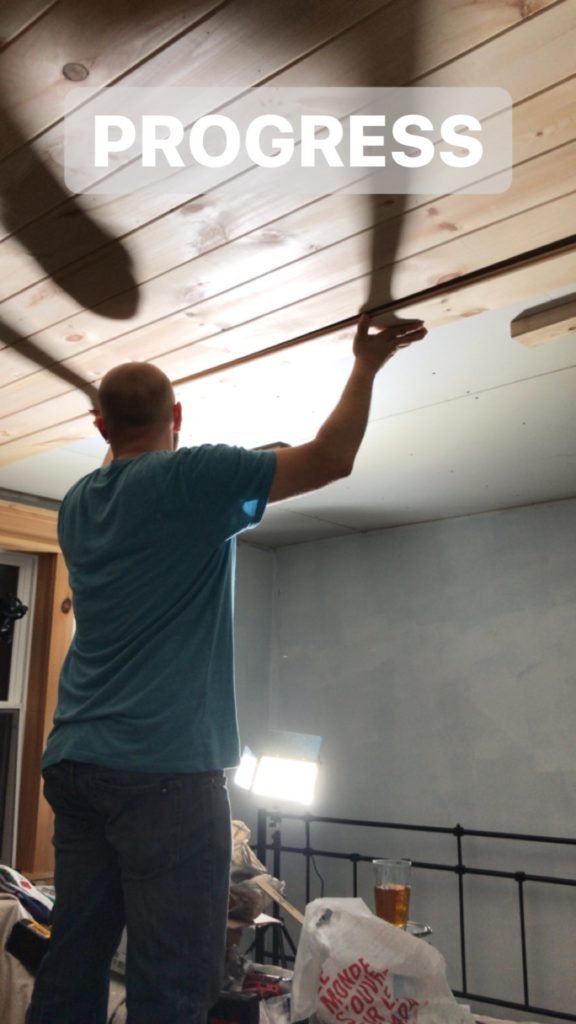
This week I lovingly nicknamed “P-P-P-Progress week” and the evidence to it’s name is clear! This week we accomplished installing new electrical and a pot light system along the naked ceiling. Next, we got moving putting up drywall over top. Making sure to mark where our recessed lighting was located, of course. Truthfully though, by “we” I mean my handy hubby somehow installed big ‘ole heavy sheets of drywall, all by his lonesome, by using his big ‘ole muscles and a tool known as a Task support rod. He will have to do a tutorial at some point because it was pretty impressive to watch him one handedly maneuver those awkward and oversized sheets on to the ceiling. 😉 How does he do it!?
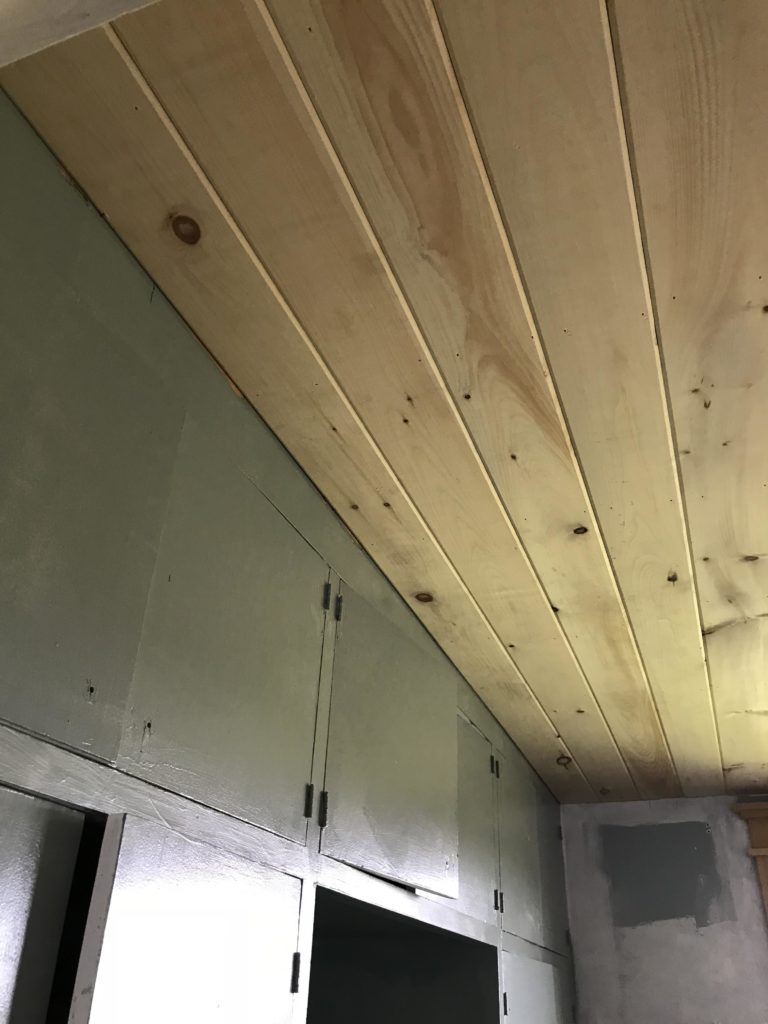
Once the drywall was up and installed, the fun part came! The part that had each and every one of us peeking in to the space to take in the installation of the METRIE knotty pine tongue and groove. Seemingly, every new board added had us even more googly eyed. Can you tell we are a renovation family? Also, can you see what we were so excited about?? What a difference!
The boards are five and a half inches of pure textured and natural goodness that effortlessly and immediately enhanced the space. Things were looking up!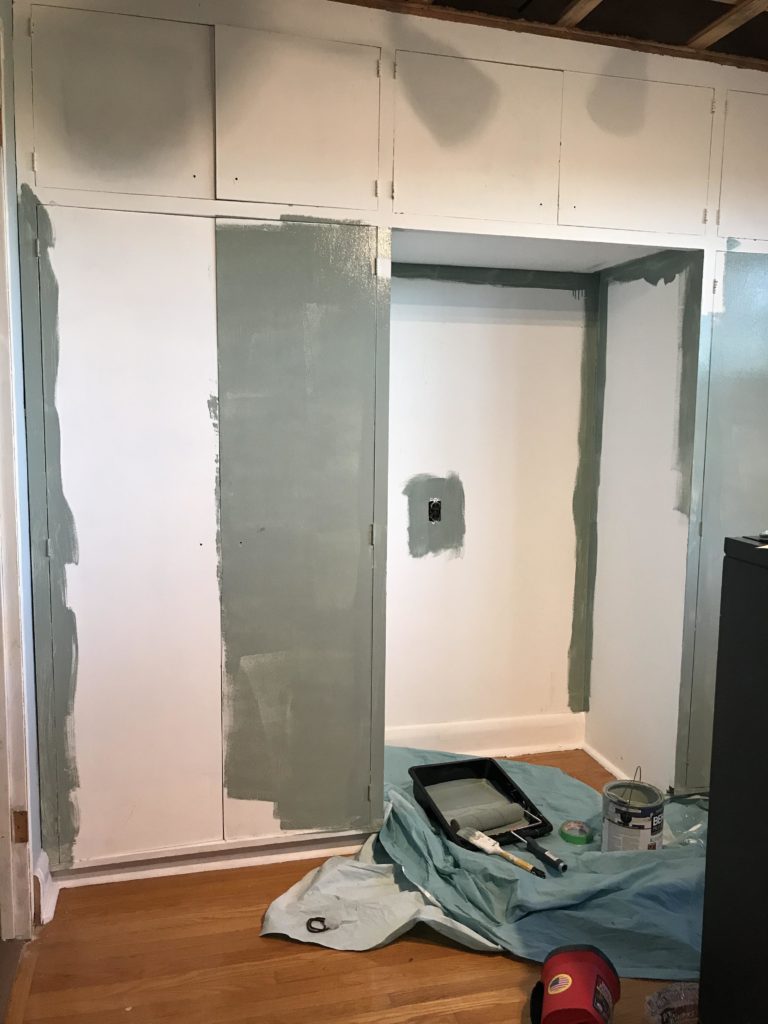
While hubby was busy doing more of the technical ceiling things, I was busy coating every last unmoving space with coats of paint. I chose a rich green tone for the closets in this space.
 This color green subtly echoes the nature that fills the vast view right outside this bedroom’s window. It also totally reminds me of vintage green chalkboards of days gone by. Do you see that too? I love that his old closets will still end up looking vintage in tone but revived with new trim! (A task for next week!)
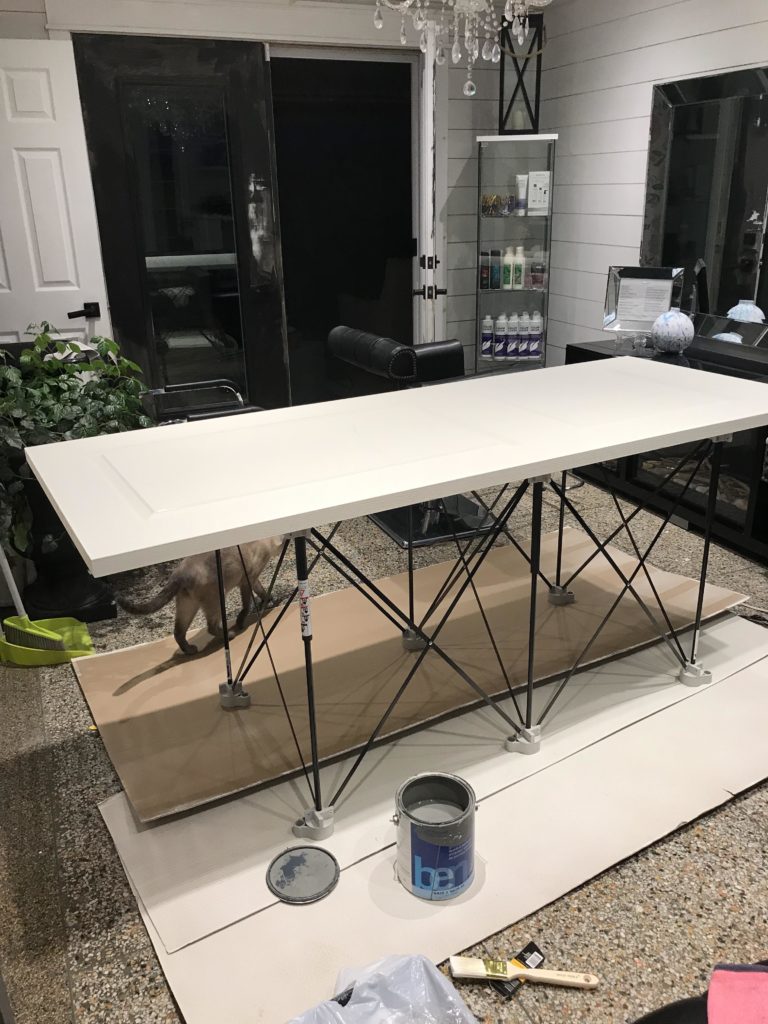 I also picked out a beautiful rich grey tone by Benjamin Moore known as “Amhurst Grey” to dress up our Masonite Classic Two Panel door. Two coats later on both sides and the door looks like a million bucks!
 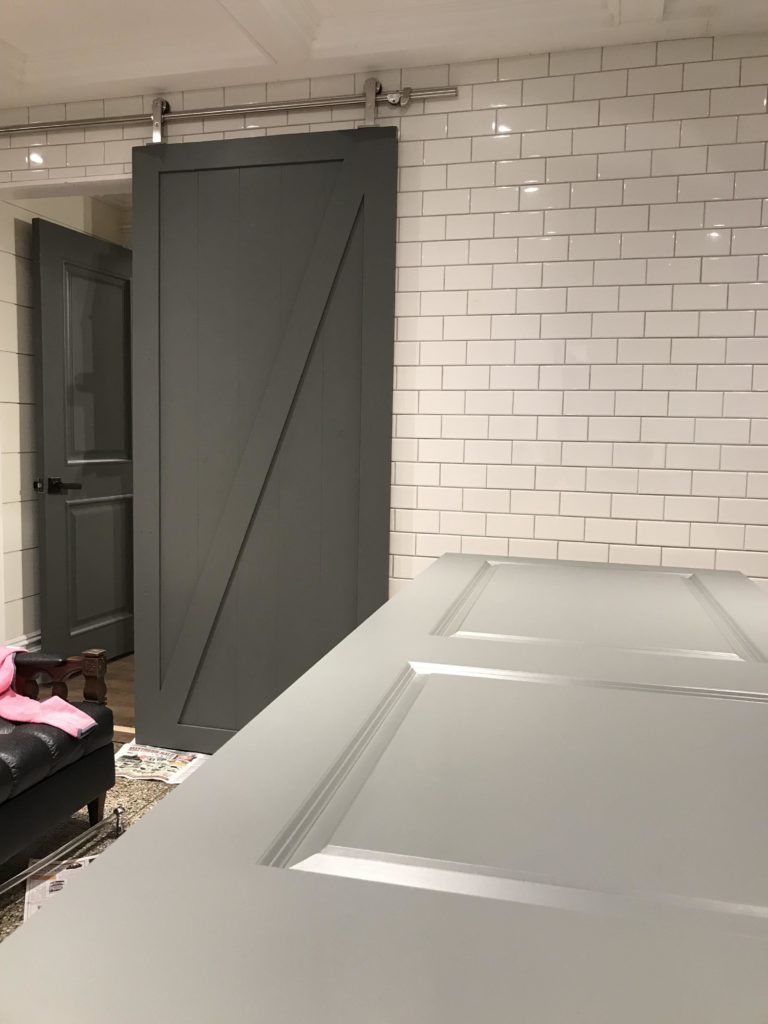 In fact, I loved the new color so much, I ended up painting four doors in my studio the same color for a rich and pretty change. Yes, I AM addicted to painting hair in the day and everything else on my off time. 😉
Once the pine ceiling was up and we had all also managed to pick our mouths up from the floor, we knew the ceiling needed an upgraded light that would marry nicely with the pine details.
I’m never one to back away from the idea of scouring everywhere for the perfect room accessory, so I first started my search from the couch on our local Kijiji. Sadly, I came up empty handed. Although this crushed the frugal part of me that is always searching for a deal, I knew the room deserved something substantial to brighten it up.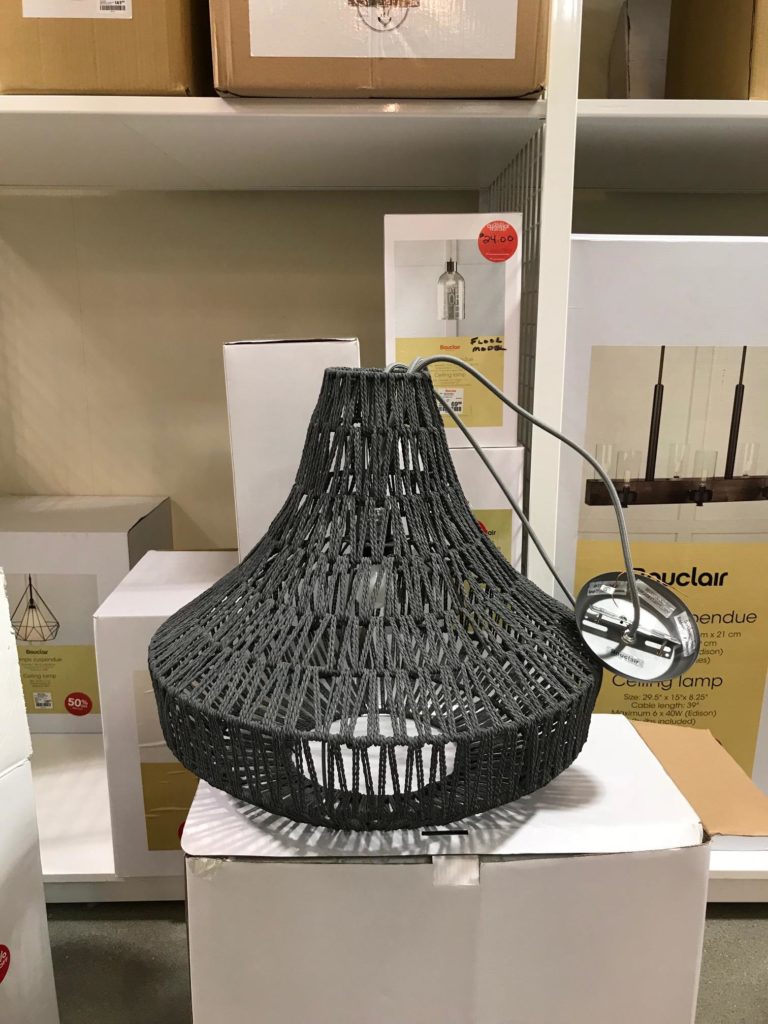 So, I did what most design enthusiasts like to do, I went shopping evvvvveeeerrryyyywhhhherererere!
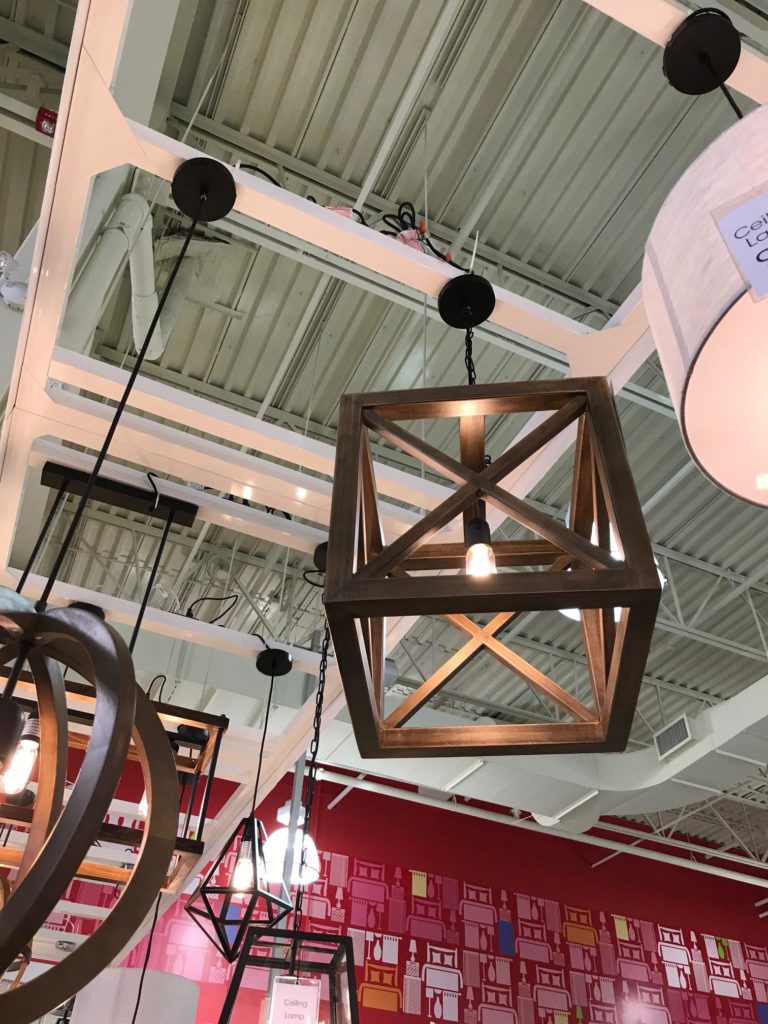 I went to a million different lighting stores looking for a graphic light fixture that would stand out against the spaces white walls. All the while, I considered what would give the room a dramatic punch of character in the form of a fun shape.
 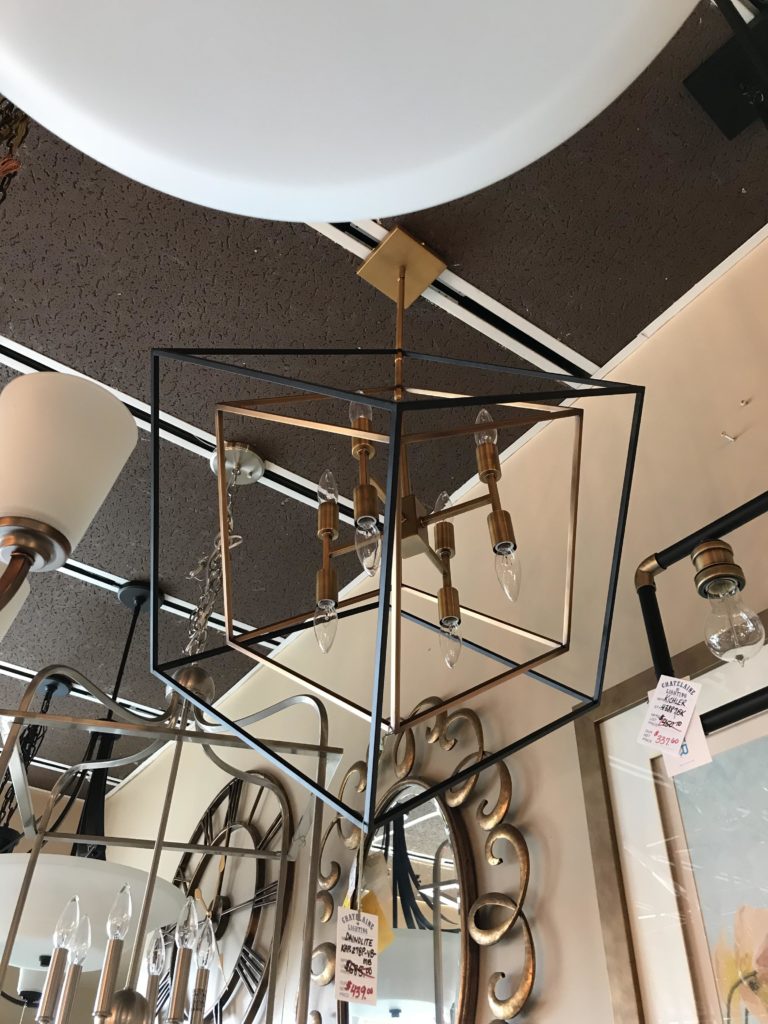 The more I searched though, and envisioned the lights in the space, it became even clearer that I needed a light that had some continuous movement to it. One that perhaps was a cylinder or one that was full of circles like this pretty Kichler fixture. (Say that ten times fast!;))
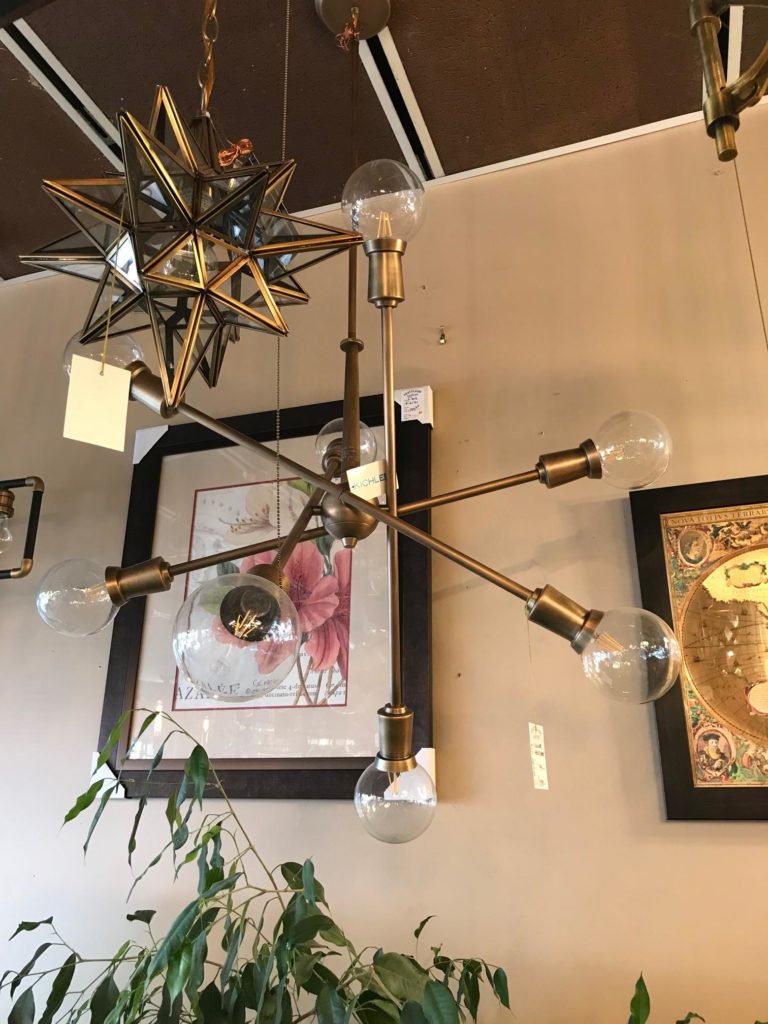
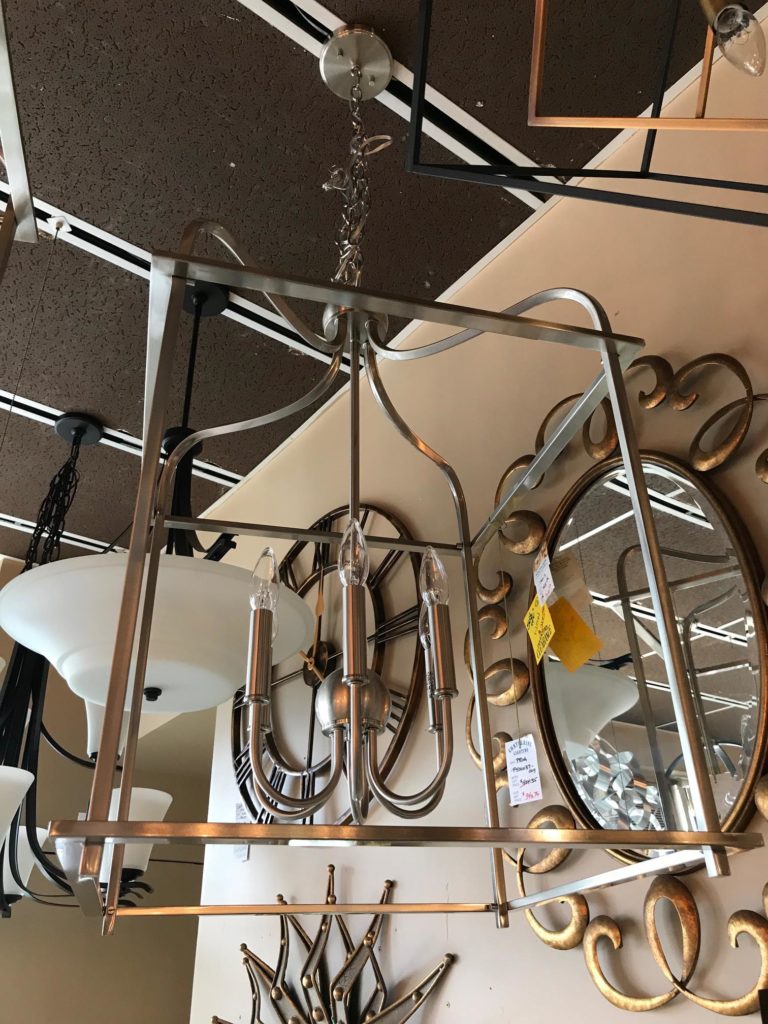
After all, there is already going to be so many straight lines in this space in the form of trim, a square dresser and a solid straight sided metal bed.  I also needed to consider the finish of the fixture and really wanted something black or something I could easily spray black. This way it would match the other elements in the space, like our sons metal bed and the long black handles his closet will soon get dressed up with.
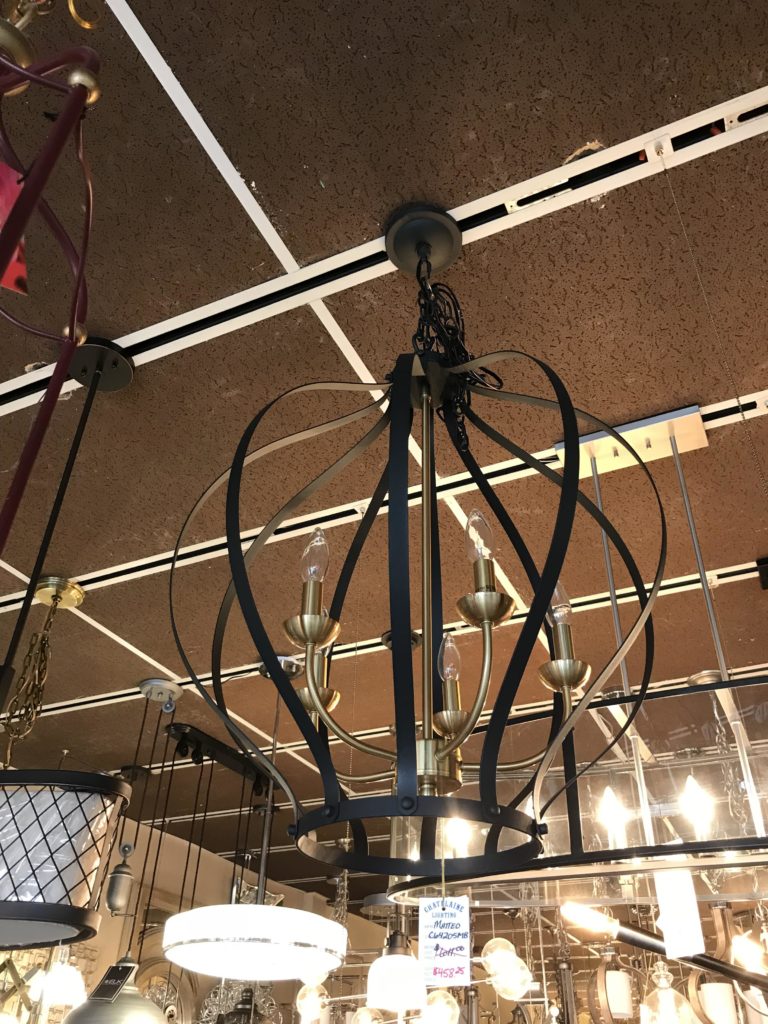
DESIGN TIP!!
Don’t be deterred by the finishes on light fixtures! You can refinish a light fixture by hiring it out to a professional. OR, do what we do and give in a makeover with metal approved spray paint!! This is a tried and true practice we have tackled more than once!
EXAMPLE! Can you tell this light in our new living room was once brown and brushed nickel?? A simple spray down with black semi gloss spray paint (in a well ventilated area!) gave it new life!!

 My light fixture search admittedly took longer than I would have liked. Right when I was feeling like I would never come across a light that was all parts graphic and timeless and circular and perrrrrrfect, I remembered the fixture we had installed in our last dining room: a graphic four ring globe sphere that was just big enough to give any room a major style enhancement.
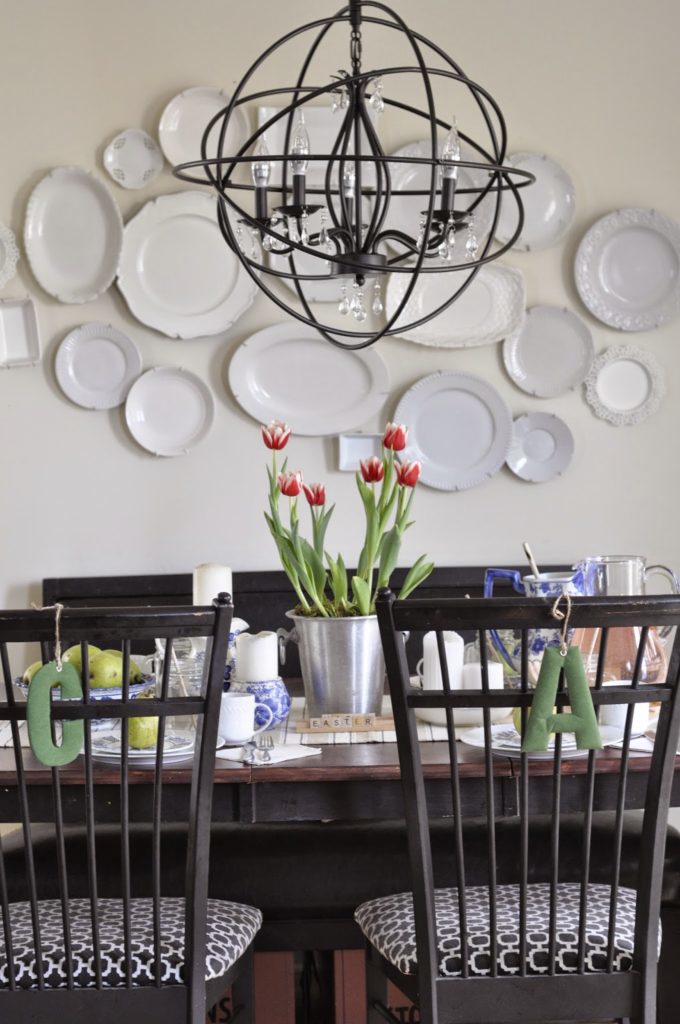
SEEEEEEEEE?????? Isn’t this one above our old dining room, the perfect mixture of everything I wanted for the space?? I mean, our son even requested a “basketball light or a foot ball light” and if you look close enough, and squint your eyes just so, and use your imagination, you can kinda see BOTH shapes in this light fixture, can’t you?!!!
I didn’t waste any time running out to source a light similar to the one in our last dining space and I just so happened to find the exact same one! Let there be light!!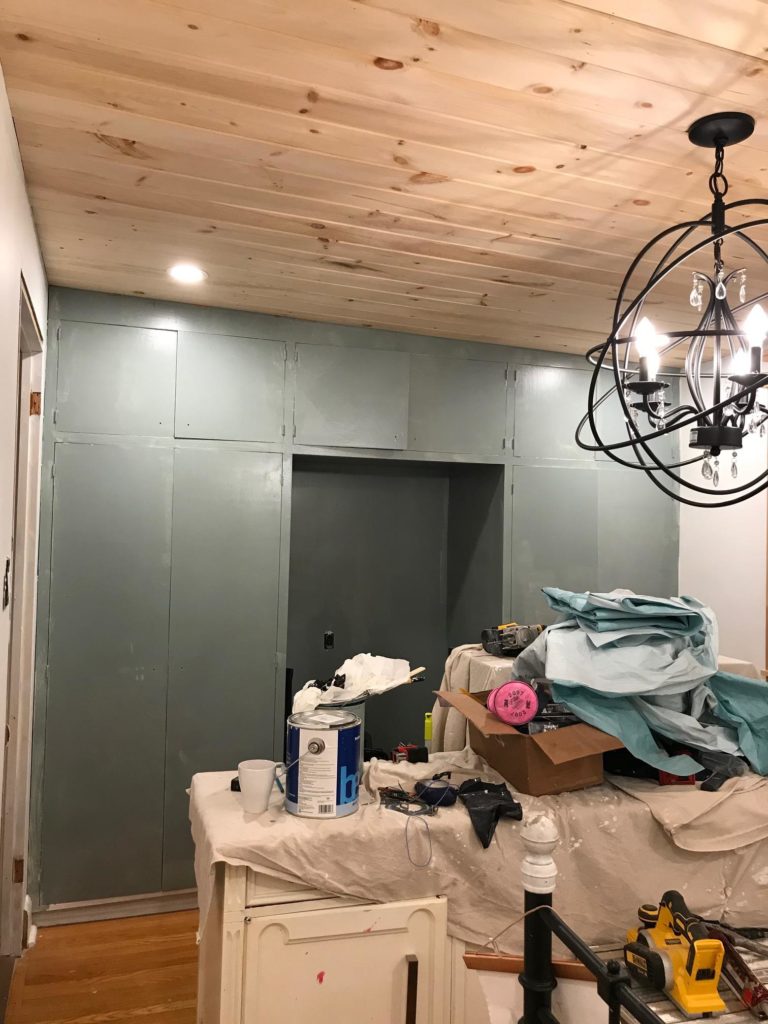
We won’t be keeping the sparkly jewels on the light fixture for this space, but I do love the fact that this curvaceous fixture adds some much movement to the space with it’s cluster of orbs. I may have even asked out little guy if he sees the basketball and the football and he says he most definitely does. 😉
As you can see, we have come a long way for week 4 of the One Room Challenge! We have a lot left to do, as we still need to dress up our walls and closets with some pretty METRIE trim, but I already have a few accessories on hand that will pull the whole space together! EEEKKKK!! It’s almost reveal time! I can’t wait to complete this project and share it with you guys! We may even have a little reading nook being planned for this space too. Can you guess where it will go??
So, how do you like what we have going on so far? What do you guys think of our lighting selection? Would you have chosen this option or do you prefer the others I shared in this post? Personally, I love them all and am keeping a couple in mind for upcoming projects! Have an favourite lighting stores I need to check out from the comfort of my couch? Goodness knows, as the nights get darker and colder, that’s one of my favourite places to get inspired from. 😉
NEW HERE?!! GET CAUGHT UP ON THE PAST COUPLE WEEKS OF THE ONE ROOM CHALLENGE!!
